Orcs Must Die! 2

Orcs Must Die! 2

41 ratings
"Impossible" & "BFFs" achievements: how to beat a Wave 50/40 in Endless Mode
By rarestMeow
step by step guide that shows how to get those "Impossible" and "BFFs" achievements
3
   
Award
Favorite
Favorited
Unfavorite
why that guide?
there are lots of guides for those achievements in Steam and most of them recommend doing them on the Passages map:
or on the Tower map:

I don't like those ideas (not guides!) for few reasons:
  • it is a mess, look at screenshots in those guides: near 40 wave it just turns into who-knows-what-is-going-on;
  • it requires Are We There Yeti? DLC
  • those maps feature annoying Goblin Sapper who can easily disable any your traps and put your process in jeopardy (if Kobold Sapper are not annoying enough)
  • some of those guides are not character-agnostic (for example rely on Sorceress's Polymorph Ring)
  • there is not enough step-by-step illustrations, most of them are "in the end it will look something like this"-kinda guides

then, I have found that guide by @xeyron & @lorettaamaranth
https://steamproxy-script.pipiskins.com/sharedfiles/filedetails/?id=489972034
and immediately liked its idea and simplicity and decided to build my own setup based on their guide with, as I think, easier approach and item/trap management that will work in both solo and coop mode
map & items
start Close Cliffs map

the following items are required:
  • Crossbow (special - headshots generate mana)
  • Ice Amulet (special - enemies frozen by secondary attack take additional damage)
  • Spore Mushrooms (special - Spore Mushrooms reset much faster)
  • Spring Trap (special - Spring Trap sometimes flips heavier enemies)
  • Push Trap (special - Push Trap range Increased)
  • Tar (special - Enemies are slowed even more)
  • Scavenger Trinket (specials - both)
Why?
  • use Ice Amulet to freeze enemies (it will make them take additional damage) and then headshot them with Crossbow (headshots deal extra damage). with that setup you quickly become a killing machine that shreds enemies. additionally, headshots do generate mana, that you will use again to freeze enemies. so, as you can see, it is a perfect synergy. beside, Ice Amulet optionally allows you to prolong next wave starting until you get your Scavenger Trinket reset (read below)
  • Spring Trap, Push Trap & Tar are three traps that alone will kill 80% of all enemies on the map, leave you to fight with some really big baddies only, like Elementals, Armored Ogre and Trolls
  • Spore Mushrooms are what will save you on waves 30+ when enemies will get too much health to kill them fast with Crossbow + Ice Amulet and also will save you few Rift Points
  • Scavenger Trinket allows you to earn extra money fast which is a key in that build

the last three items might be whatever you want, pickup weapons (maybe Polymorph Ring, Wind Belt, Vampiric Gauntlets?), traps (Floor Portals, Decoy?) or additional trinkets on your like. I used the following extra items:
  • Mana Rage Trinket (specials - both)
  • Trap Reset Trinket (specials - both)
  • Healing Trinket (specials - both)
wave by wave plan
the main idea of that build is placing Push Trap, Spring Trap & Tar as soon as possible in a special places, where lots of light-enemies are coming and get rid of them fast. you have to fully install those traps at the wave 16

starting from wave 16 you will just place Spore Mushrooms. lots of them!

the hardest part of the map is between Waves 16 & 20 - that is where lots of heavy enemies will come at you and either may kill you or enter the Rift. don't mind. since your task here is get achievements and not to set a world record, then just play as usual. close to Wave 30 you will get a good defense and will be used to the map's flow and will easily get to required Waves 40/50

Wave 1
  • use Push Trap & Tar to create the following pattern on the both passages on left and right. mind you that you need to put Tar in checkboard pattern. with that setup you may forget about enemies coming from those ways until wave 30 (or so)

Wave 4
  • now use Push Trap, Spring Trap & Tar to create the following setup on both ramps

Wave 7
  • expand your previously built ramp-setup by adding a line of Spring Trap
  • expand your previously built passage-setup by adding an extra checkboard line of Tar

Wave 10
  • expand your previously built ramp-setup by adding a line of Spring Trap (continue what you did in Wave 7)
  • expand your previously built passage-setup by adding an extra checkboard line of Tar (continue what you did in Wave 7)

Waves 11-13
  • between Waves 11 and 13 it is a good idea to create a row of Spore Mushrooms (if you have a spare money)

Wave 13
  • start placing Spring Trap between Tar in your checkboard pattern

Wave 16
  • finish placing Spring Trap between Tar in your checkboard pattern


at this point you have finished placing Push Trap, Spring Trap & Tar.

yeap, that's all

no more those traps at all

from that moment you will place only Spore Mushrooms until the very end of your run. nothing else

your map should look like this:

Wave ~25
  • place Spore Mushrooms in checkboard pattern here

Wave ~30
  • more Spore Mushrooms

Wave ~35
  • even more Spore Mushrooms

Wave ~45
  • way more Spore Mushrooms

Wave ~50
  • far-way more Spore Mushrooms

Wave ~55
  • you know the drill
right tunnel
the hardest enemies are mostly come from the right tunnel as shown on the screenshot below. concentrate your main attention here.

the best tactic here is launch few Ice Amulet's blasts in the mob and freeze them near traps

it might be useful to put few Spore Mushrooms in that tunnel's exit to make enemies progress harder

Scavenger Trinket
  • activate Scavenger Trinket in the beginning of the Wave and try to kill as many enemies as you can. in a ideal case start every Wave with fully recharged Scavenger Trinket
  • do not start a next Wave until a Scavenger Trinket is fully recharged (there is no prize in being fast, you know)
  • in the end of Wave, when only one enemy left alive, don't immediately kill him right away; instead use Ice Amulet's freeze attack, or Crossbow's stun, or just aggro/kite him. try to prolong his life as long as it takes for Scavenger Trinket to fully recharge. in other words, prolong the end of the Wave until Scavenger Trinket will be fully ready
a trick with selling Mushroom Spores
Mushroom Spores convert the first enemy that steps on it into your ally until he dead. for that period a said Mushroom Spore will not convert any other enemy. when a converted enemy die, Mushroom Spores take a take to reset

that behavior is tricky and it may happen that a single Mushroom Spores "holds" some unnecessary weak enemy like Orc, while it could have converted more dangerous enemy like Mountain Troll

there is a neat mechanic you need to understand and use in order to progress - if you sell a Mushroom Spore that "holds" an enemy, then said enemy will die and you will get a full price of Mushroom Spore back and will be able to place a new Mushroom Spore on a free space

see screenshots below:
  • there is hostile Mountain Troll is heading to us. instead of fighting him we lure him on Mushroom Spore
  • Mushroom Spore successfully converted a Mountain Troll into our friend
  • in a break time we quickly sell that Mushroom Spore which immediately kill Mountain Troll
  • and we place a new Mushroom Spore in its place
final
for the "Impossible" achievement you need to survive 50 Waves (51 Wave must start)

for the "BFFs" achievement you need to survive 40 Waves (41 Wave must start)

as soon as you start Wave 51/41 it is safe to commit a suicide and jump into the abyss few times (if of course you don't want to continue and set some record)


if you want to thank me...
...then check my guide about fixing various game issues: launching, crashing, optimization, stuttering, gamepads, etc. the guide is huge, but the topic is broad to begin with
https://steamproxy-script.pipiskins.com/sharedfiles/filedetails/?id=1935376439
6 Comments
d3z-_ 18 Jan, 2024 @ 2:09pm 
░░░░░▄█▌▀▄▓▓▄▄▄▄▀▀▀▄▓▓▓▓▓▌█ Help
░░░▄█▀▀▄▓█▓▓▓▓▓▓▓▓▓▓▓▓▀░▓▌█ Doge
░░█▀▄▓▓▓███▓▓▓███▓▓▓▄░░▄▓▐█▌ Take
░█▌▓▓▓▀▀▓▓▓▓███▓▓▓▓▓▓▓▄▀▓▓▐█ Over
▐█▐██▐░▄▓▓▓▓▓▀▄░▀▓▓▓▓▓▓▓▓▓▌█▌ Steam
█▌███▓▓▓▓▓▓▓▓▐░░▄▓▓███▓▓▓▄▀▐█ Copy
█▐█▓▀░░▀▓▓▓▓▓▓▓▓▓██████▓▓▓▓▐█ And
▌▓▄▌▀░▀░▐▀█▄▓▓██████████▓▓▓▌█▌Paste
▌▓▓▓▄▄▀▀▓▓▓▀▓▓▓▓▓▓▓▓█▓█▓█▓▓▌█
█▐▓▓▓▓▓▓▄▄▄▓▓▓▓▓▓█▓█▓█▓█▓▓▓ DO IT
foxz 13 Jan, 2024 @ 7:31am 
Worked just fine, thanks for the guide :D
Zoagim 18 May, 2023 @ 7:49am 
Used this guide with co-op and our game went like a breeze. Thank you and gj! :lovegrenade:
cricri 5 Jul, 2021 @ 5:27pm 
cricri 5 Jul, 2021 @ 5:14pm 
ok reussi faut suivre exactement pour les pieges
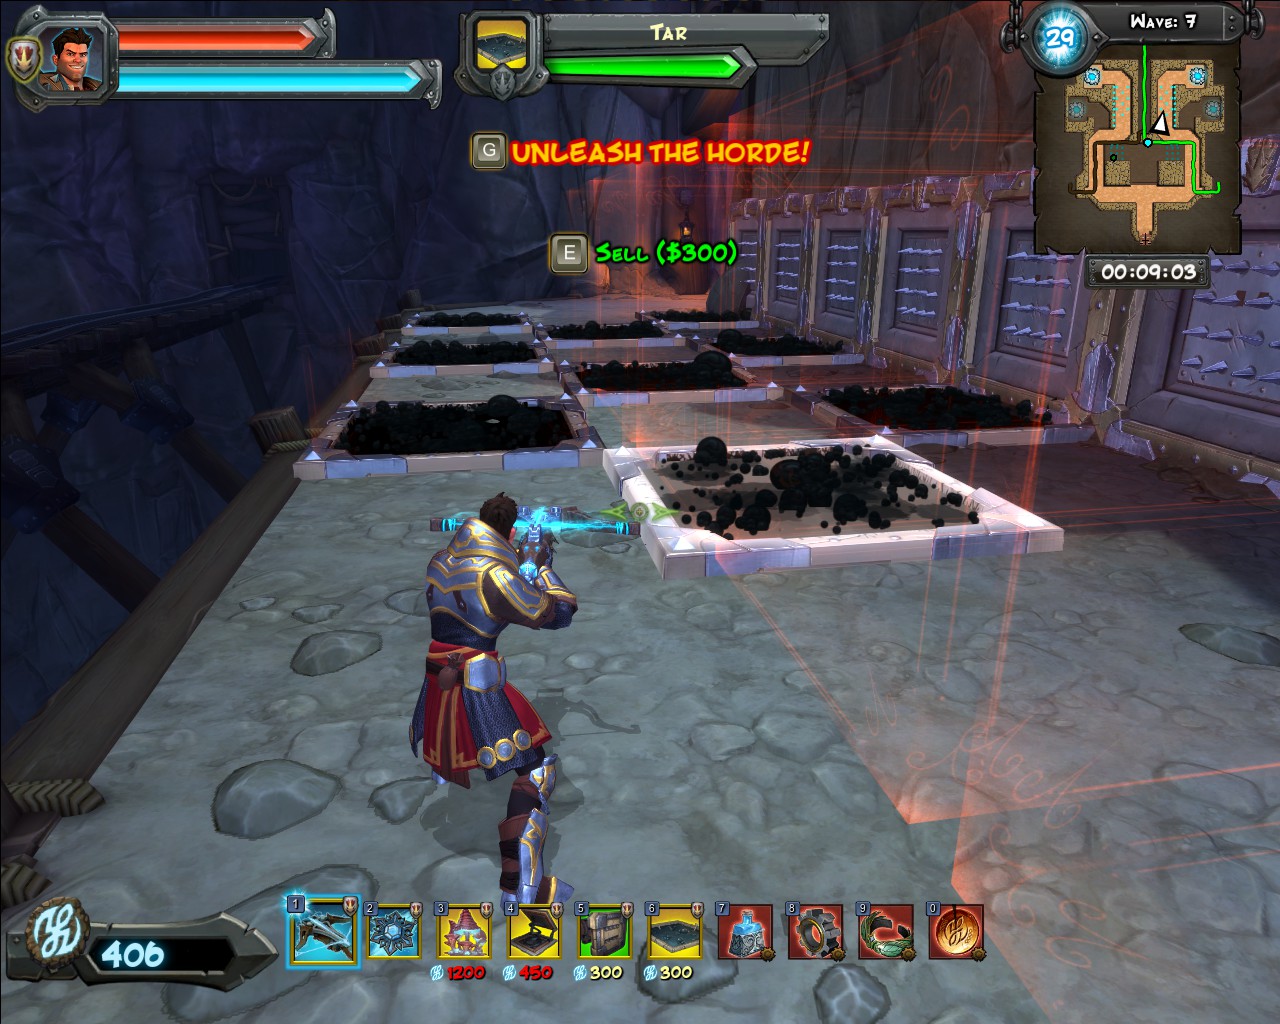
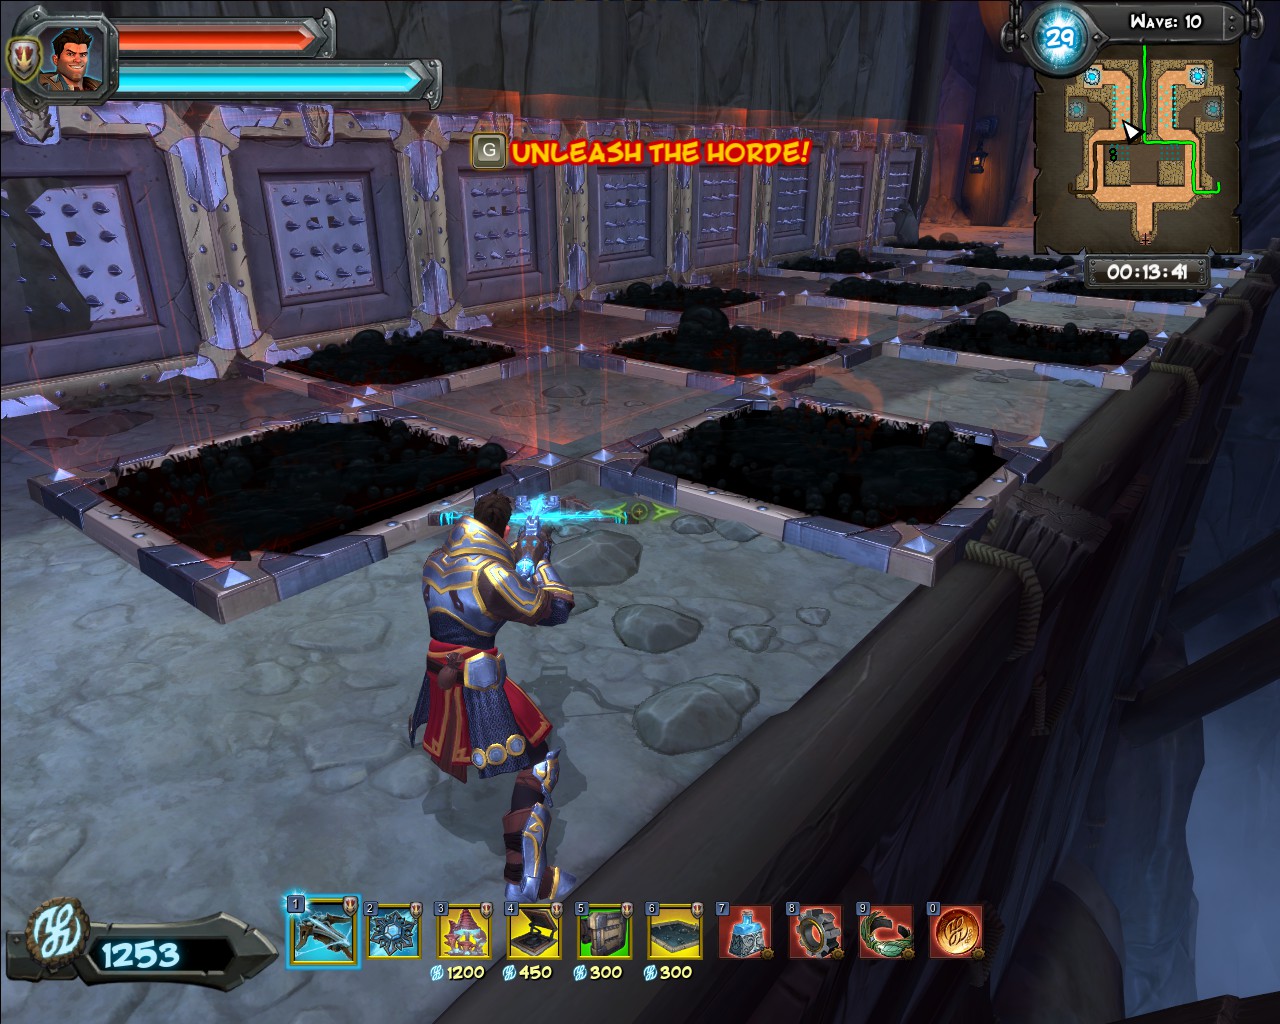
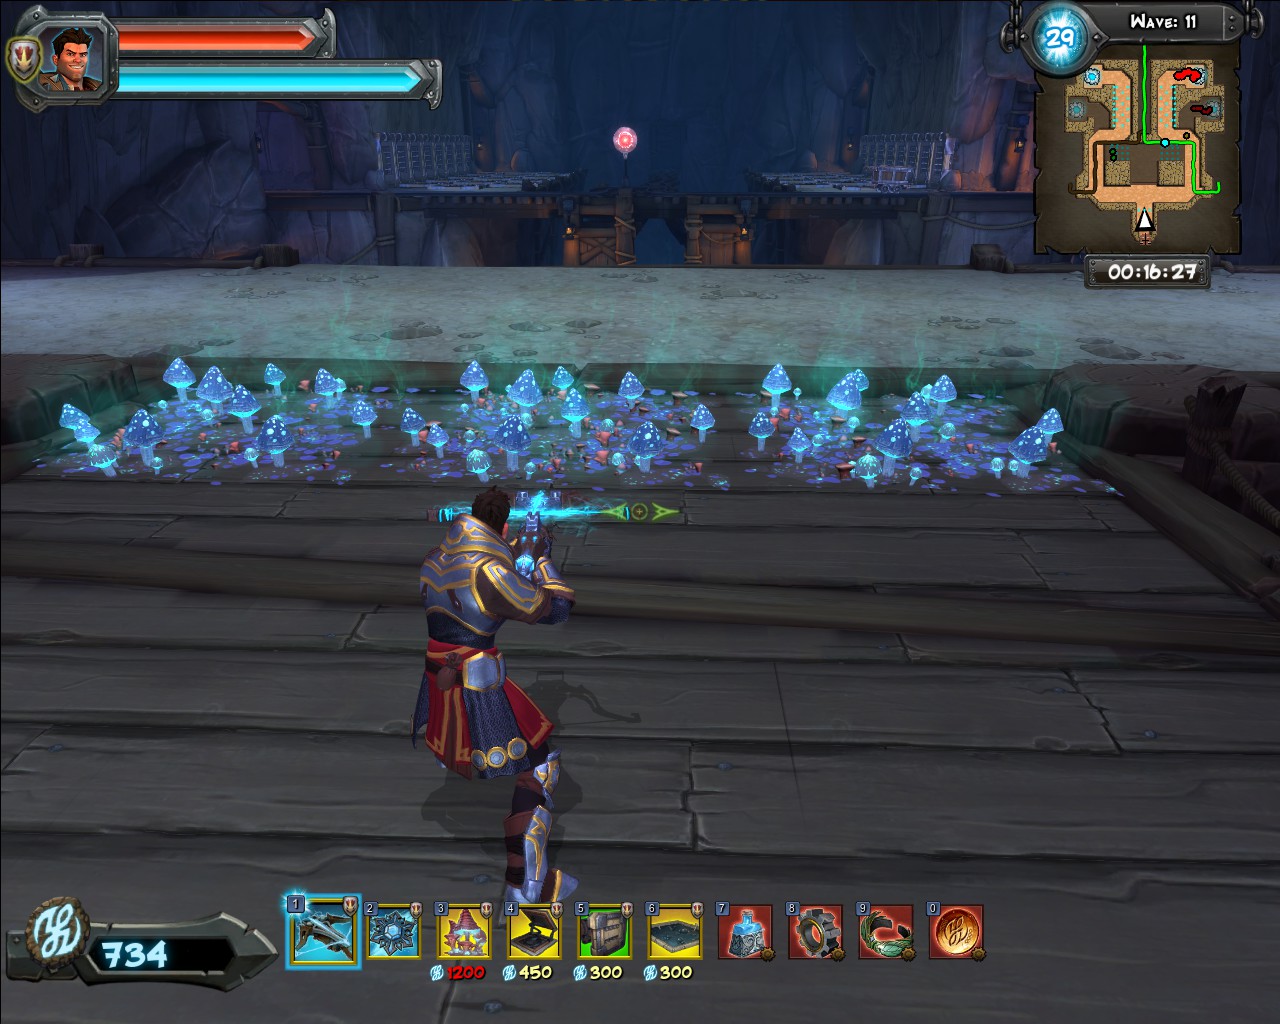
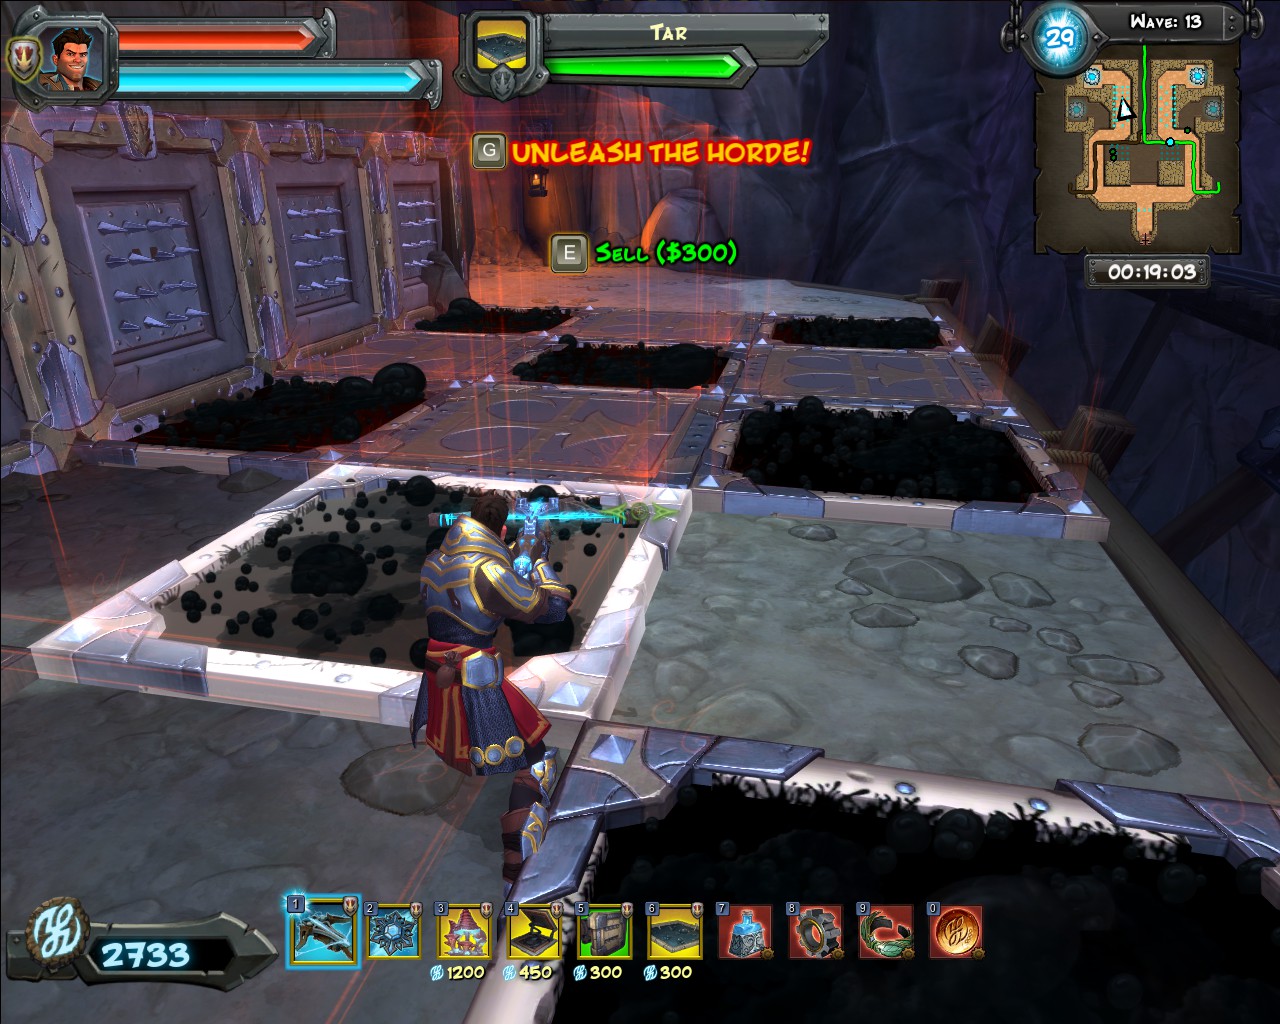
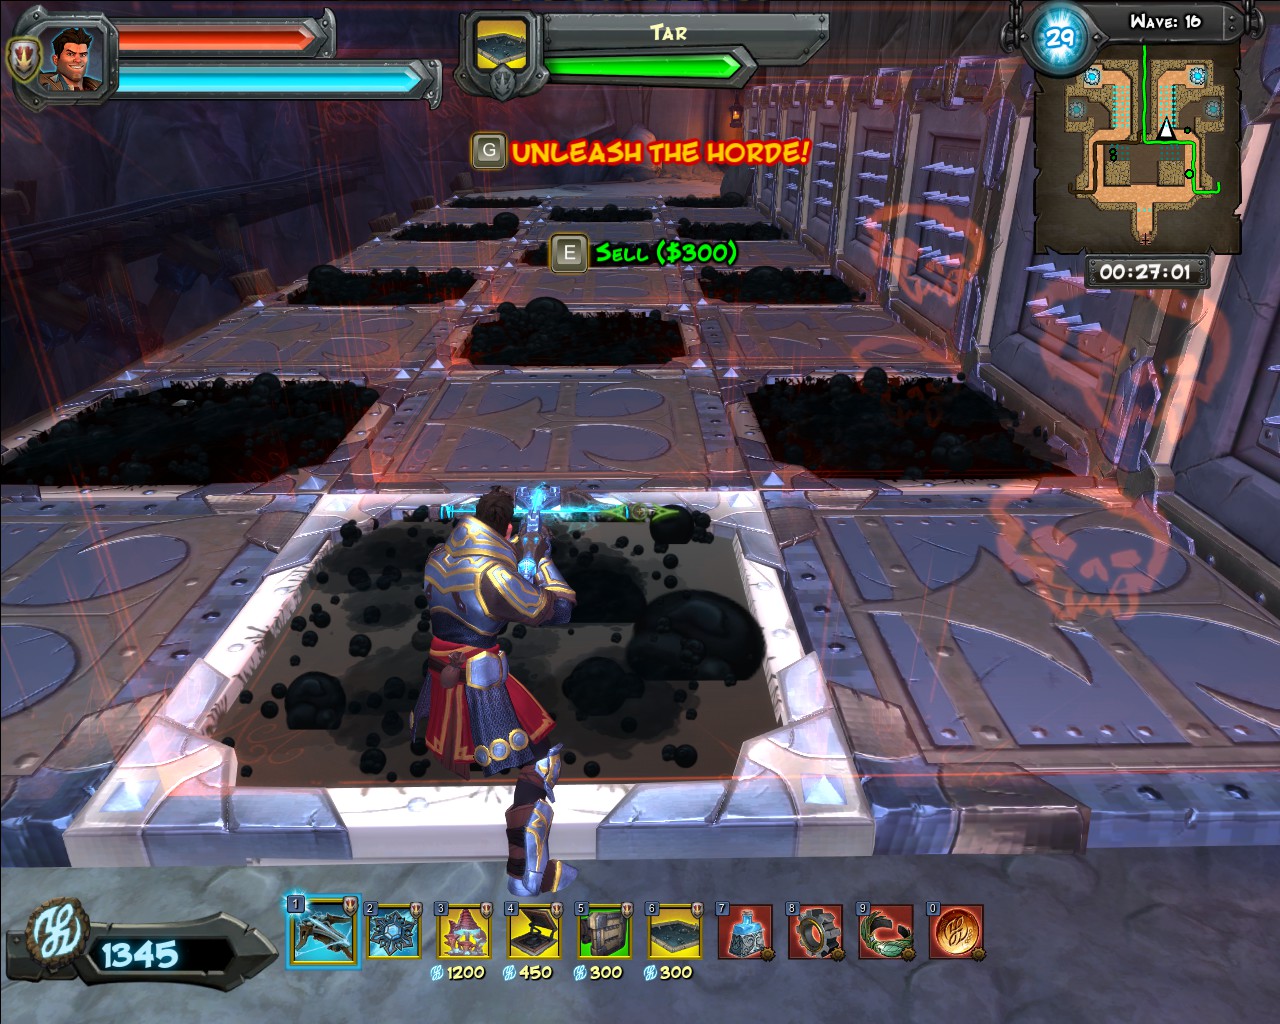
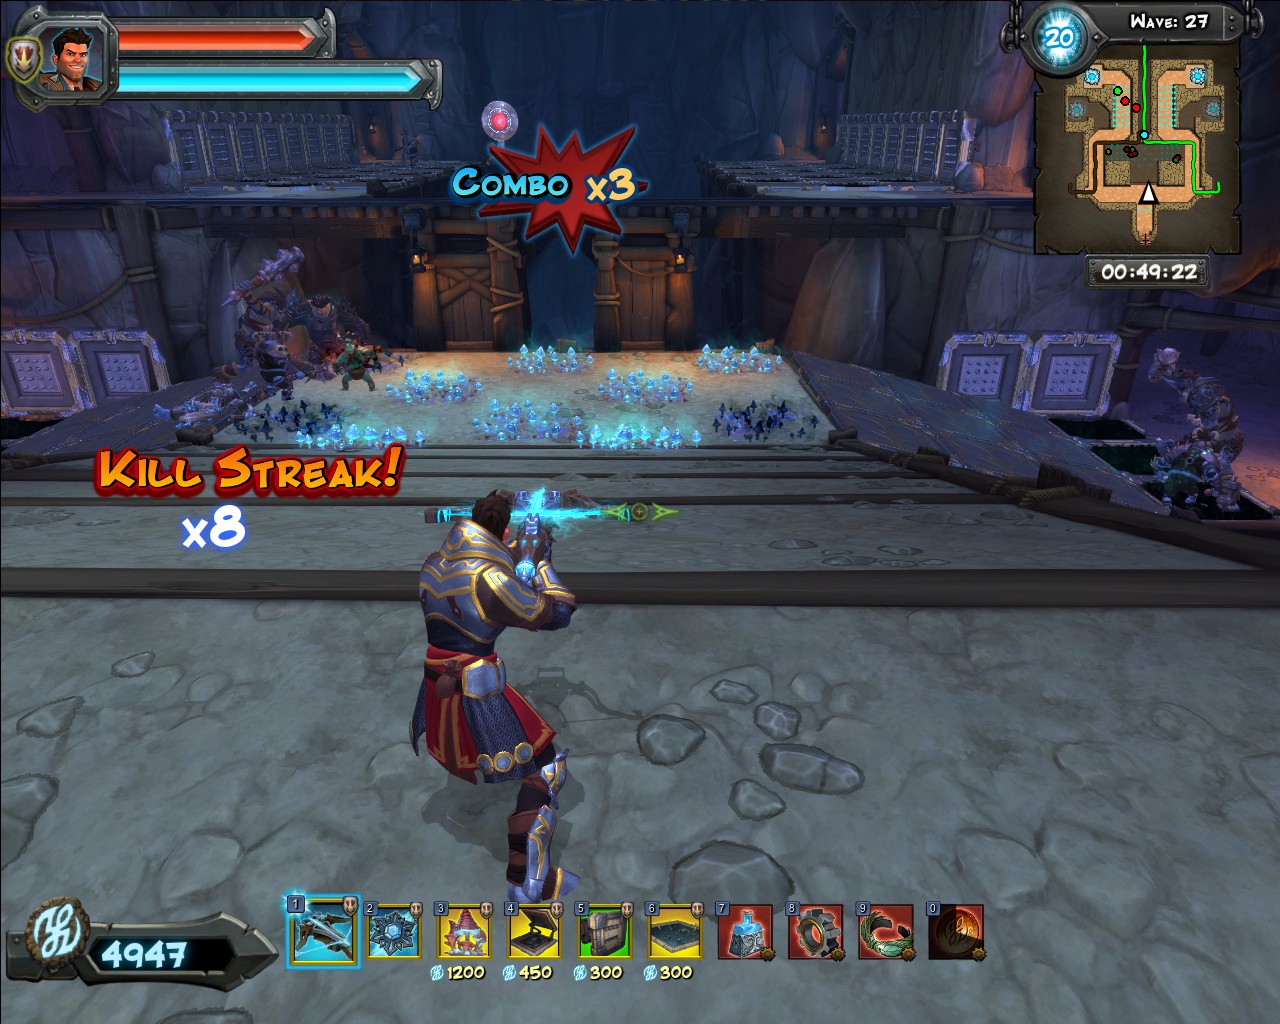
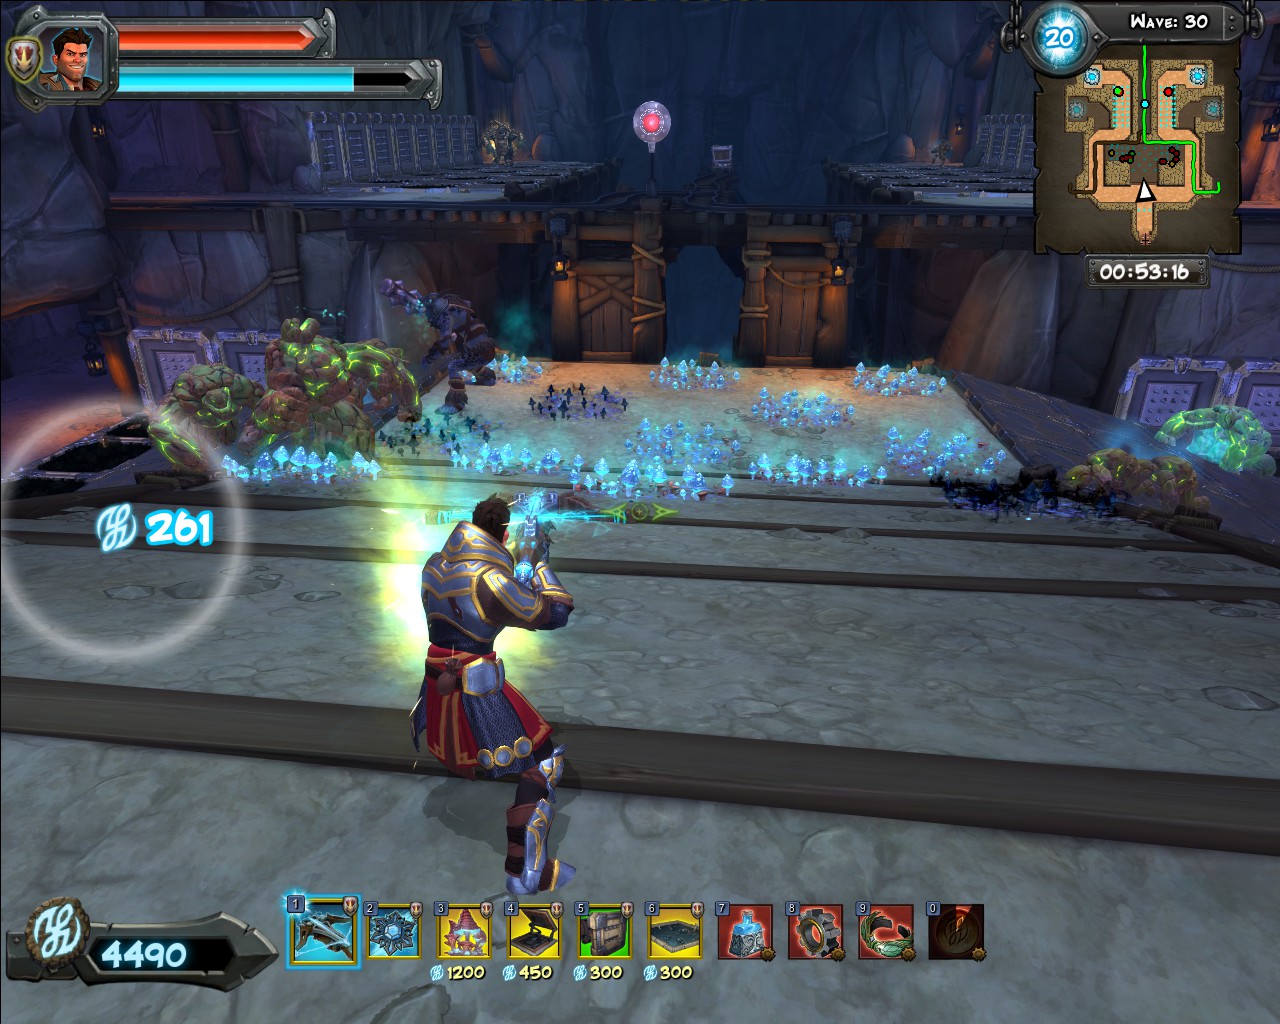
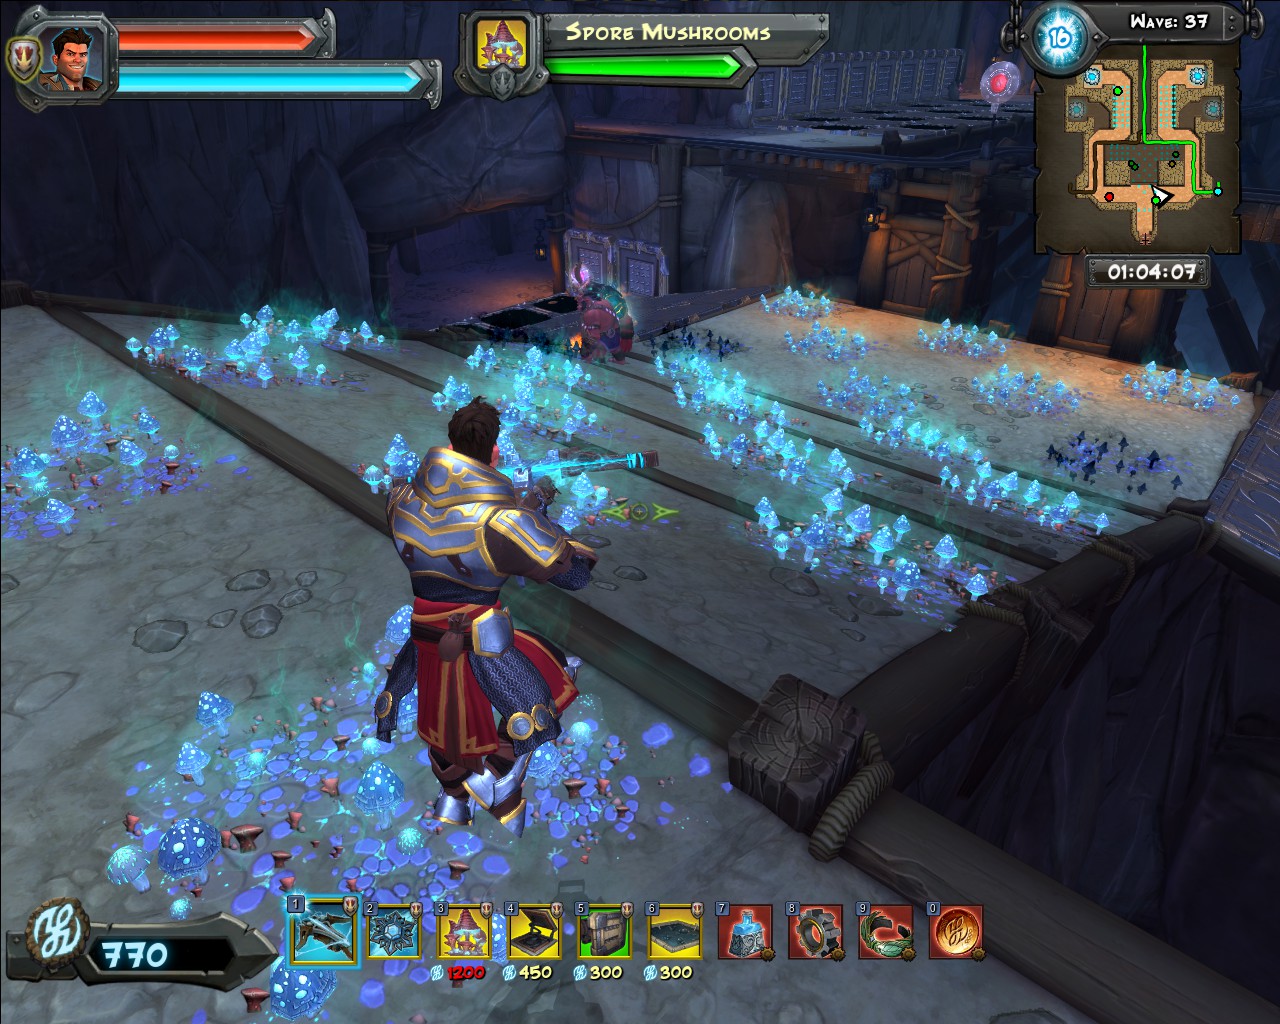
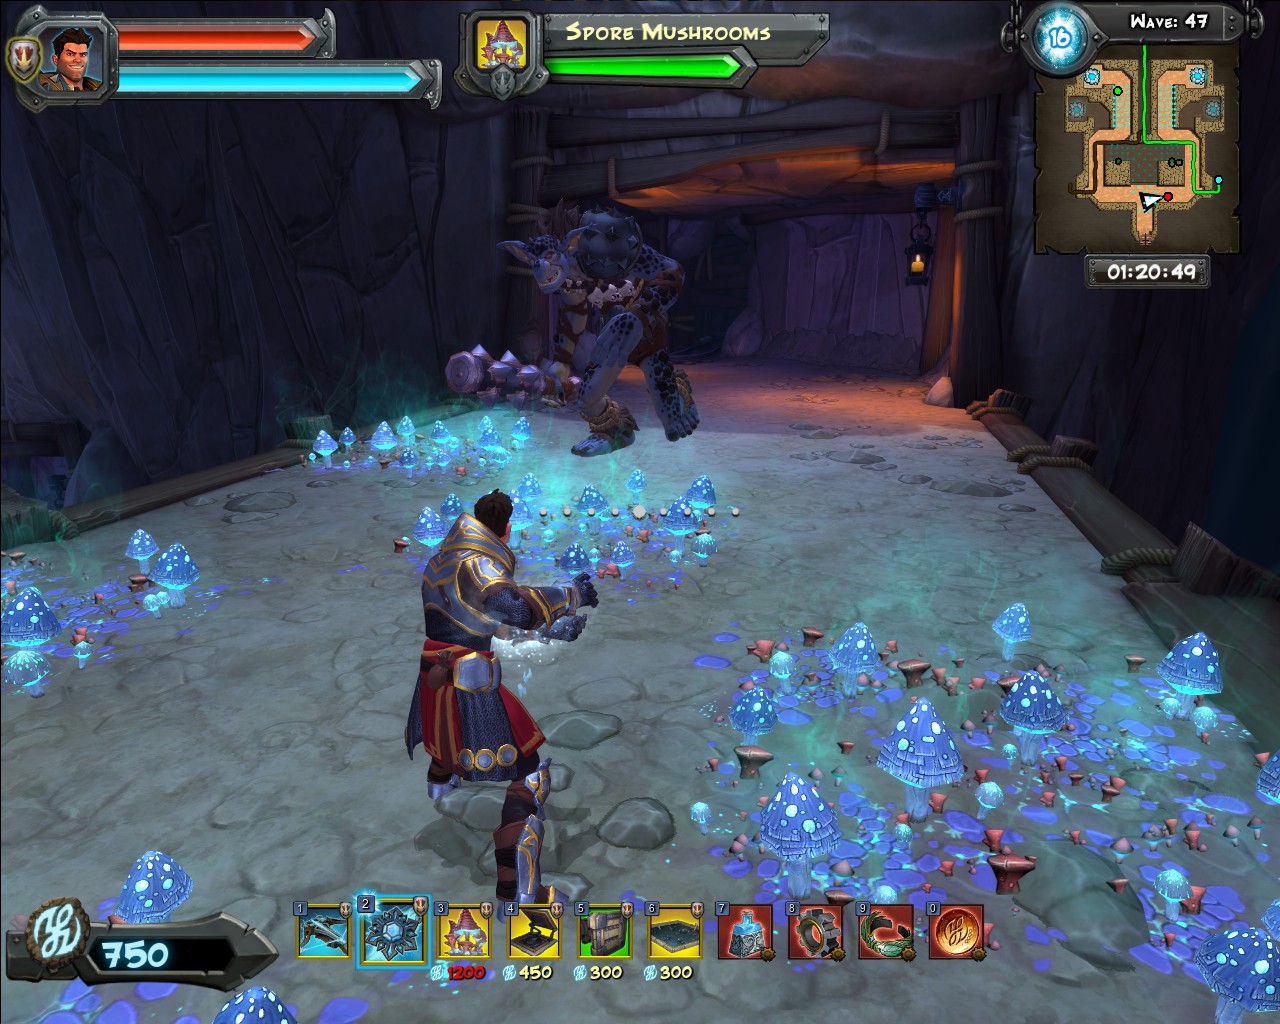
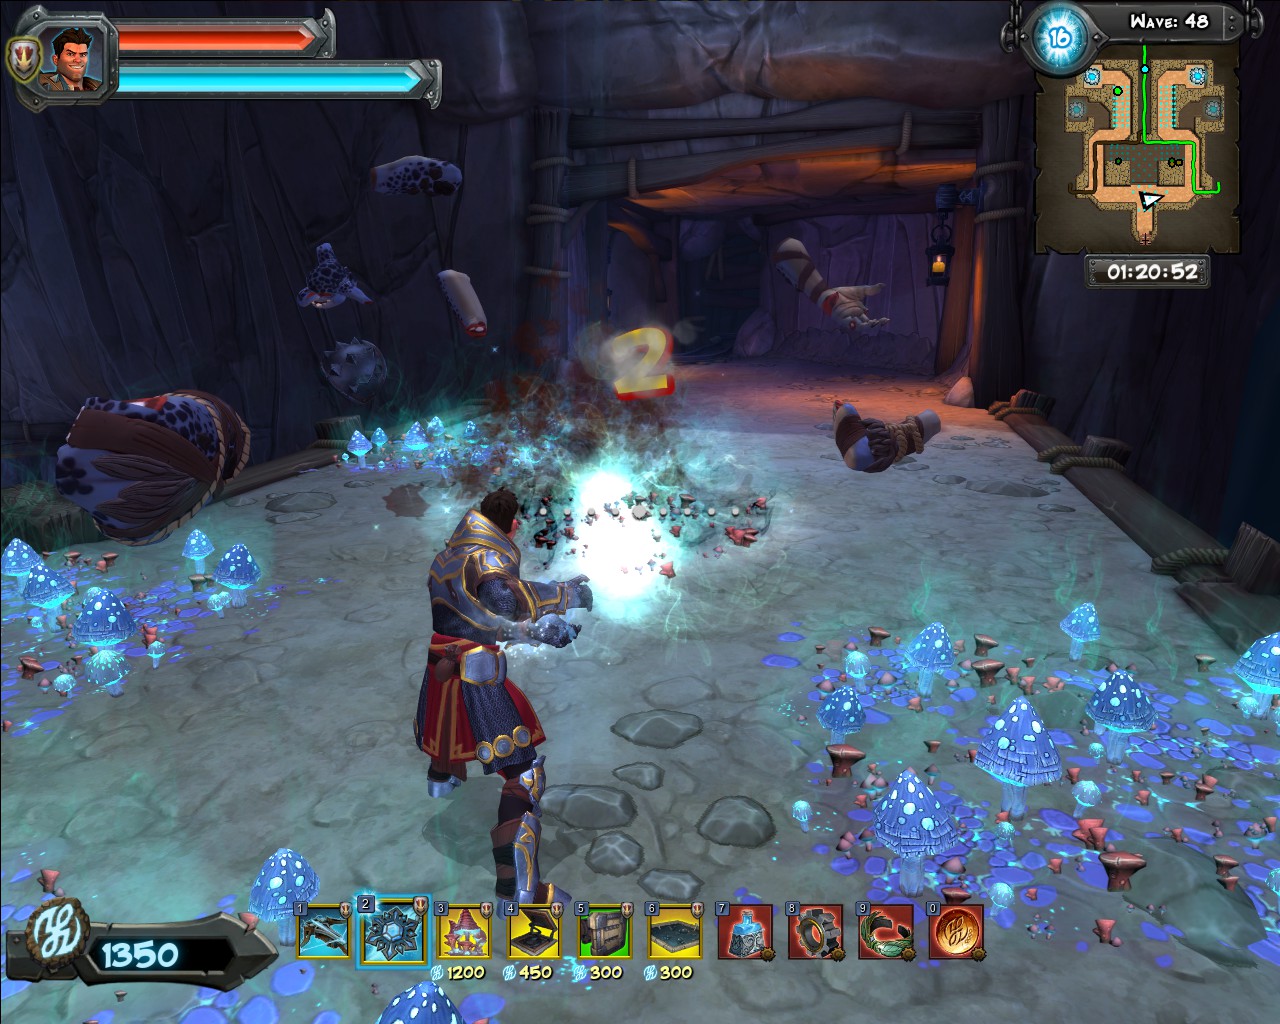
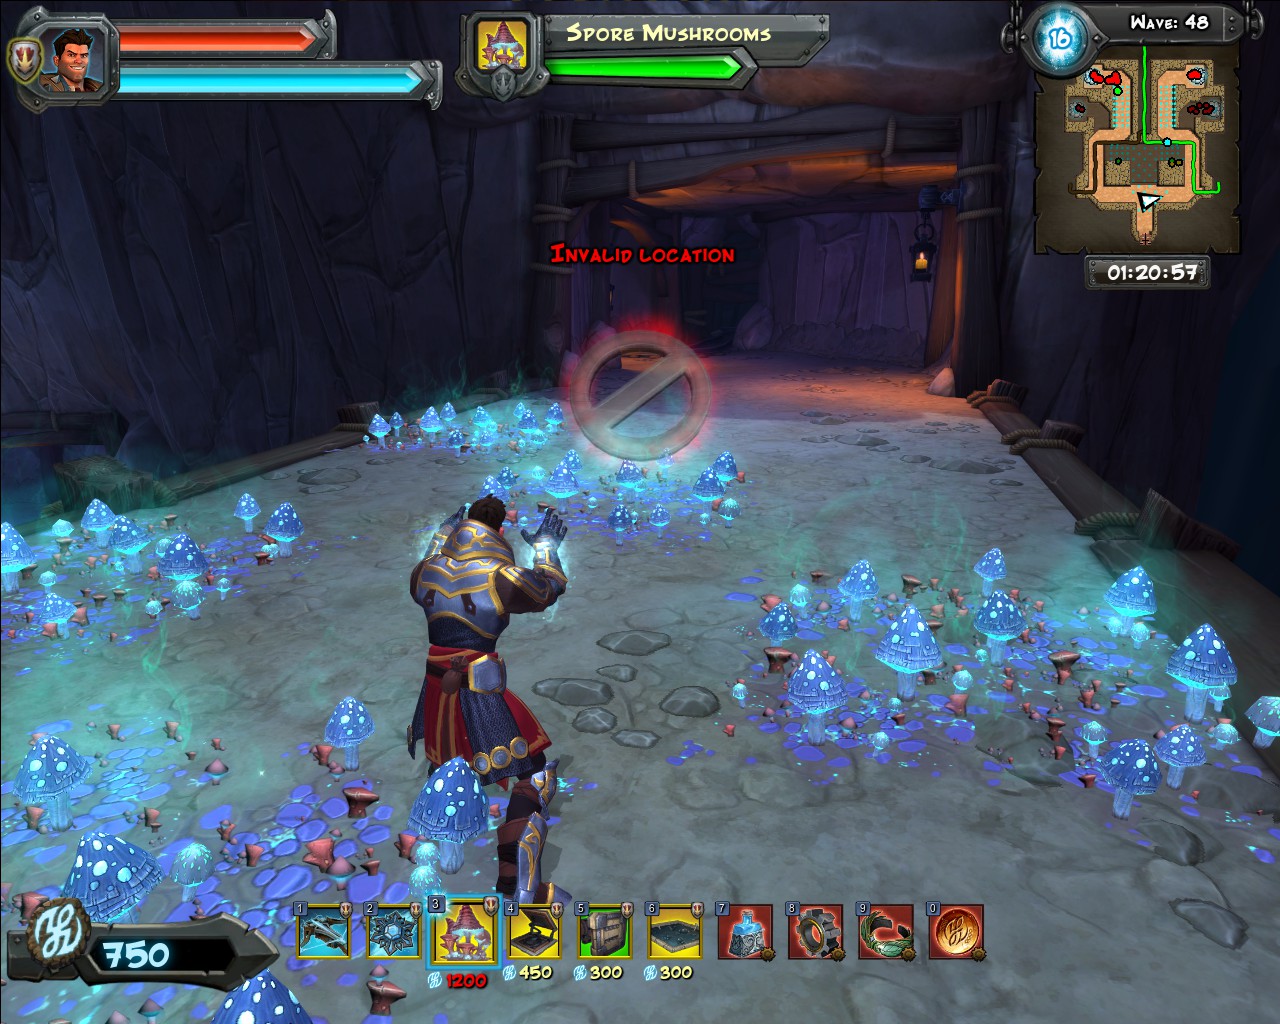
+ vague 30 attention elementaire chien faut surtout pas taper dans le tas sinon on les dedouble
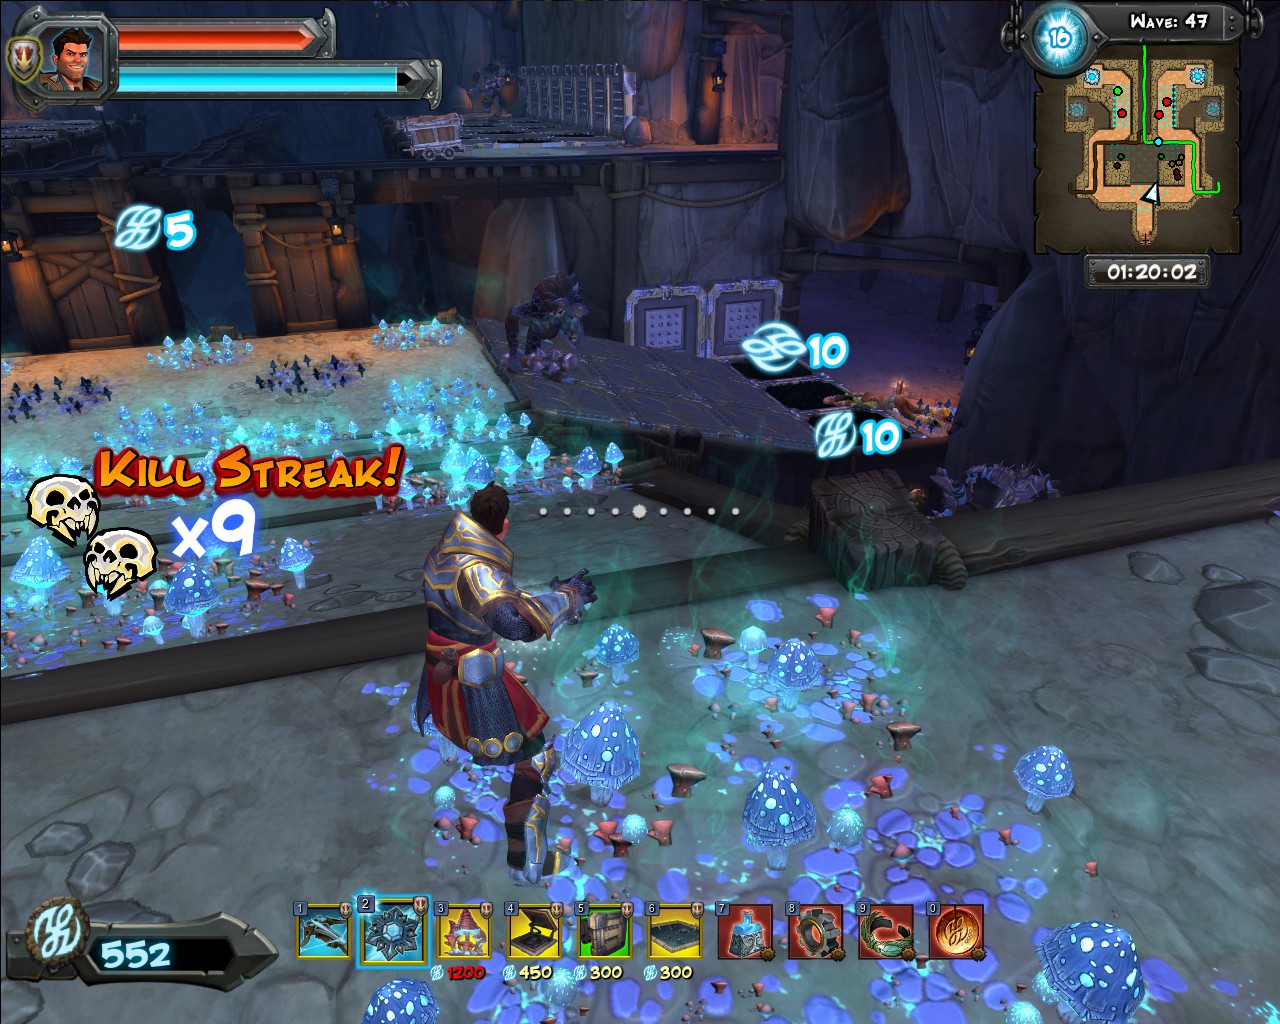
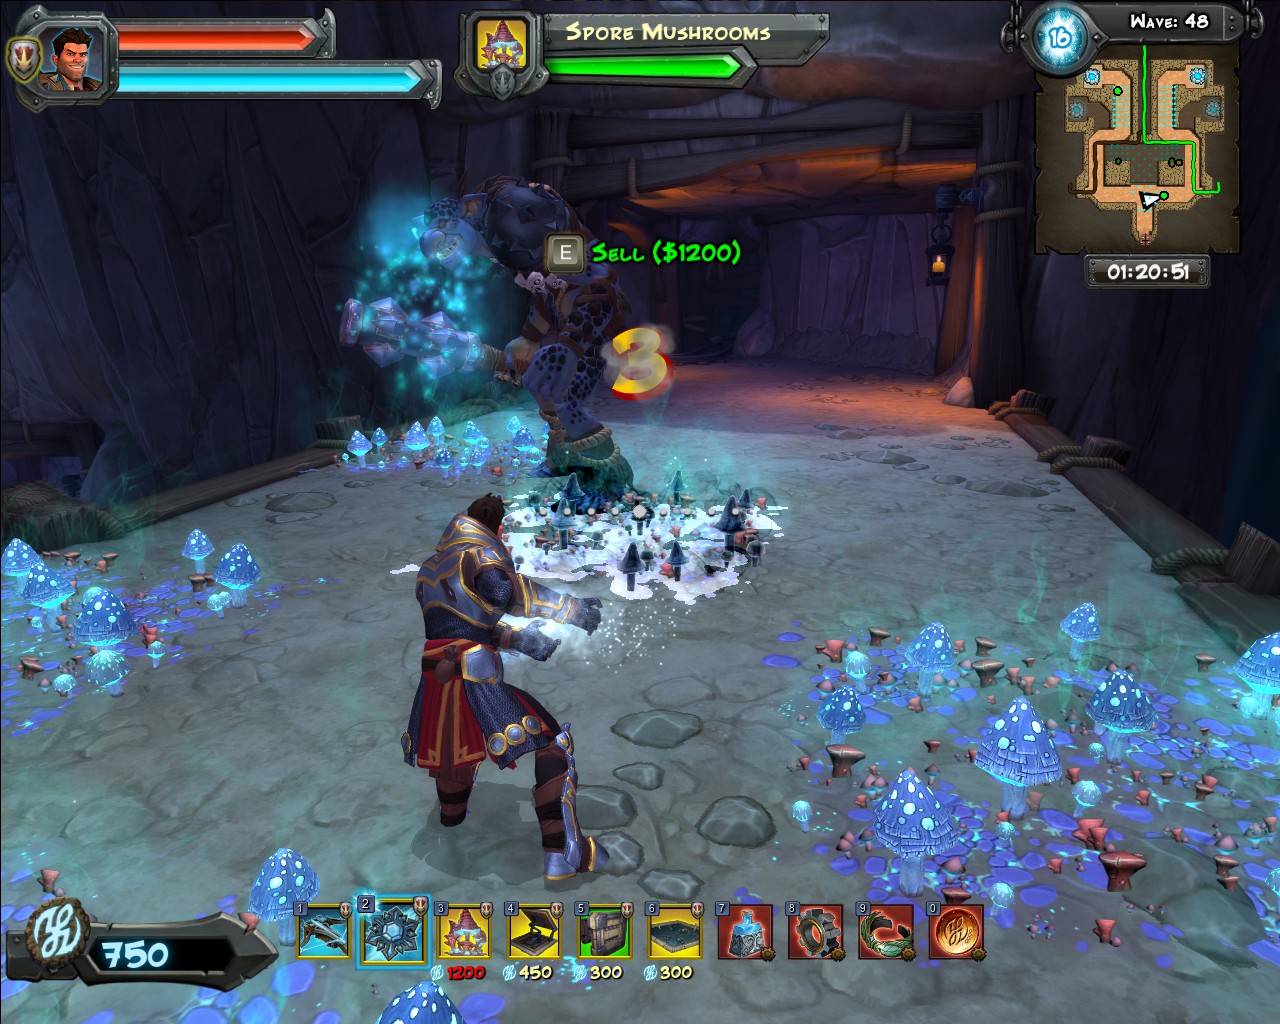
faut essaye de vendre les champi fin de vague
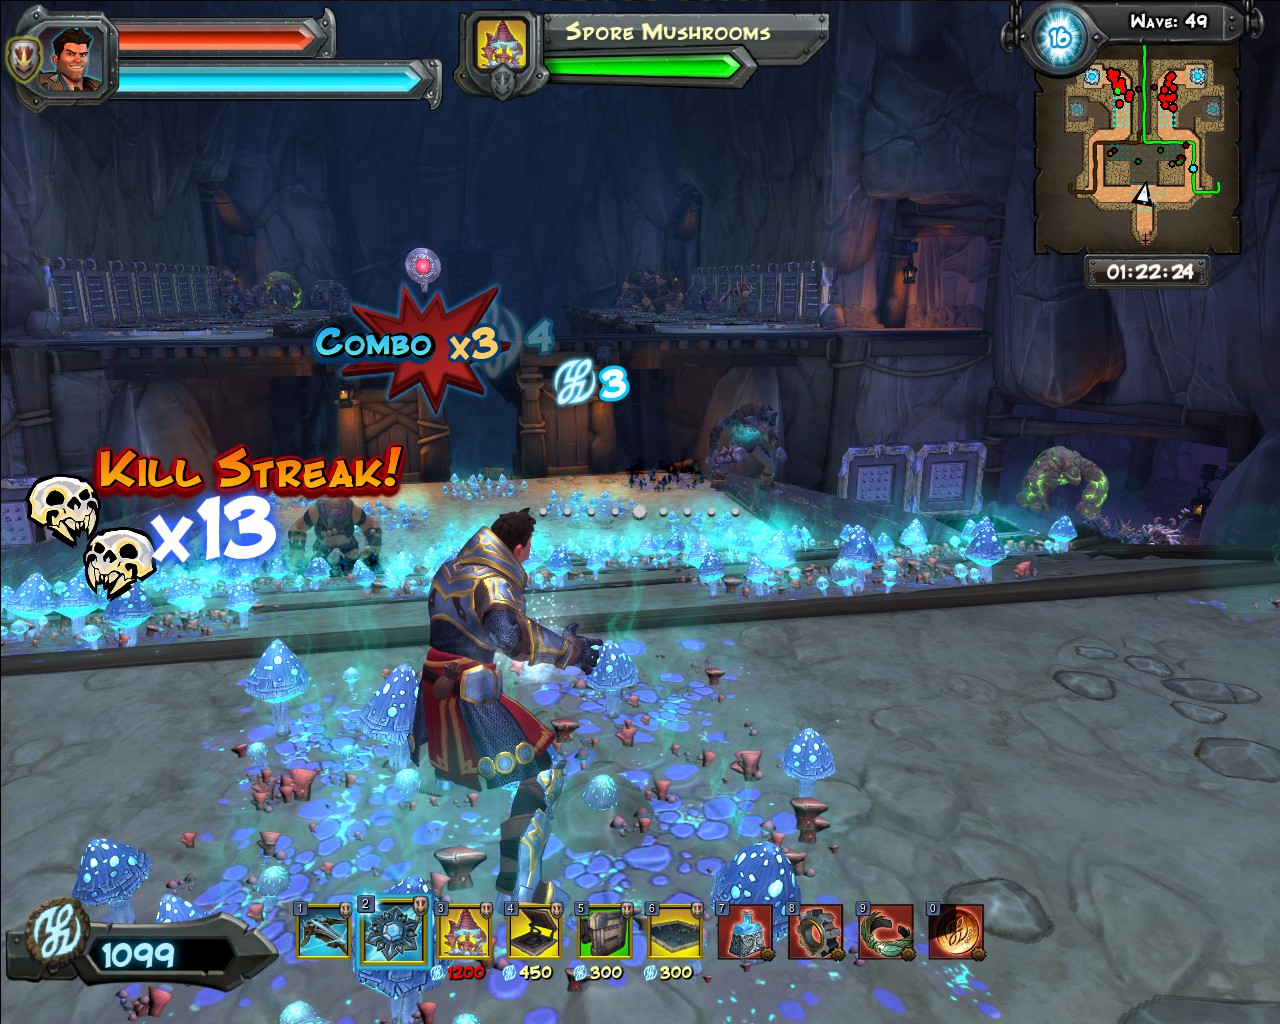
faut faire confiance au champi attendre que le dernier meure ou se prenne un champi et etre positionner pour vendre les champi contenant les chiens
cricri 5 Jul, 2021 @ 8:42am 
hum essayer 3x 39 35 34 de pire en pire je gere pas les gros chien qui se duplique