Steam

Steam

77 ratings
Screenshot Showcase
By wetpaz
How to make a showcase of screenshots and how to design it
   
Award
Favorite
Favorited
Unfavorite
Introduction
Hello everyone, I want to tell you and show you what you can do with your screenshot showcase, how it can be changed and used. If you don't know what showcase are and how to get them, read this first:

A showcase is a way to decorate your profile with something, showcases can contain screenshots, an overview or illustrations, and so on. Access to the storefronts opens upon reaching the tenth level. Levels are obtained by gaining experience, and experience in particular for badges

The screenshot showcase gives you access to the placement of your four screenshots. You can post screenshots that you have uploaded to the Steam Cloud and that are available for everyone to view


If you try to select a restricted screenshot, it simply will not be displayed in the selection window

The main screenshot will display tags of likes, comments and the number of additions to favorites, side screenshots will not have this. Also, if you select side screenshots, but do not select the main screenshot, the showcase will not be displayed in your profile

In the last cell, in which the number "+number" is entered, this is an indicator of your screenshots, which you can insert into the showcase, as an option. This figure takes into account all your screenshots, no matter if they are blocked or restricted

Screenshots can also be displayed in different ways, depending on the resolution of your screenshot. The cell of the showcase is adapted to the 16 by 9 standard. That is, you have a screenshot, as if it were a FullHD or HD resolution screenshot, then it will take up the entire area of the selected cell

If the screenshot is of a different resolution, as if with a monitor with a resolution of 32 by 9, then your screenshot will shrink in height so that the entire length fits into the cell. The example above, the aspect ratio of the monitor 16 by 9 is ~1.7, and in the case of the example, the aspect ratio is 43 to 18, which is ~2.3, which makes the screenshot seem small, but it's not

You can also upload any other picture or gif animation to the screenshot showcase. I have described how to do this in this guide:
steamproxy-script.pipiskins.com/sharedfiles/filedetails/?id=2631272252
Also, conversely, if you have a screenshot with an aspect ratio of 4 by 3, then it will not flatten in any way, it is just bigger, expanding downwards, because it can afford to. Here is an example of how much the showcase increases if you put the title screenshot with the aspect ratio. where the height is close to the width, I also made a measurement in pixels so that it was clearly visible (the numbers in the title of the showcase are the aspect ratio):


As you can see, the showcase has become larger when the width of the image is close to the height. The comparison is made only for comparison with the 16:9 standard, if all screenshots have the same resolution, then the title screenshot will be on a par with the side ones and will not stand out much

In addition to screenshots, you can also upload a gif


by Bebby

But this is a completely different story, which will be in the next section

Additional information:
  • If you need to make the cell empty, then select a similar image that is already used in the showcase, or simply restrict access to the screenshot, so it disappears from the selection

  • If you want to make sure that the name of the screenshot is not displayed, then initially name it something, and then change the name to " ". This way you will not have a name and the name of the game from which the screenshot is uploaded will not be displayed.

At this point, all the main things can be considered completed and now we move on to customization do not forget to like

У гайда есть русская версия
Option No. 1
You can upload a GIF animation to the showcase, for example, which will be constantly played:


Here, because of the small resolution of the gif, a small part of the allotted space is filled and therefore everything looks like this... It's not pretty. A gif that is more close to the format of our screens will look best, in this case the height of the gif was greater than the width, so everything looks like this

You can upload any GIF using link

This can only be done through the steam website in the browser. Fill in all the necessary fields and open the browser console with a keyboard shortcut. Here is a small cheat sheet:

Open the "Console" tab if it was not opened initially. Next, you need to enter this code:

$J('[name="file_type"]').val("5");

Or if the width of your gif is more than 506 pixels:
$J('#image_width').val('1000');$J('#image_height').val('1');$J('[name="file_type"]').val("5");

You can always use the second code, as it will not affect in any way

So the gif is uploaded as an illustration for Steam Artwork, but then it becomes a screenshot

In the Steam illustration, there is an 8 Mb limit, so your GIF should weigh less. Screenshots that you upload to Steam or make via Steam overlay are compressed to an acceptable scale when quality is lost, but not size, you can't immediately tell where the original is and where the compressed screenshot is. Screenshots are compressed, and GIFs are uploaded in the original

It will be difficult or easy to make a gif as you want and as you need it, if everything is initially perfect

For example, I found such a gif. It weighs 8.6 MB and I can't upload it to Steam because it exceeds the limit. It is sad that it exceeds only by a little bit, but it is no longer available for download. How can I reduce its size? You can reduce the size:
  • On special sites, for example - iloveimg,[www.iloveimg.com] which helped me well when creating a workshop showcase, and contains other tools that can compress, crop, measure and edit photos or gif animations. There is more than one such site, if you have a site that is more convenient to use, then use it

  • In Photoshop, upload a gif and export it for the old web and using different settings of different parameters, you can achieve smaller sizes of your gif
The site compressed the gif for me from 8 to 5 Mb, when in Photoshop you can literally compress it to the size you need, just with extreme compression, the colors will be reduced to the fact that it is impossible to see anything, or just everything will turn into a black and white color palette, that is, the differences in methods are compression flexibility

You can upload four GIFs and fill in all the fields of the showcase

Let's go back to the example at the end of the previous section


It looks good, especially in the original, everything is taken into account here. The advantages of this method of placing a gif are that you can transfer part of the weight to a side cell. So you can place a gif of higher quality, as if the saturation of colors, the number of frames or the resolution of the gif itself

We find a gif on the Internet, for example, with the anime K-on. Taking a gif from the Tenor website, which is similar in aspect ratio to our screen, I upload it to steam. It looks like this:


It's already good, but the numbers on the side spoil the overall picture, so let's go split the GIF into two parts

It will be easier to do on the site than in Photoshop, because you do not need to do special operations

Go to iloveimg[www.iloveimg.com] and select the "Resize" section, upload our gif and change the "Width" parameter to 614 pixels, while you should have a check mark next to "Keep proportions"

614 pixels of the width of an illustration or gif can be called a standard, colorful illustrations are made according to this width, everything is based on the fact that 506 pixels are the main illustration, 100 pixels are the side illustration, 8 pixels are the space between them. Resize and download the gif:


We reopen the site on the original page and select "Crop image", then open our gif and alternately cut our GIF into two parts in two operations. In the first one, we enter the width 506 and the maximum height, cut and download, and in the second operation we set 100 and the maximum height, bring the field closer to the right side, cut and download

During each operation, do not forget to move the workspace to the right and left sides, as shown in the illustration below:


The resulting two GIFs can be uploaded to Steam using the browser console and the code. I did such actions with the downloaded gif and that's what happened:


Beauty! Now the number of available screenshots in a separate cell does not hurt the eyes and even against the background of the gif does not stand out much

The disadvantage of such a GIF animation placement is only that if you have a weak Internet connection, then GIFs can be uploaded at different times and therefore there may be a desynchronization in the final image, which can greatly spoil the result

If you just want to try to upload such an illustration to yourself, to support the material of the above in your hands, then here is archive[drive.google.com] with the used gif and cropped parts

GIFs do not have to be the same size as we have considered. Have you seen typical display cases of illustrations with a large picture or even a gif? It is possible to do the same, just like with the showcase of illustrations, only GIFs are involved in the showcase of screenshots, similarly with long images
Option No. 2
The second way is that you can use the side places for screenshots for an image that is interrupted by gaps between cells. For example:


To do this, you need to:
  • A little knowledge of Photoshop
  • An image whose height is much larger than its width
The image of the succubus on the example has a resolution of 467x1007, that is, the height exceeds the width by at least two times, that is, just a full-length image of the character, where the aspect ratio of 2 to 3 would be a good choice

A little bit about how it is generally calculated and done:

Three screenshots and two spaces between them are occupied by about 610 pixels and the ratio between them can be written as 3:1:3:1:3, where three parts are one screenshot, one part is the space between the screenshots, that is, together we get 11 parts

This is what we start from when creating a template. Decide what resolution each of your screenshots will have. At this stage, you can understand the subtleties of performing this method, but why think if you can not think?

We take either the resolution of your screen or the usual Full HD, that is, we accept 1920x1080 for three parts. With this solution, the gap between the cells will be 1080 / 3 = 360 and as a result, the height of our template will be 3960 pixels, and the width remains the same, in our case 1920 pixels. Creating our template with the necessary parameters and with a transparent background:


Next, we perform the following sequence:
  • Select "Slice tool"
  • Select the entire workspace
  • Click the right mouse button on the selected area and select "Devide Slice"
  • Then select split horizontally and enter the value of 11 parts
  • As a result, we get the following selected area


I certainly don't know if there are such features in other photoshop

Also at this stage, you can save our progress as a template for future work, that is, click on the top "File" and "Save as". So you will protect yourself from a particular case when things go wrong

Then select the 4th fragment from the top and bottom:
  • Select the fill, black color is perfect (you can change the color in the two cross squares at the bottom of the toolbar), and fill our area
  • Then select the rectangular area tool and select the 4 areas at the top and bottom alternately
  • We cut them out on a new layer
  • You should end up with this (unallocated spaces are just disabled for the big picture at this point)
*If you have an error when cutting fragments, then click on your background. The background layer must be active

Then we upload our image to Photoshop and integrate it as you want to see it. At this stage, there may be problems due to the resolution, that is, due to the fact that your image may not fit the template format. How to put our image beautifully:
  • Use the combination Ctrl + T, so your image will become a selected area and you can move it, stretch or narrow it
  • You can try using filters in the "Filter" panel at the top or the "New Adjustment Layer" category in the "Layer also at the top" panel.
Also, if you are not familiar with photoshop and layers, then select the layer in the lower right panel with your image and drag it below the layer that you cut out in the previous step (that is, it should look like in the screenshot below)


If you hid the layer with the original black background, as I did, then show it back (at this stage, it is worth saying that you can change the background, that is, paint it in a different color or even reduce it to the background of your Steam profile, but this is a completely different story in the third point. I will inform you, as the background and your image will be combined further). Then select the black background and the layer with your image, that is, click on one layer, then on the second through Ctrl + LMB. Click on the selected layers of the RMB, select "Convert to Smart Object" and the layers are grouped into one:


If at some stage you have lost the grid, then click on the cutting tool again

It's almost done, there are a couple of actions left:
  • Select the Rectangular Marquee tool
  • Alternately select three fragments with your image (the layer with the background and your image should be active)
  • Then click the RMB on the selected area and select "Layer Via Copy" and so on sequentially for all three parts of the same image
  • You should have three layers with parts of your original image. For each layer, you use export by clicking on the RMB in turn. You can use quick in PNG or "Export as" and try to make your own settings


Then the last stage is uploading to Steam, you can use it as a way with a gif from the last section, or upload it as a screenshot on Steam for any game. How to download your third-party Steam screenshots, I told you here:

steamproxy-script.pipiskins.com/sharedfiles/filedetails/?id=2631272252
If you do not want to upload your work to any game, then look for information on "how to upload a screenshot not for the steam game" - the bottom line is that you upload screenshots to the steam section, which is positioned as a game:


By re-creating and uploading a succubus, we get this:


There is no difference from the original screenshot, since I did everything identically as the first time ;3

You can also apply your imagination, I showed you only the template, but how you can change it to suit your needs, fantasies and wishes is your business. Here's how to apply it differently:


Everything is limited only by your imagination and do you want to cram gif animation in this way
Option No. 3
The last way is to use the screenshot showcase as an illustration showcase, you can also insert a long screenshot into it, which can be part of the background of your profile background, or simply fill your showcase with supposedly transparent screenshots

We will use the old version of the Steam website.Design is a website designed to crop the background of a profile for further use in storefronts

This site has old[old.steam.design] and new[steam.design] version, but we will use the old one, as it has functionality for a screenshot showcase


The functionality of the site gives us three different ways to fill the showcase:
  • Like a regular showcase of screenshots, only with a large main part
  • As a showcase of illustrations
  • Like a showcase of illustrations, only with a reduced right part. So everything will be on the same level
You can also lengthen or shorten the main screenshot, you just need to pull the bottom border down or up. Everything has its own boundary

How to use the site:
  • Paste the link to your Steam background in the line opposite the "Change BG" button

    * To get a link to your background, open your inventory and find your background in
    the inventory of the Steam tab, then select it and click on "Show in full
    the size." You will open a tab with only your background, copy the page link and
    insert it into the line

  • Choose the option you need through Customize Cropping and download by clicking on the Download Images button, which is located next to
Then there is nothing complicated, we upload it through an already known link:

We also use this code in the console when uploading each image:
$J('#image_width').val('1000');$J('#image_height').val('1');$J('[name="file_type"]').val("5");

We fill our showcase with new screenshots and put it on the top. That's what happens in the end:


When using the screenshot showcase, instead of illustrations, only the inscription stands out that this is exactly the screenshot showcase. Just like with illustrations, you can change screenshots in various ways, use GIF animations

Everything is limited only by your imagination and originality
Result
That's it. Thank you for reading this guide. If you liked it, then rate it and, if possible, add it to your favorites, give out a steam award

If you want to support me, you can:
I will be very grateful! Good luck!


P.S Avatar of the Guide
https://steamproxy-script.pipiskins.com/sharedfiles/filedetails/?id=2553141725

22 Comments
wetpaz  [author] 28 Jun @ 9:03am 
This comment is awaiting analysis by our automated content check system. It will be temporarily hidden until we verify that it does not contain harmful content (e.g. links to websites that attempt to steal information).
Blaidd ☭ 28 Jun @ 4:33am 
What are the scopes on copyright, I have a gif I want to use from giphy
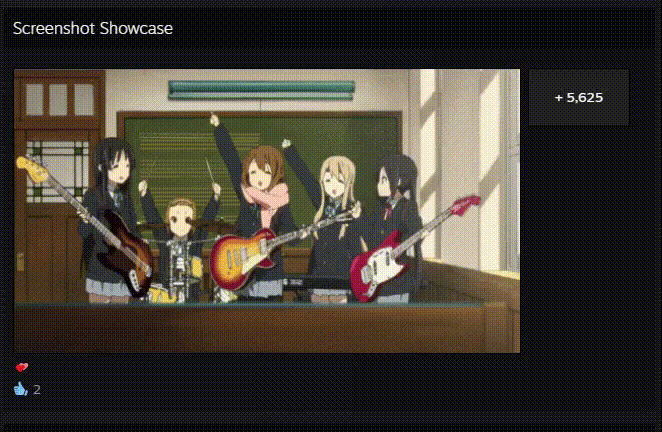
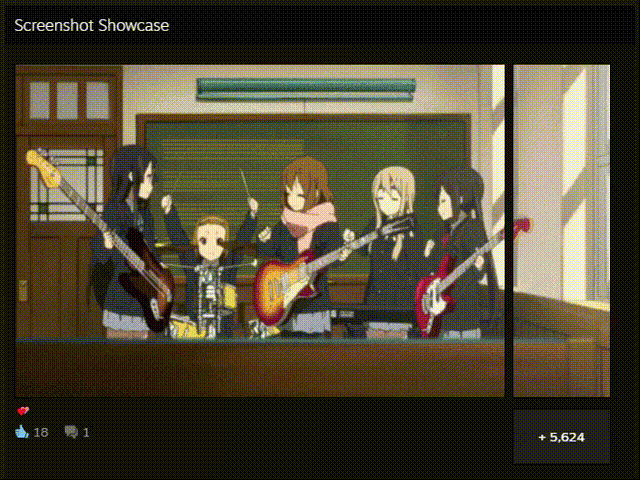
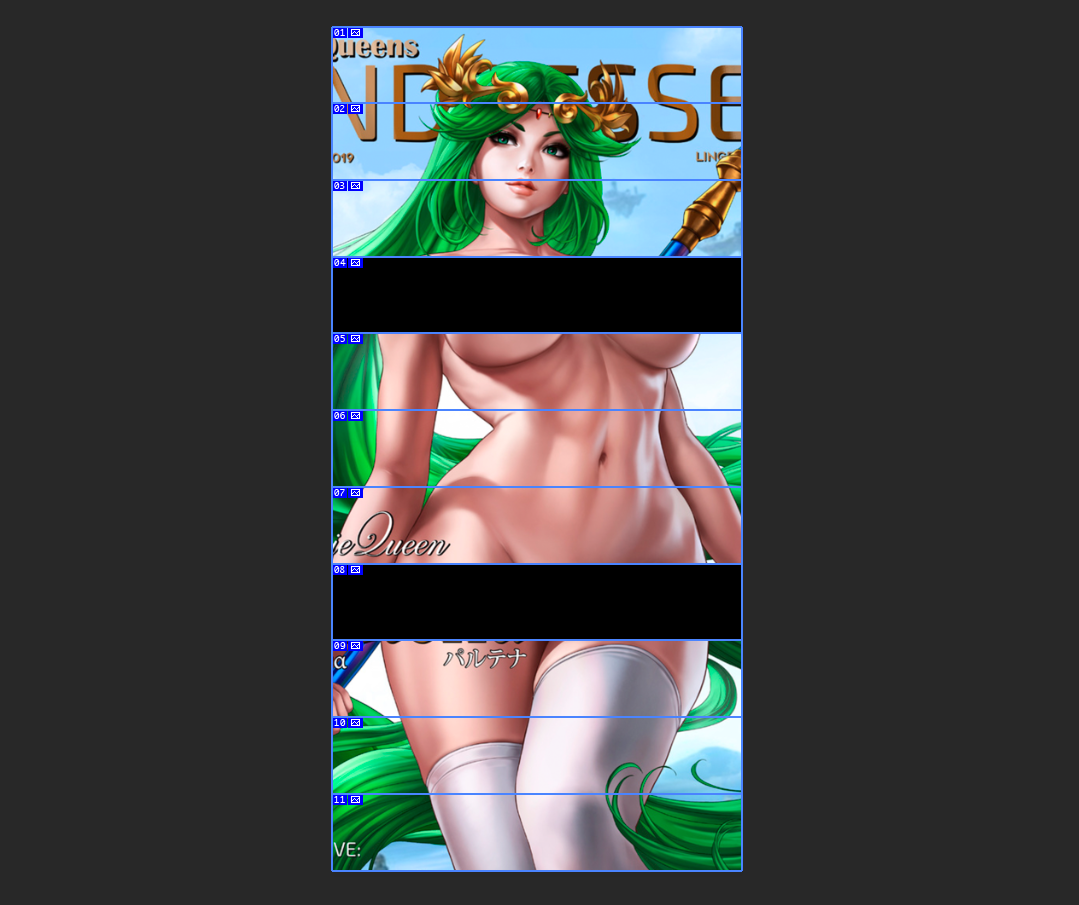
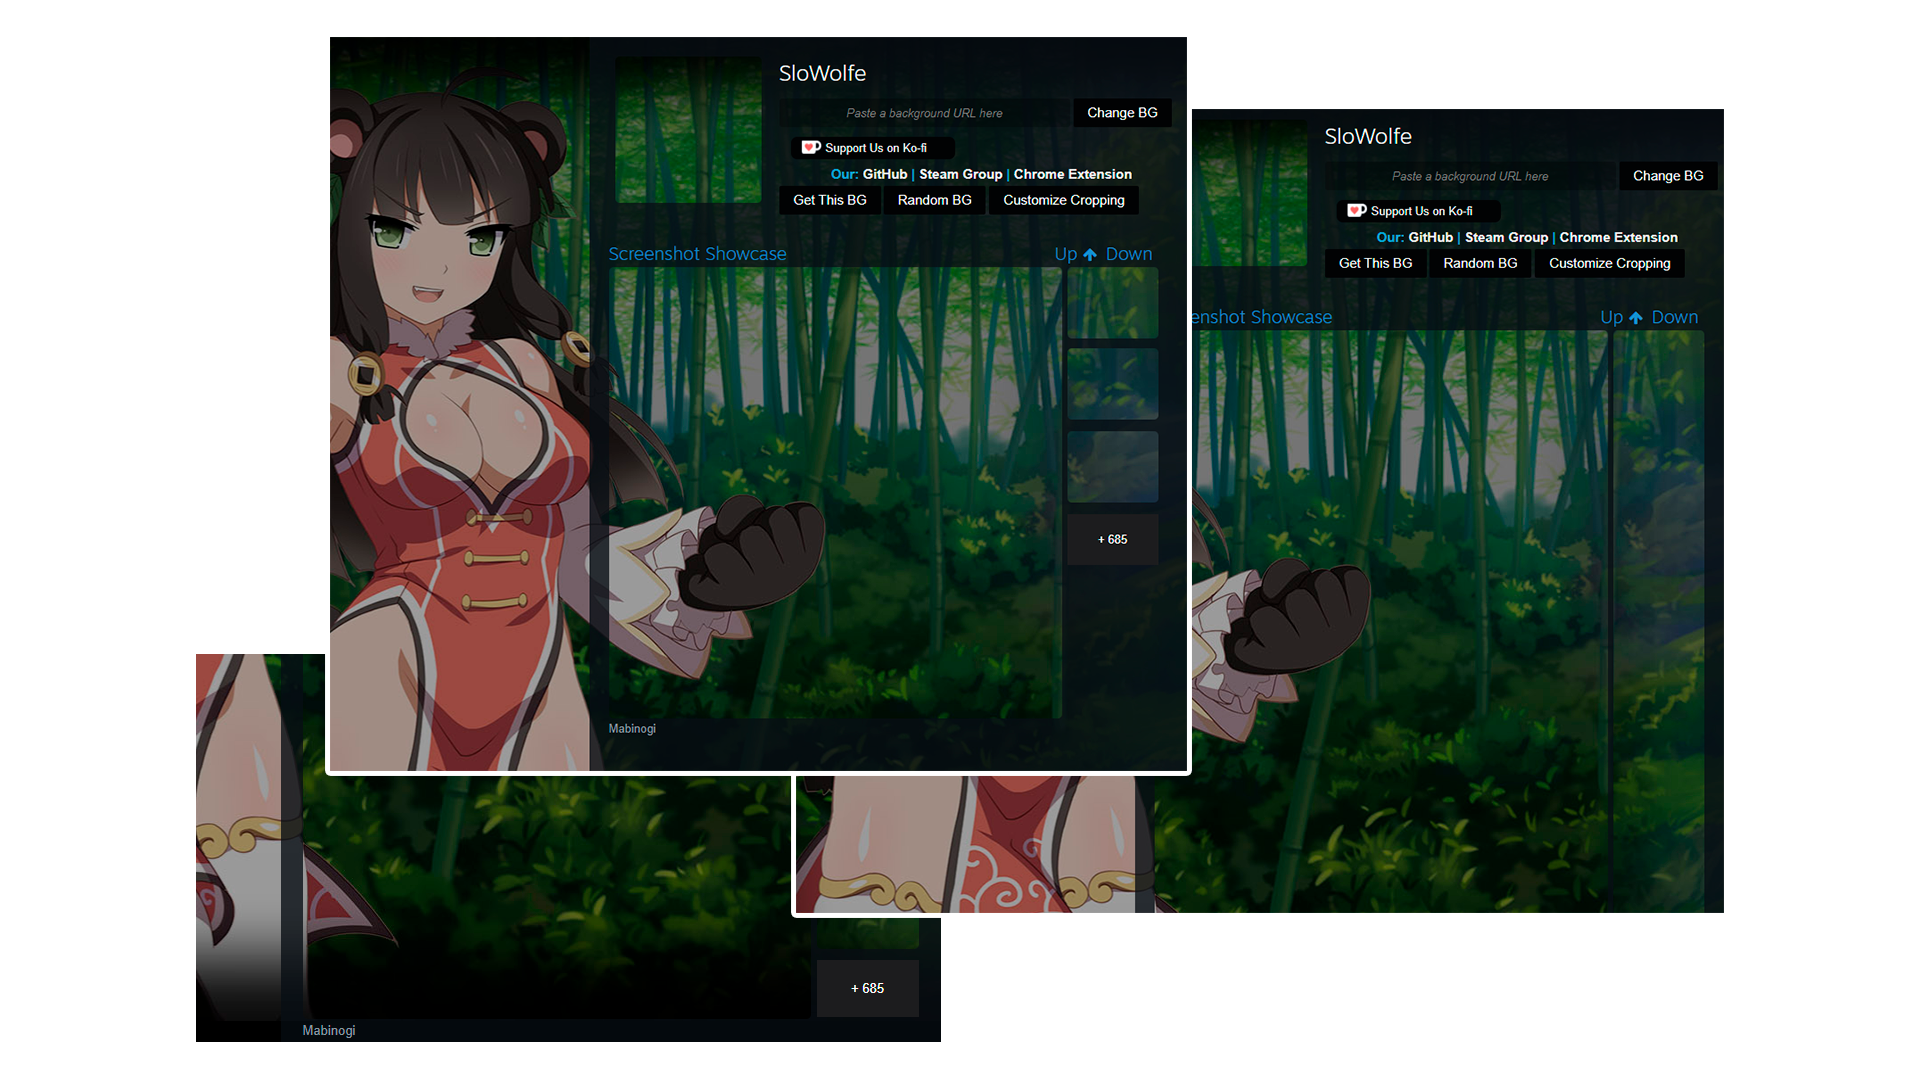
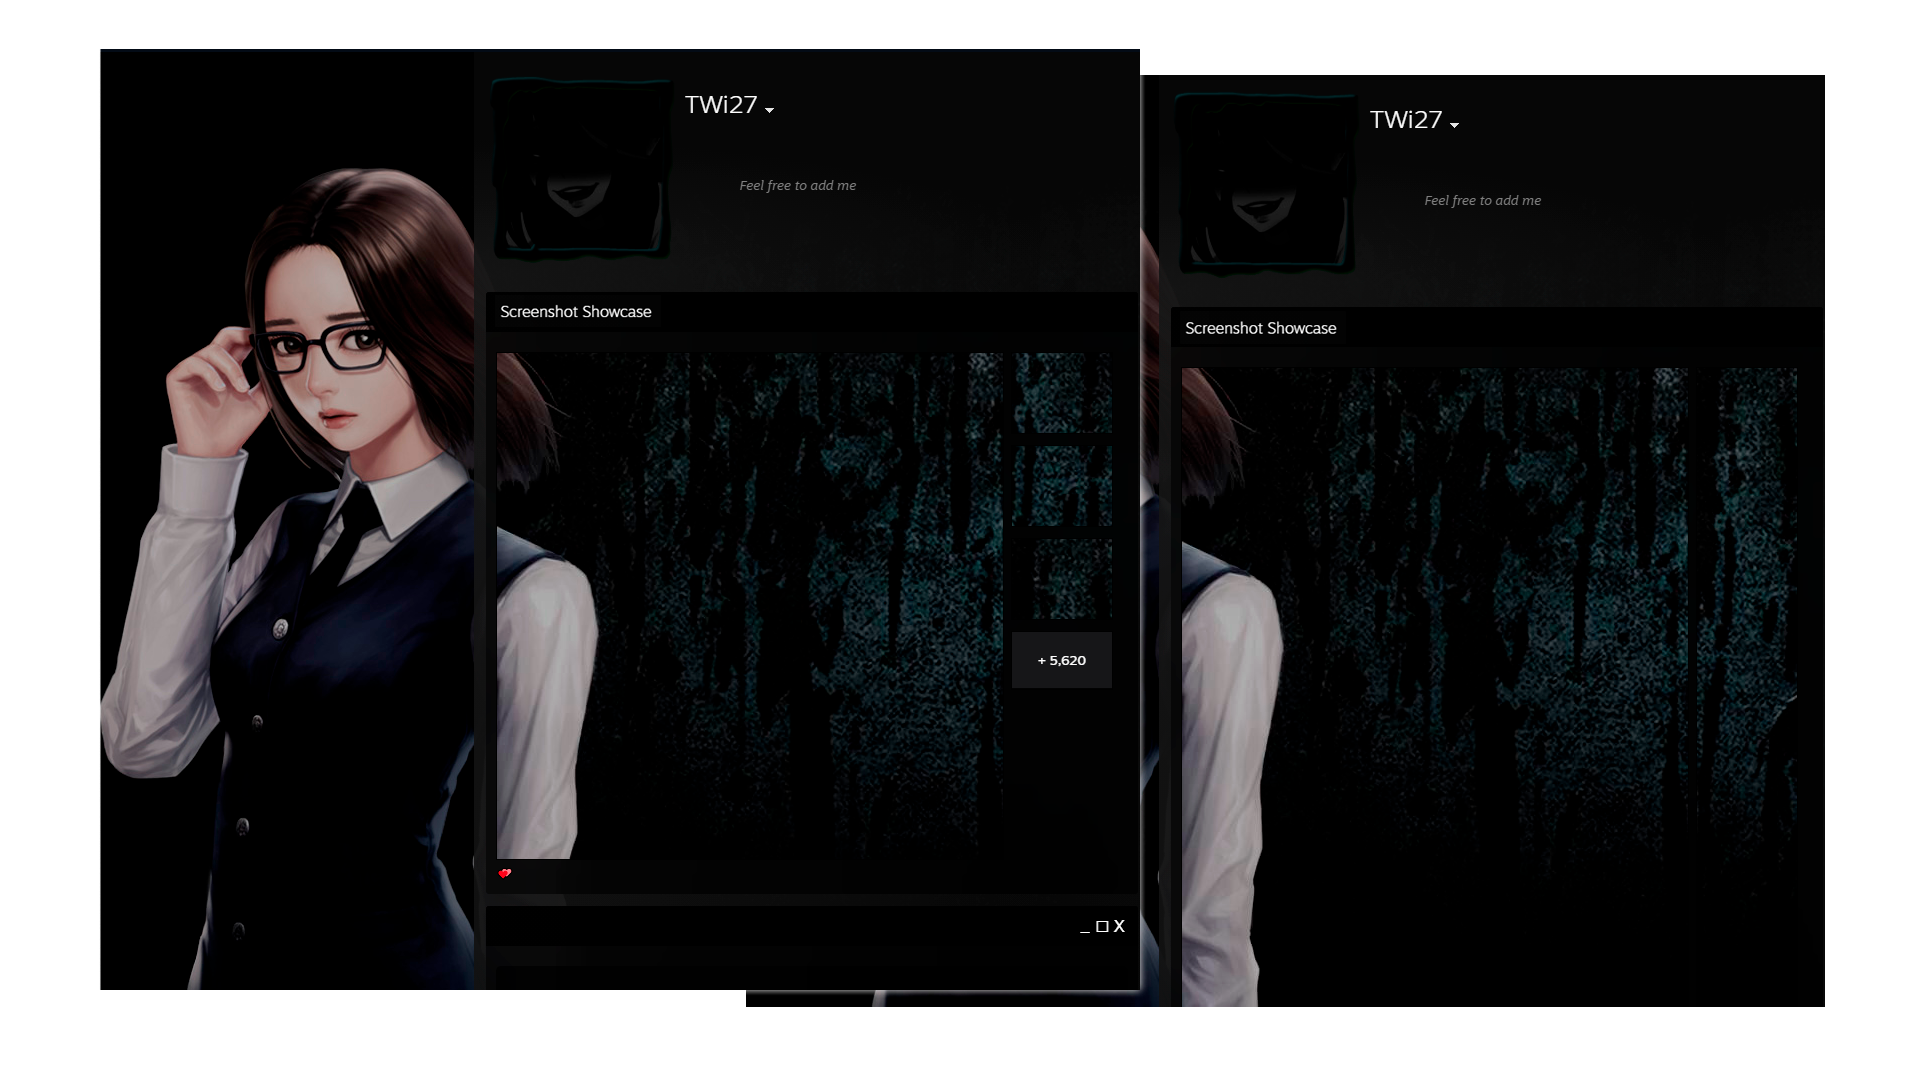
But it scares me that I have to claim that the artwork is "mine"
wetpaz  [author] 7 Jun @ 9:13am 
One bad person does not like the fact that I am not a native Englishman and cannot translate my Guide into English without an Translator. I deleted his comment because he's being aggressive. If you want to help me with the translation, I will be happy to accept your help.
wetpaz  [author] 6 Jun @ 10:44am 
♔DragosDaDinGroapa, Hi, I didn't see your comment before. There is a special program for this - steamproxy-script.pipiskins.com/sharedfiles/filedetails/?id=2631272252
♔DragosDaDinGroapa 22 Apr @ 8:48am 
Hello! Where exactly did you explain how to put screenshots from my computer on shoucase. Not from steam screenshots
:gng:
wetpaz  [author] 11 Feb @ 10:17pm 
kinnbenet ꑭ, i was glad to help you
kinnbenet ꑭ 11 Feb @ 9:23am 
wetpaz, I understand. Thank you for your reply and your brilliant guide!
wetpaz  [author] 11 Feb @ 8:11am 
kinnbenet ꑭ, unfortunately, this is not possible. Only the showcase of illustrations has a version without a title.
kinnbenet ꑭ 10 Feb @ 11:38am 
Thanks a lot for your guide!
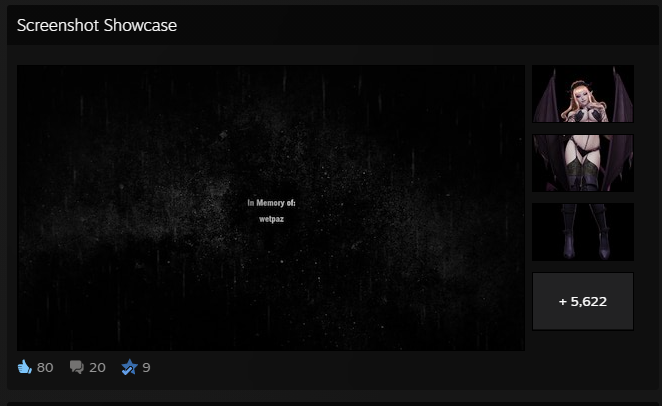
Is there any way to remove the 'Screenshot Showcase' title from the showcase itself? If you visit my profile, you would see an artwork first, it is in an Artwork Showcase, but the title 'Artwork Showcase' itself isn't shown.
Vain 20 Feb, 2024 @ 1:25am 
:zagwow: