GROUND BRANCH

GROUND BRANCH

96 ratings
Getting Started in GROUND BRANCH (v1034 Modding Updated)
By Consecrated2718 🦁
This is an introductory guide to the game's mechanics for new players to GROUND BRANCH v1034.
This guide should cover all the basics to get you started (and hopefully answer some of the trickier questions out there).
3
5
2
3
   
Award
Favorite
Favorited
Unfavorite
Main Menu

The main menu presents the following options:

Training
The Farm can be used to practice and customize your kit with no worries of enemy fire.

Lone Wolf
This is the current single player option. 3 modes are available: Terrorist Hunt, Defuse, and Intel Retrieval.

Host Game
Menu to create a game on either LAN or Internet: All modes are available here including PvP.

Server Browser
Browse all dedicated servers available to play on.

Customize Operator
Enter the player customization screen from the main menu.

Settings
All game settings can be found here. Some settings require a game restart to take effect.

Modding
Mod management menu which is to be fully implemented at a later date.


Notable Settings

This portion of the guide will focus strictly on settings that impact the game in a notable way.

NEW FOR 1034!
HUD is a new category in 1034 under the settings menu. This menu nests the following options:
  • Stance position and whether it shows your stance
  • Interaction Prompts and the size of the ring for interacting with them (EG picking up an item)
  • Text Chat options
  • And Miscellaneous chat/dialogue options
POP UP HINTS! If you want to disable these, choose "NO" on Show Pop-In Hints. Reset will allow them to display again as if it's your first time. As of 1034.3 everyone's pop-in hints have been reset.

Lean Roll (POV)
This determines how much the camera will lean with your characters head when leaning left or right. The higher the number, the more extreme the lean will feel. It does NOT impact your lean length or exposure- all settings are equal in that regard.

CONTROLS
In controls, you can set the behavior of actions such as:
  • Aiming Down Sights behavior
  • Setting behavior for the pump action and bolt action guns
  • Movement behaviors
  • ADS Sensitivity and under Advanced your click speed behaviors

The bolt action and pump action loading can be performed by either left clicking or using the reload key. It is recommended to keep the bolt action manual so you can confirm a kill before racking the bolt.

Gameplay settings covers the most significant changes to consider:
Default Reticle Brightness Level can be set to preference. Automatic will try to choose the brightness based on time of day when deploying (more on this later). Other settings will assign a preferred brightness level regardless of time of day.

Within Graphics settings you can set advanced changes to try and improve your experience with performance and visuals. Ground Branch allows you to customize advanced settings that are nested within the Graphics settings. Make sure you read the tool tips that pop up before making changes. Some also require a restart.

The 2 settings frequently asked about are SSGI and TAA Algorithm:
  • SSGI provides bounce lighting to the scene currently rendered. You can change the quality and resolution under Advanced. Disable if you experience performance issues or visual artifacts.
  • TAA Algorithm applies to TAA Anti-Aliasing and gives you the choice of Gen 4 and Gen 5. Gen 5 is a newer method of Anti Aliasing that is more precise but also costs more in performance.
DLSS was recently implemented for those with Nvida RTX series graphics cards. Hover on the [?] for more details in game.

in Audio Settings are the Spacial (HRTF) and Audio Mix settings
  • Spacial (HRTF) is a virtual surround solution for headphones
  • Balanced provides an audio mix intended for most listeners while bass boosted provides louder low ends
Keep in mind that if you use a 3rd party or built in virtual surround sound solution like DTS or Windows Surround then you will experience unintended behavior. It is recommended to use HRTF on its own.


Training (The Farm)
The Farm is the training hub where you can learn and test all of GROUND BRANCH's mechanics. The following are features available to you:
  • A shoothouse with multiple layouts
  • An indoor gun range
  • An outdoor gun range
  • A standalone door to practice pieing and breaching
  • A Plane training mockup
  • Ops boards to change time of day on the fly as needed for practice
When you first spawn in you'll be in the shoothouse. The shoothouse has a multitude of layouts that can be changed on the fly from the interactive board. From this board you can choose how many enemy and friendly targets will appear. Keep in mind that each layout has a different limit of targets.


Spread throughout the farm are workbenches where you can access the customization screen. This will be covered in greater detail below.

Interacting with the bench by holding the interact key will reload your current kit. Tapping the interact key will bring up the customization screen.
These workbenches are also in the Ready Room range of regular maps.

Ops boards can be found near all points of interest on the farm and can be used to change the time of day and the date (more on this later).

There are also breakers to turn off power to certain structures. These can be interacted with to practice room clearing in the dark. You can even shoot breakers to permanently disable them!

The Plane, Outdoor and Indoor shooting ranges all have breakers and targets to practice with. Next we'll cover the game mechanics in further detail.

TIP: You can play “The Farm” online! Simply select the Training game mode from the list of options when hosting a server or changing maps.


Fundamentals of Movement and Combat

GROUND BRANCH is a tactical first person shooter that hearkens back to the old days of Red Storm's Original Ghost Recon and Rainbow Six Games. Every action can be broken down into 3 categories:
  • Movement
  • Information gathering
  • Direct action
While most standard practice from first person shooters applies here, there are a few unique systems to keep in mind while playing. Let's go over them below.

Movement
You have 3 basic movement options while playing: Walk, Run, and Sprint.
  • Walking makes the least amount of noise and drains the least amount of stamina.
  • Running allows you to keep aiming while moving at a fast pace at the expense of noise and stamina.
  • Sprinting allows you gain ground quickly at the cost of stamina and being able to fire your weapon.
These also apply to moving while crouched.

Walking up to a waist or chest high object and holding the space bar will allow you to vault. You can also jump with the space bar to cover gaps. Not everything can be vaulted over in game.

All movement consumes stamina. Depending on the weight of your kit (more on this later) you will consume stamina faster. When your character is breathing heavily you will not be able to take certain actions such as holding your breath or vaulting, and your aim will also sway erratically. To catch your breath move at slow (or no) speed and keep your weapon in a High or Low Ready stance until your breathing normalizes.

In addition to player movement, your character can also interact with the environment. The use key, default F, can be used for a variety of actions such as opening doors and turning off power breakers. You can even pick up weapons and ammo lying around. Some objectives, like hostage rescue, have more context sensitive uses for the key (removing the hood, leading the hostage).

For example, here I am opening the door on the Farm by holding F and scrolling the mouse wheel.


Prone
New to 1034 is the ability to go prone. Prone lowers your visible profile and makes it easier to sneak by enemy forces (as well as allow you to access some areas previously inaccessible). By pressing default Z your operator will change stances from standing to prone and vice versa.

You can also go to prone while sprinting

While prone, your aiming is restricted to a tight 45 degree angle. However, you can shift your body by pressing the direction key and moving the mouse in the direction desired.

You can even hide from patrols (and other players) in new ways.

More revisions to prone can be expected in future updates.

Information Gathering

Every player is equipped with a tablet (default M key) that can be used to identify locations of friendlies and objectives on the battlefield. In no particular order:
  • Objectives of the mission
  • Objective Locations
  • Player Names and Callsigns (this also shows who is still alive on your team)
  • The map with red circles identifying potential objective locations and arrows identifying players
  • And the time remaining to complete the objective

In addition to your tablet each operator is equipped with a watch. The watch will point to objectives in certain modes (such as Fox Hunt) or provide you other clues like vibrating when close to the intel. The watch will also warn you when a round is near end at both the 5 minute and the 1 minute remaining intervals.

Your operator can also bring other useful equipment such as binoculars and a breaching charge. These can be accessed through the equipment menu (default key 4). Scouting ahead, especially in maps like Depot and Creek, can be the difference between mission success or failure.

Lastly GROUND BRANCH includes 5 ways to communicate with your team:
  • Global Text Chat
  • Team Text Chat
  • Local Voice
  • Radio
  • Voice Comm Wheel (a radial wheel where you can select generic voice lines)
Communicating often will help you assess the situation and prevent unintended friendly fire as well as confirming the progress and status of your other elements in the squad.

Combat

When wielding a firearm you'll be able to freely change between stances by scrolling the mouse wheel up and down. High and Low Ready stance are used to conserve stamina and avoid flagging friendlies. Mid Ready stance is used to point shoot (especially useful for CQB). There is no hip firing in GROUND BRANCH. When holding a grenade or other throwable object, the middle mouse wheel instead changes the trajectory of your throw.


  • There are 2 types of reloads: Press R for retention reload, or double tap for speed reload (drops magazine)
  • You can check remaining rounds in a magazine by holding R
  • Holding sprint while aiming down sights will hold your breath, stopping sway for a brief moment

    NOTE: Sprinting while reloading will cause you to lose the magazine!

    If you accidentally fire during a reload this will result in the gun not firing once the mag is seated. Simply press "R" to send the bolt forward again.

    Weapons also collide with the environment. Longer barrels (especially those with suppressors) will force a compressed state and, in extreme instances, a forced high or low ready.

    This means sometimes it will be more effective to use your sidearm in tight spaces such as the stairs of 747.

    When aiming a weapon with a magnification optic, you can use the ALT + middle mouse wheel to change the power of the zoom.

    You can even swap to another sight by using mouse wheel without the ALT key.

    In addition to firearms there is a variety of lethal and non-lethal equipment you can bring such as frag grenades, smoke grenades, and flash bangs. A breaching charge is available to place on most doors as well.

    You can turn your head independent of your body with Free Look (default TAB key). With certain grips this may be needed to check your watch. It's also useful to confirm with your buddy before stepping through a threshold, or to quickly scan the horizon while running in one direction.
Customizing Your Operator and Weapons


You can access the customization screen from the main menu, workbenches, and lockers. In no particular order, the following information is displayed on the screen:
  • Operator field where you can customize your player name, callsign, appearance and patches
  • Weapons kit where you select your primary and secondary weapons
  • Loadout which gives you an overview of all equipment and the weight of your character
  • Gear Kit where you select the headwear and vests/belts you will be bringing
  • Outfit where you select your clothing
By default you will have a standard kit assigned to you. Let's start with Gear Kit customization.
Each piece of kit has a default set up that you can play with right away. But you can easily clean any kit with the remove all button.


GROUND BRANCH uses a simple drag and drop system for placing equipment (hold left click then release on attachment point). For example, here I select the primary and secondary magazines to place on my JPC.


When you select a piece of equipment from the list, the game automatically shows all available attachment points. Some kit, such as breaching charges, can only be mounted on certain spots. You can rotate any piece of kit by holding right click and moving the mouse. This is useful when trying to attach to spots in the rear of a harness.

Helmets behave the same way:

As seen above, GROUND BRANCH tries to assign a customized name to any new equipment you save. It then saves it in a stack below the original configuration with a yellow name. You can use the automatically generated designation or choose your own custom name when saving equipment.

If you like a particular look, you can save a preset using the Save/Load button above each column. This allows you to save and name several kits so you can quickly load your preferred skin for a mission.
  • Caution: You must save each column separately as shown below.


Weapon customization is the most in depth part of GROUND BRANCH. It uses a unique rail attachment system that lets you place sights, grips, lights and more anywhere available.


There are a few things to keep in mind when customizing your weapon:
  • Bullets come from the barrel, not the sight. The higher up your optic, the more height over bore
  • The heavier your weapon, the more stamina drain you will have
  • Suppressors mask your weapon report but they also need more clearance to move around
  • You can attach multiple sights as long as each sight does not block another one
  • Some guns have multiple magazine types available
A few guns in the game have rail adapters that allow you to place a picatinny rail for sights and other attachments. Experiment and find out which weapons support what attachments:


Sidearms can also be customized with various sights, lights, suppressors and extended magazines.

Consider this: heavier weapons will have more inertia so in addition to draining your stamina faster they can be harder to get onto a new target. Similar to weapon weight, the heavier total kit you have will drain stamina faster when running and the increased mass and inertia requires more time to stop and start. However, the top movement speed is the same regardless of the weight of your kit. This prevents players from falling behind or being able to outrun another.


Operating at Night


Turning on your flashlight is the basic option for visibility. Useful in a pinch, it nonetheless makes you vulnerable to the enemy (both AI and player) by giving away your position.


There are 3 different flashlights and depending on where you place them they may cast a large shadow of the barrel/suppressor.

NVGs (Night vision googles) can be attached to all helmets and the NVG Head Mount. If you have them equipped, you can flip them down using default key N.

Nightvision comes in both dual and quad tube variants as well as Green Phosphor (“GP” in-game) and White Phosphor (“WP” in-game) options:
  • AN/PVS-15 dual tube Night Vision Goggles
  • GPNVG-18 Ground Panoramic Night Vision Goggles


You may notice that in some rooms/times of day your night vision goggles still appear to be dark. This is because they require ambient light in order to illuminate the space. To counter this, you can equip a AN/PEQ-15 and use its illuminator. As of 1033.2 the illuminator now has its own separate key. This can be configured in the keybindings.

You can even change the beam width by pressing HOME/END keys while not aiming down sights.


You can aim through most red dots as well when using NVGs. Once aiming, use the HOME/END key to adjust the reticle brightness to your preference


When using night vision, however, you will be unable to use magnified optics.


Instead you will want to attach an AN/PVS-22 UNS in front of your magnified optic:

This will allow you to see through the scope at night.

NOTES:
  • You must have your NVGs up!
  • Due to a technical limitation you will not see IR lasers through the AN/PVS-22. This issue
    will be addressed in a future update of GROUND BRANCH.


Accustoming Yourself To Night Vision
When using Night Vision a few things are happening in game that can be disorienting. There is a slight FOV zoom, bright lights will bloom and white out your nods, and you'll see your visibility fluctuate as the autogate kicks in.

Since every monitor is different there is a slider in the options menu to shift the vertical FOV under gameplay settings - NVG vertical FOV.

Practice with night vision in both open spaces and tight interiors (Compound is perfect for this). After a few missions you'll begin to "feel" the difference when wearing night vision and be able to successfully navigate and engage your targets.
Setting Up A Mission and Online Play

Ground Branch currently offers 3 ways to play: Lone Wolf Offline, Host Game Listen Servers, and Server Browser Dedicated Servers. Lone Wolf has 2 modes, Terrorist Hunt and Intel Retrieval, which can be played solo against AI Bots. Online servers have many more options, including various PvP modes.

When selecting a mission from the main menu, the following options are available:

In addition to the basic settings, you can choose to show advanced to specify settings such as search points in Intel Retrieval and Hot Spots for Terrorist Hunt.

If you want to really fine tune the AI, you can configure Advanced AI Settings

Once you pick your mission and map, you spawn into the Ready Room. This is the central hub for all offline and online missions. It consists of a lounge, locker room (Blue and Red in PvP modes), Indoor Gun Range, and Operations Room.

The Ops Board is in the operations room and is where you can configure advanced settings for both the mission and time of day/date.
When clicking the Insertion Time cog you're brought to the Time/Weather screen. This simple screen allows you to choose when you deploy, what day you deploy, and it gives you an in detail reading of the Mission Details and Night Lighting.

If you click the Advanced settings, you'll be greeted with a robust screen describing the time of dates and lighting throughout the day. Since each map takes place in different locations, geolocation is accounted for within the lighting and moon cycle.

The time of day bar will show you what the lighting will be like during each hour. Changing the dates will change the moon cycle which will also affect the moon glow at night and general visibility with night vision.

For example here's Compound during a full moon and a waning gibbous.

When ready, every player must click a spawn point on the OPS board. Some missions offer several spawn points. Others, such as Hostage Rescue defenders, have no choice and simply click the board to spawn in.

Missions continue until the objectives are met or all players are dead. Some missions require you to extract as a team (or with the objective). This guide will not go over every individual mission type so be sure to read the ops board or ask others you are playing with to clarify any rules you don't understand.
Cooperative Game Modes
Ground Branch includes 3 cooperative modes out of the box in 1034 (Extraction is planned in a point release of 1034). Cooperative modes can be played in either lone wolf or cooperative mode with others online. It is recommended to start with a small amount of enemies on untrained when first learning the game before gradually increasing the bot count and difficulty.

New to 1034 is the ability to cycle spawns of Intel/Terrorist Hunt Hotspots. Simply click the Mission Parameters cycle arrow and the mission will update with new objective spots.

Now for a brief overview of each game type currently available for coop.

Terrorist Hunt
Terrorist Hunt is a simple "kill all enemies" mode where the mission is completed when all enemies are eliminated. Hot Spots are enabled by default on most maps and allow the game to select a concentrated area to find the majority of enemies. At lower enemy count they should begin to "seek out" the player in an effort to cut down on combing the entire map for that last bad guy!

Intel Retrieval
Intel Retrieval involves searching 1 of several potential areas to pick up the laptop. This mode is unique in that you are not required to kill any enemies in order to succeed. Rather, once you've retrieved the laptop and extracted, the mission will be considered a success.

When locating the laptop it is easier to pull up the tablet (default M) to review the actual locations of their possible location as seen below:

When in proximity of a laptop your watch will give a little buzz, indicating you are within 5m of the objective. It can be above, below, or on the same level as you are (keep this in mind for maps like Tanker and Powerstation!).

When the laptop is located you can begin hacking (default f) but beware that this will disarm you in the process. If at anytime you need to engage a threat you can stop and re-arm yourself. The hack progress is saved and will be resumed when you interact with it again.

Once the laptop is finished hacking your operator will automatically pick it up and place it on their back. A message will play warning that enemies have been alerted to your presence and they will begin to immediately seek your last known position every few seconds. Your tablet will be updated (default M) with the extraction point- get there with your team as fast as possible to extract. Remember that everyone must be present to complete the mission! If for some reason the player carrying the laptop is killed, it will drop near their position and blink a blue light. Any friendly may interact with it again to pick it up and carry it to the extraction zone (green smoke).

Defuse
New to 1034 is the Defuse game mode, a cooperative mission where the objective is to find and defuse a set amount of bombs on the map. Bombs give off a beeping sound when in proximity and can be identified as a block of C4 on a blue barrel.

To defuse a bomb, simply press and hold F while facing it until the bar completes. If you interrupt the defusal process you will have to start it over.

Beware! You can accidentally set off a bomb- if any bombs are destroyed via gunfire or explosion, the round immediately ends and the mission is a failure.

Remember, killing the enemy is optional in this mode! Once all bombs have been defuse the mission will end immediately as a success.
Player Vs Player Modes


Ground Branch boasts a variety of PvP modes for those looking to test their skills against others. Currently PvP can only be played online but there is planned support for LAN play in the future.

Deathmatch


Deathmatch is a simple free for all mode in which players (and bots) compete to see who can earn the most kills. There are a few options you can configure for Deathmatch:
  • Frag Limit- the amount of kills needed to win (or no limit
  • Time Limit- the length of the round
  • Bots Score Kills- determines whether a bot earns a point for killing a player
  • Enemy Experience- the AI level of the bots
  • Join-In-Progress- allow or prevent players from joining into an active deathmatch round.
  • Minimum Player Count- the minimum amount of players needed to play. If there are not enough players, the remaining number will be filled out with bots.

Team Elimination


Team Elimination is a team based skirmish mode similar to deathmatch with a few more rules to configure:

  • Player Reinforcements - How many respawns each player may use. The default is 0
  • Team Reinforcements - How many shared respawns can be used by your team. Uses a ticket system to keep track of how many respawns are left

Dynamic Take and Secure


Dynamic Take and Secure is a unique take on the classic King of the Hill mission type in which 2 teams alternate in placing a flag to be captured. DTAS is best explained by the developer himself, Fatmarrow:

To add to the video, the following settings can be configured for the match:

  • Flag Placement Round Time - This is the amount of time given to the defenders to plant the flag before the round begins. During this time, attackers are frozen
  • Time to Complete Capture - the amount of time it takes 2 players to capture the flag.
  • Force Game Mode - by default, when there are not enough players available (minimum 4 or 2v2), the game mode chosen is Fox Hunt. You can force Fox Hunt or DTAS with this setting

FOX HUNT is a secondary mode under DTAS in which one player on a team is designated the Fox. The attacking team must kill the Fox in order to win. They will have a general meter count on their watch telling them how far away the fox is. Protect the Fox at all costs! When they die, defenders lose the round and the role switches over to the opposite team.

Hostage Rescue


In Hostage Rescue, teams alternate being attacker or defender with 1 member of the attacking team placed into the Hostage role. The round ends either when the hostage is rescued, killed, or the defending team is eliminated.

Hostages spawn in with a hood over their head, their hands bound, and their radio disabled. While bound, they may only speak using local voice and they may be muted by enemy players pointing weapons at them, forcing an "intimidate status". They are unable to interact with doors, but when not being lead, they may attempt to walk away from their captors. Until freed, hostages are restricted in movement and ability.

Defenders may lead a hostage by holding the Interact Key while looking at them. The leader is disarmed during this time and may only lead while holding the key. A second player may point their weapon to assist in muting a hostage to prevent the hostage from giving away their position.

Defenders spawn in a "protected" space which is predetermined per map by the Hostage Rescue zones defined on the map screen. Defenders who leave this space before the hostage has will be blinded and automatically disarmed. Crafty defenders can still sneak to another hostage rescue space if careful enough, allowing them to set up an ambush of attackers not paying attention

Attackers spawn in one of the extraction zones of the map. They are unrestricted in movement and visibility and are responsible for getting the hostage extracted with the team in one of the exfil zones marked with green smoke. They will lose the round if they accidentally kill the hostage. To free the hostage, an attacker may use the Interact key. This will free the hostage by removing their bindings and hood. They may even give the hostage a gun. WARNING! doing so marks the hostage as killable by the defenders and they may kill the hostage to win the round!

A hostage must extract with at least one attacker (or by themselves if they are alone) through an exfil zone to win.

  • There are a few settings to configure in Hostage Rescue on top of the other standard settings:
  • Restrict Defenders - Default Yes, if set to No the defenders will not be restricted to their hostage areas and may leave to hunt down attackers or freely move the hostage around
  • Extract Anywhere - Default Yes, if set to No only 1 spot may be used for Exfil (check your map!)
  • Defender Set Up Time - How much time the defenders have to reposition the hostage (Default 15 Seconds)
  • Force Game Mode - Choose to force Hostage Rescue or Building Assault - By Default, Building Assault is played when there are less than 4 players but it may be forced with a full lobby.

Building Assault is team elimination with the restriction zones enabled. This means the defense team cannot leave their spawn area (they will be blinded and unable to shoot).

Uplink

Uplink uses the same restricted zones as Hostage Rescue but sets the objective to a static position. Defenders must prevent their laptop from being hacked, Attackers must hack it. The round DOES NOT END until the laptop is hacked.
Modding

New to 1034 is the Steam Workshop and, with it, mods. Mods are an exciting addition to Ground Branch and, going forward, will be fully supported with an SDK coming soon.

You can download mods in 3 separate ways:

  • Go to the Steam Workshop and Subscribe to the mods you want
  • Enter the Mod ID in-game in the Mod menu to subscribe.
  • Sync Mods from a server that has mods installed

Once a mod is subscribed you will be able to activate it/deactivate it from the mod menu:


Mods are updated by their respective authors. Keep this in mind if a mod stops working- they may need to update it for the latest patch!

Quick Create
Quick create allows players to build simple mods within Ground Branch itself instead of having to use the SDK. For now, Quick Create can be used to create custom patches, missions, ai loadouts, localisation tables, and game modes.

Please watch the video below for basic instruction. Do note the UI has slightly changed but the process is the same

https://www.youtube.com/watch?v=kF88ibiT3U4&ab_channel=MattFarrow
Server Administration


This section will briefly cover how to administer your server after it is up and running. In order to learn how to set up a server, please see this guide from developer Kris here: Dedicated Server Help

You may also rent a server from one of our many partners found here: Official Ground Branch Server Partners[www.groundbranch.com]

Admin Panel
The Admin Panel can be accessed by Admins (or Hosts) on their server using F8 or the Admin Panel tab in the pause menu. Most of these settings are self explanatory and we'll go into each of them in further detail.

Mission Settings

Mission Settings allows you to customize the existing mission running on the server, similar to the OPS Board. However, it also includes additional configuration to take note of:

  • Allow Cheats- Unlocks the console cheats if set to True. If False, anyone entering a cheat command will be autokicked!
  • Allow Dead Chat- Default True, allows dead players to chat with living players
  • Allow Unrestricted Radio/Voice - Allows players of the opposite team to communicate with each other. This is defaulted to False.
  • Spectate Enemies - Allow dead players to spectate members of the opposite team
  • Spectated Force First Person - Force spectators to only use First Person View
  • Spectate Free Cam - Allow spectators to use the free cam to fly around the map
  • Use Team Restrictions
  • Use Friendly Name Tags - Allow Friendly Name Tags to appear when looking at teammates.

Do note, these settings are temporary. For permanent fixes applied to your server, see Server Preferences.

Change Map
From here, Admins may change the current mission and set the game rules/mission settings before loading that mission. Take note of the Match Setting- you can set it to play forever (continuous) or to have a finite amount of play before moving to the next mission.

Map List
Admins can add and or remove maps in their rotation from here. A default pool is generated when creating the server though admins may add and remove them from here. This list is also updated by the maplist.ini

Kit Restrictions


Admins may restrict the kit base for both Lone Wolf/Coop and Player vs Player by clicking the "enable kit restrictions" button. Kit Restrictions will automatically update players when they go to the locker or respective team room. Each list is separate and can be modified independently per your specification. By Default, Ground Branch includes a simple Kit Restriction for Blue and Red teams in PvP modes. This is pictured above.

You may modify this list by adding items to the Blue and Red Allowed/Restricted Kit columns. If an item is missing that you expected to be available to one of the teams, check to make sure it's categorized correctly.

Mods

The modding panel is new to 1034.5 and allows you to activate mods from the workshop on the server. The steps are as follows:

  • Subscribe to mods on the workshop. This adds them to locally subscribed lists
  • Select a locally subscribed mod and click "Add to Server"
  • Toggle On/Off the mod on your Server (white checkbox)
You must also do this locally if you wish to host a listen server with mods!! Go to the Main Menu, Modding, Server Mods, and Follow the above steps.


Once you have added mods to your server/listen server, you must always reboot the server (or Ground Branch if you are hosting a listen server from the main menu). The mods will not load otherwise!


Server Preferences


This is where Admins may set up the master behavior for their server. When hosting the server from the main menu, you will only be able to play with 8 members total. Dedicated servers may support up to 16. It is recommended to not have more than 8 players for coop and 30 ai for Coop, but the game does support 16/50 at the expense of performance.

Here we can set the Server name, Message of the Day that appears on the white board, vote settings, Game Rules master settings (these are the defaults used by every mission), Default Match settings for rotation of maps, and Server Restart settings for keeping the server fresh as well as the option to reboot your server in-game.

You do not need to reboot a server you launched via internet coop from the main menu.

Server Admins

This is where you update your list of admins via their unique steamid. This can be updated in game or through the Admin.ini file. You may set granular permissions and assign those to a group before assigning a player to that admin group. These settings are not covered in depth here as the default admin roles are sufficient for most server hosts.

Team Killers

A simple list of players that have committed fratricide on the server. You may decide their fate from here.

Ban and Unban
The ban list- you may ban in game or through the Ban.ini
Members are banned via their unique ID and you may choose how many hours you wish to ban via minutes count (example 60 = 1 hour). -1 will permanently ban a member

The unban list contains a record of all banned players on the server. It will list the unique ID, player name at the time of ban, reason for ban (if entered), and the end of their ban period. You may unban any player here.

White List

Here is where you can add players who are not required to enter a password when one is set for the server/spectator.
Closing Thoughts


As Ground Branch continues to evolve this guide will be expanded upon and updated to match the current build available. To keep in touch with the game's progress you can join the official Discord where the team frequently interacts and posts updates with the players on their progress.
Ground Branch Discord[discord.gg]

Hopefully this guide has been helpful in preparing you for your first time playing. I want to give special thanks to the moderation team for GROUND BRANCH with shout outs to Prowlaz, Bob/AT, and MrBombastic for their feedback and assistance in editing.

See you all in the AO!
19 Comments
UnKn0wN 16 Dec, 2024 @ 1:37am 
excellent guide, thank you very much.
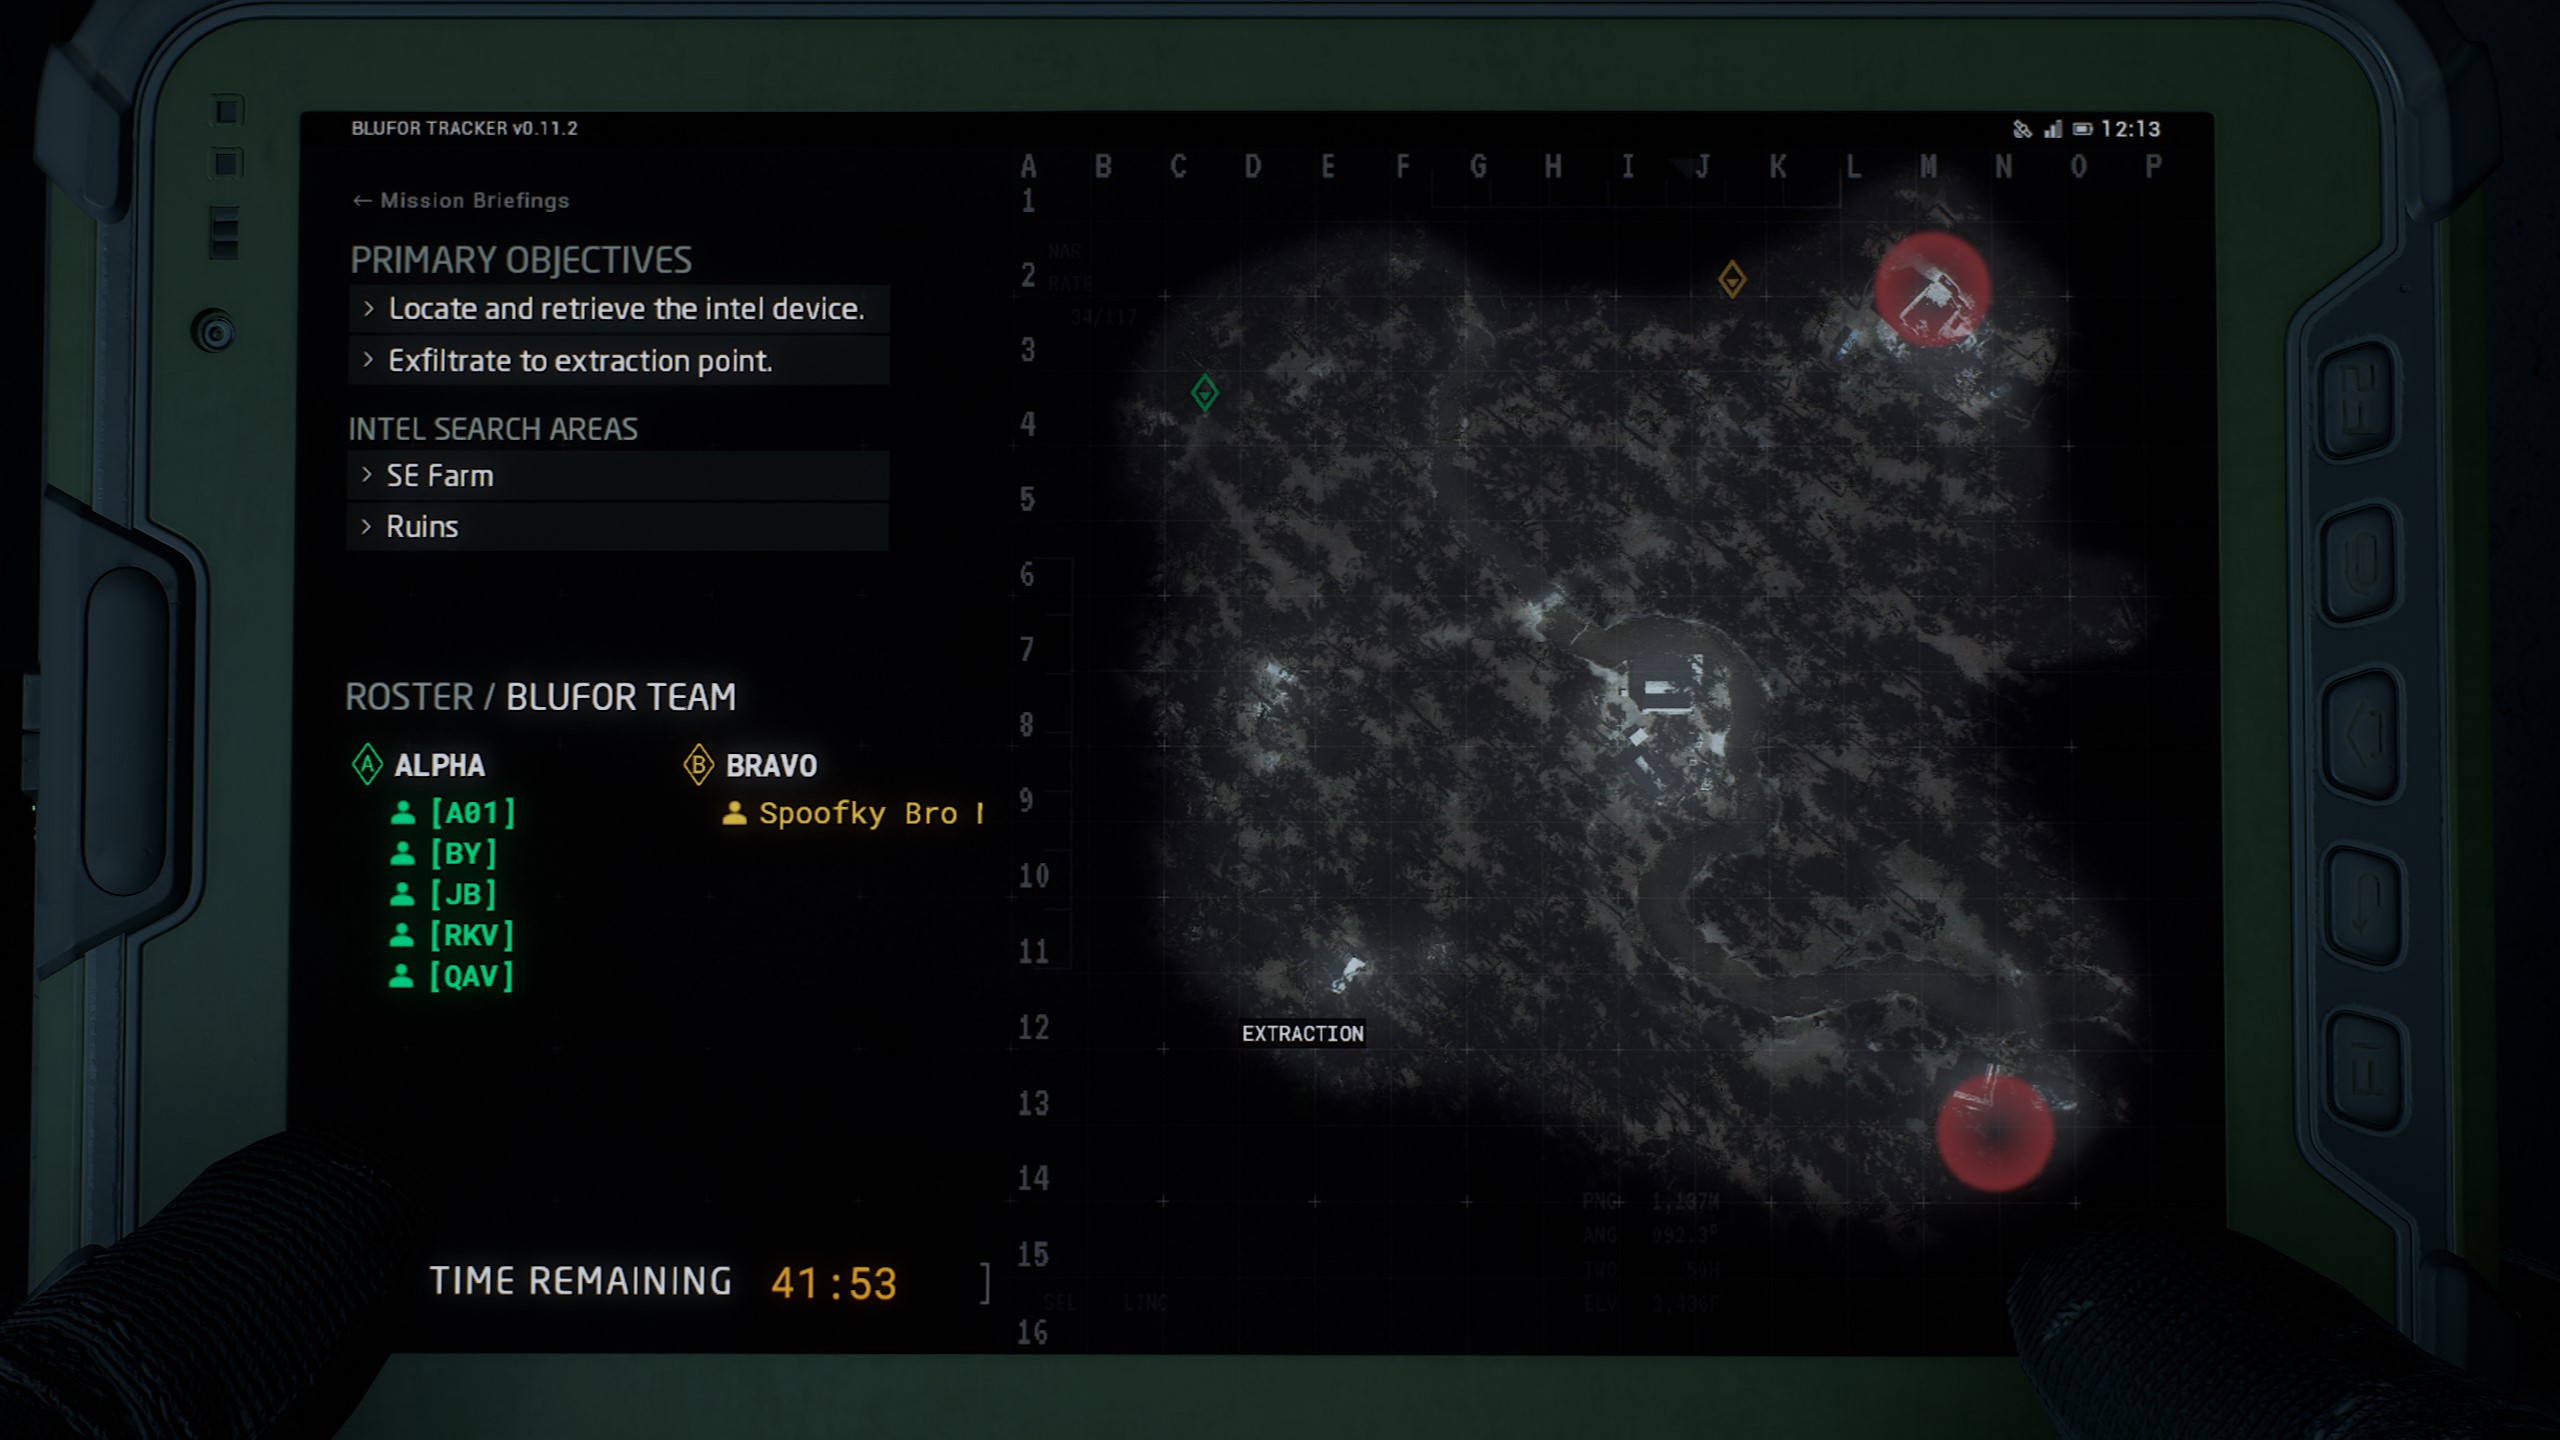
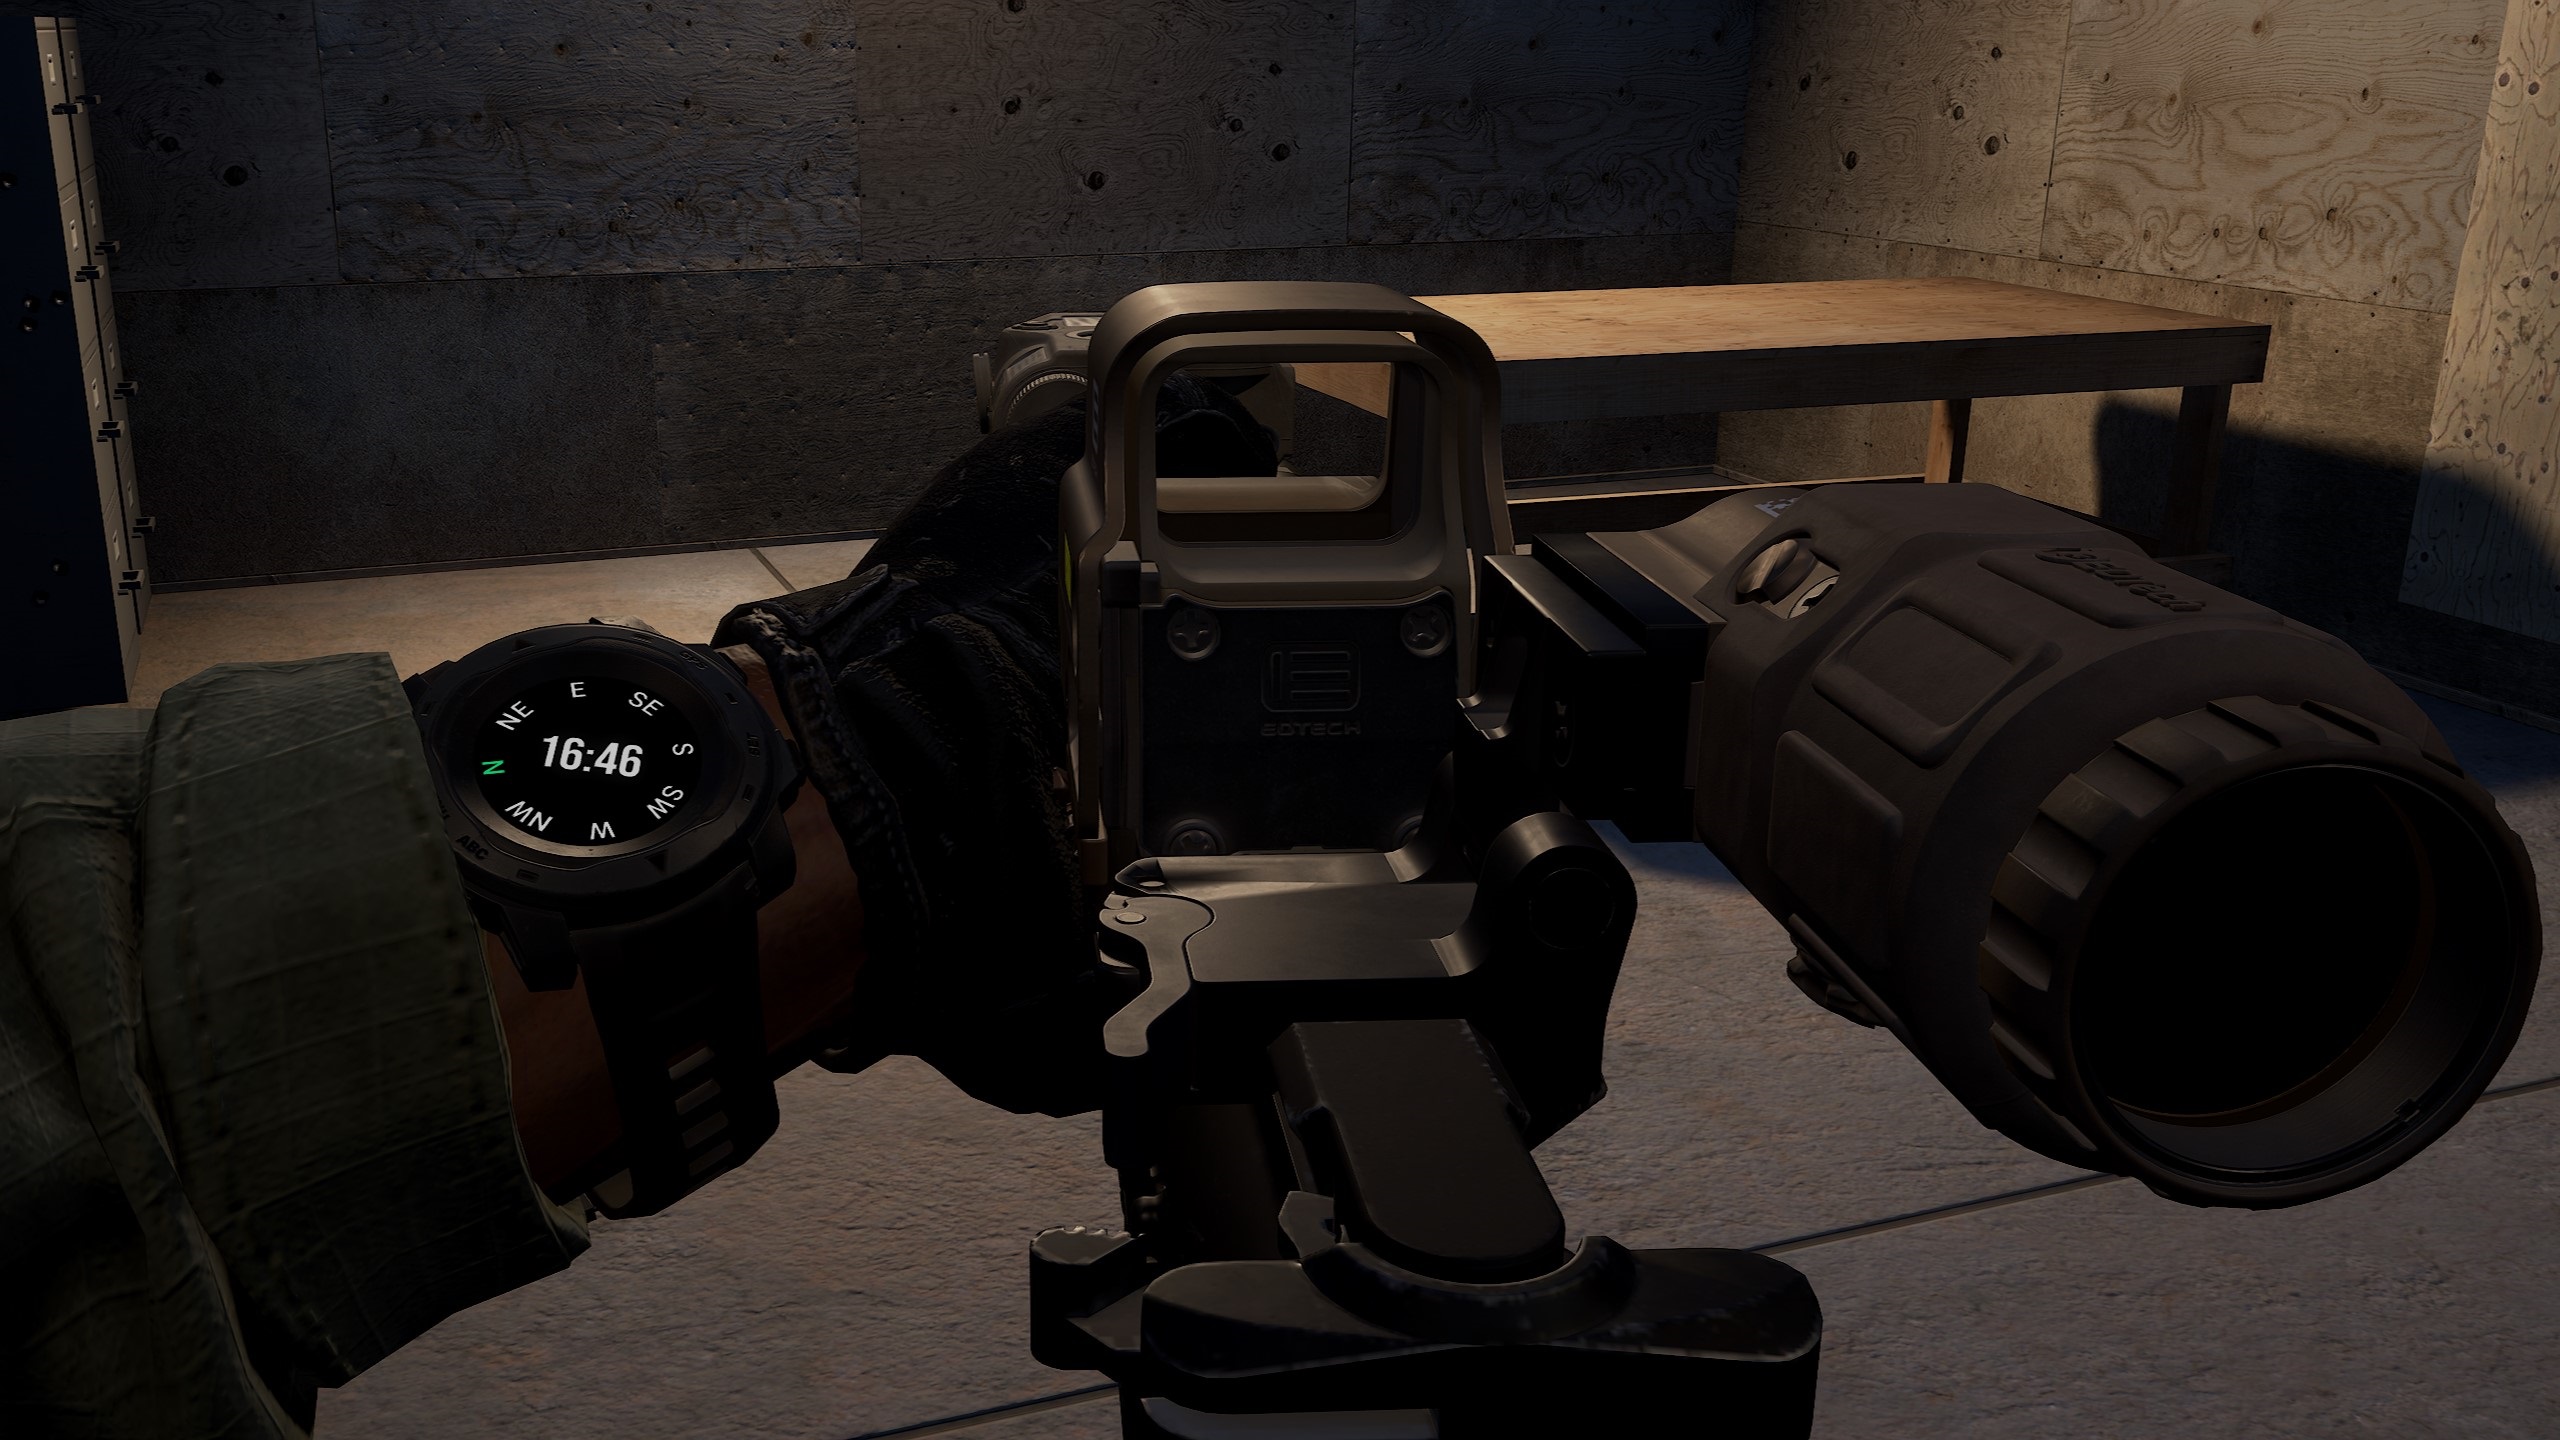
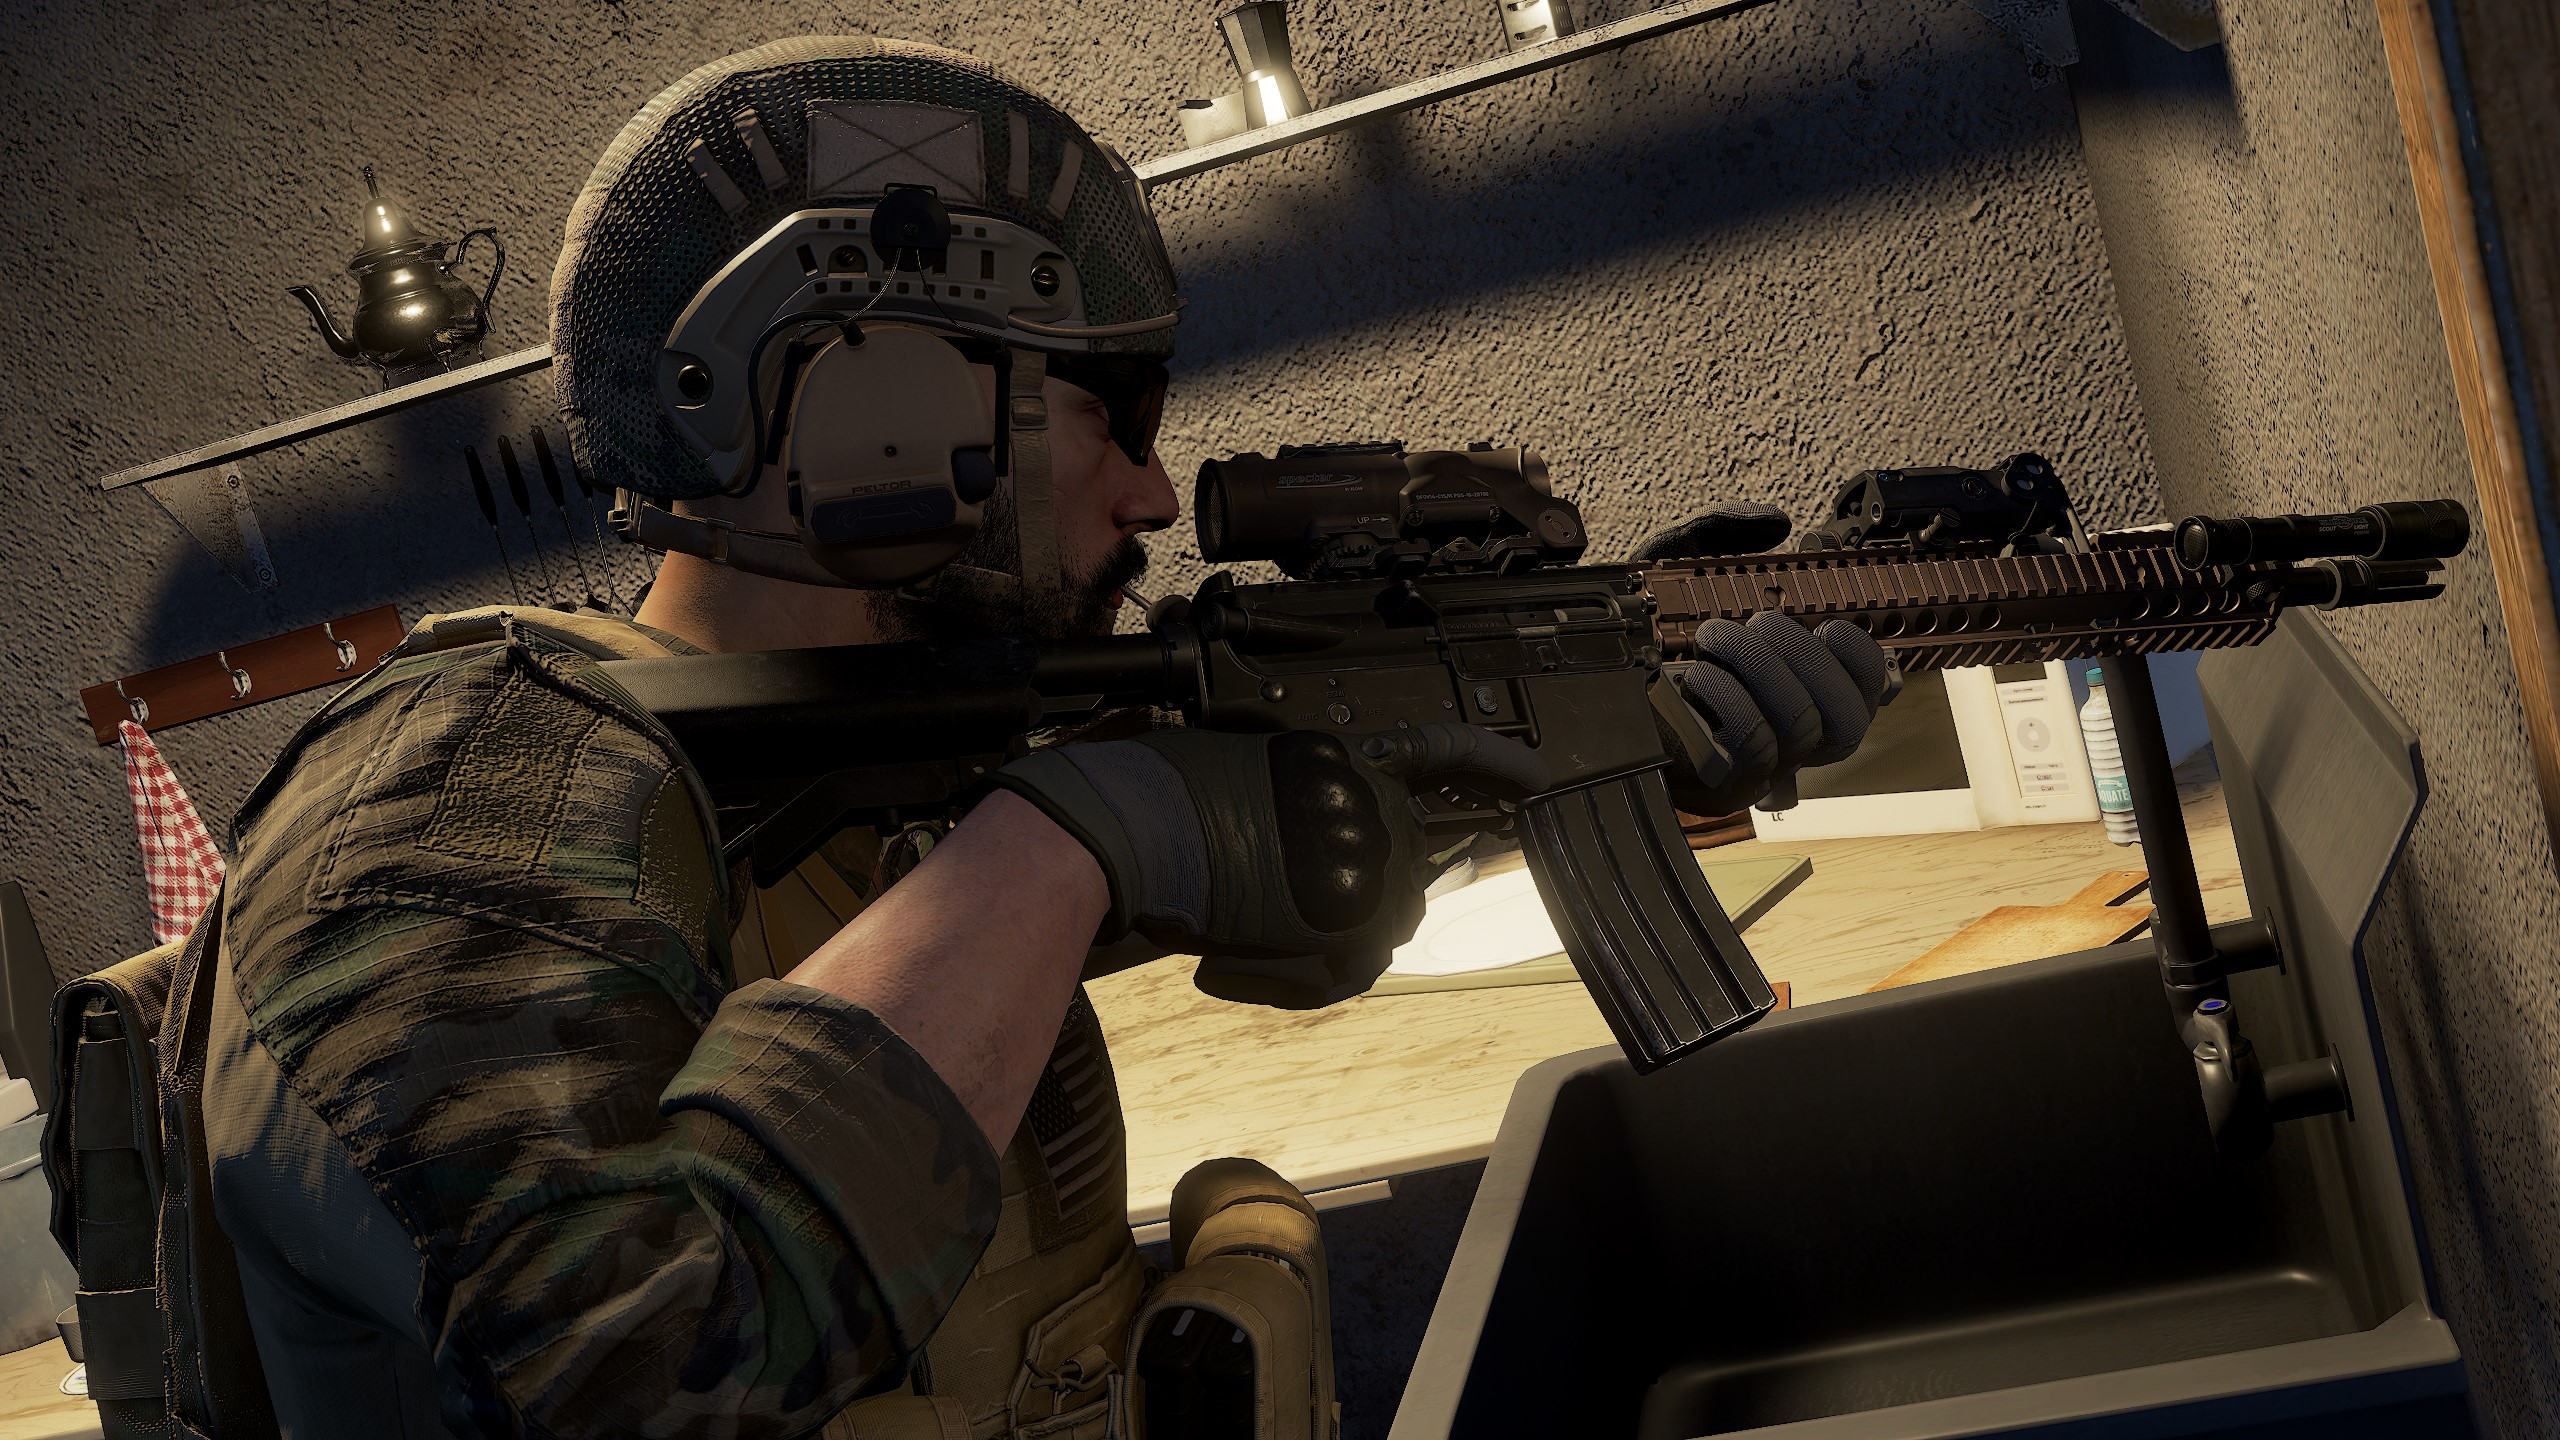
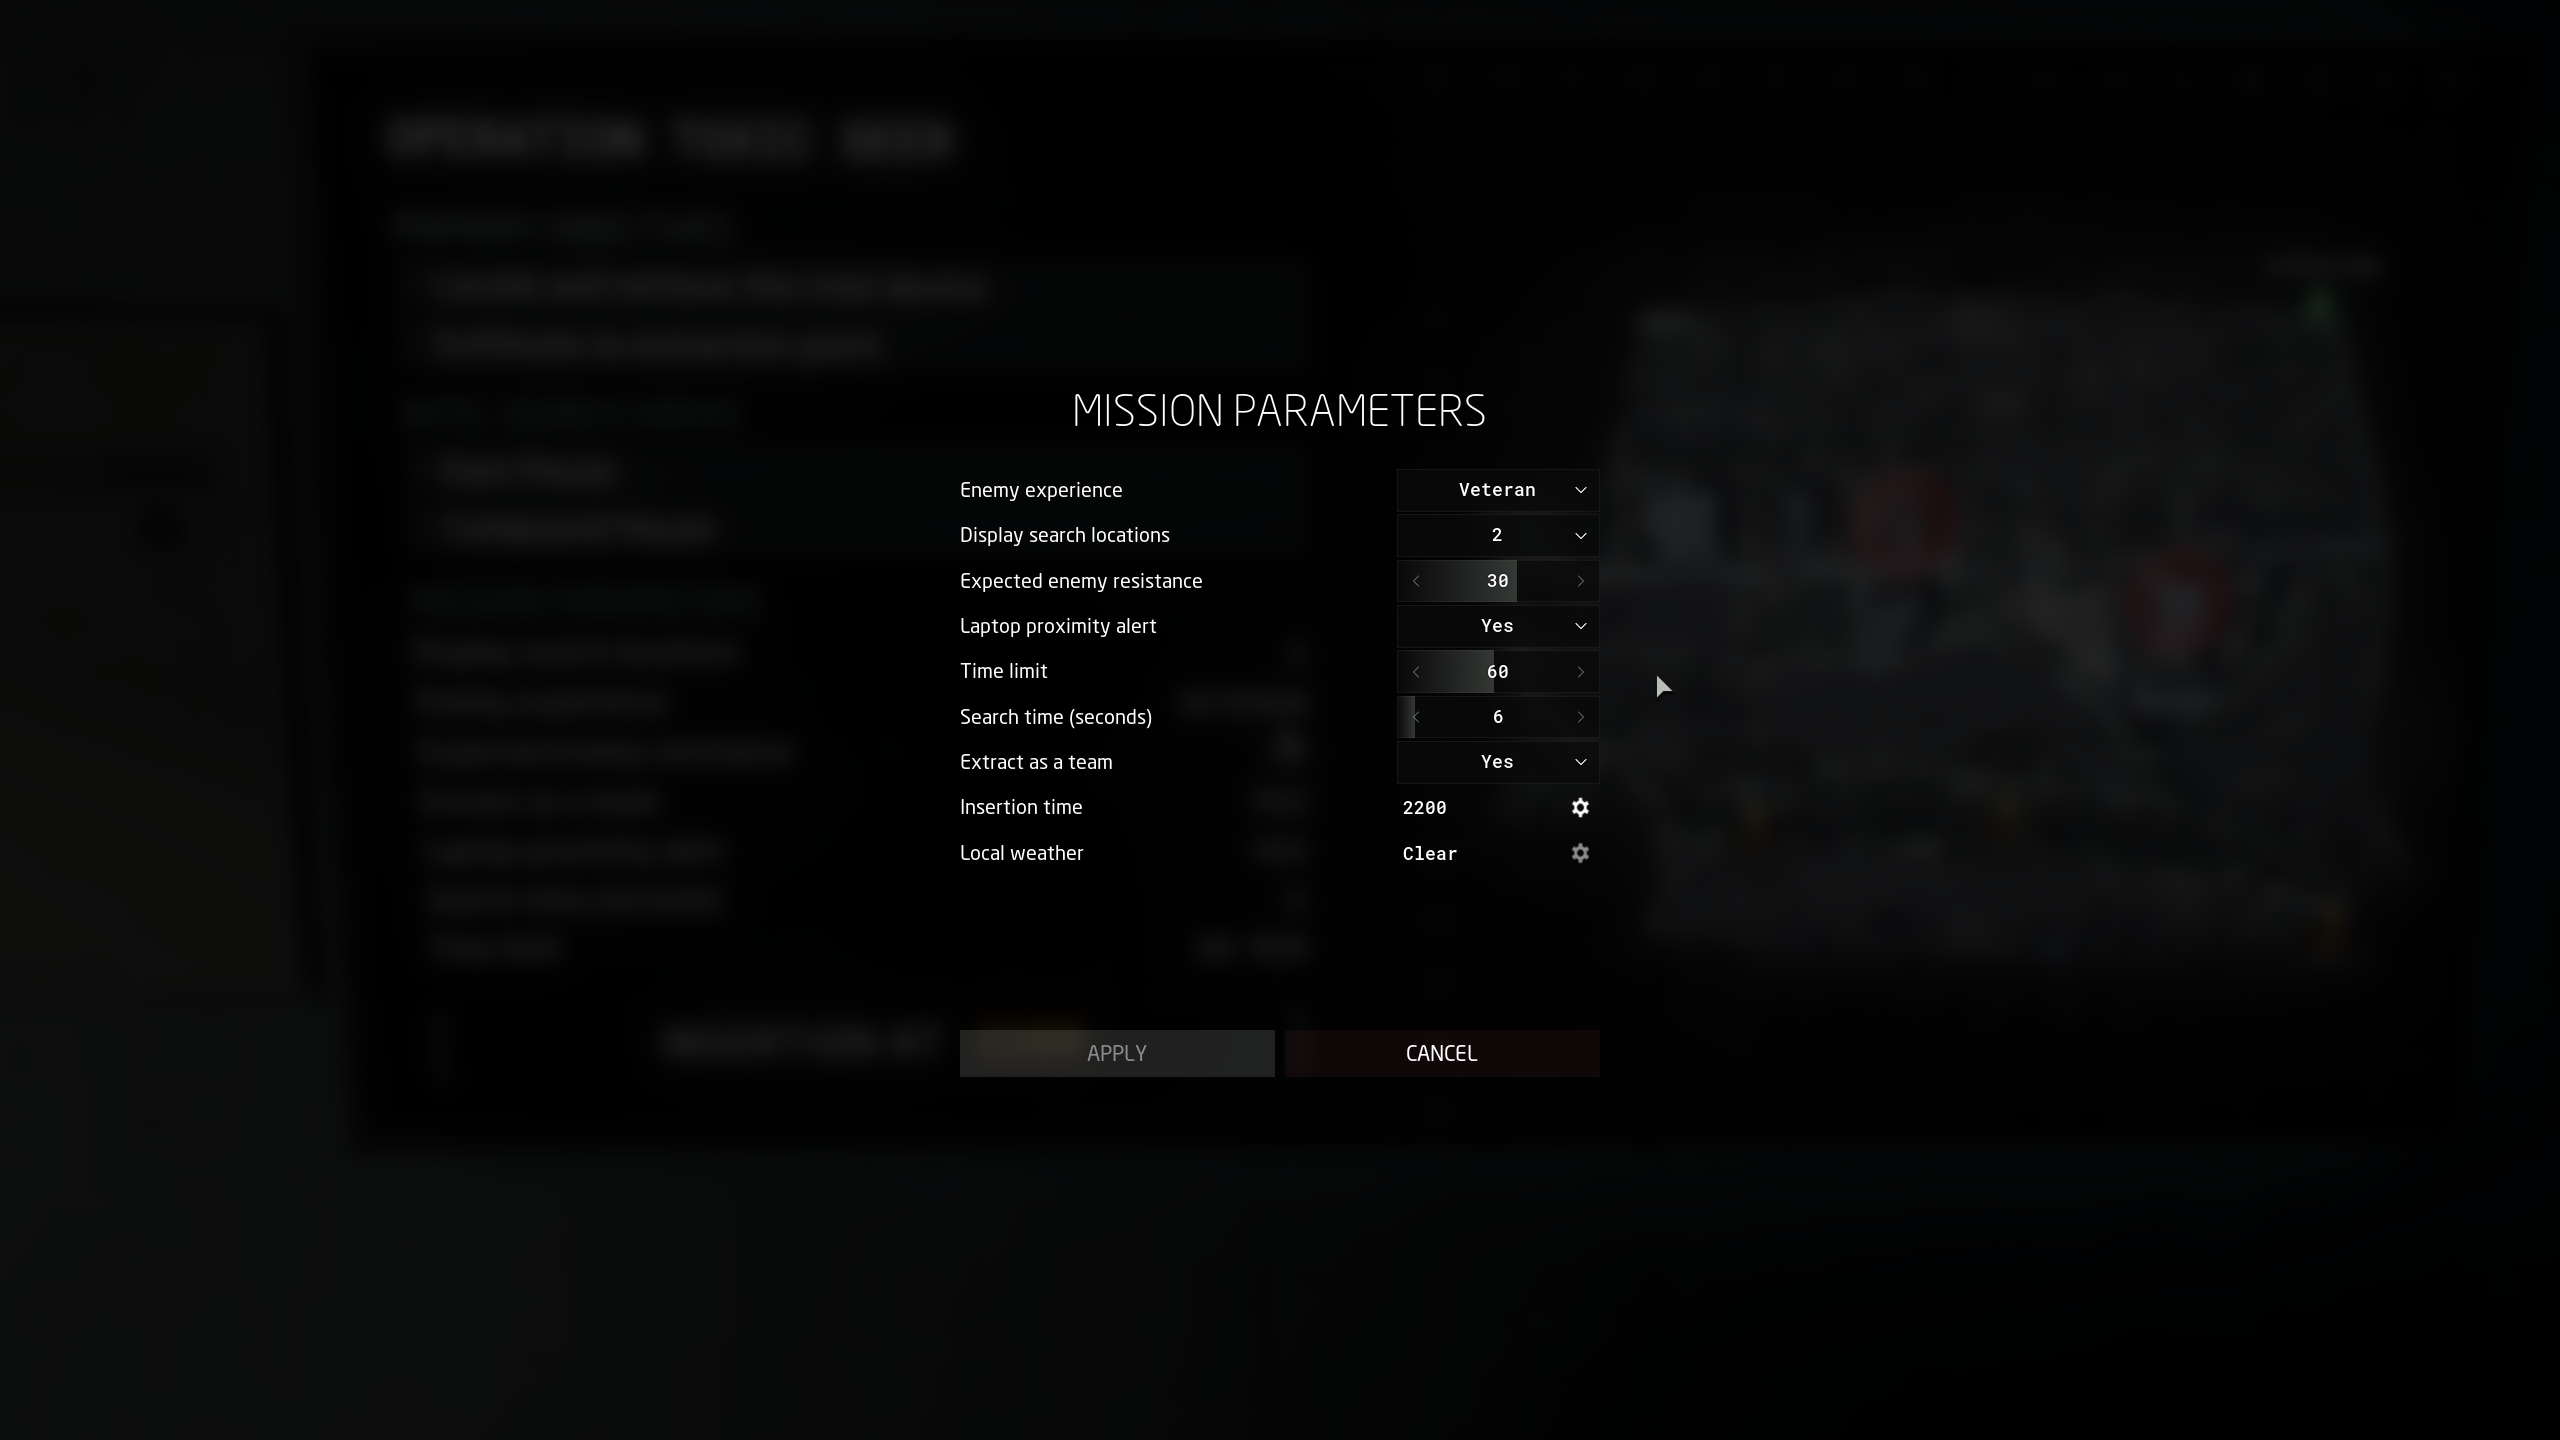
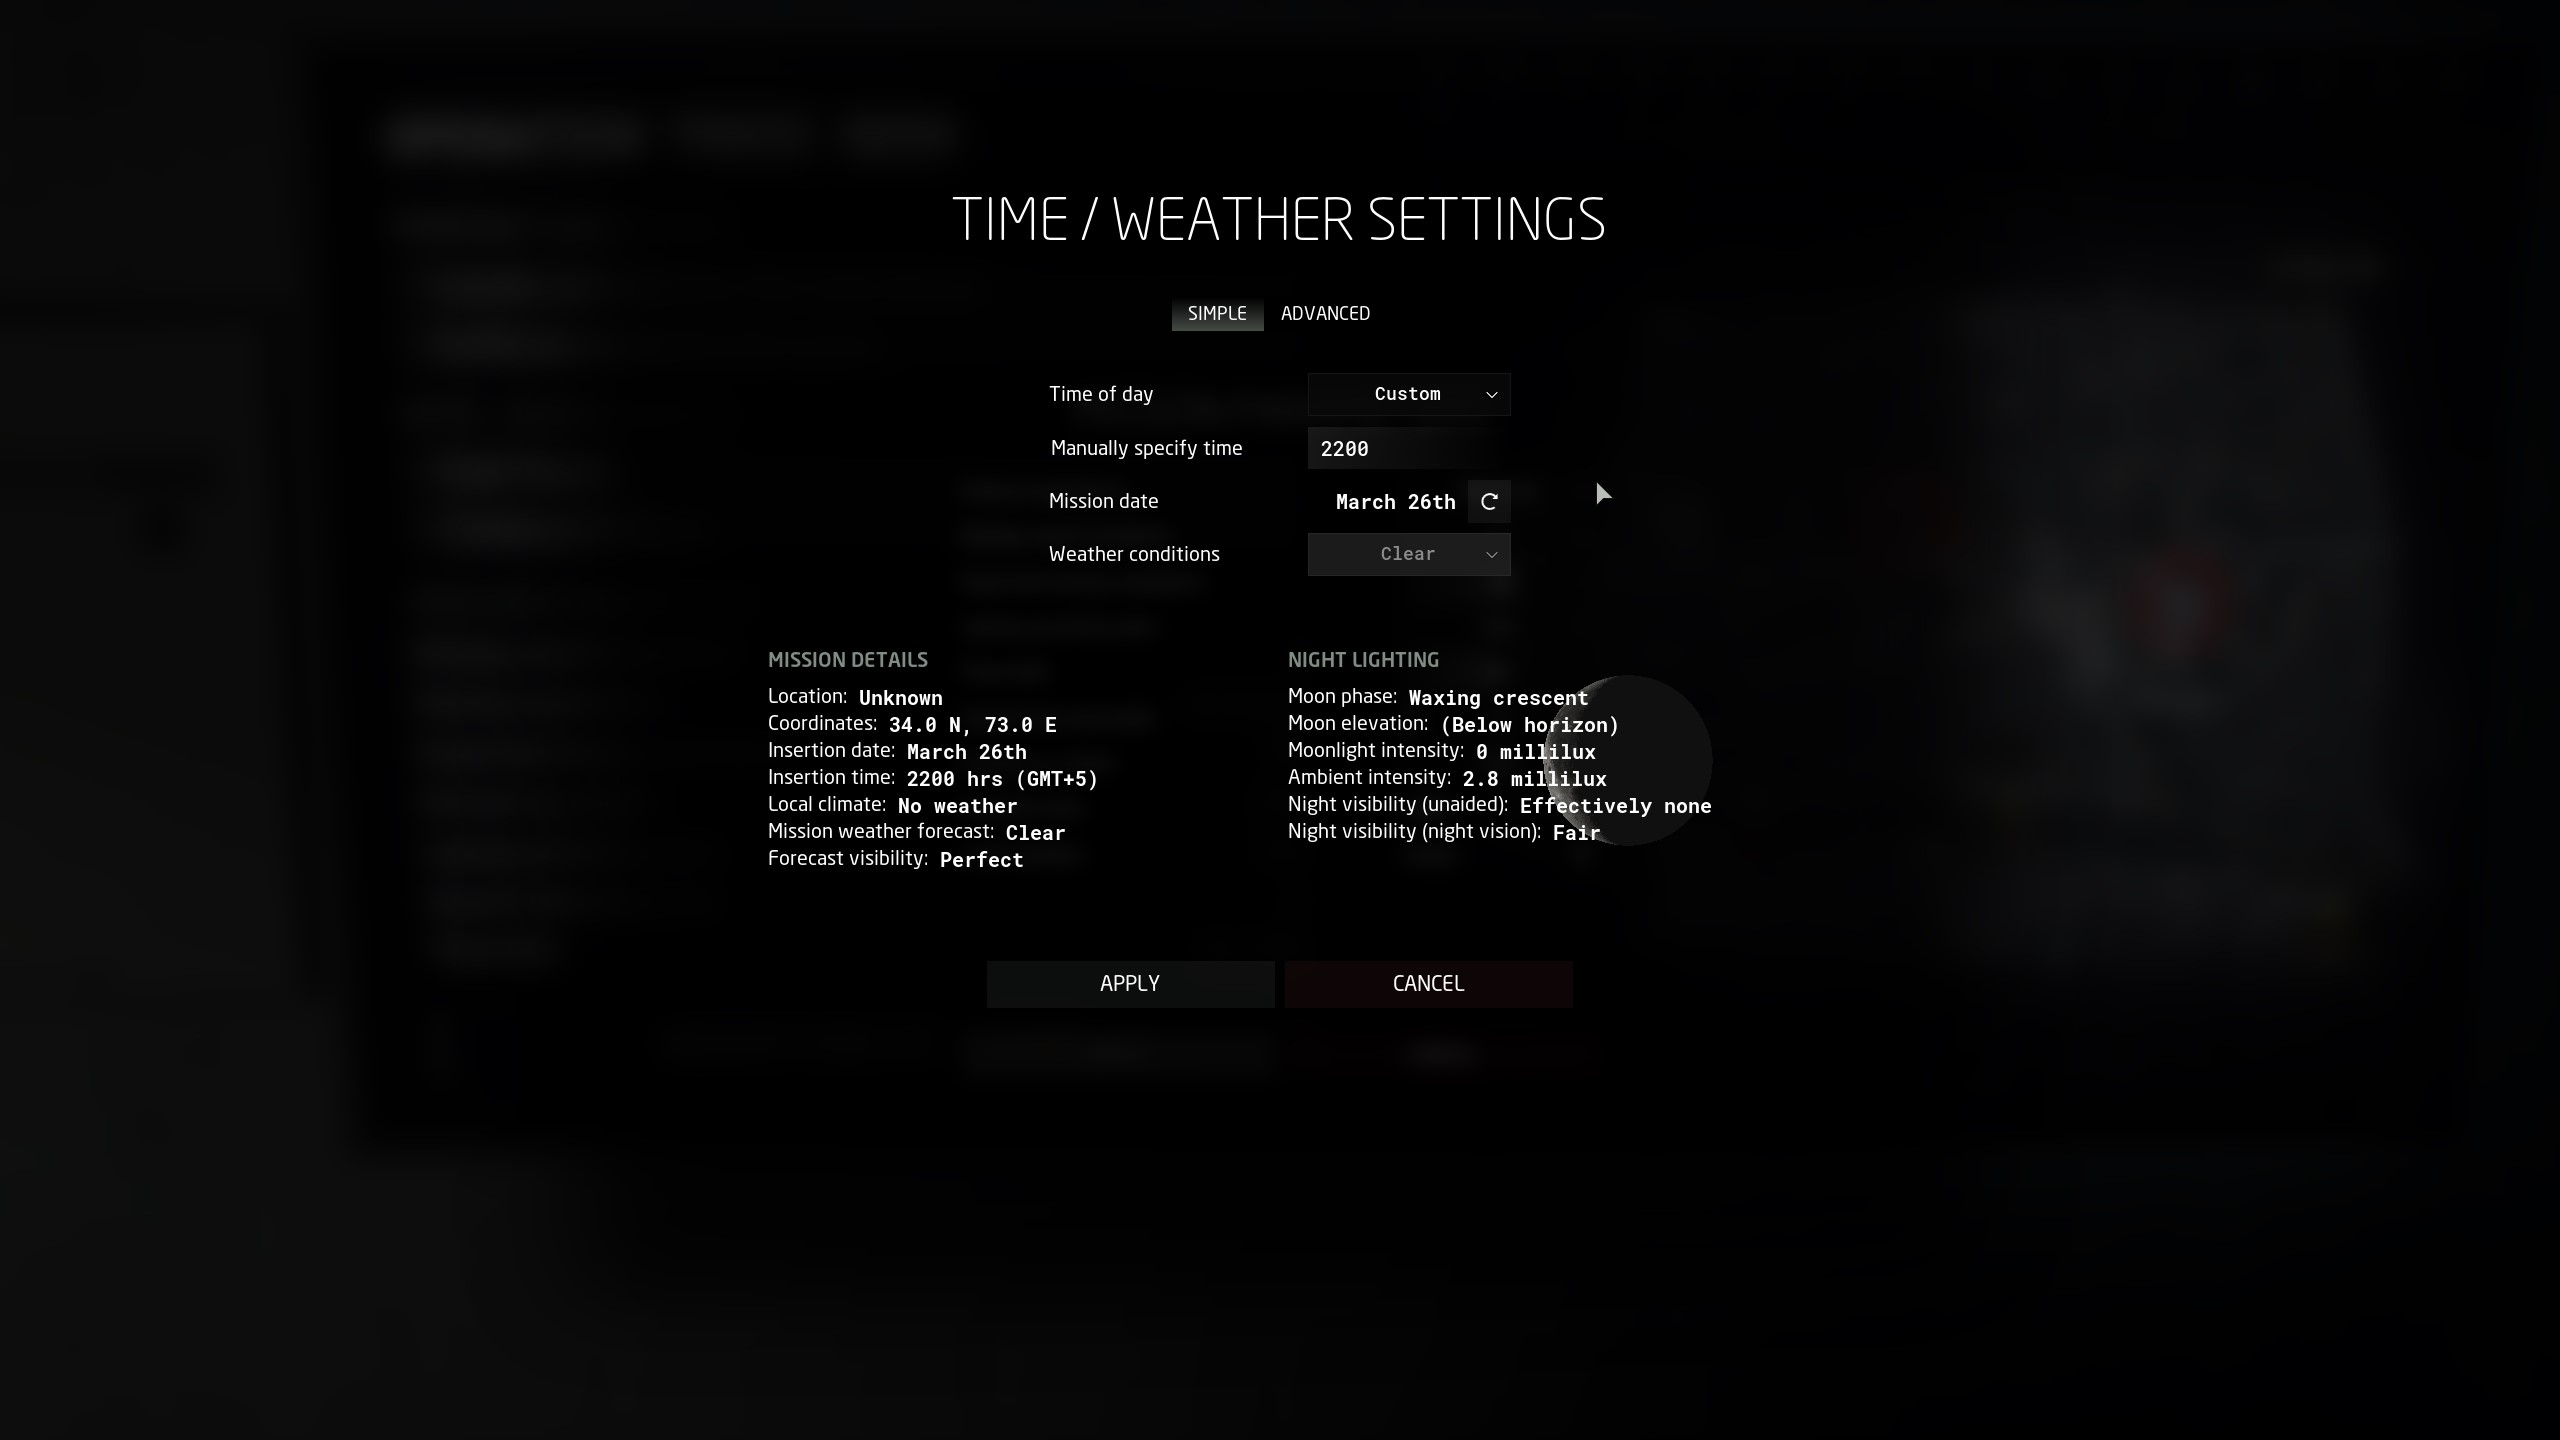
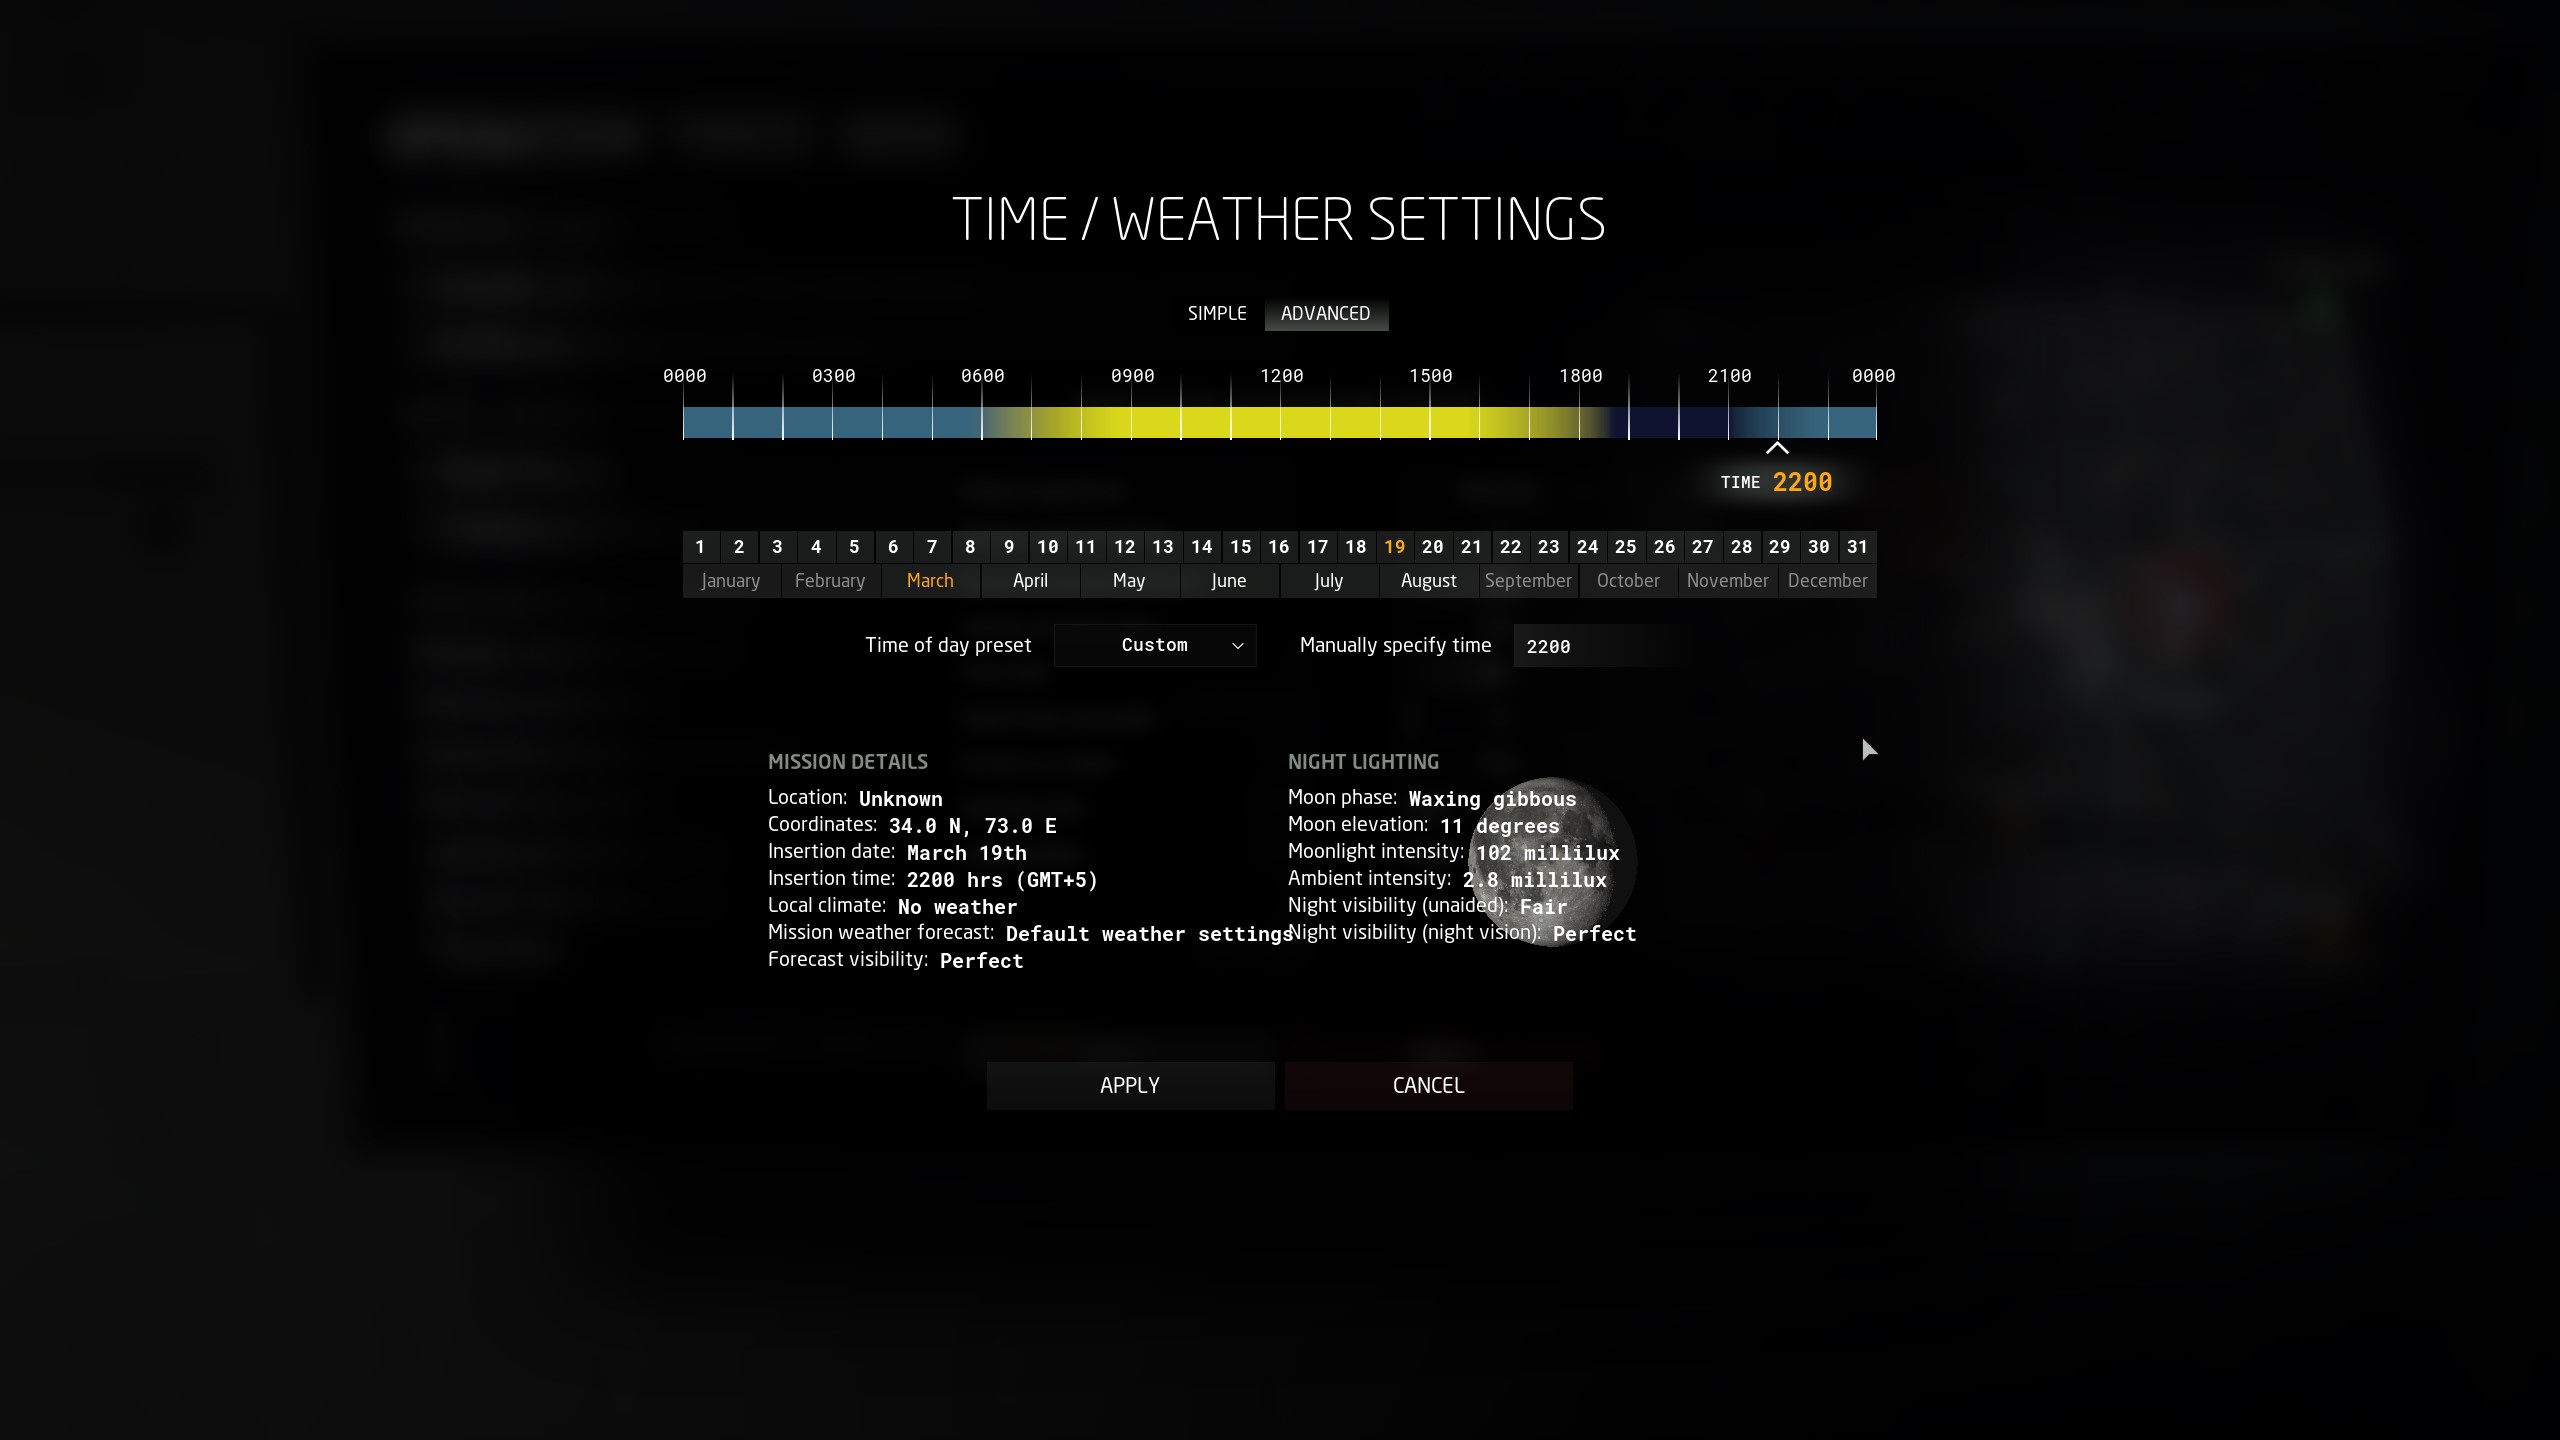
there is a lot of things the game don´t explain, you´ll find the details here.
a must read for anyone starting playing this game.
Consecrated2718 🦁  [author] 6 Aug, 2024 @ 2:07pm 
Hey everyone, today I have added 2 new sections to the guide:

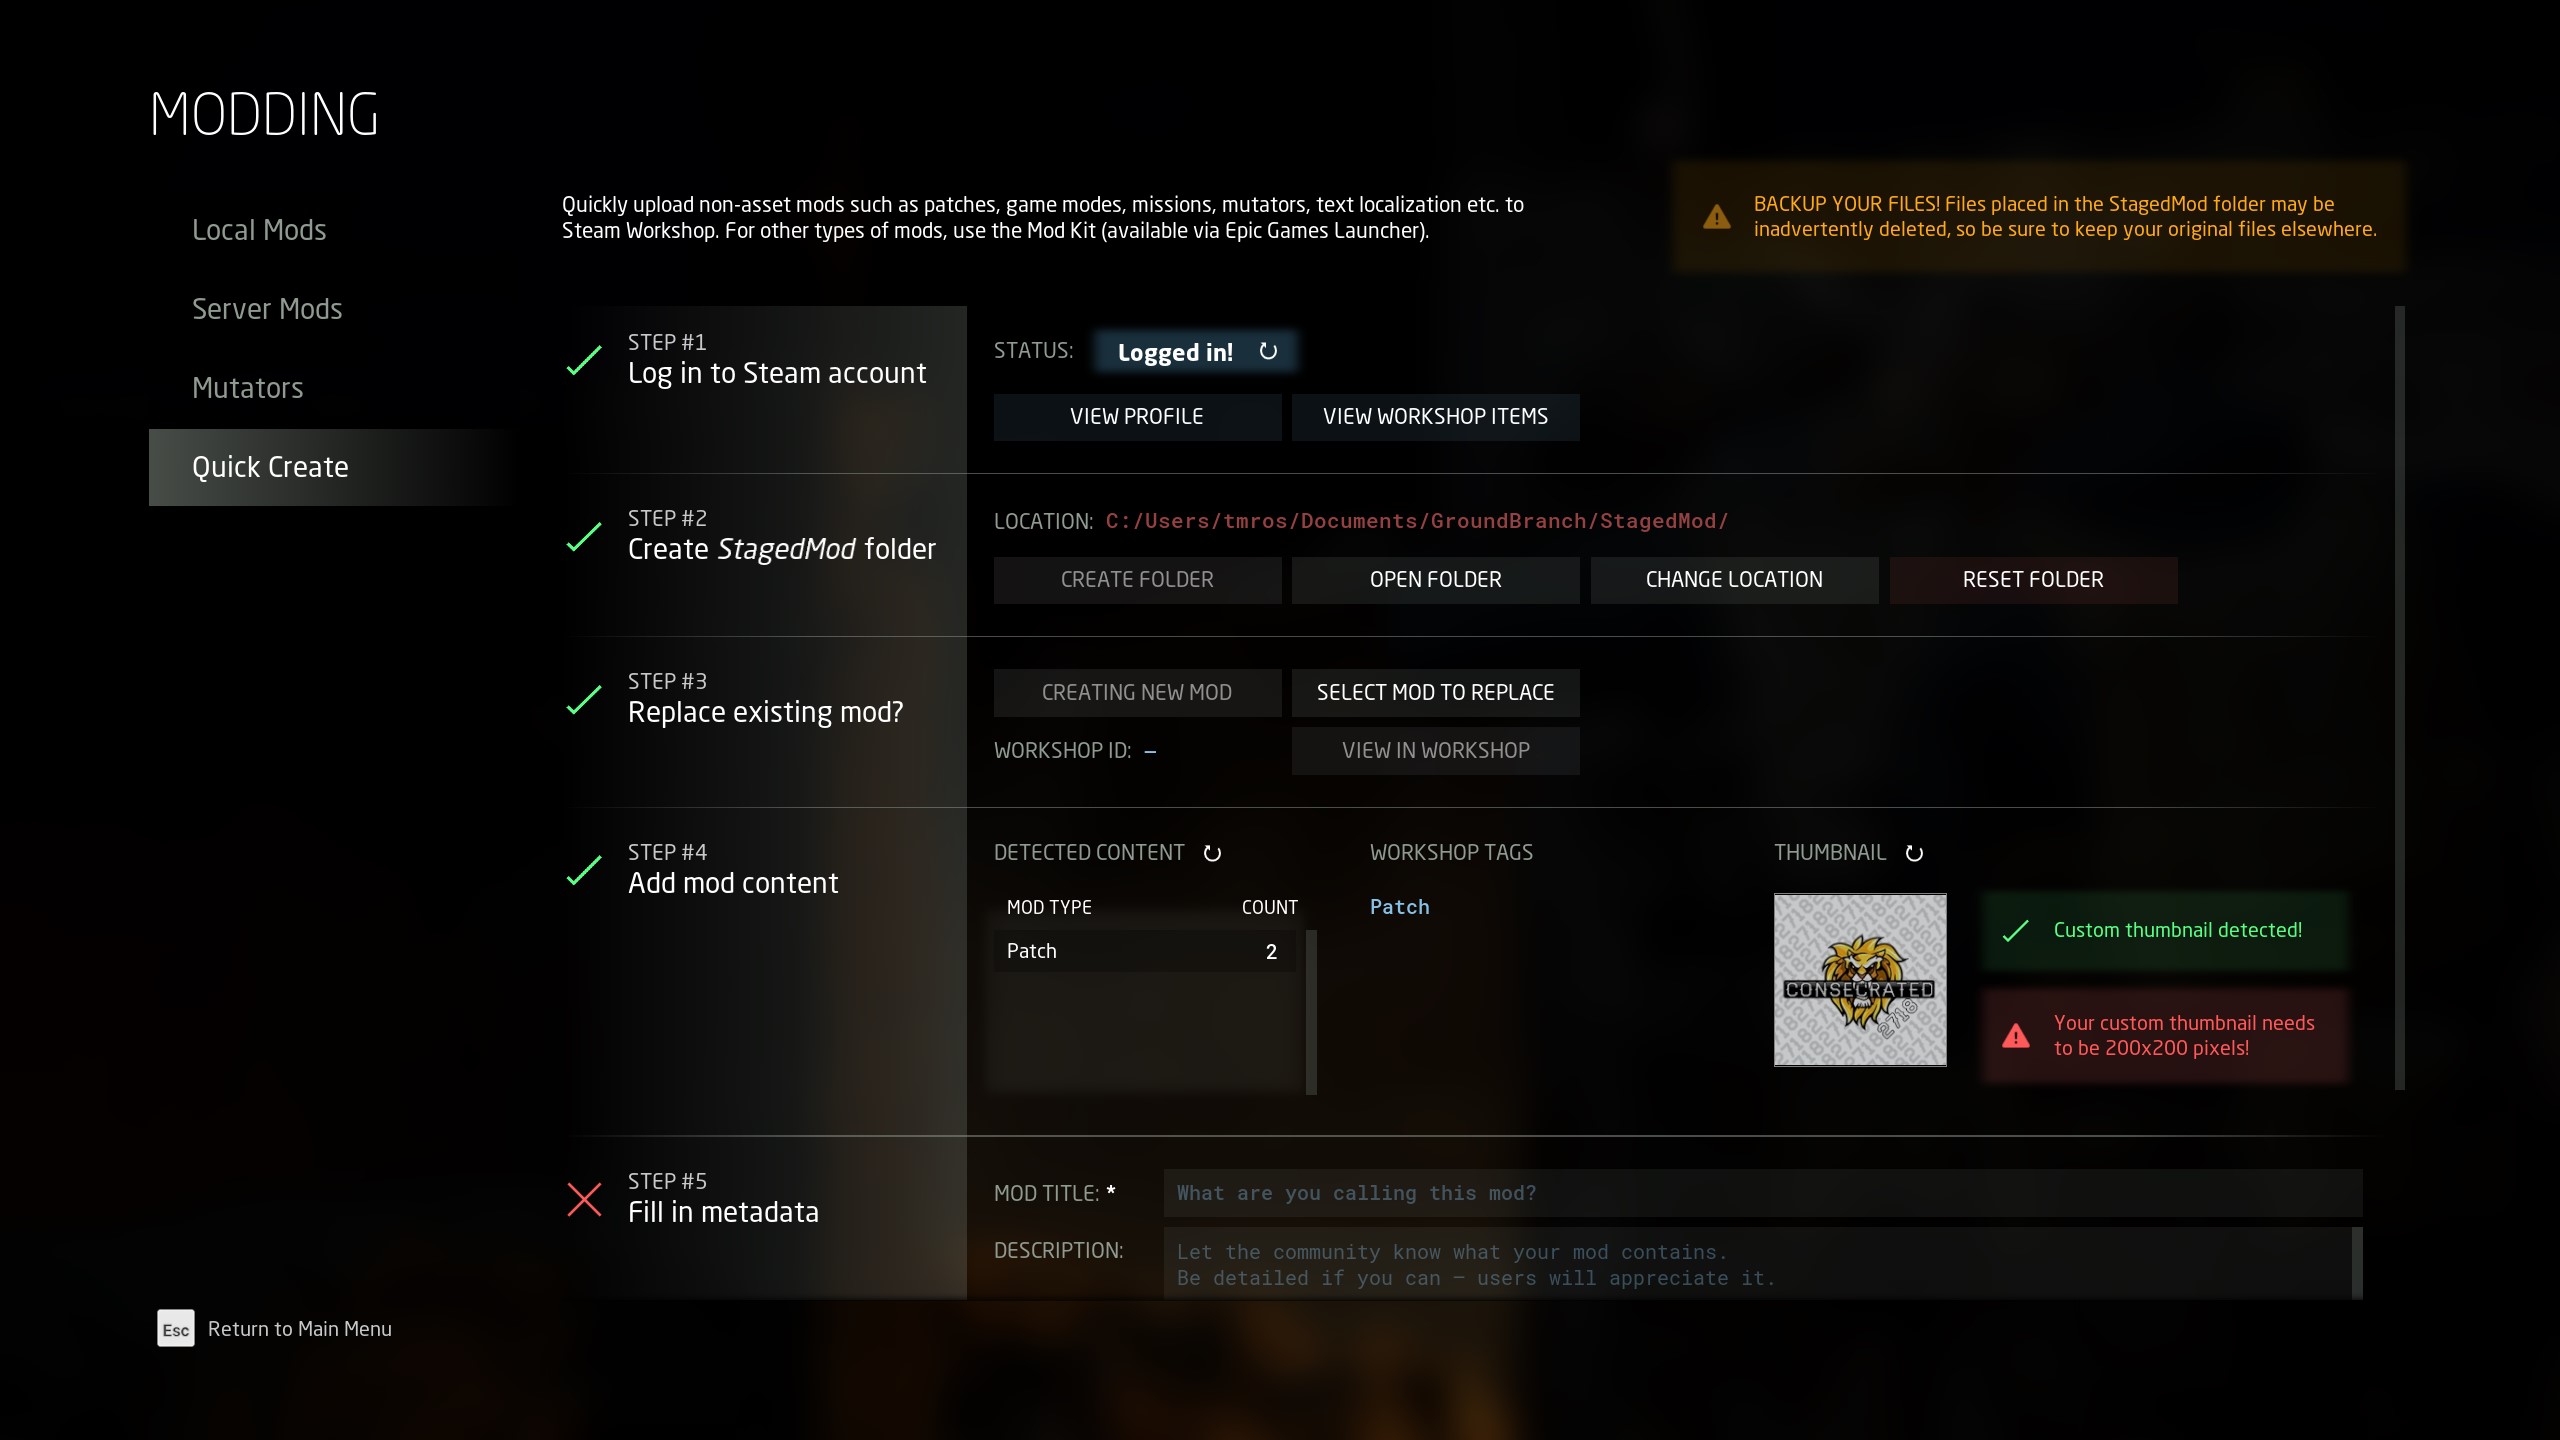
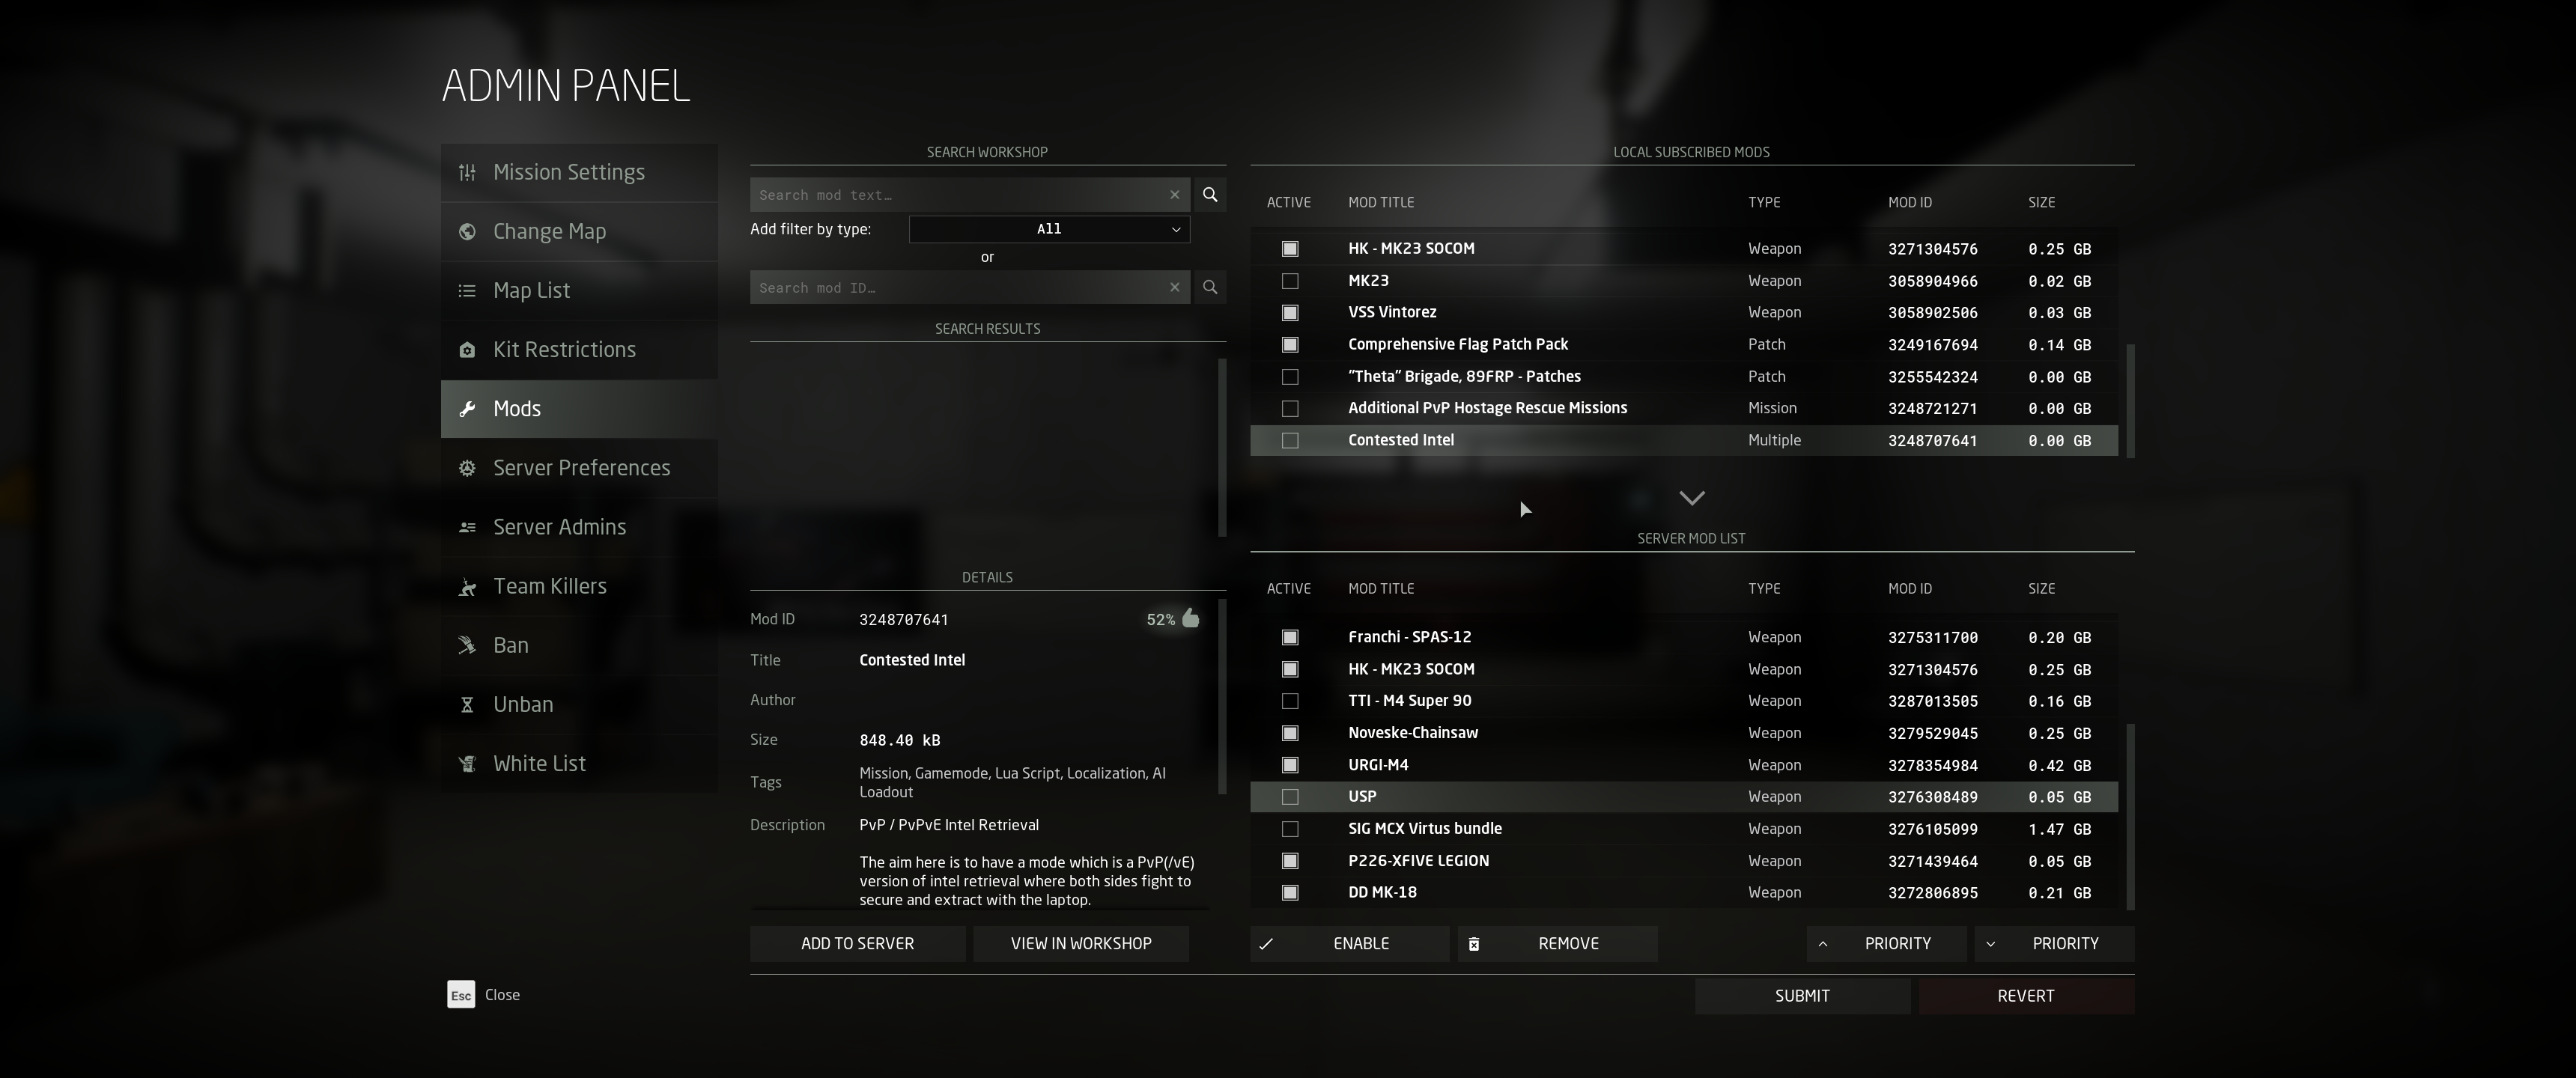
Modding is a new section that briefly goes over downloading and using mods.

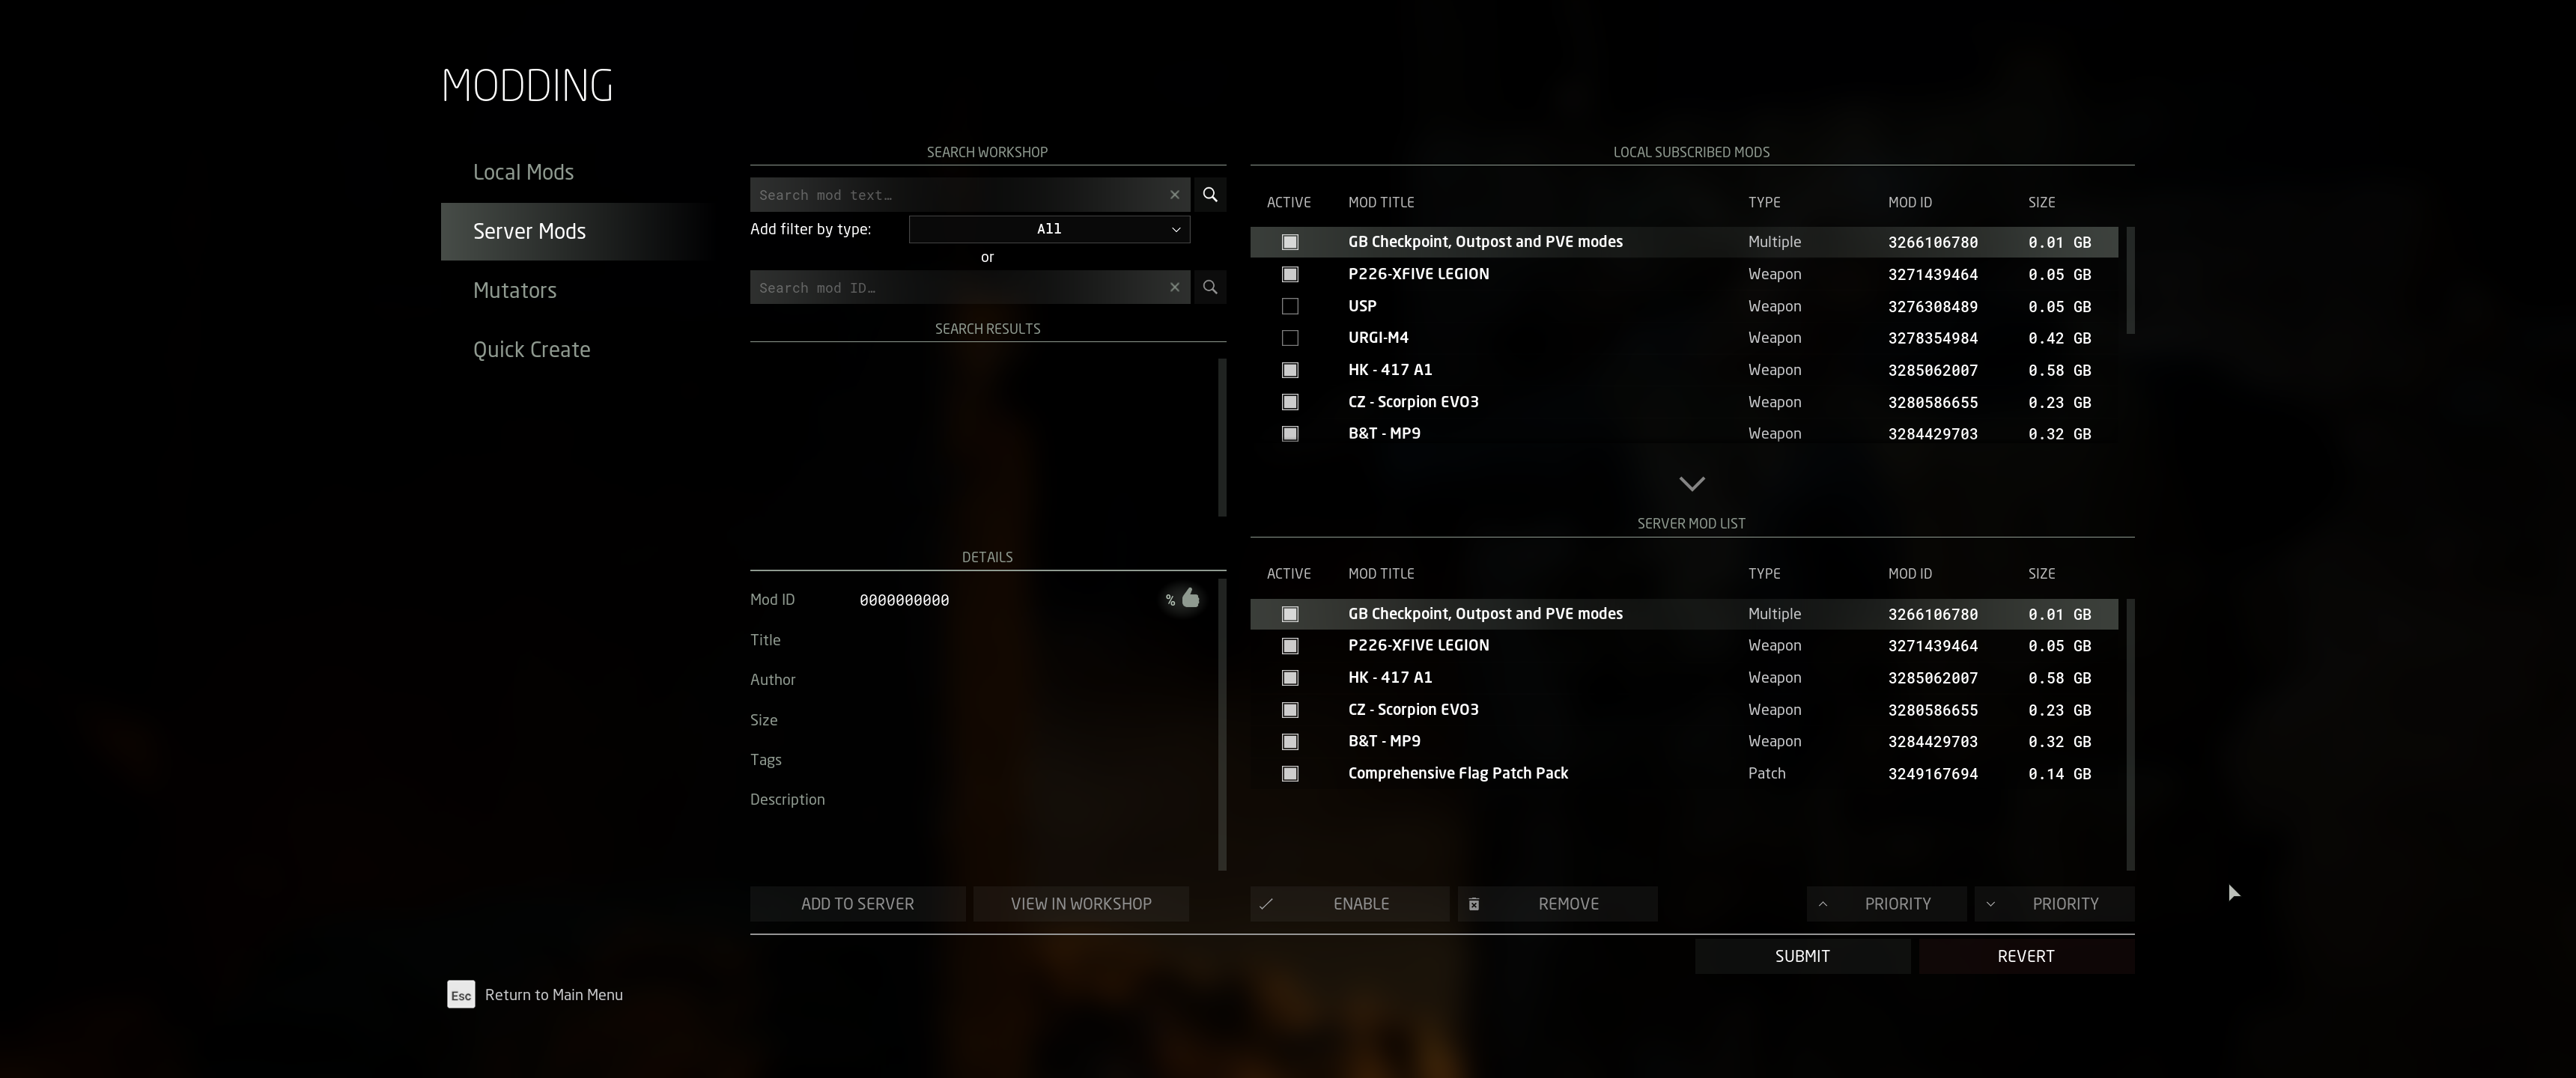
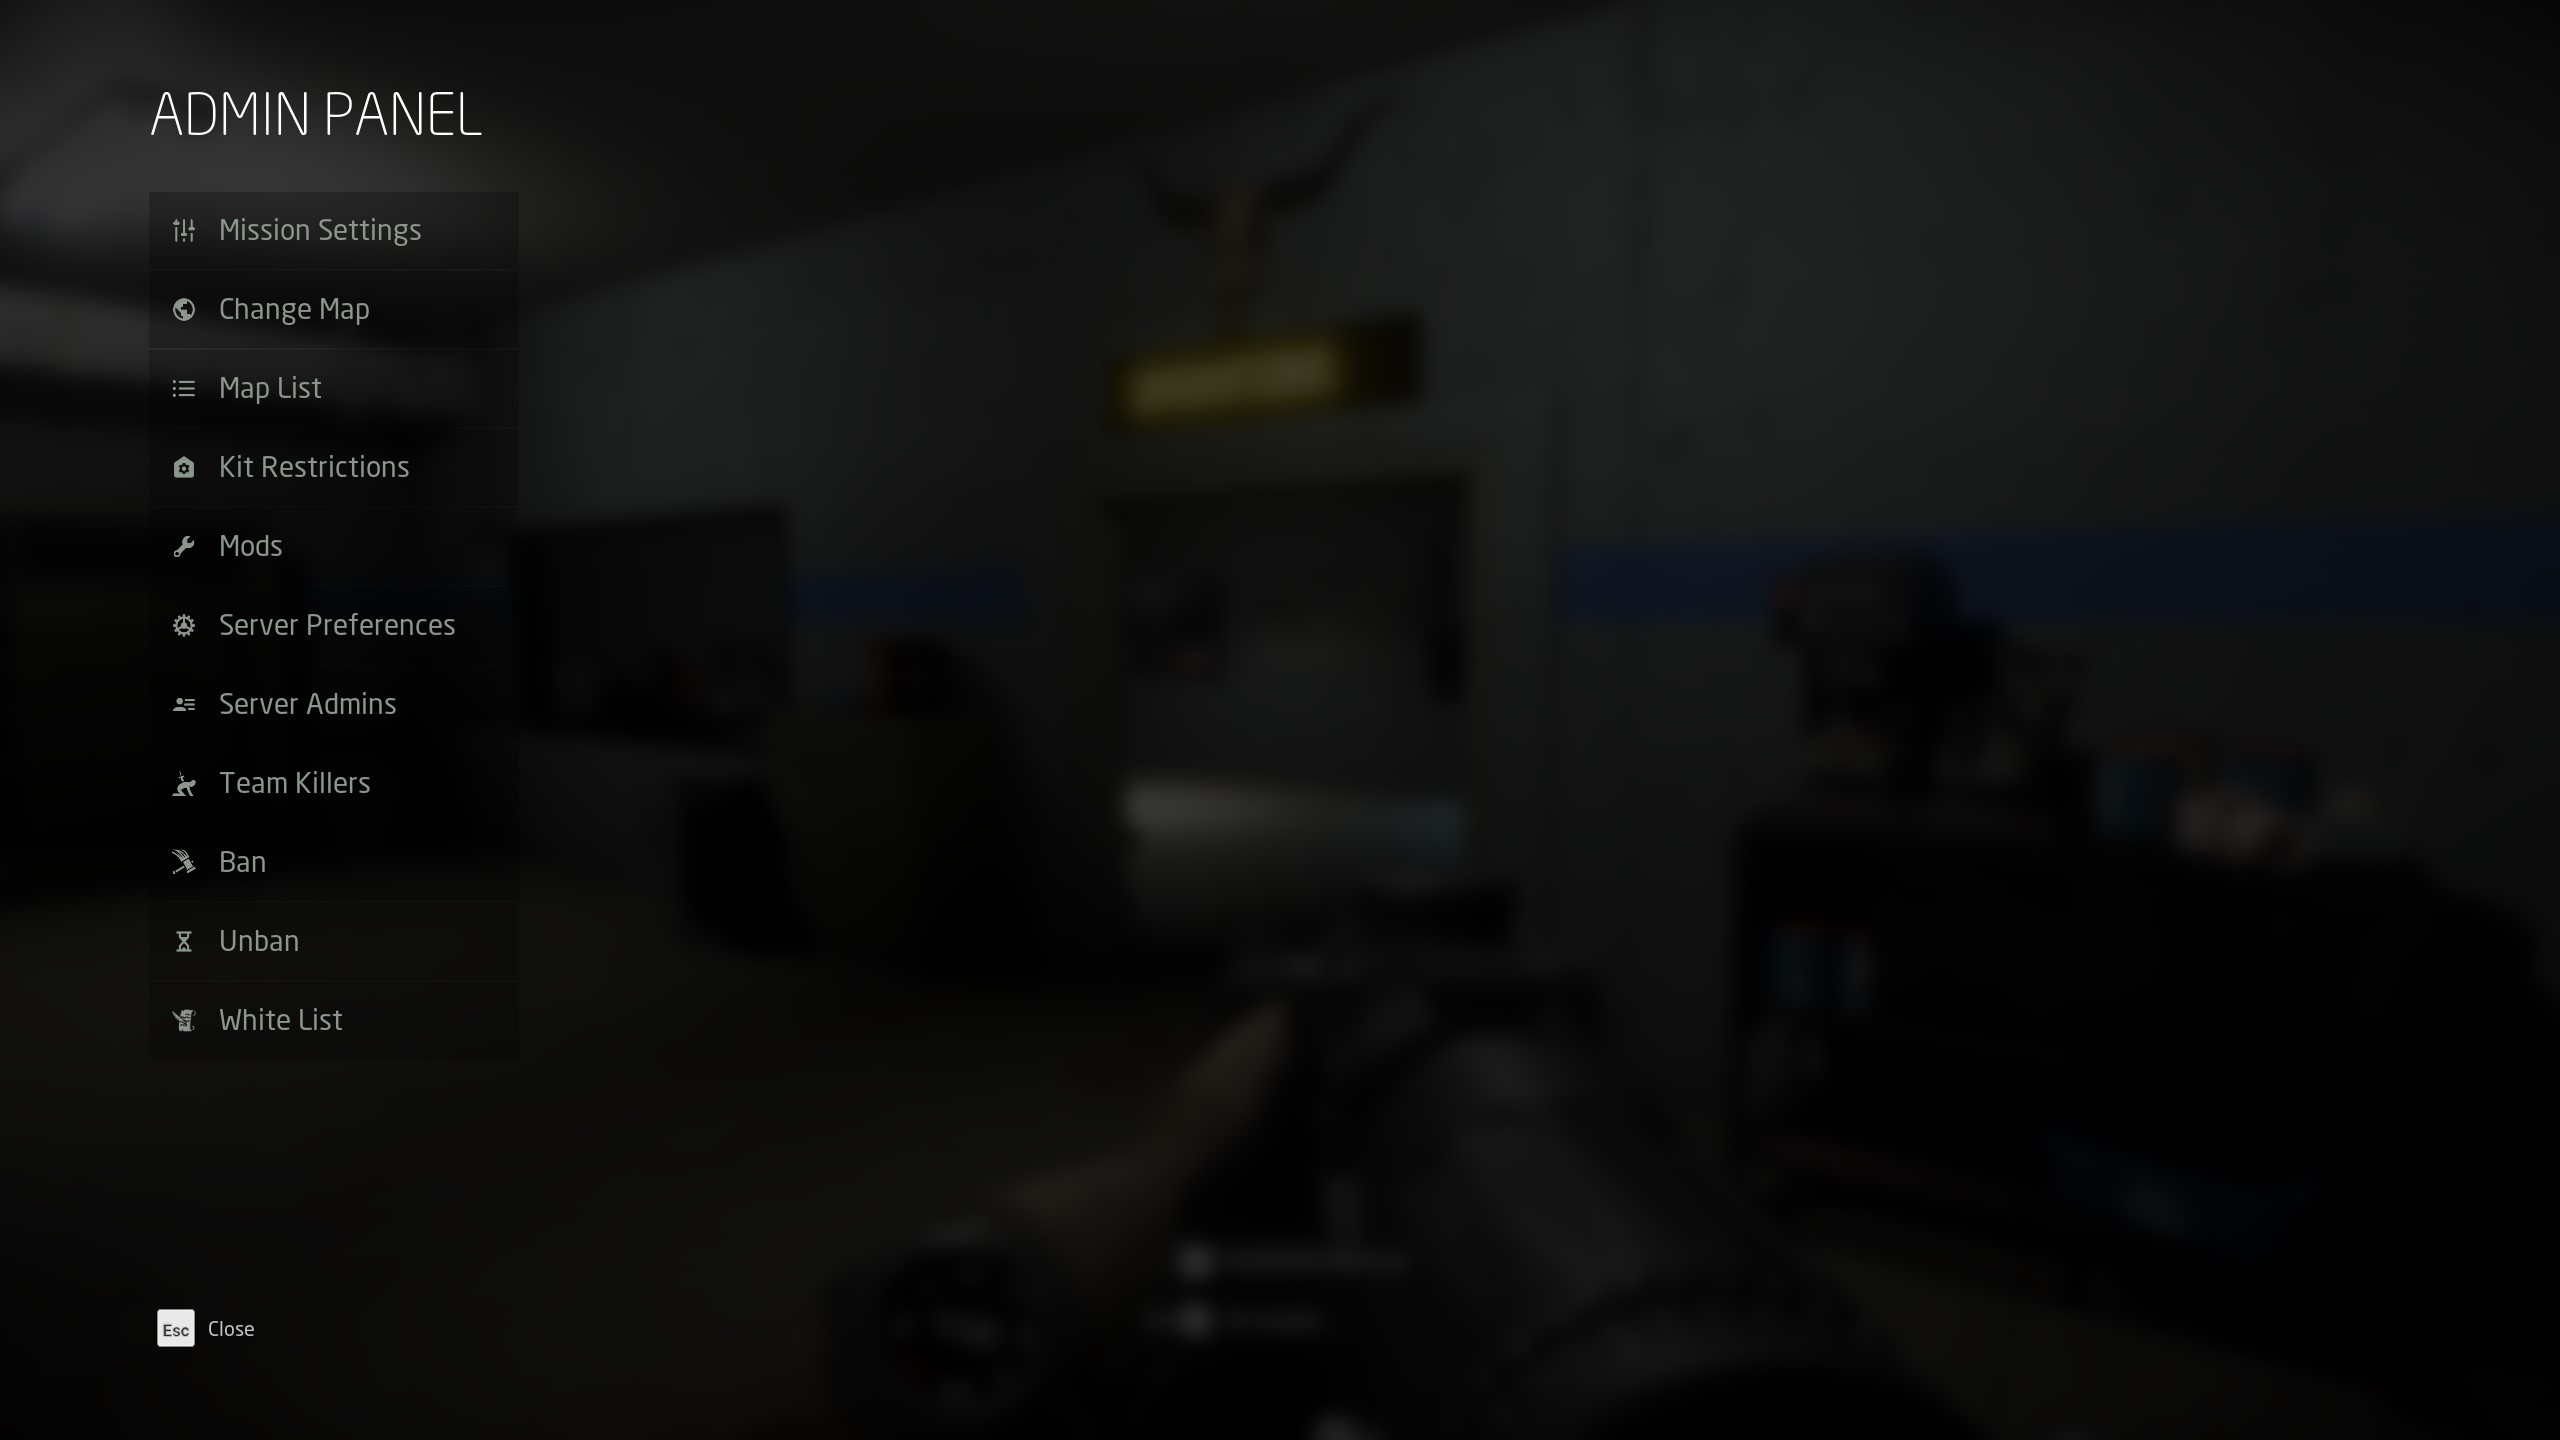
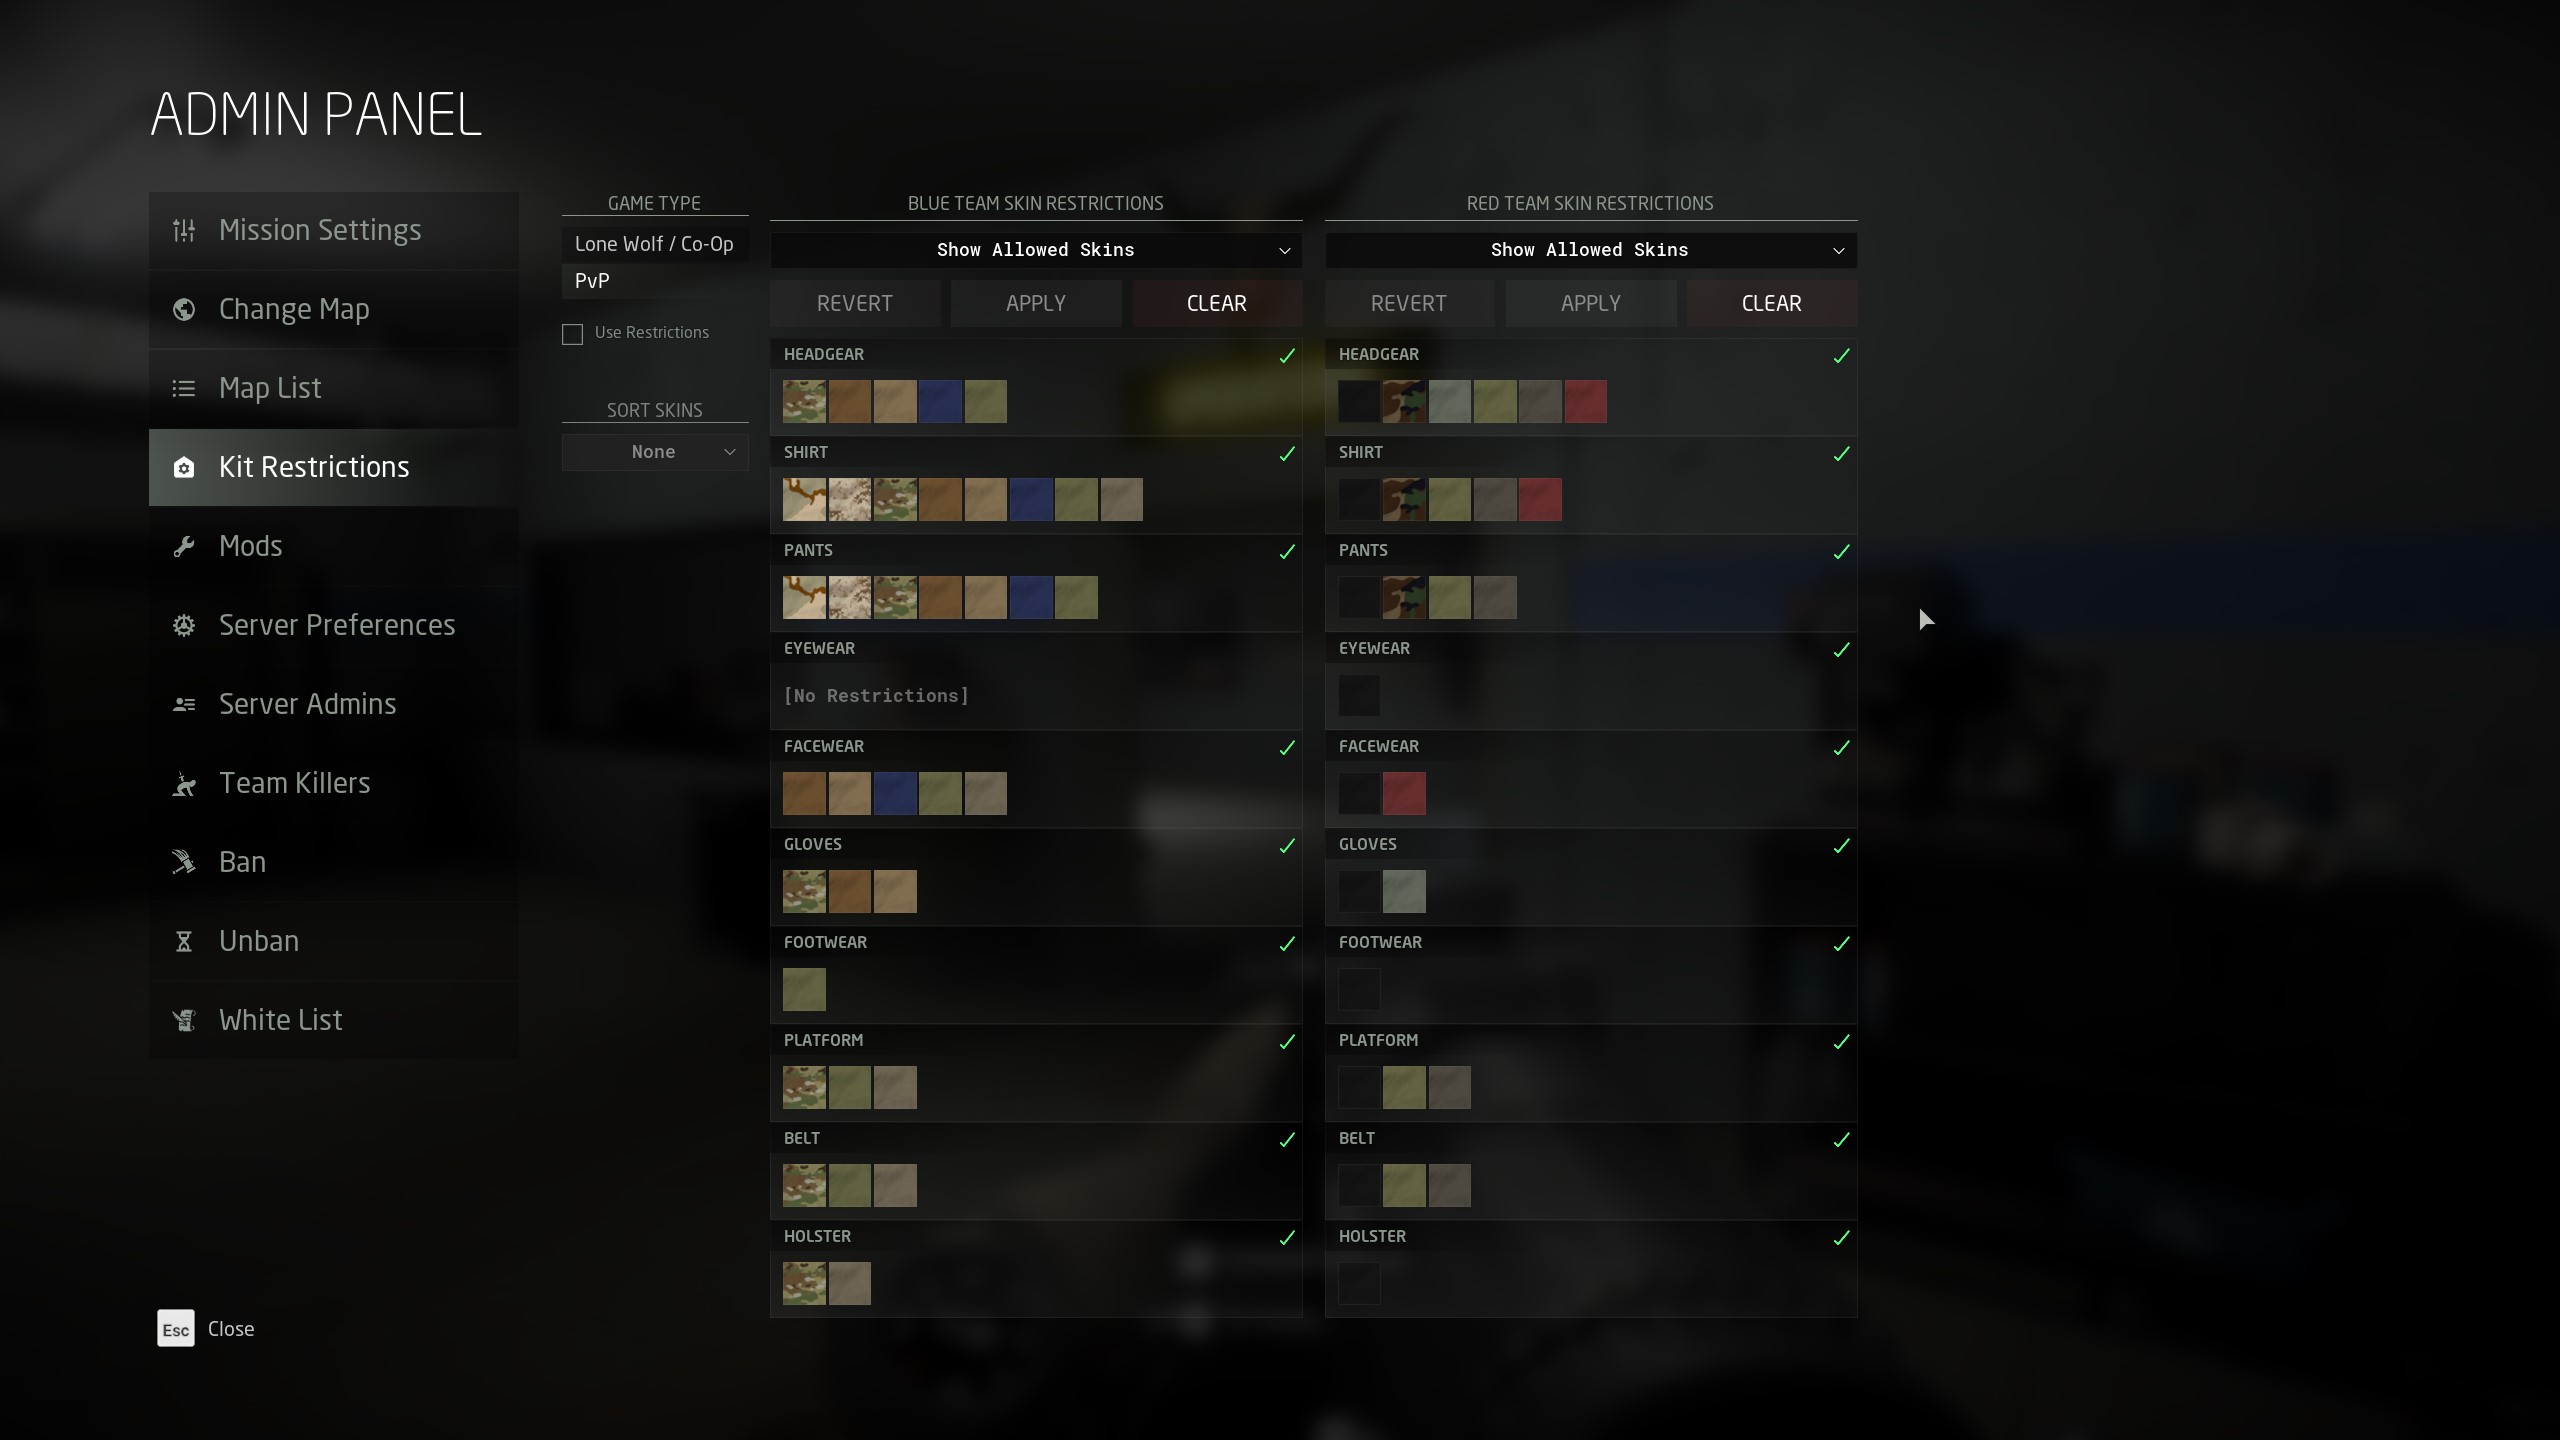
Server Administration now has a Mods section.

Thank you all for continuing to share this guide.
Consecrated2718 🦁  [author] 5 Jun, 2024 @ 5:08am 
Hey everyone, for those of you following along we should have a section soon on how to create mods using the Quick Mod menu as well as the Mod Tools for ground branch
Consecrated2718 🦁  [author] 5 Jun, 2024 @ 5:07am 
Guide Update 6/5/2024

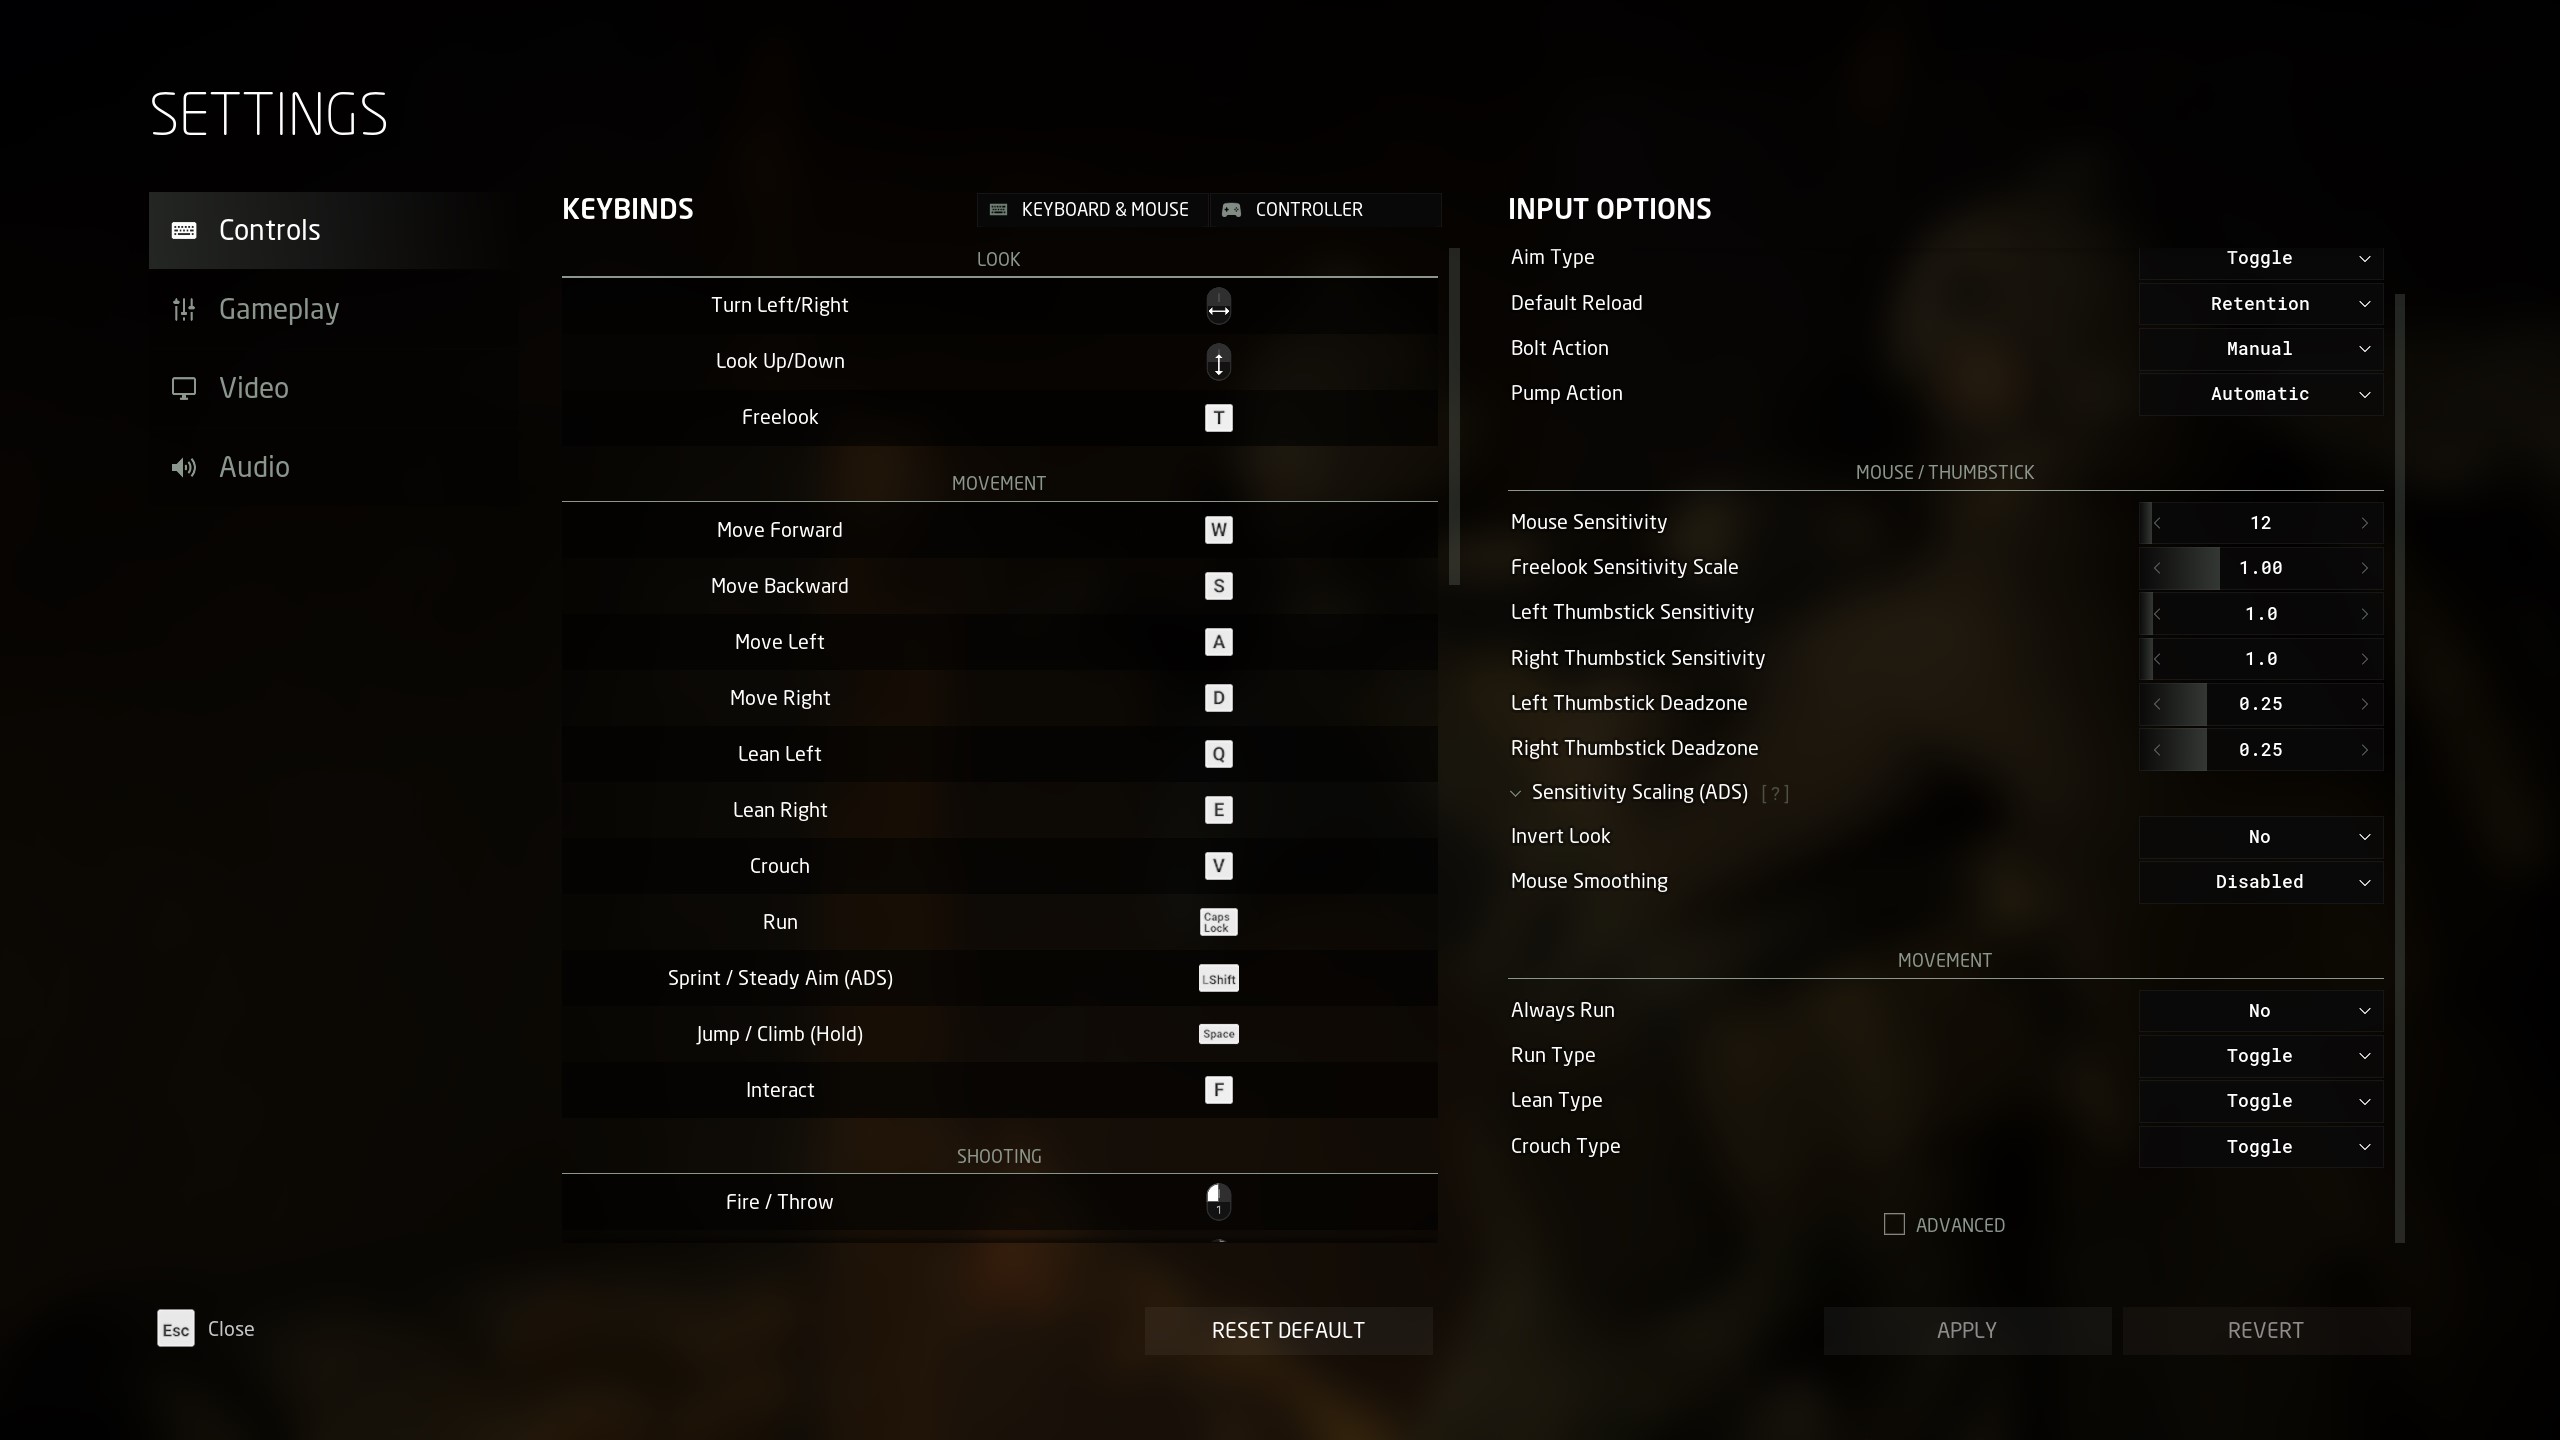
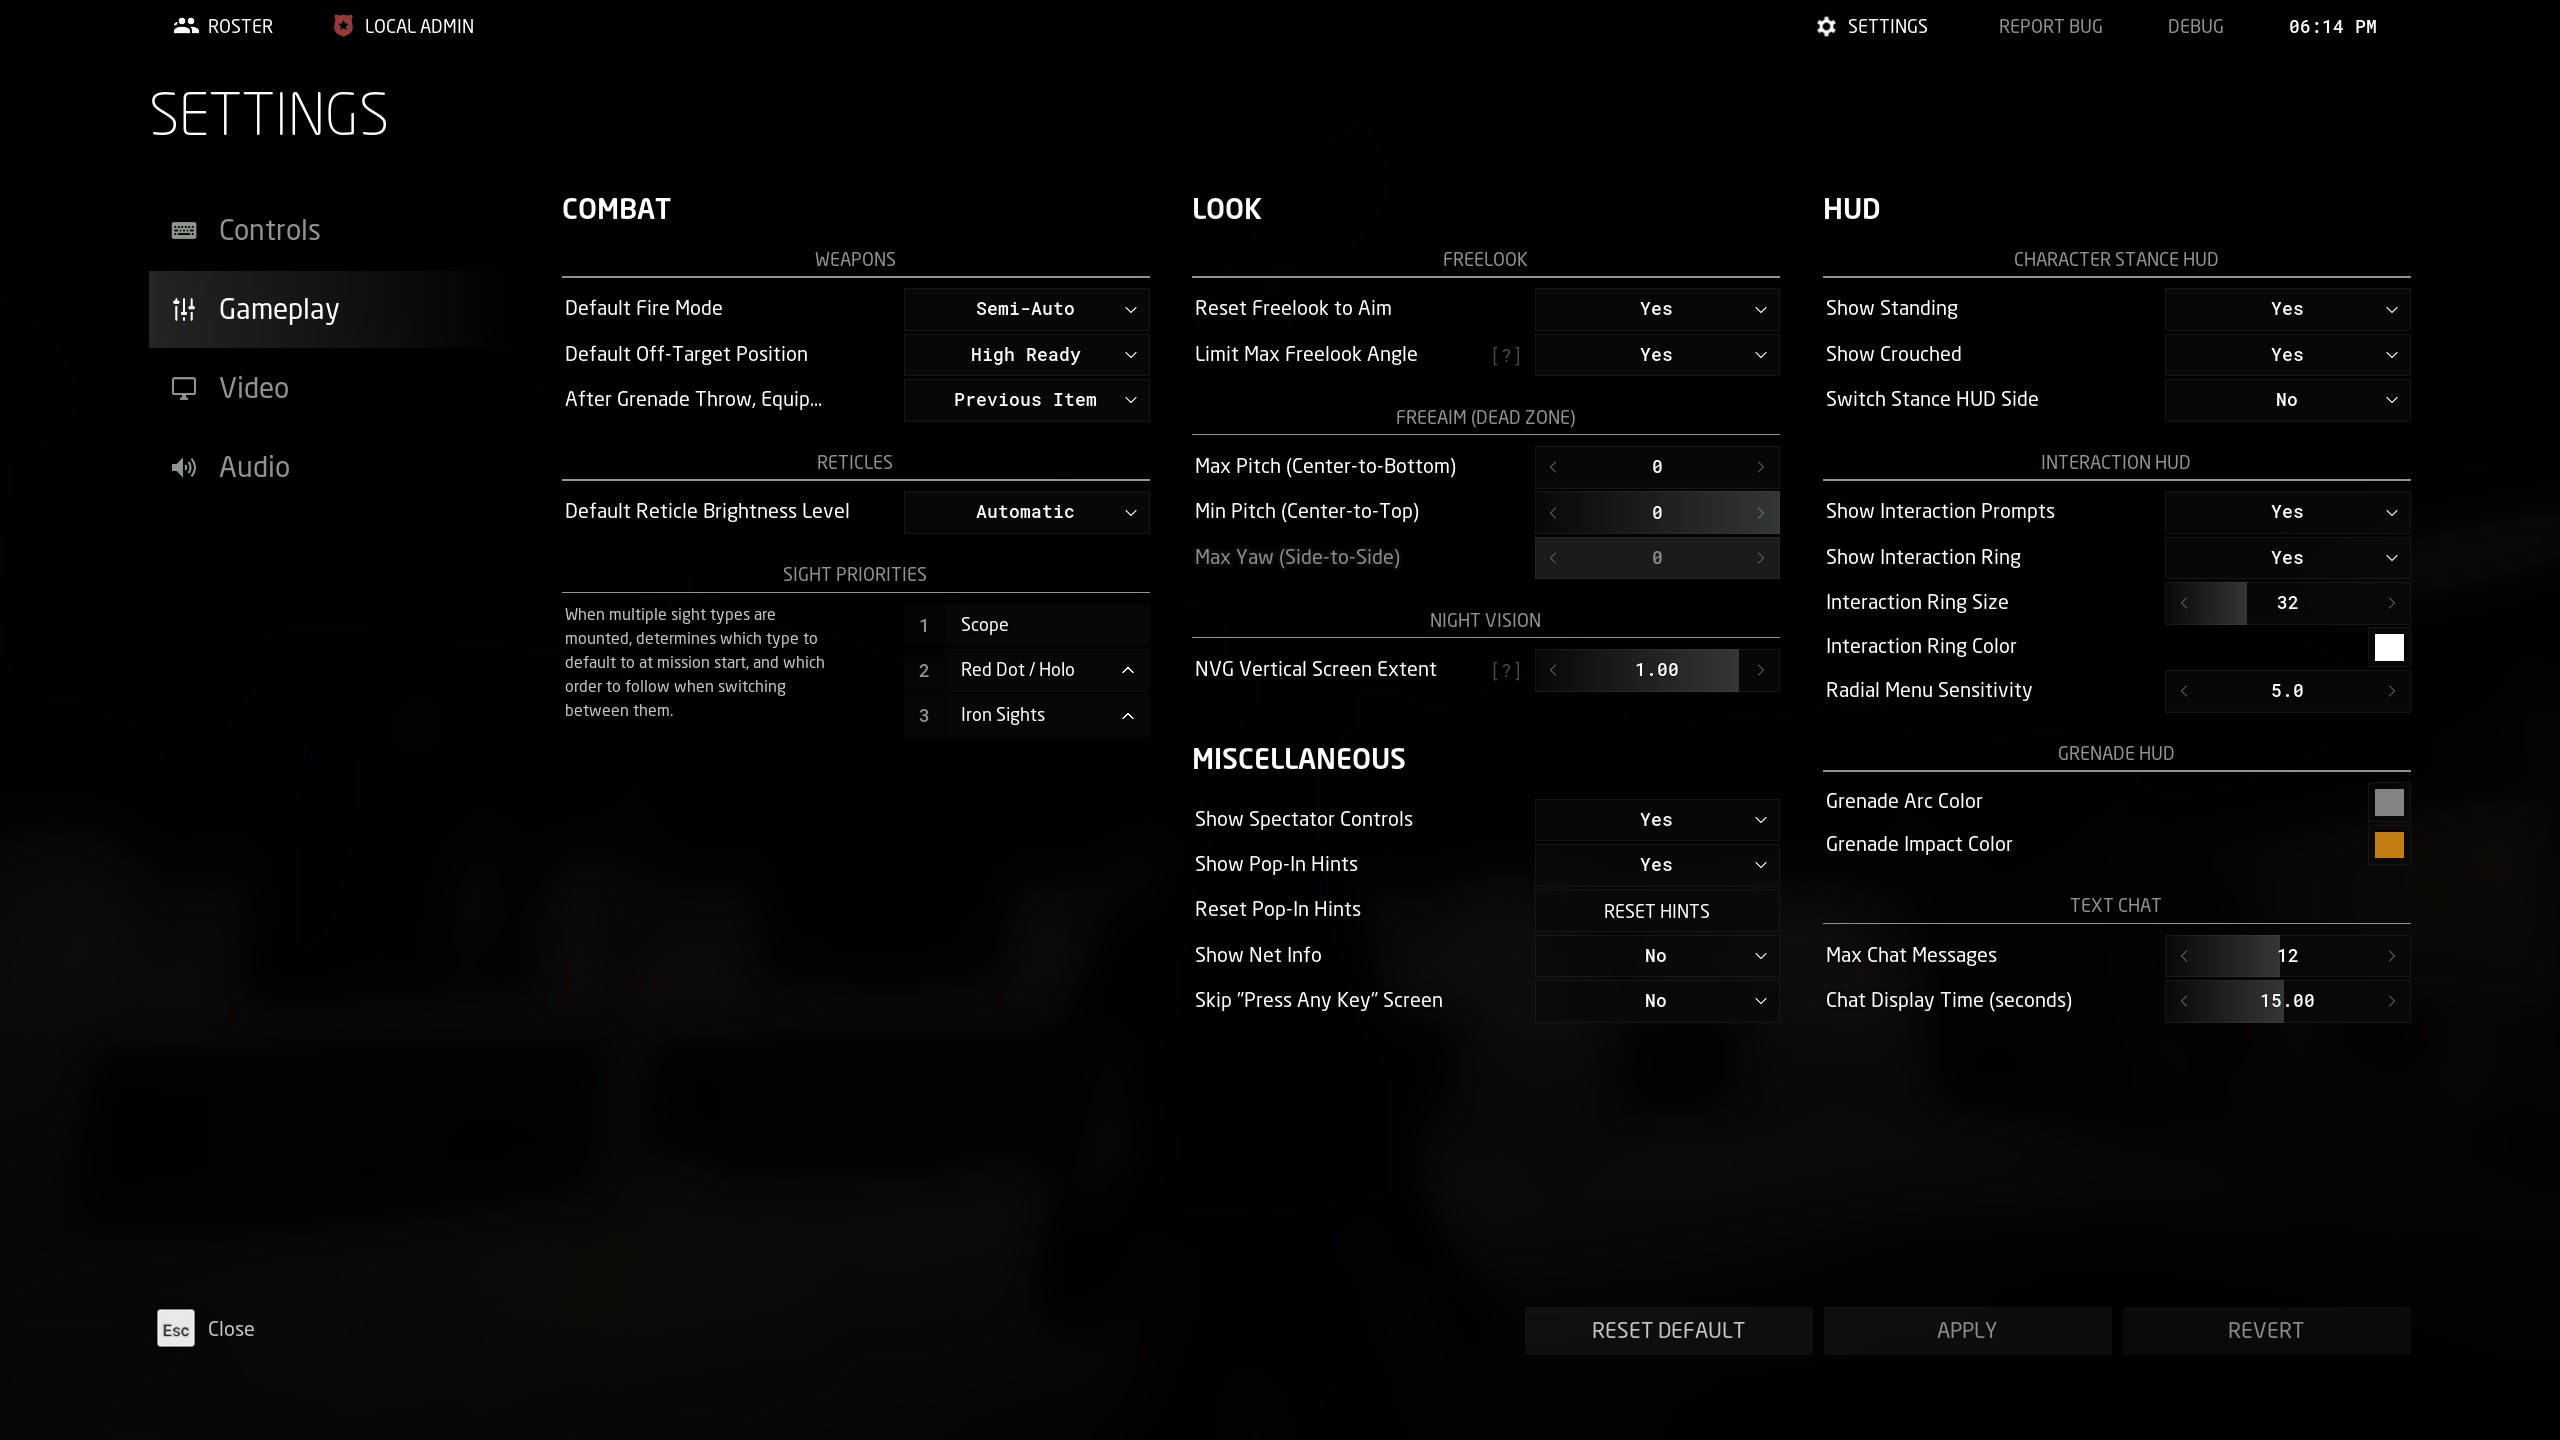
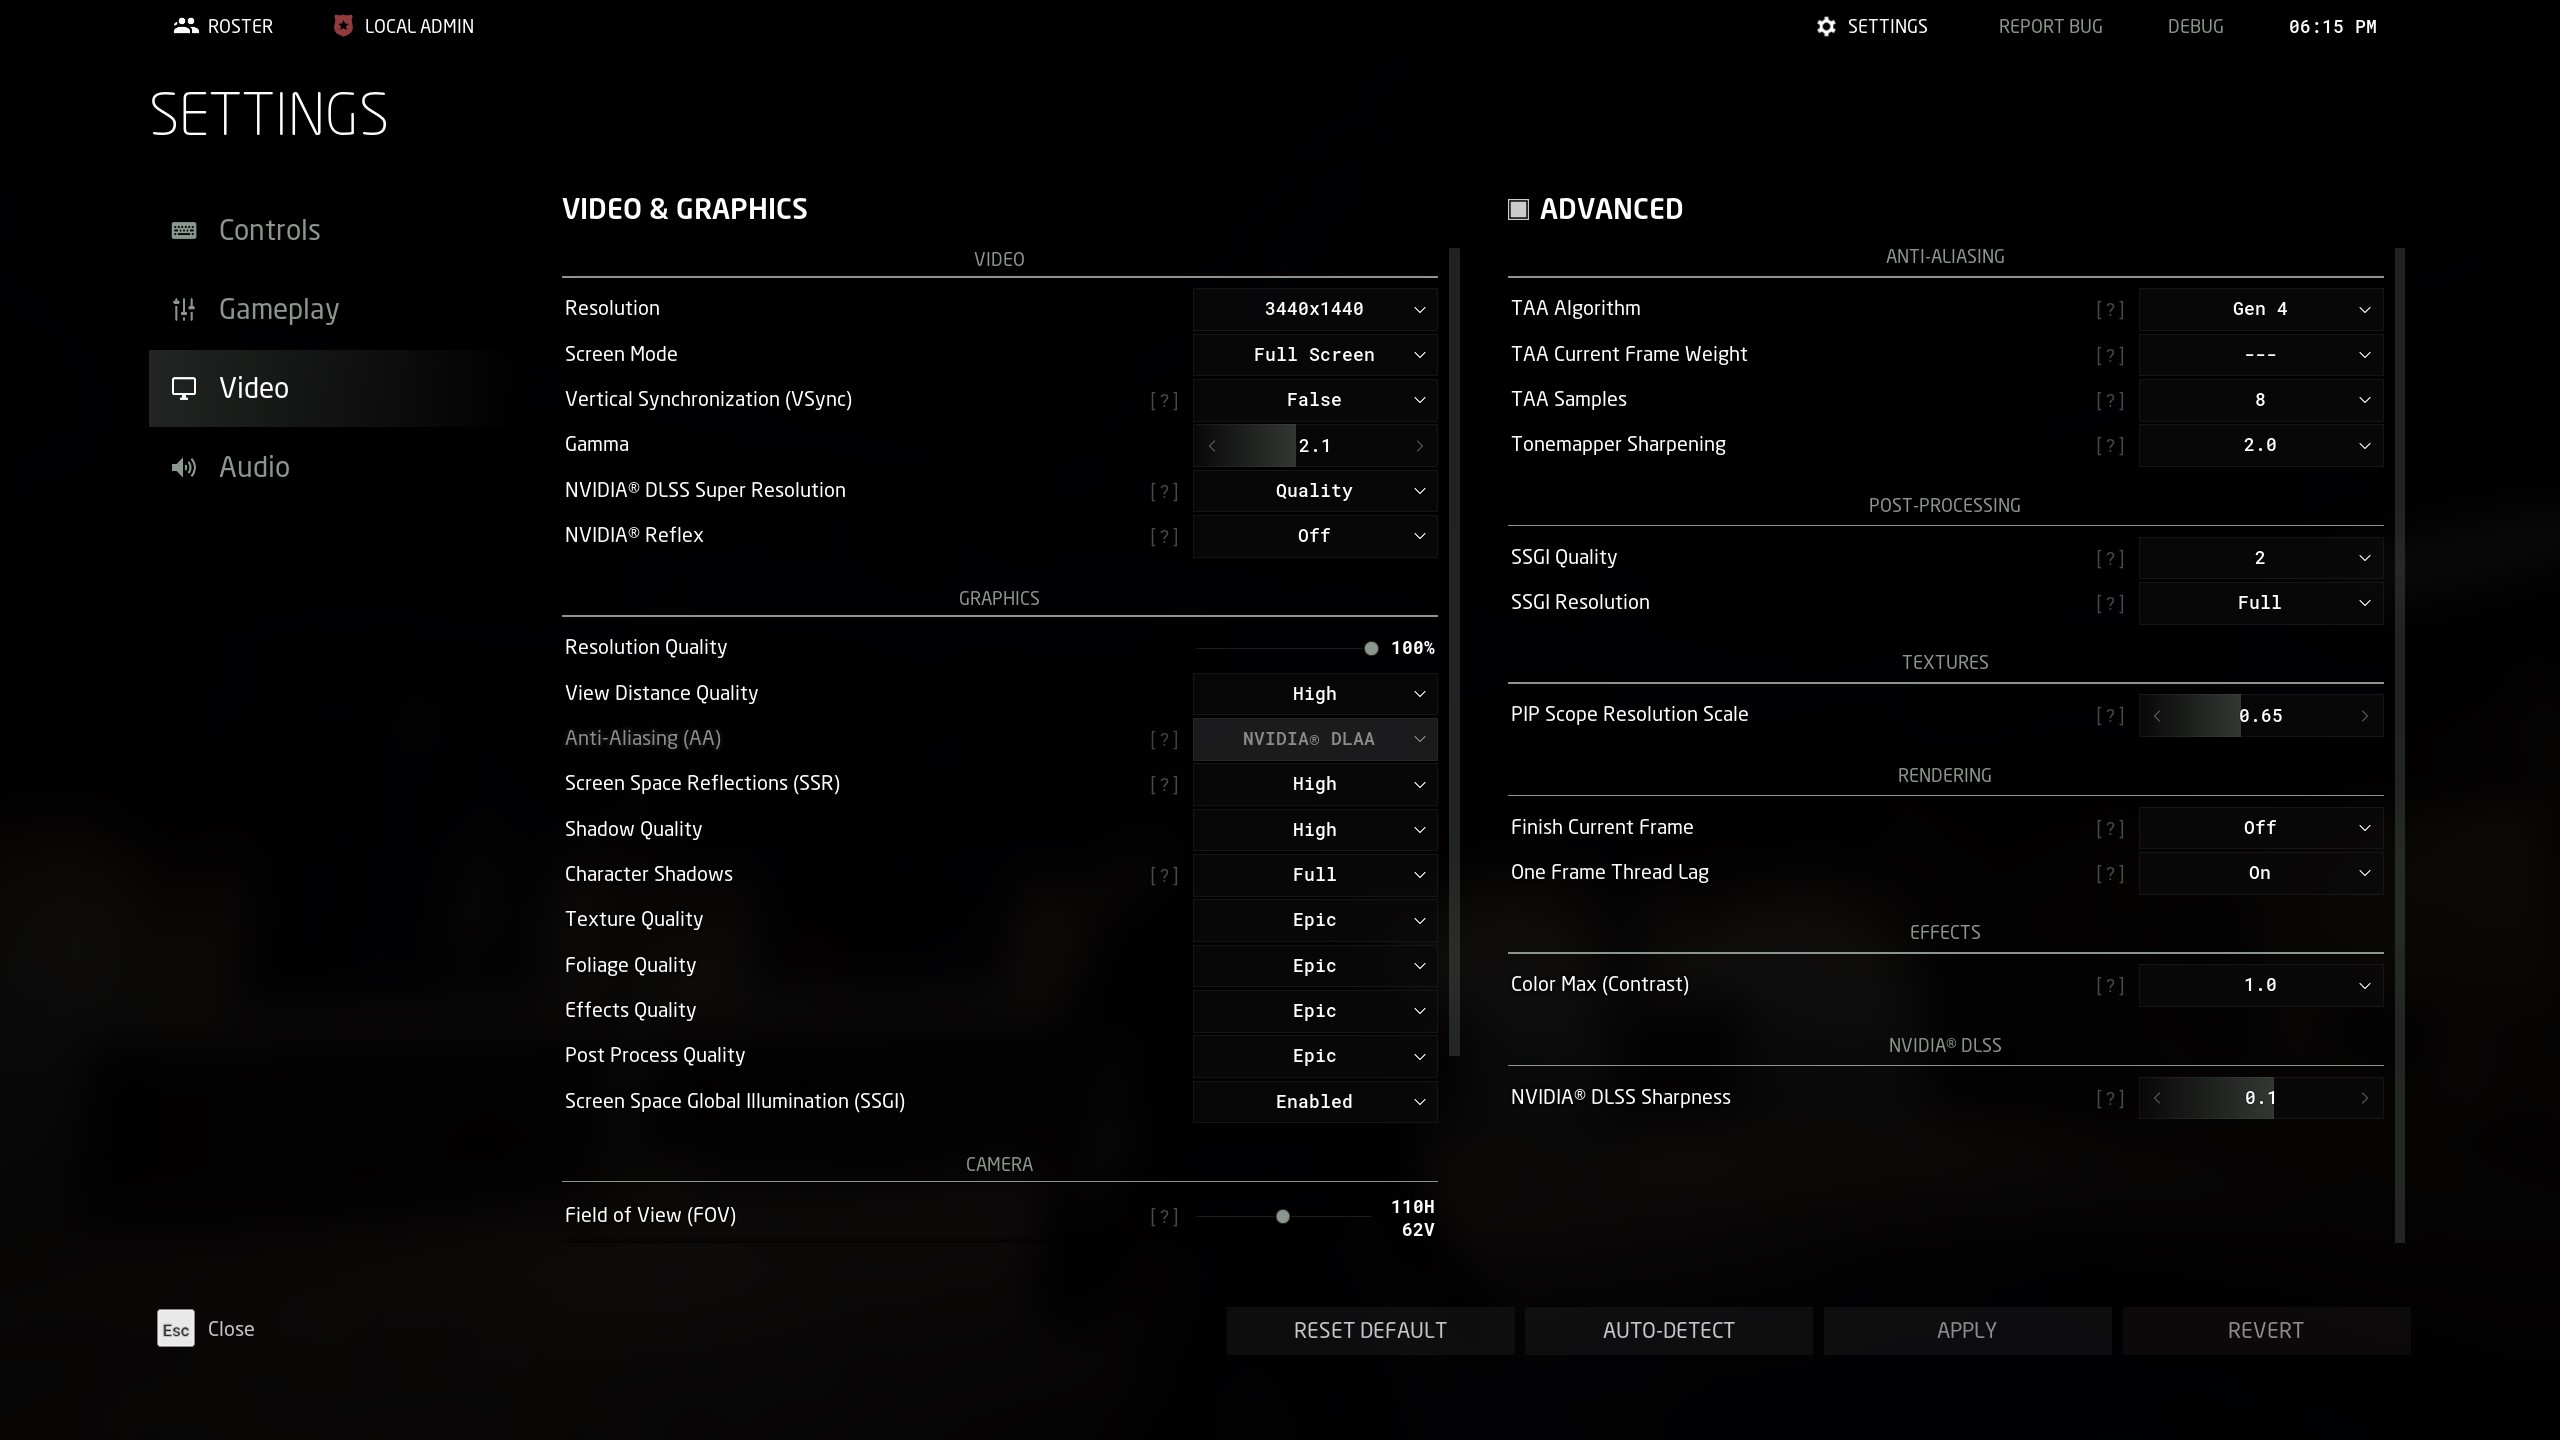
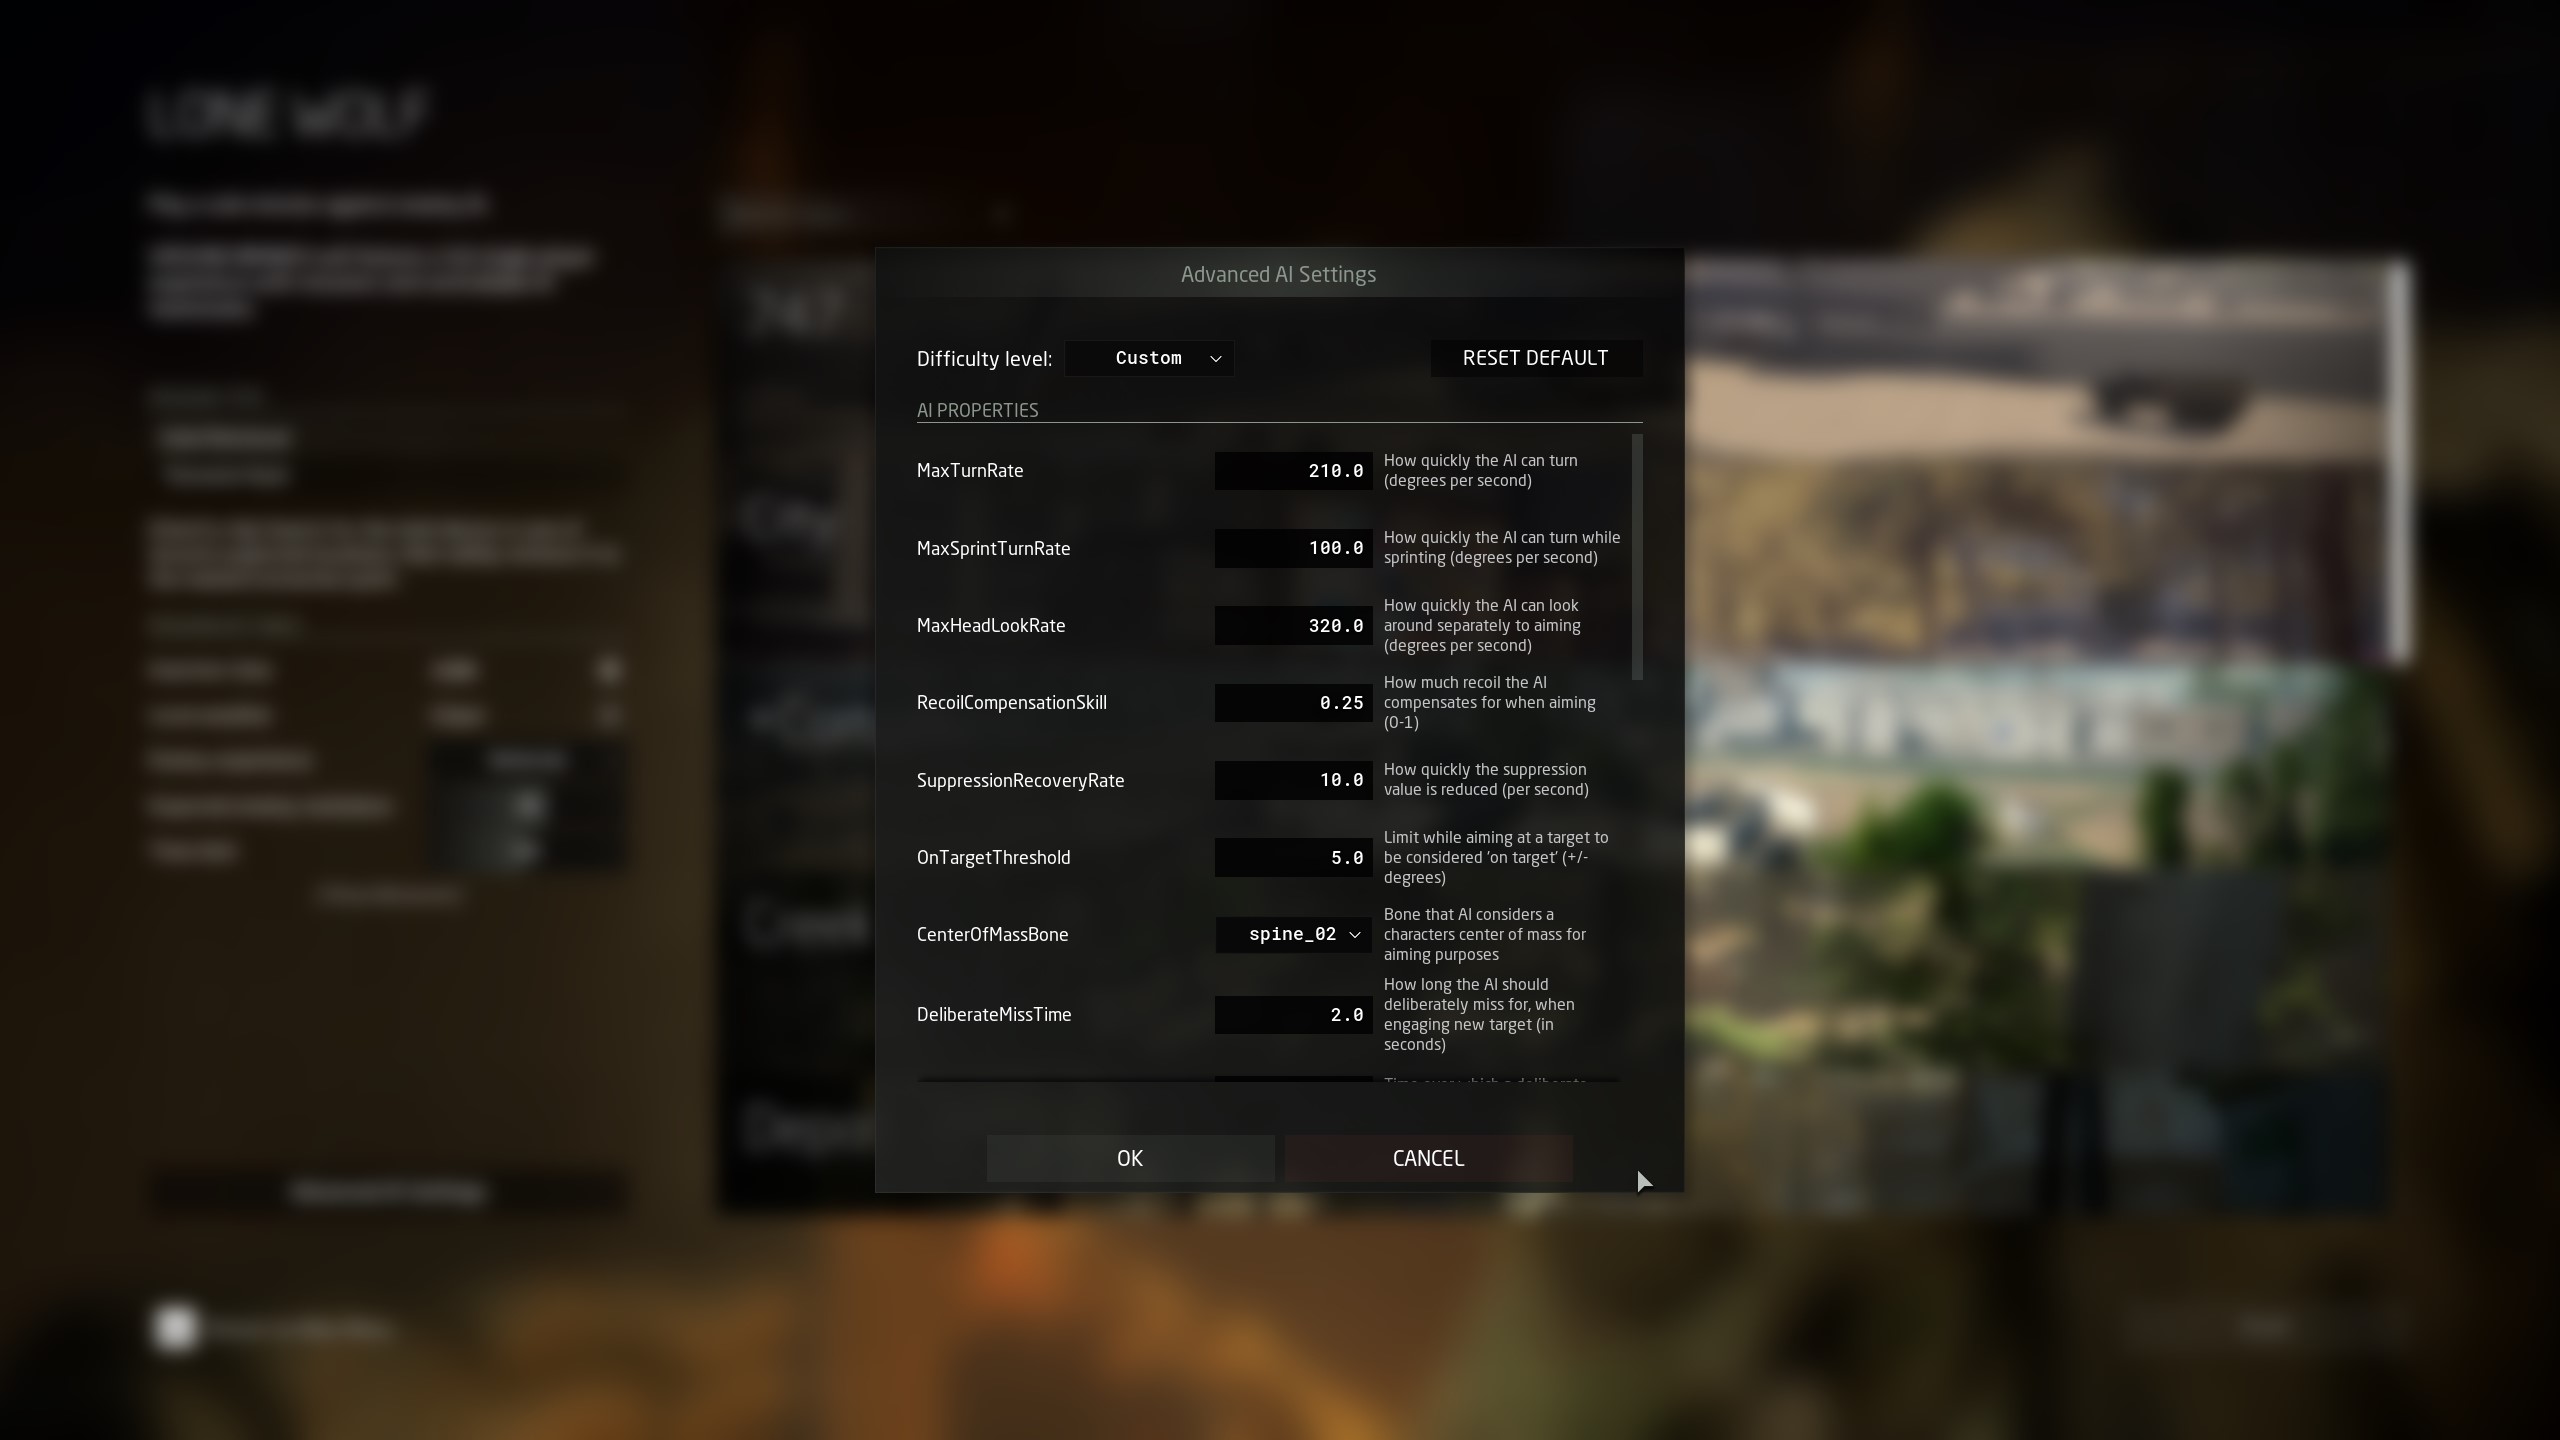
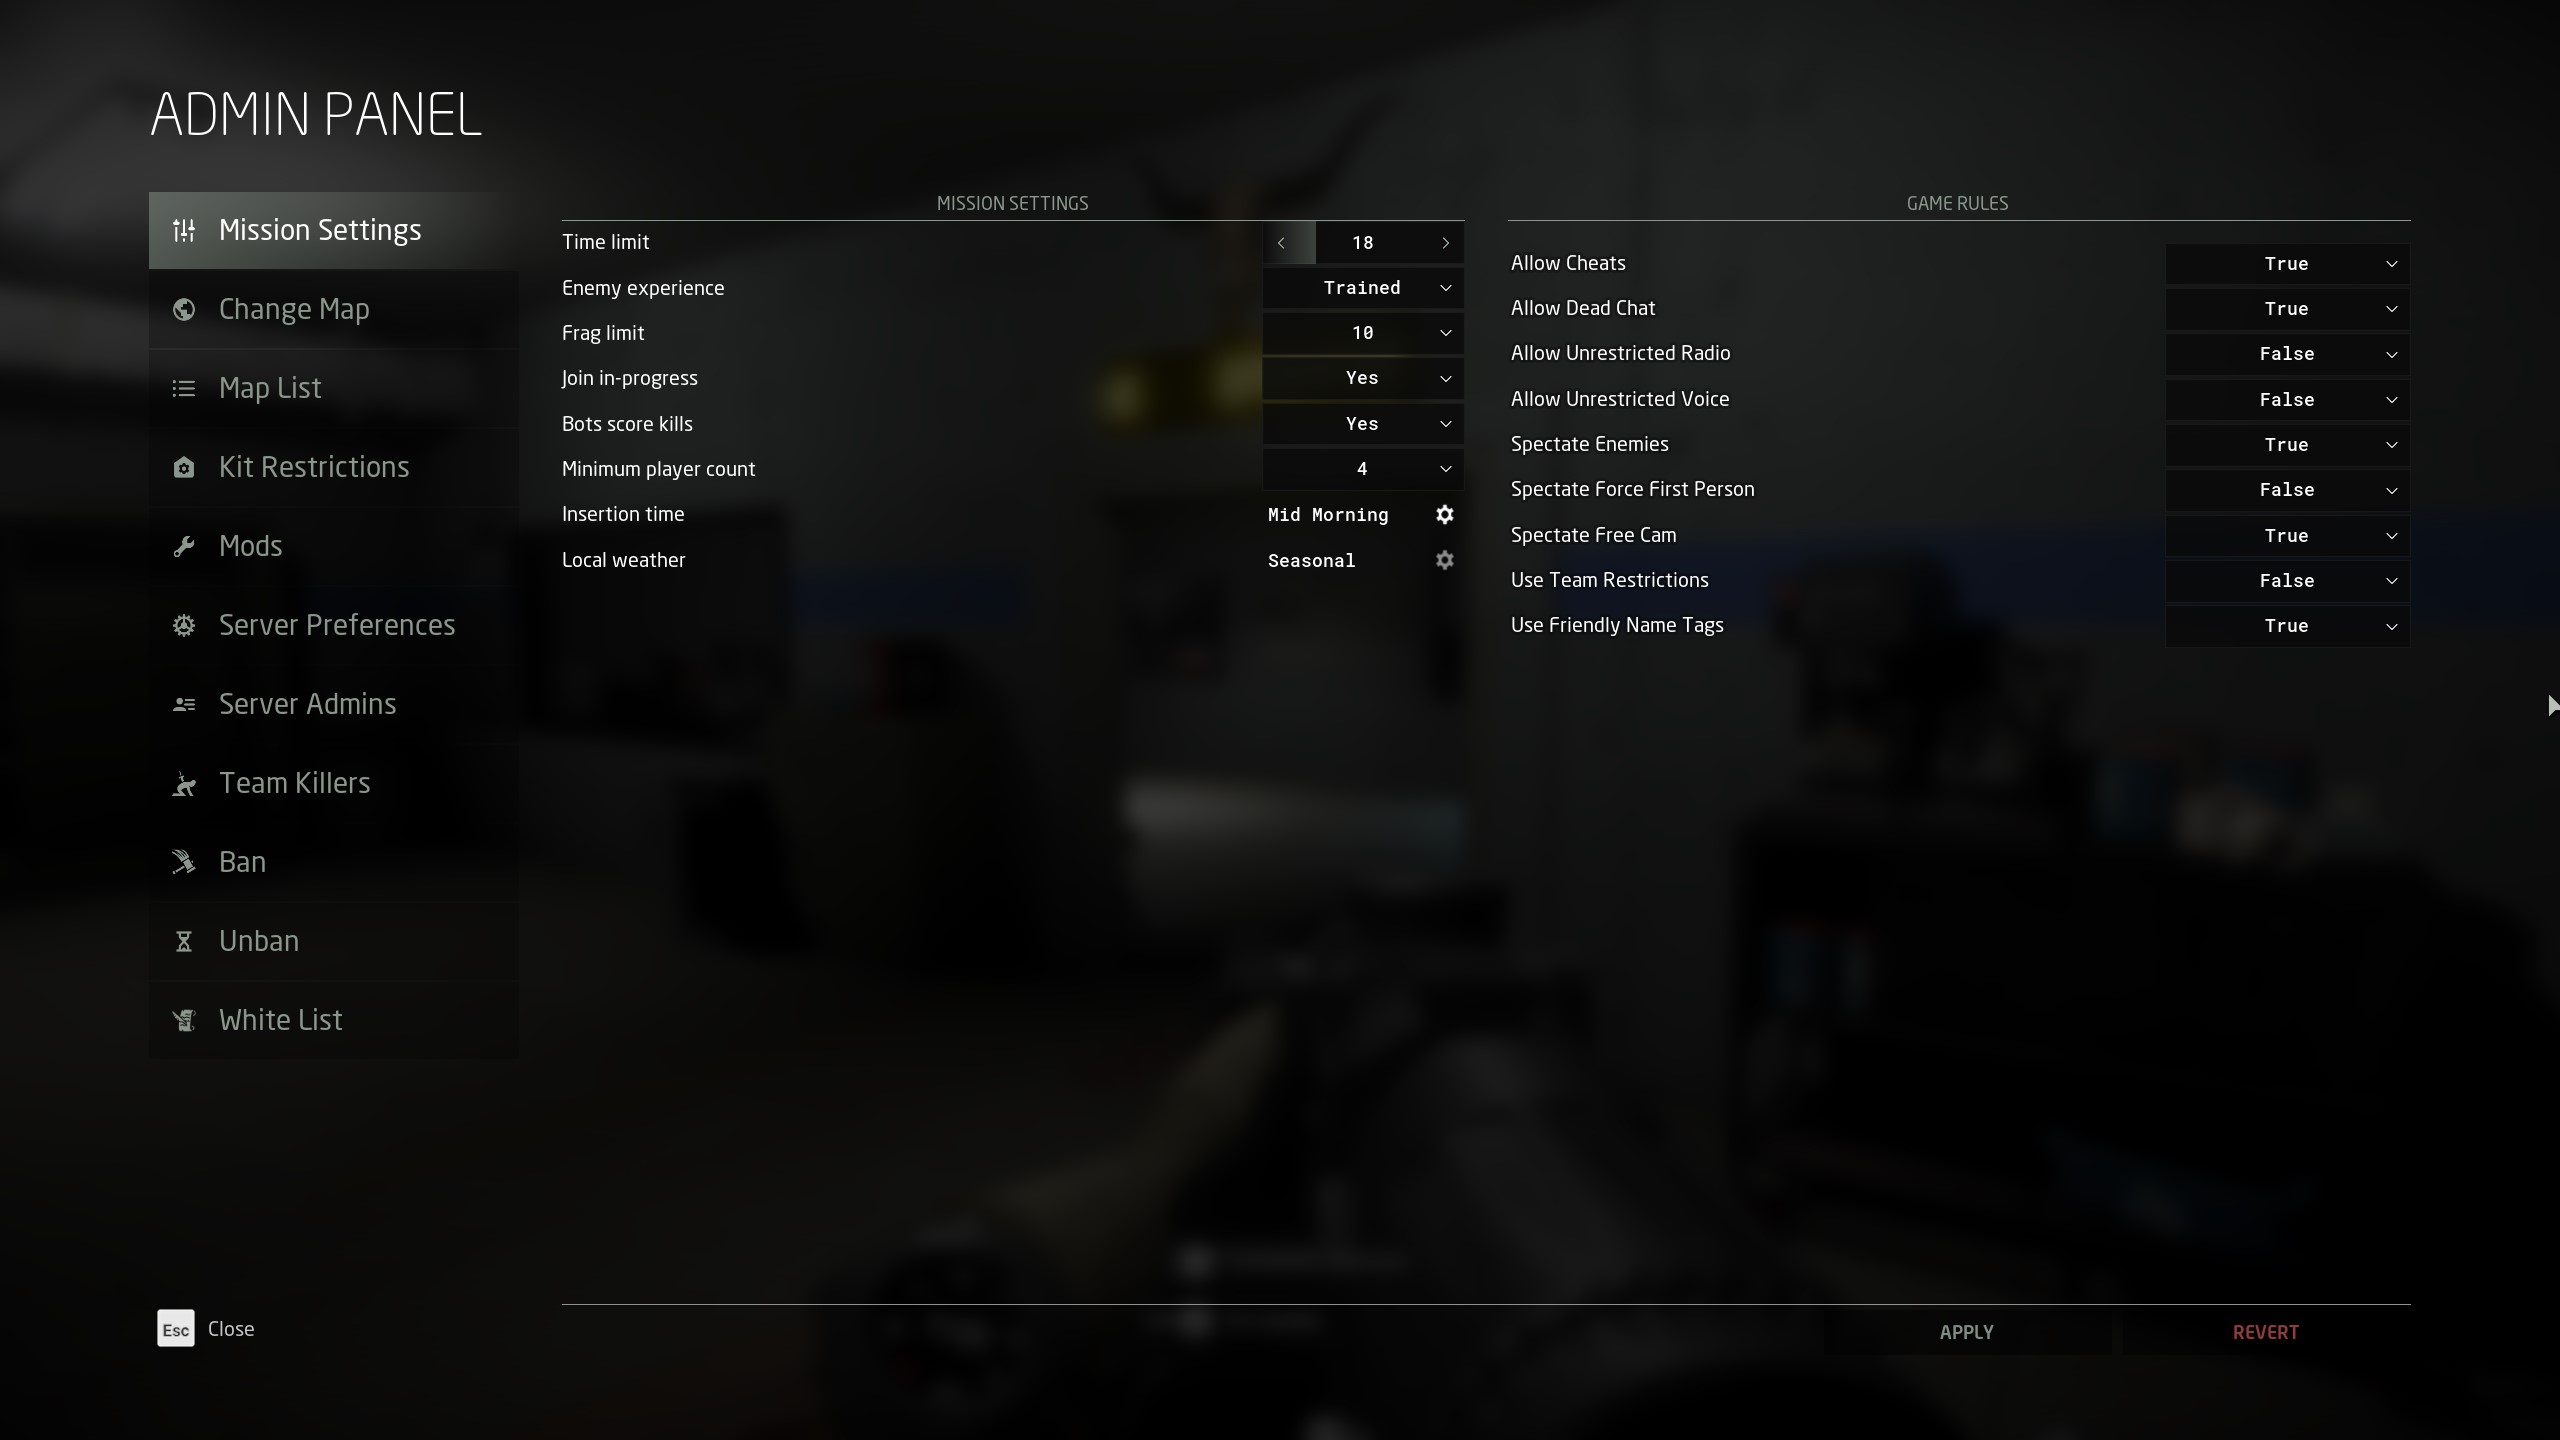
Updated the Notable Settings section with information on Lean Roll (POV) and removed the section on NVG Vertical Extent. This setting is going through a rework and is temporarily unavailable.
Consecrated2718 🦁  [author] 25 May, 2024 @ 10:04am 
Guide Update 5/25/2024

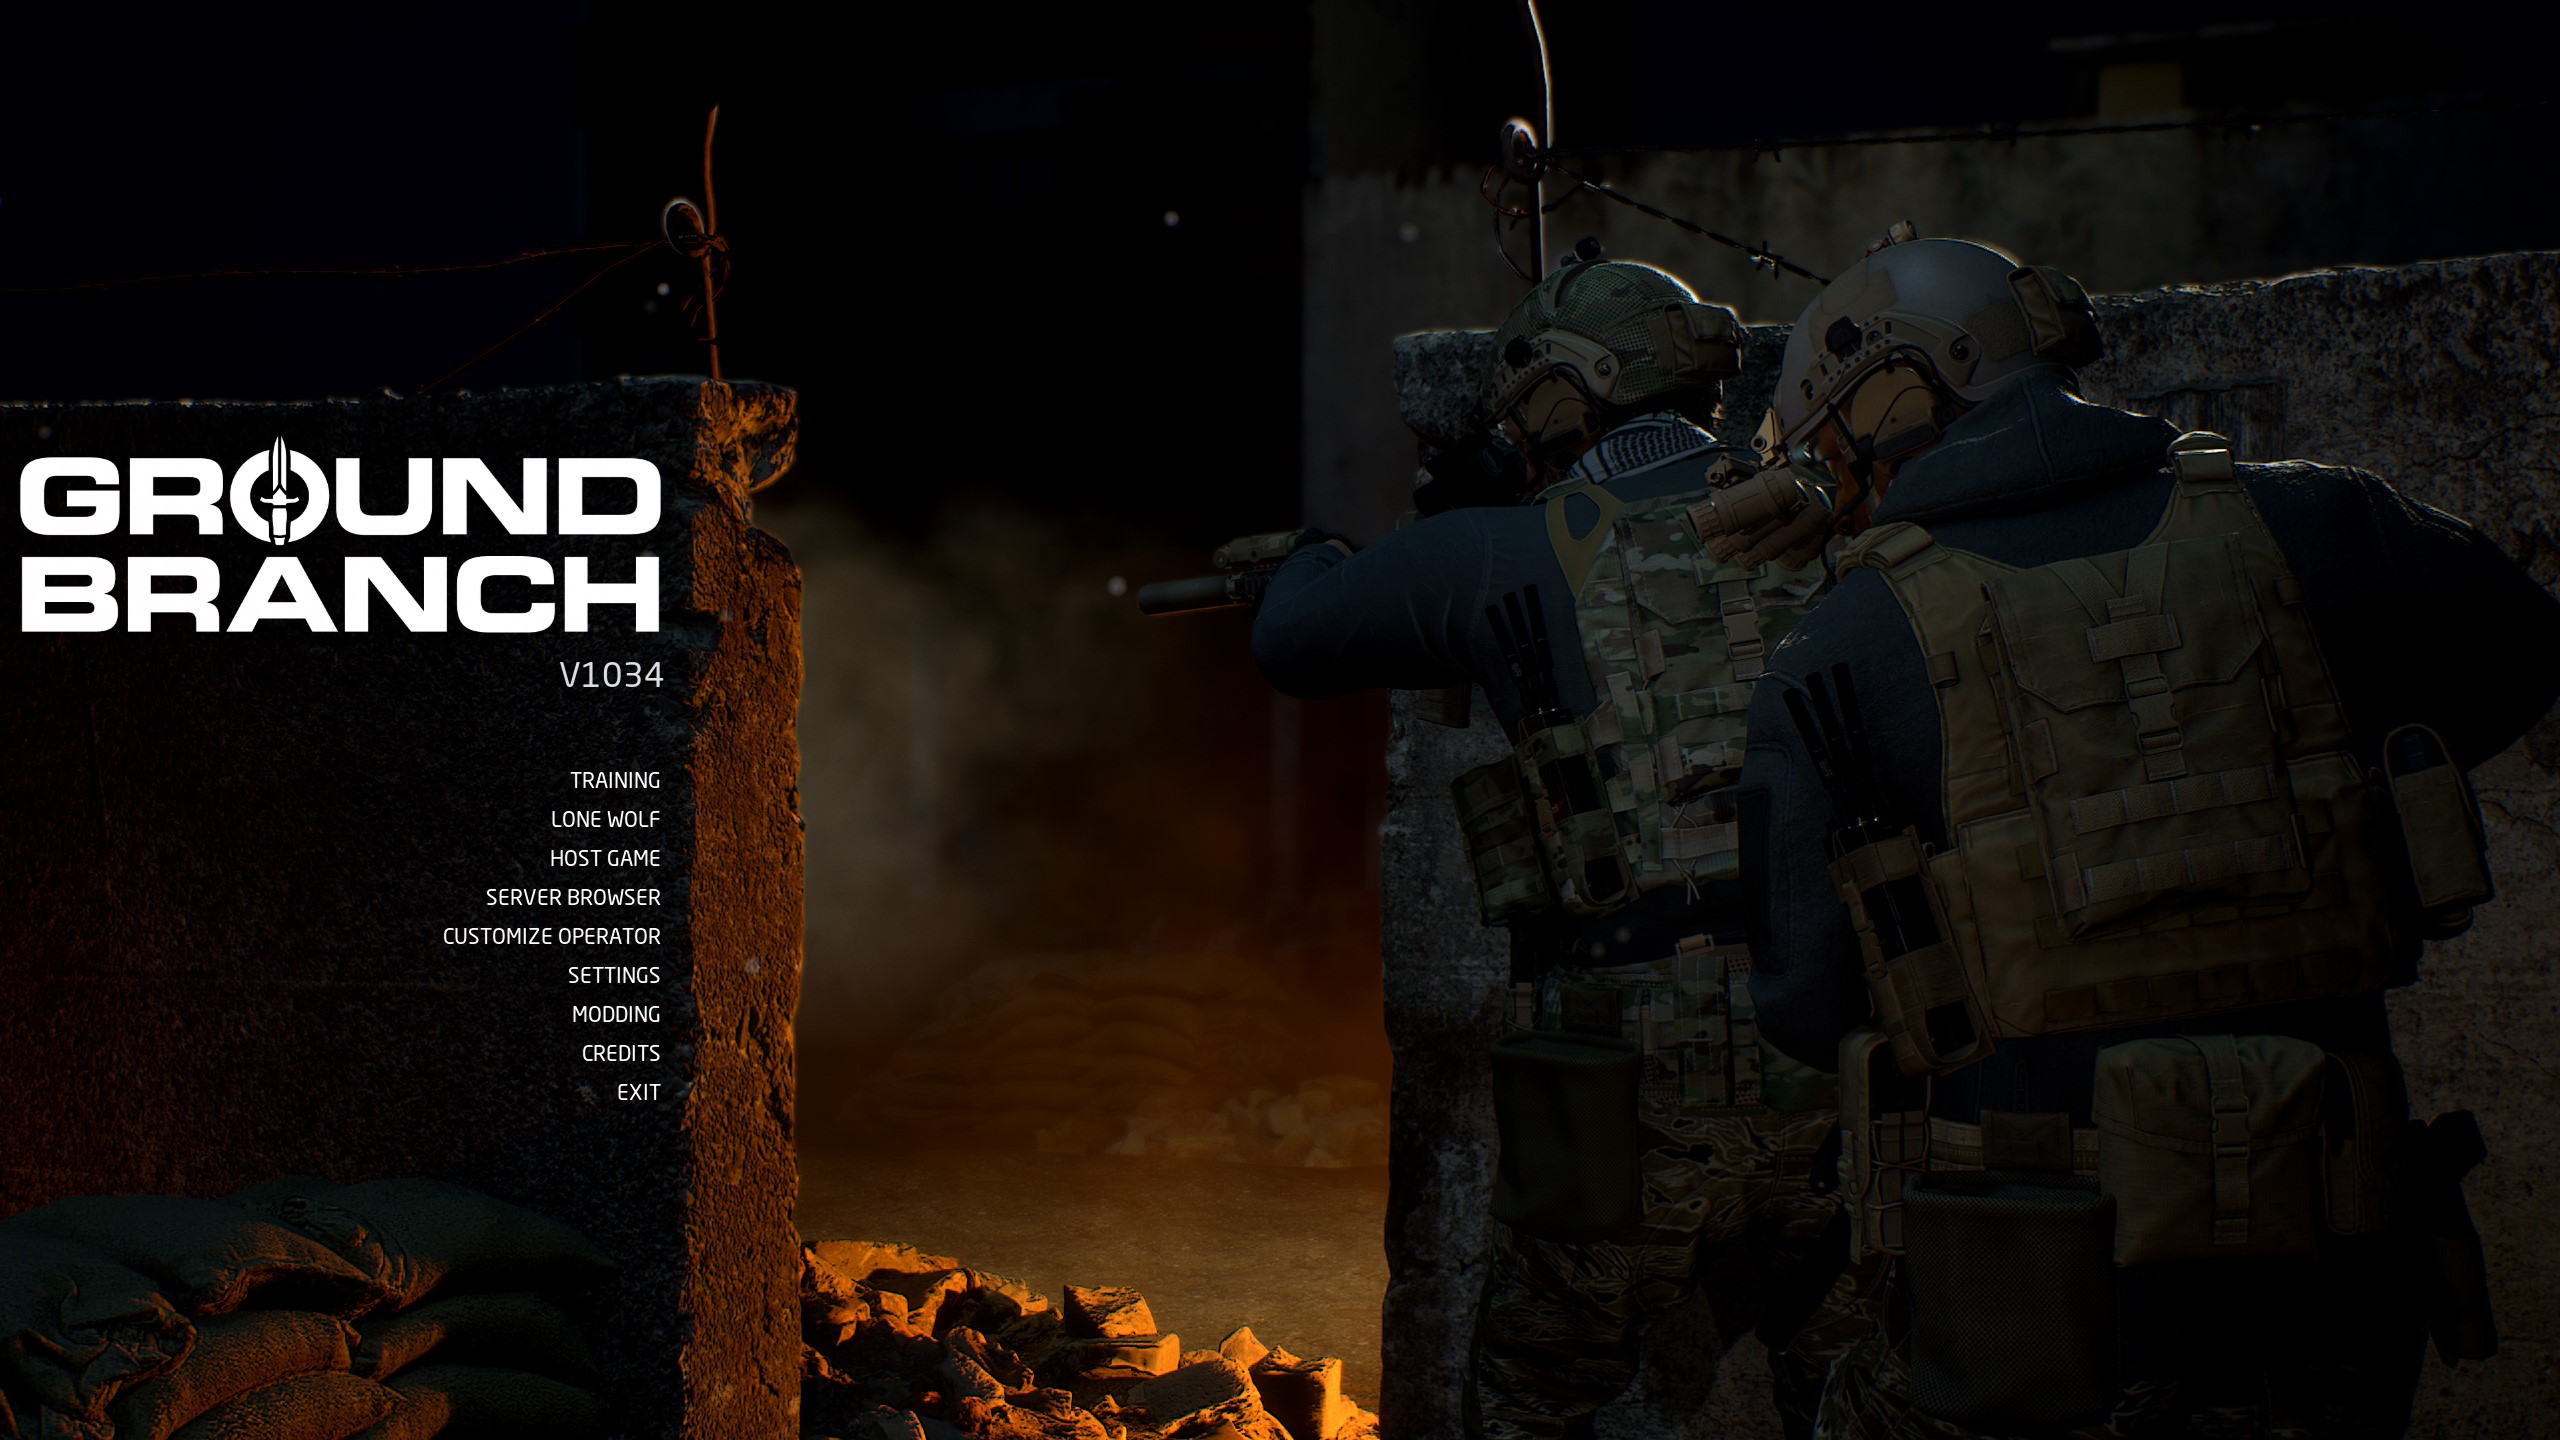
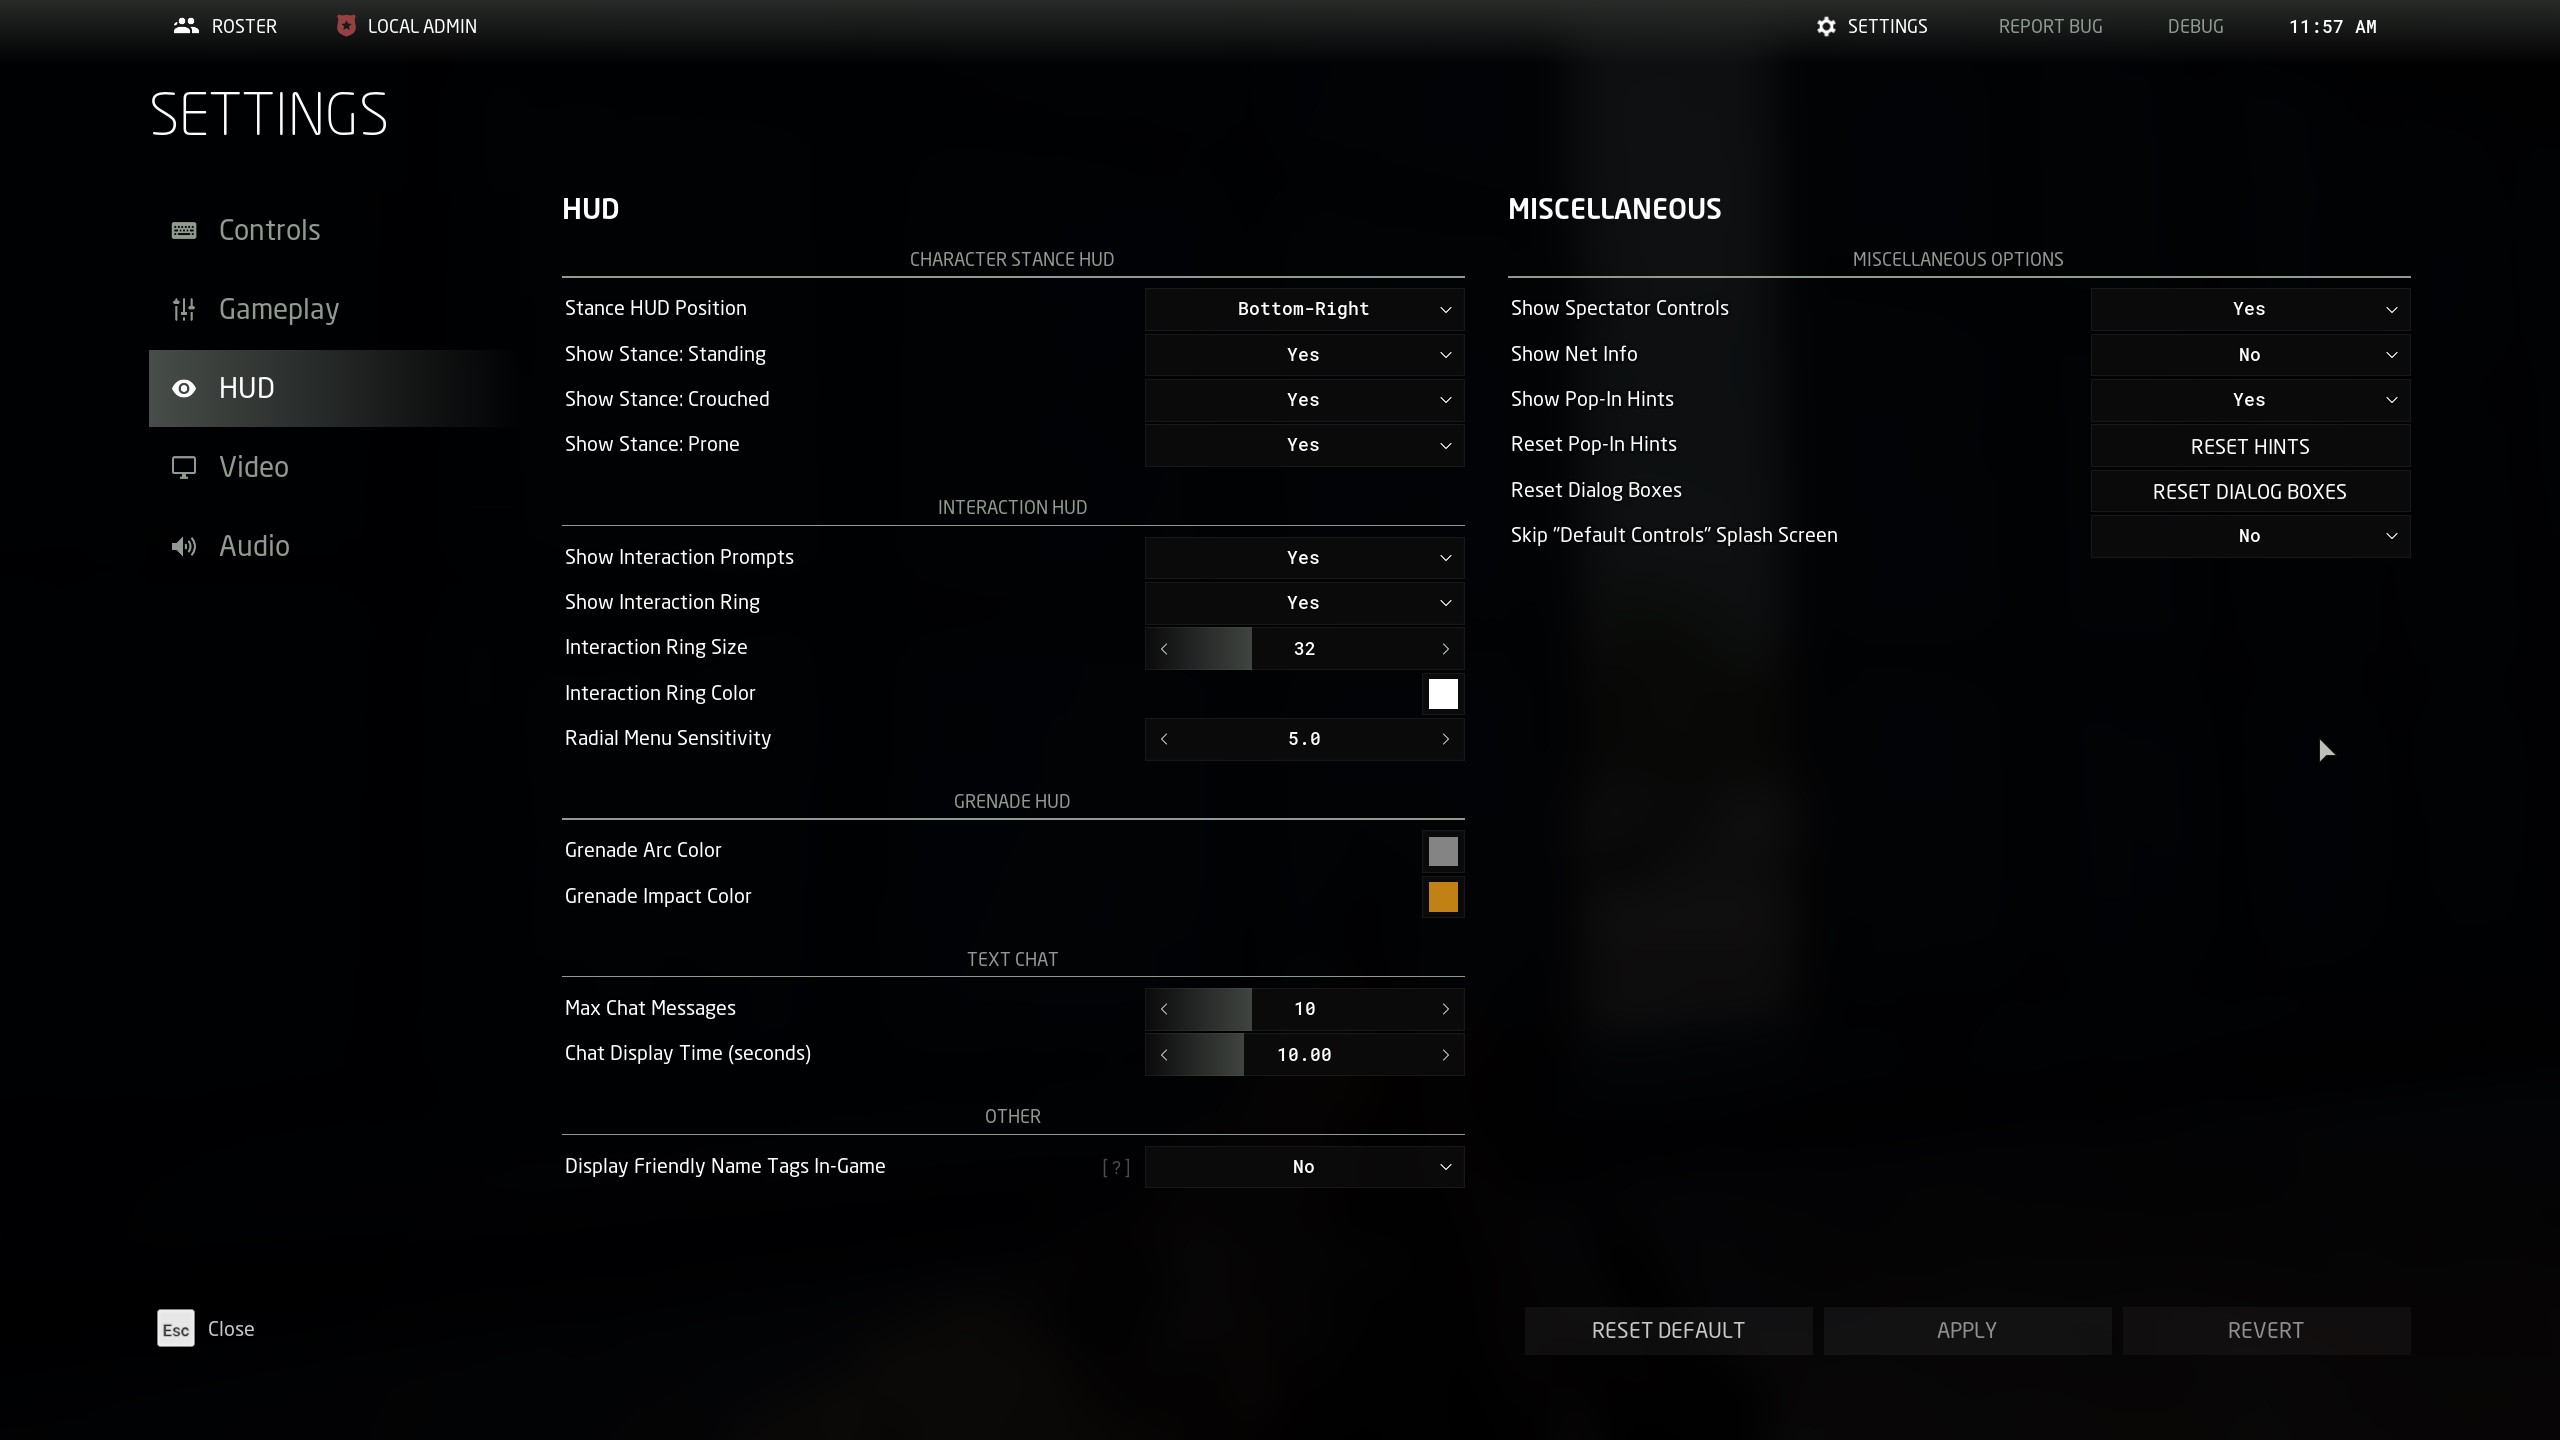
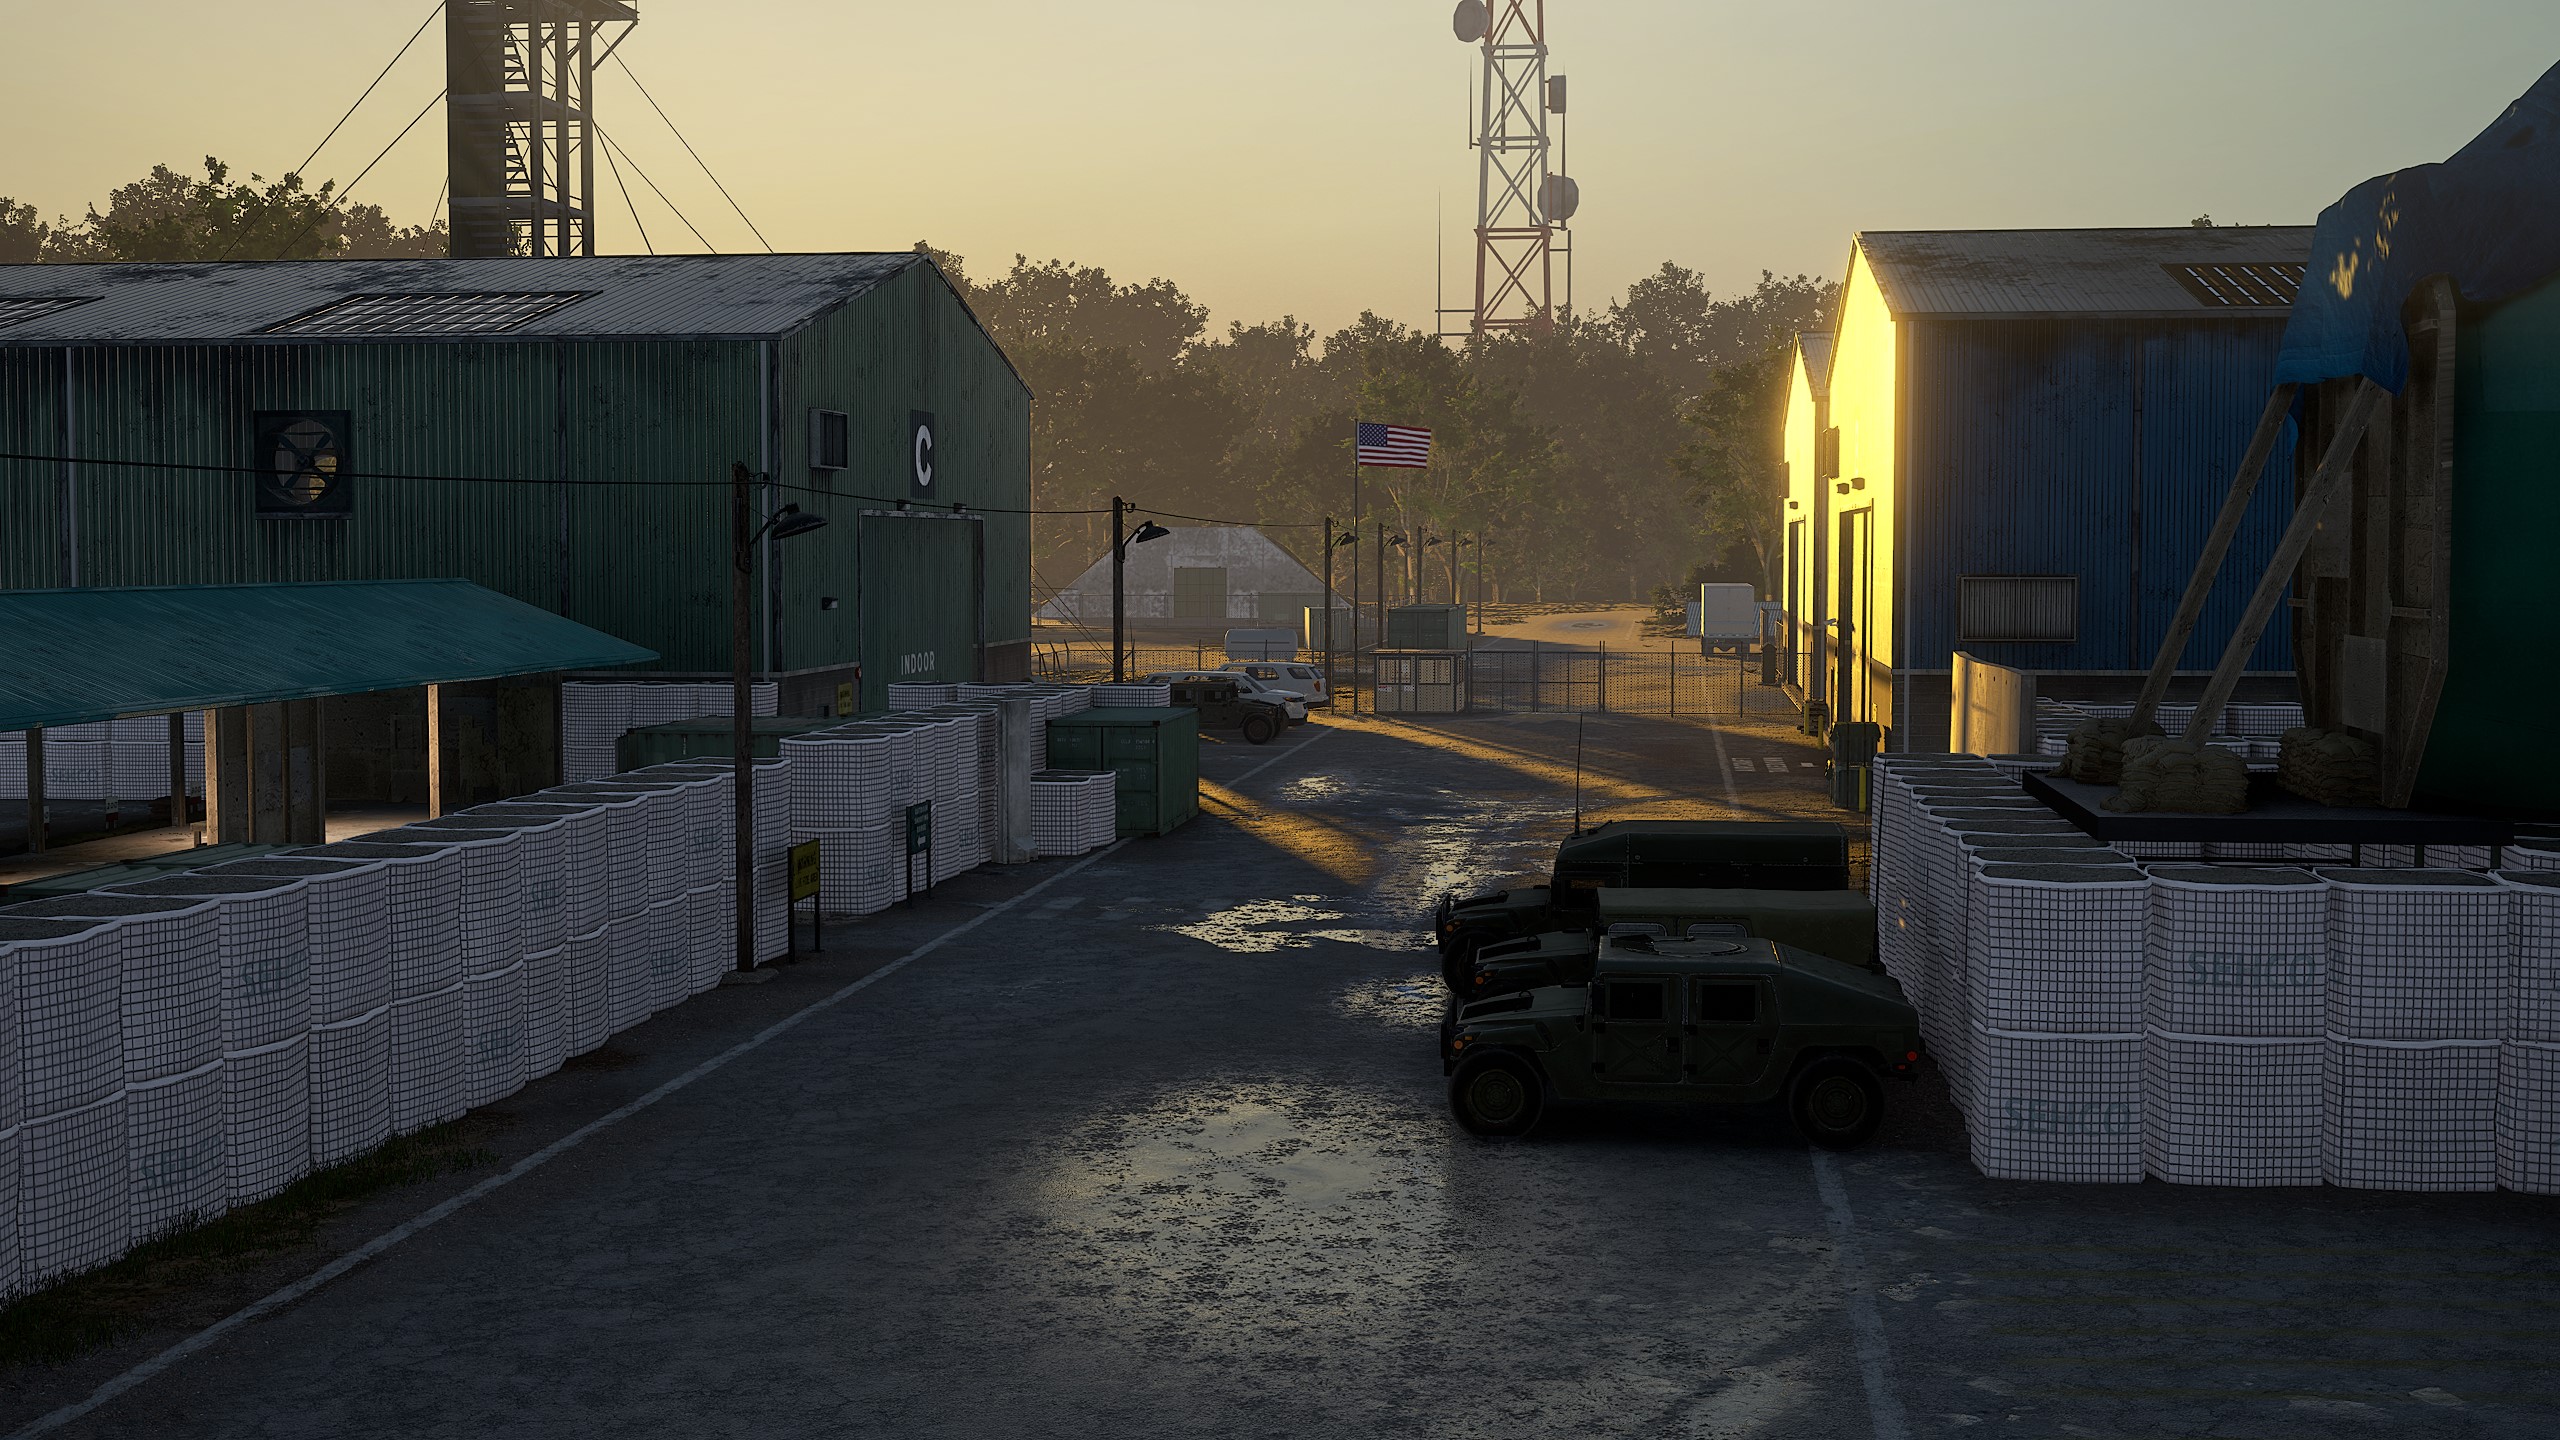
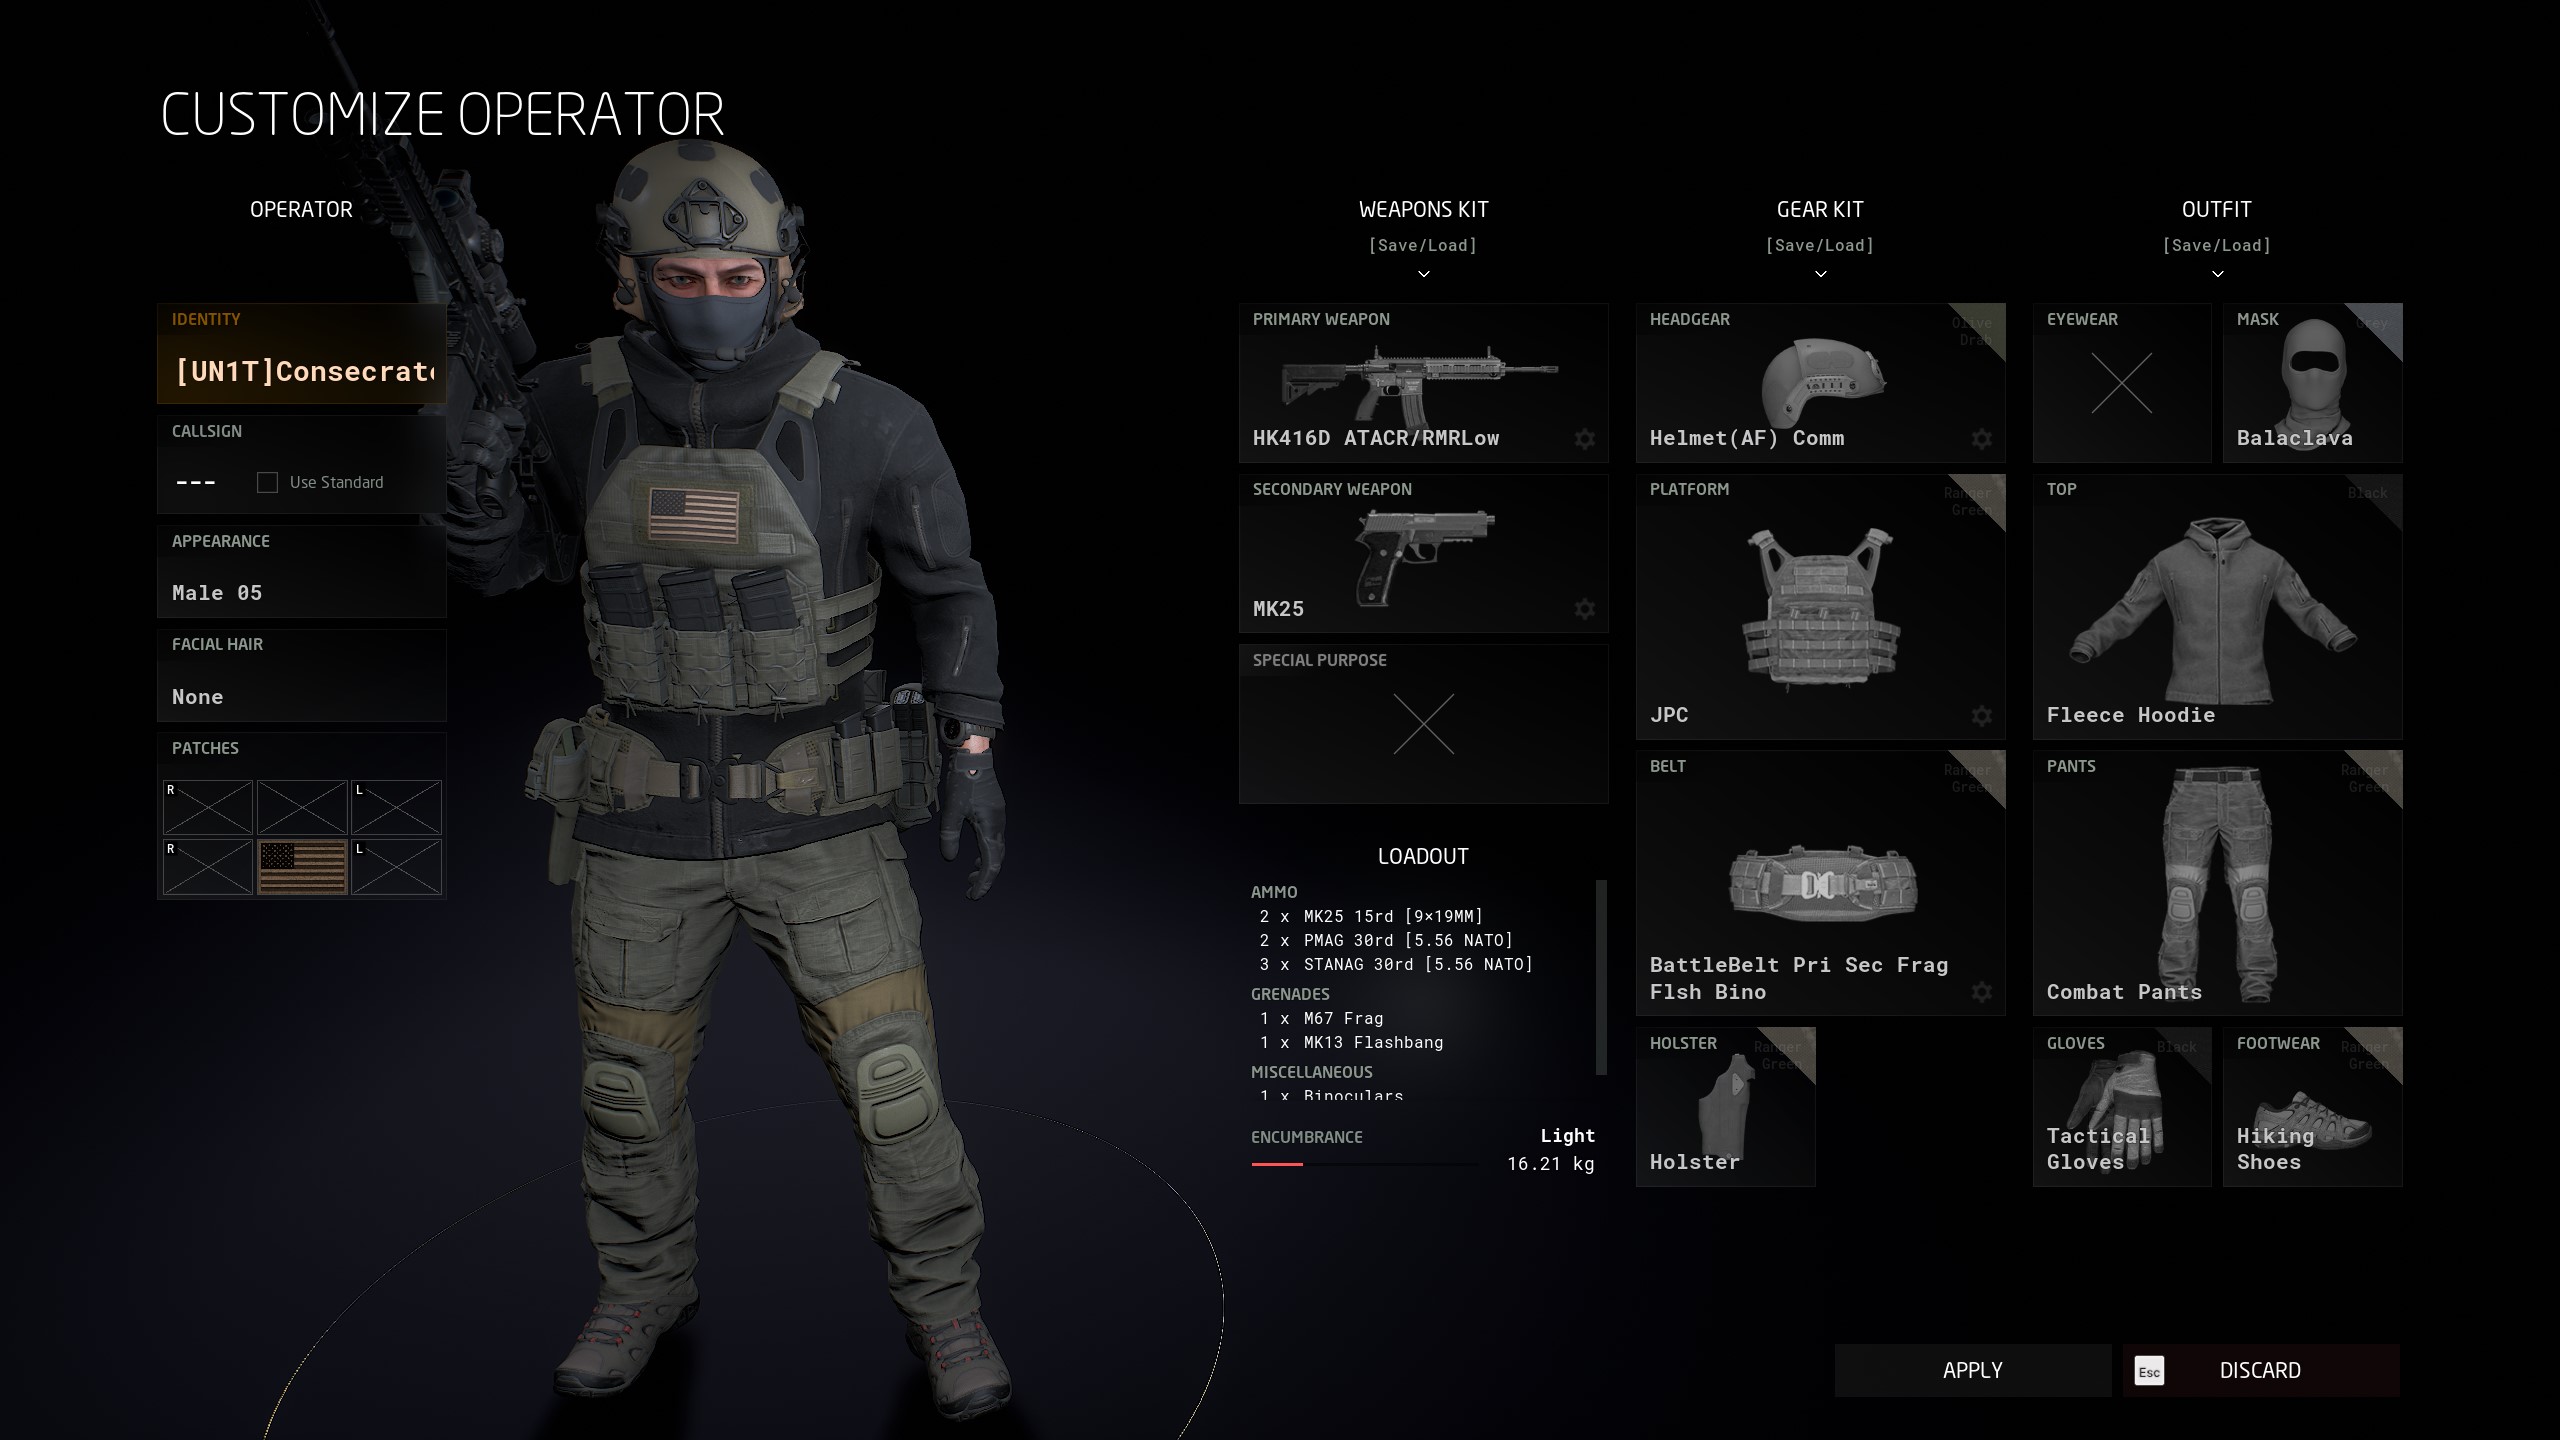
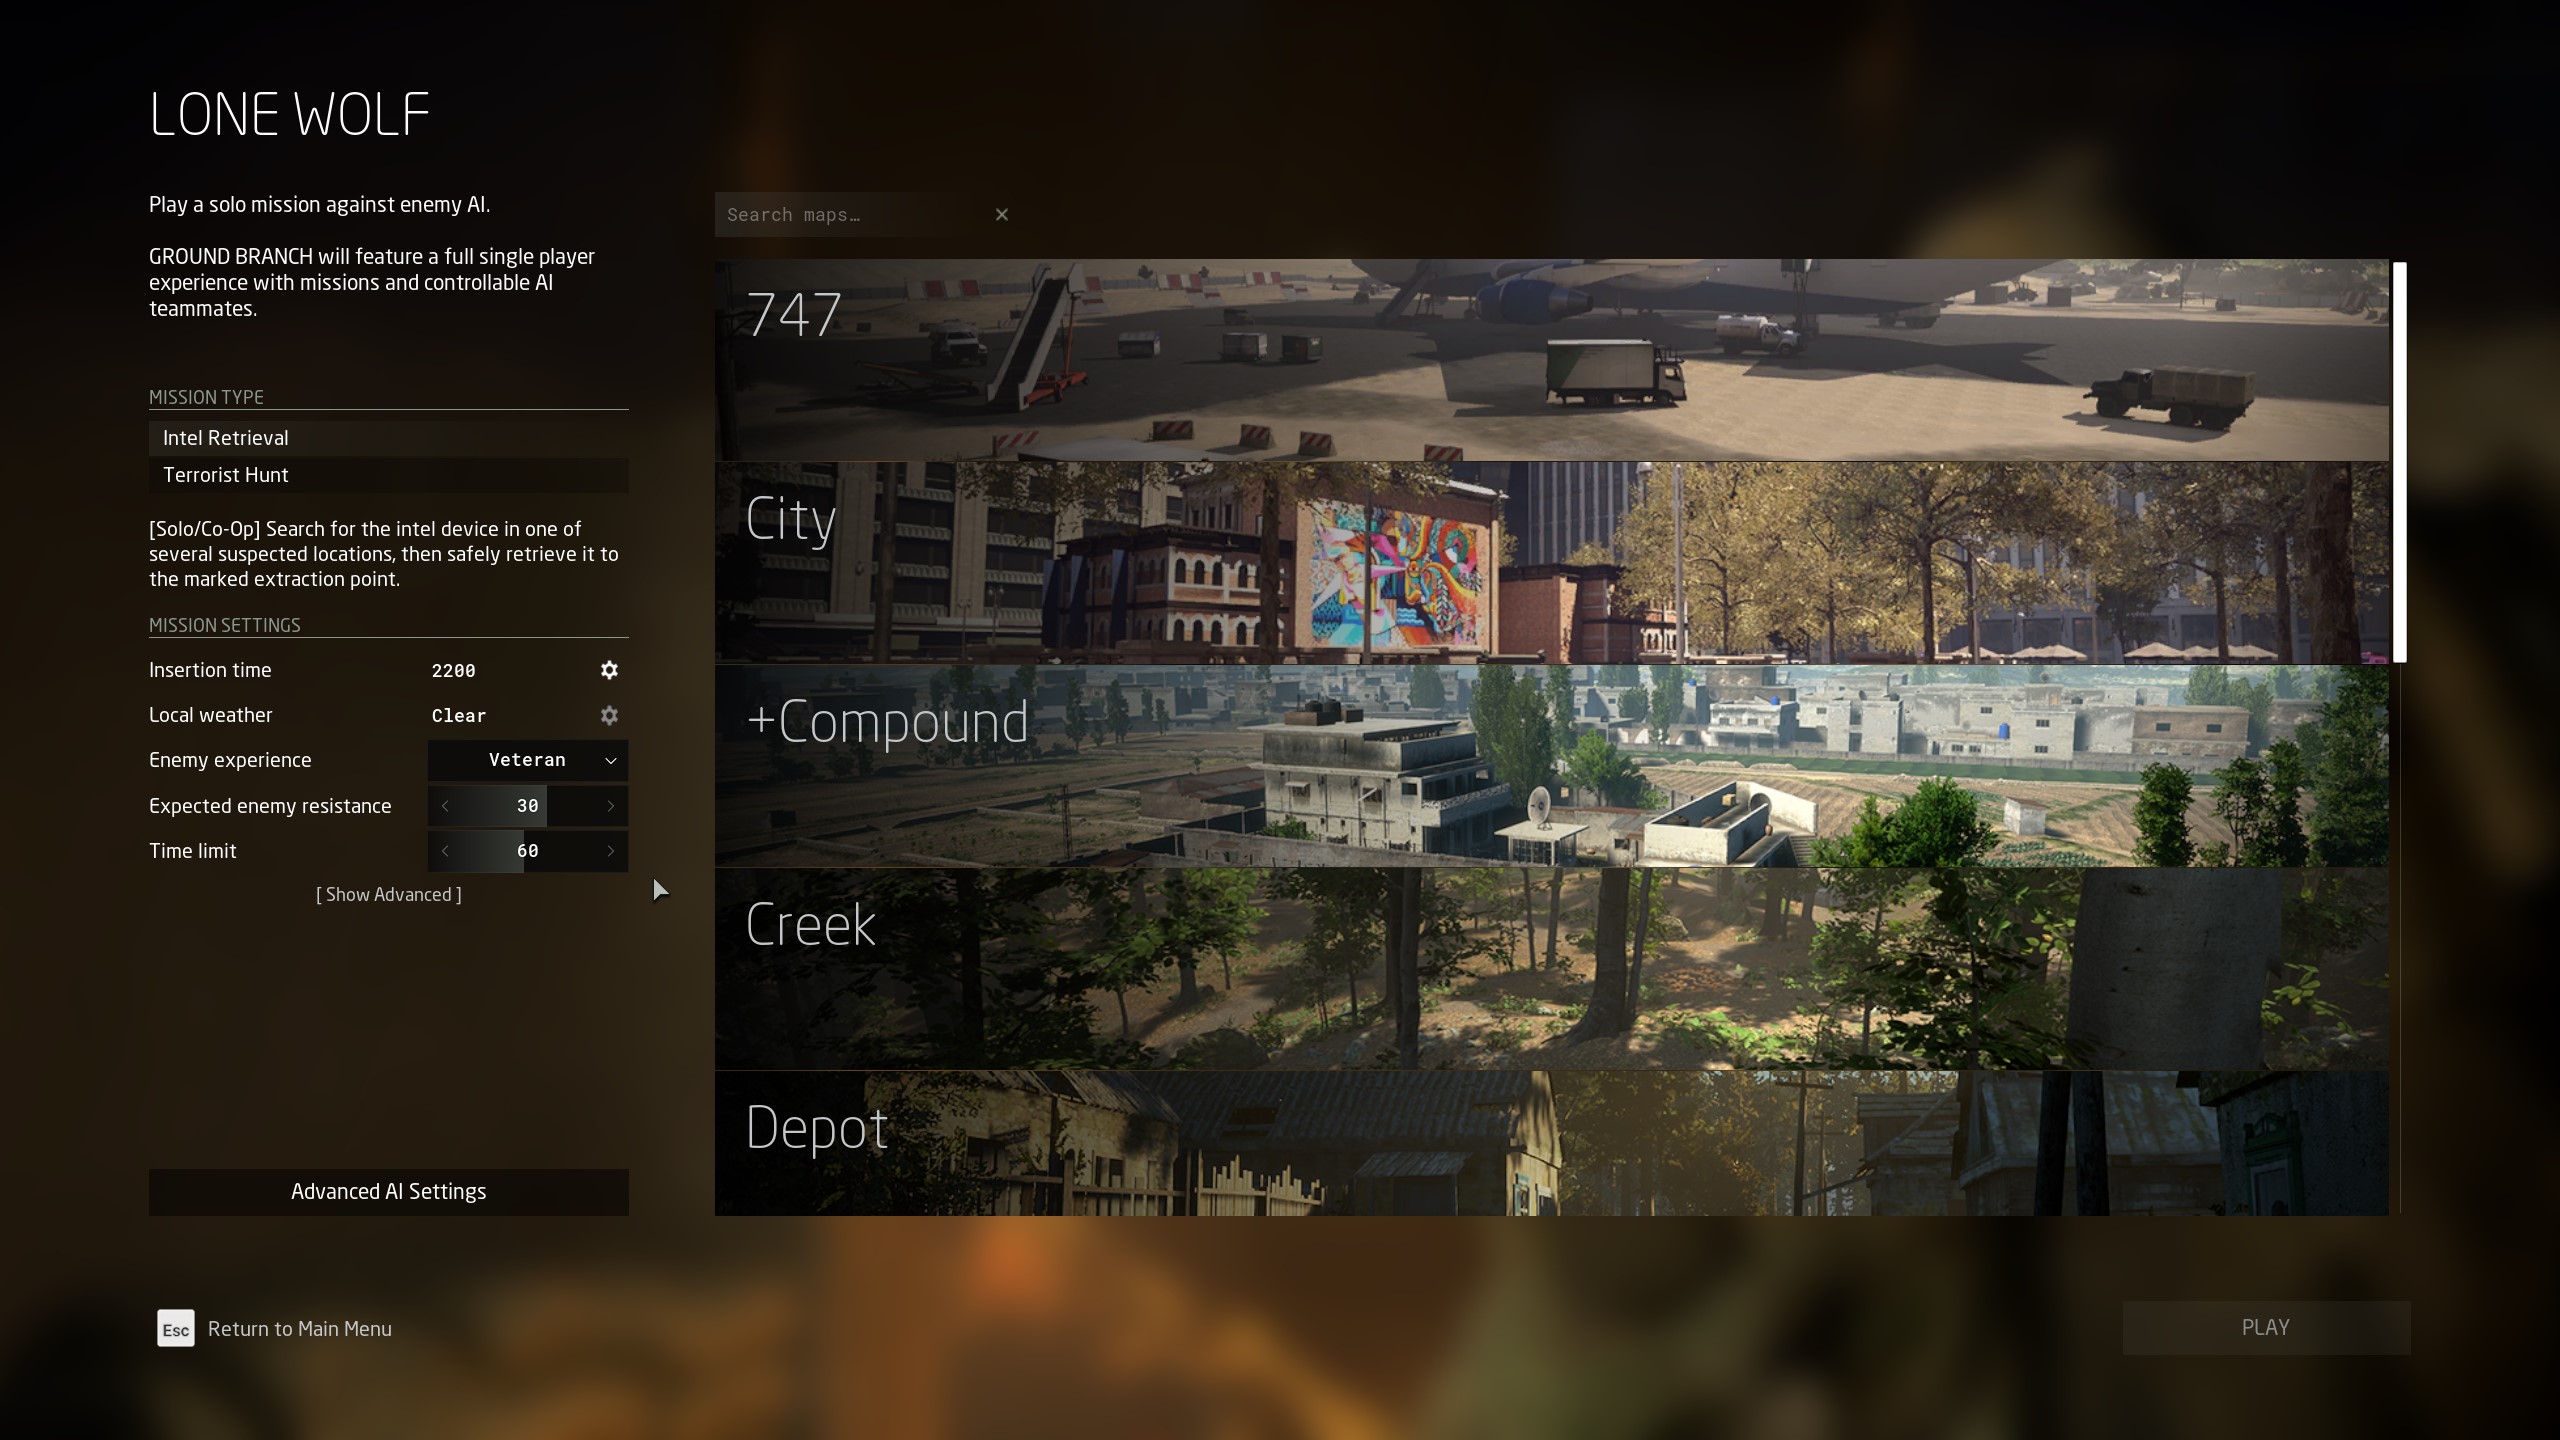
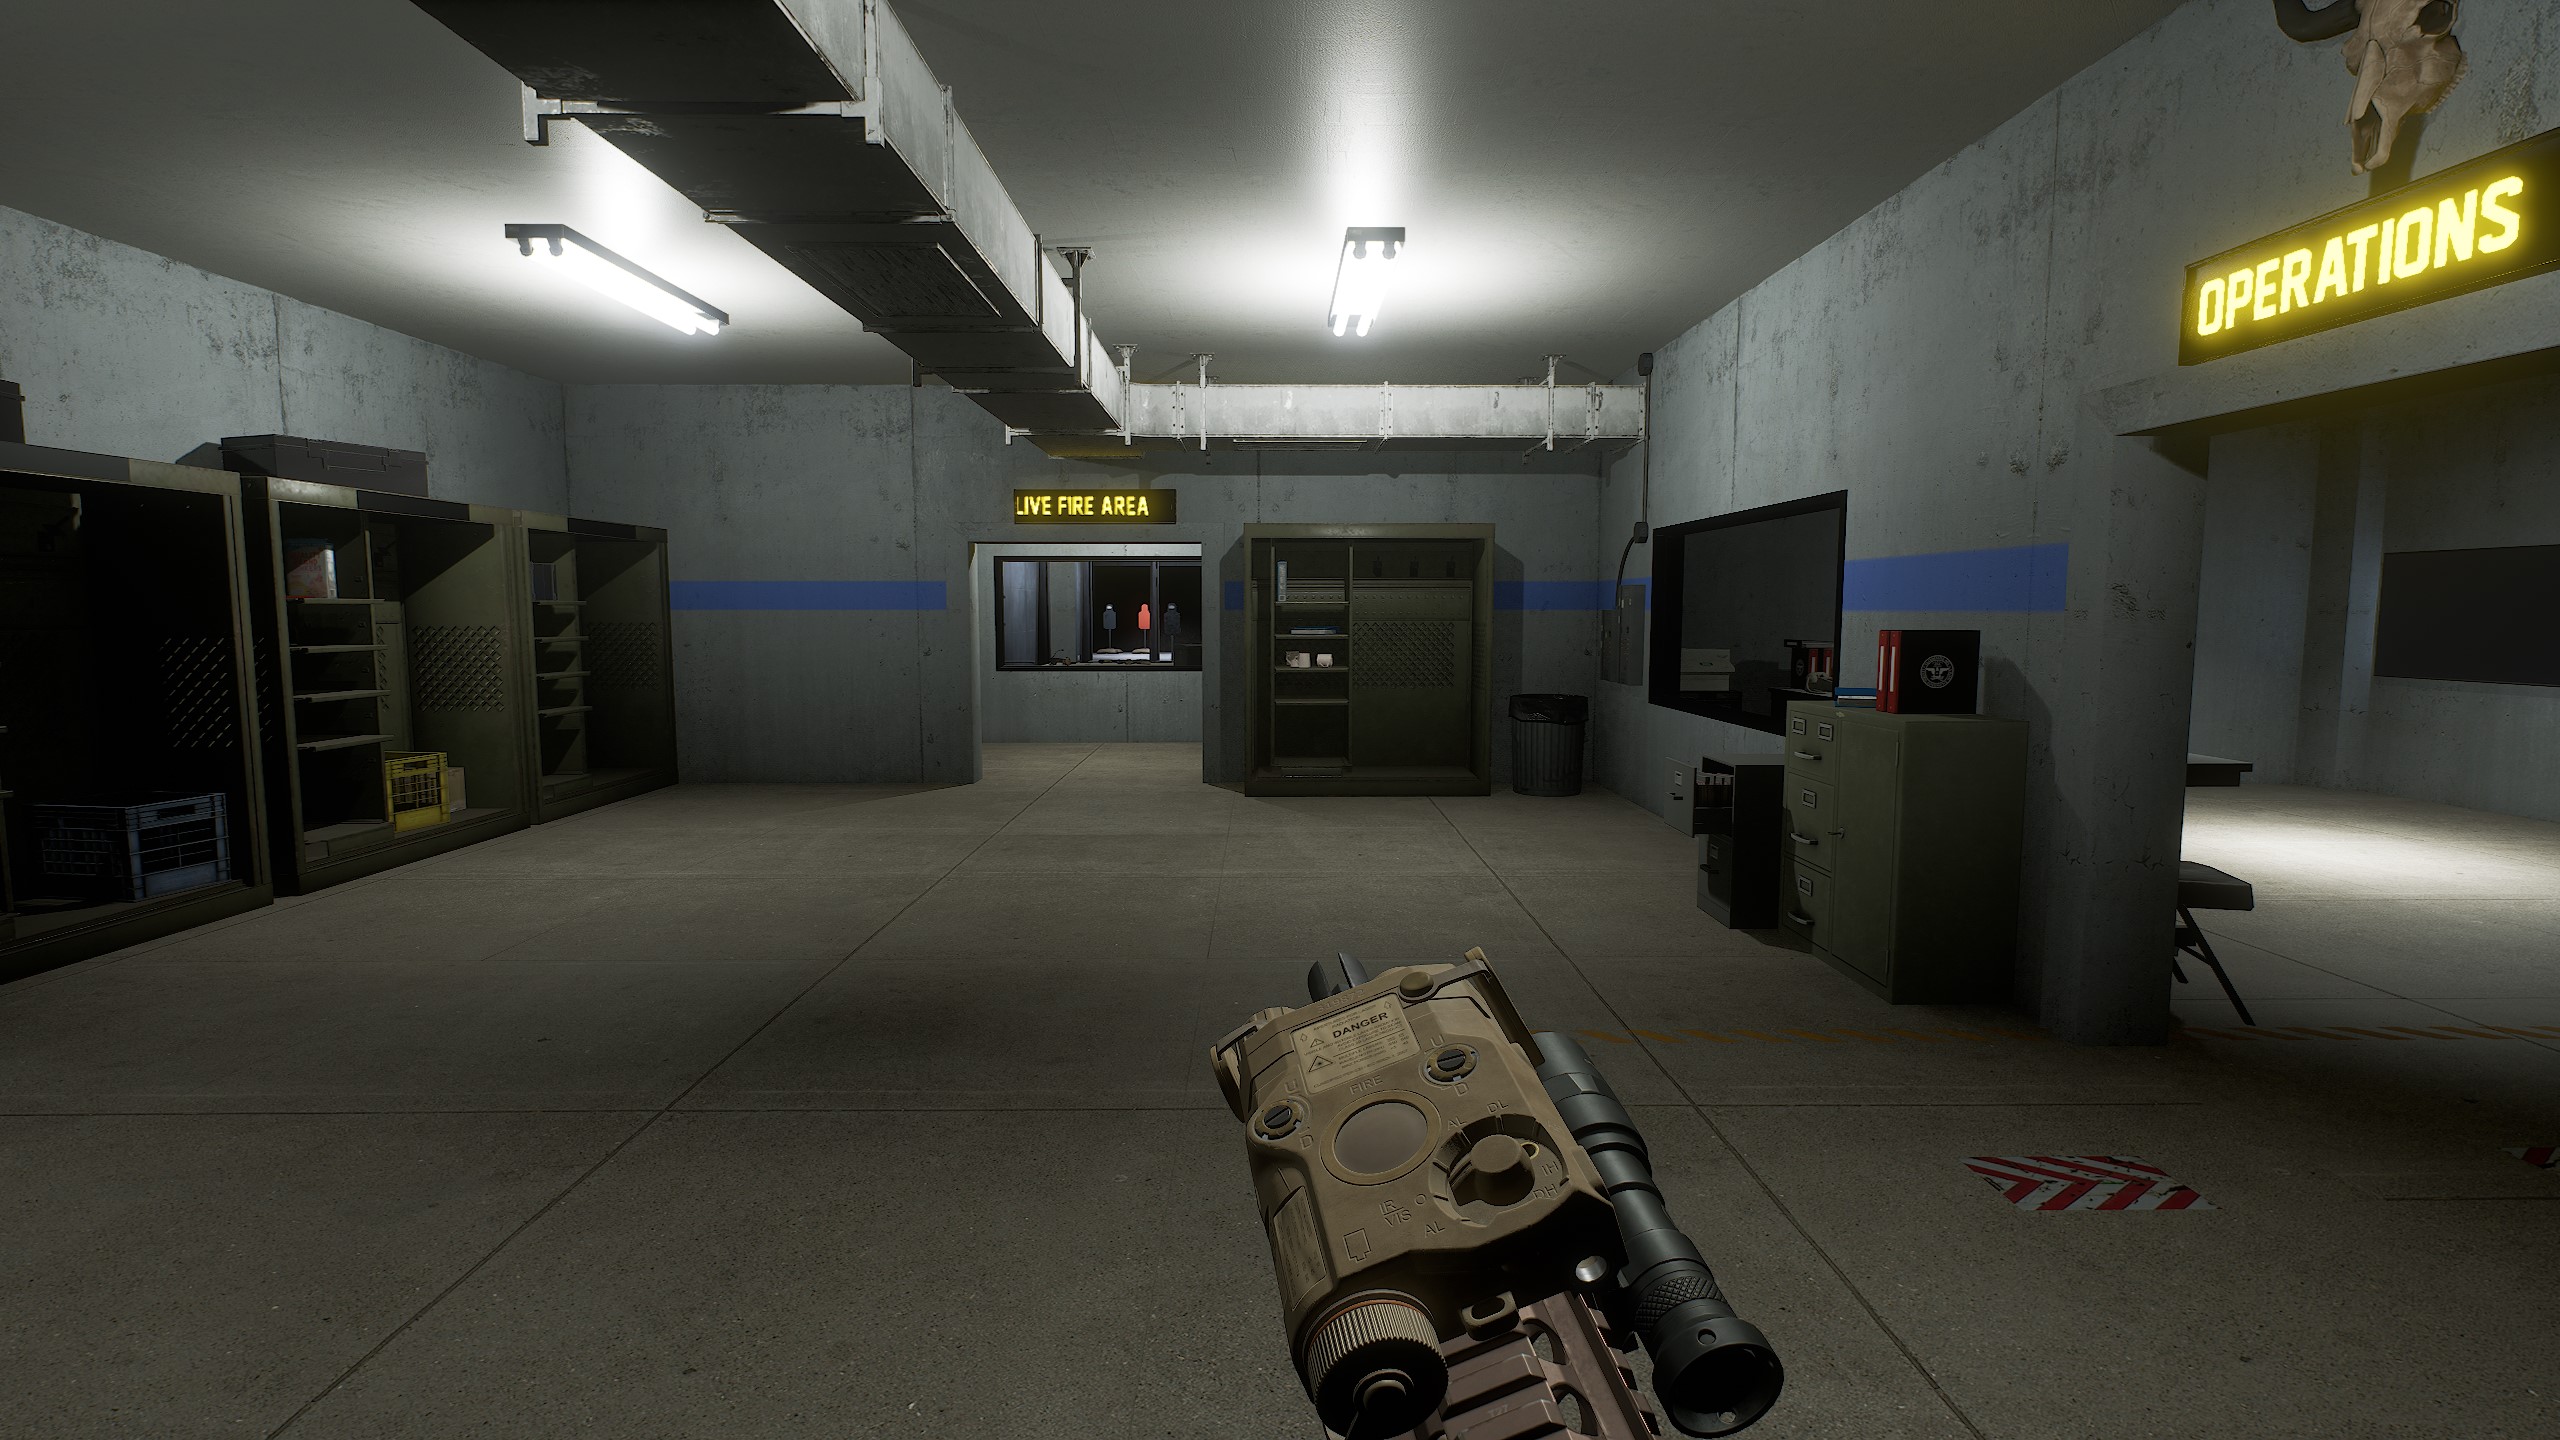
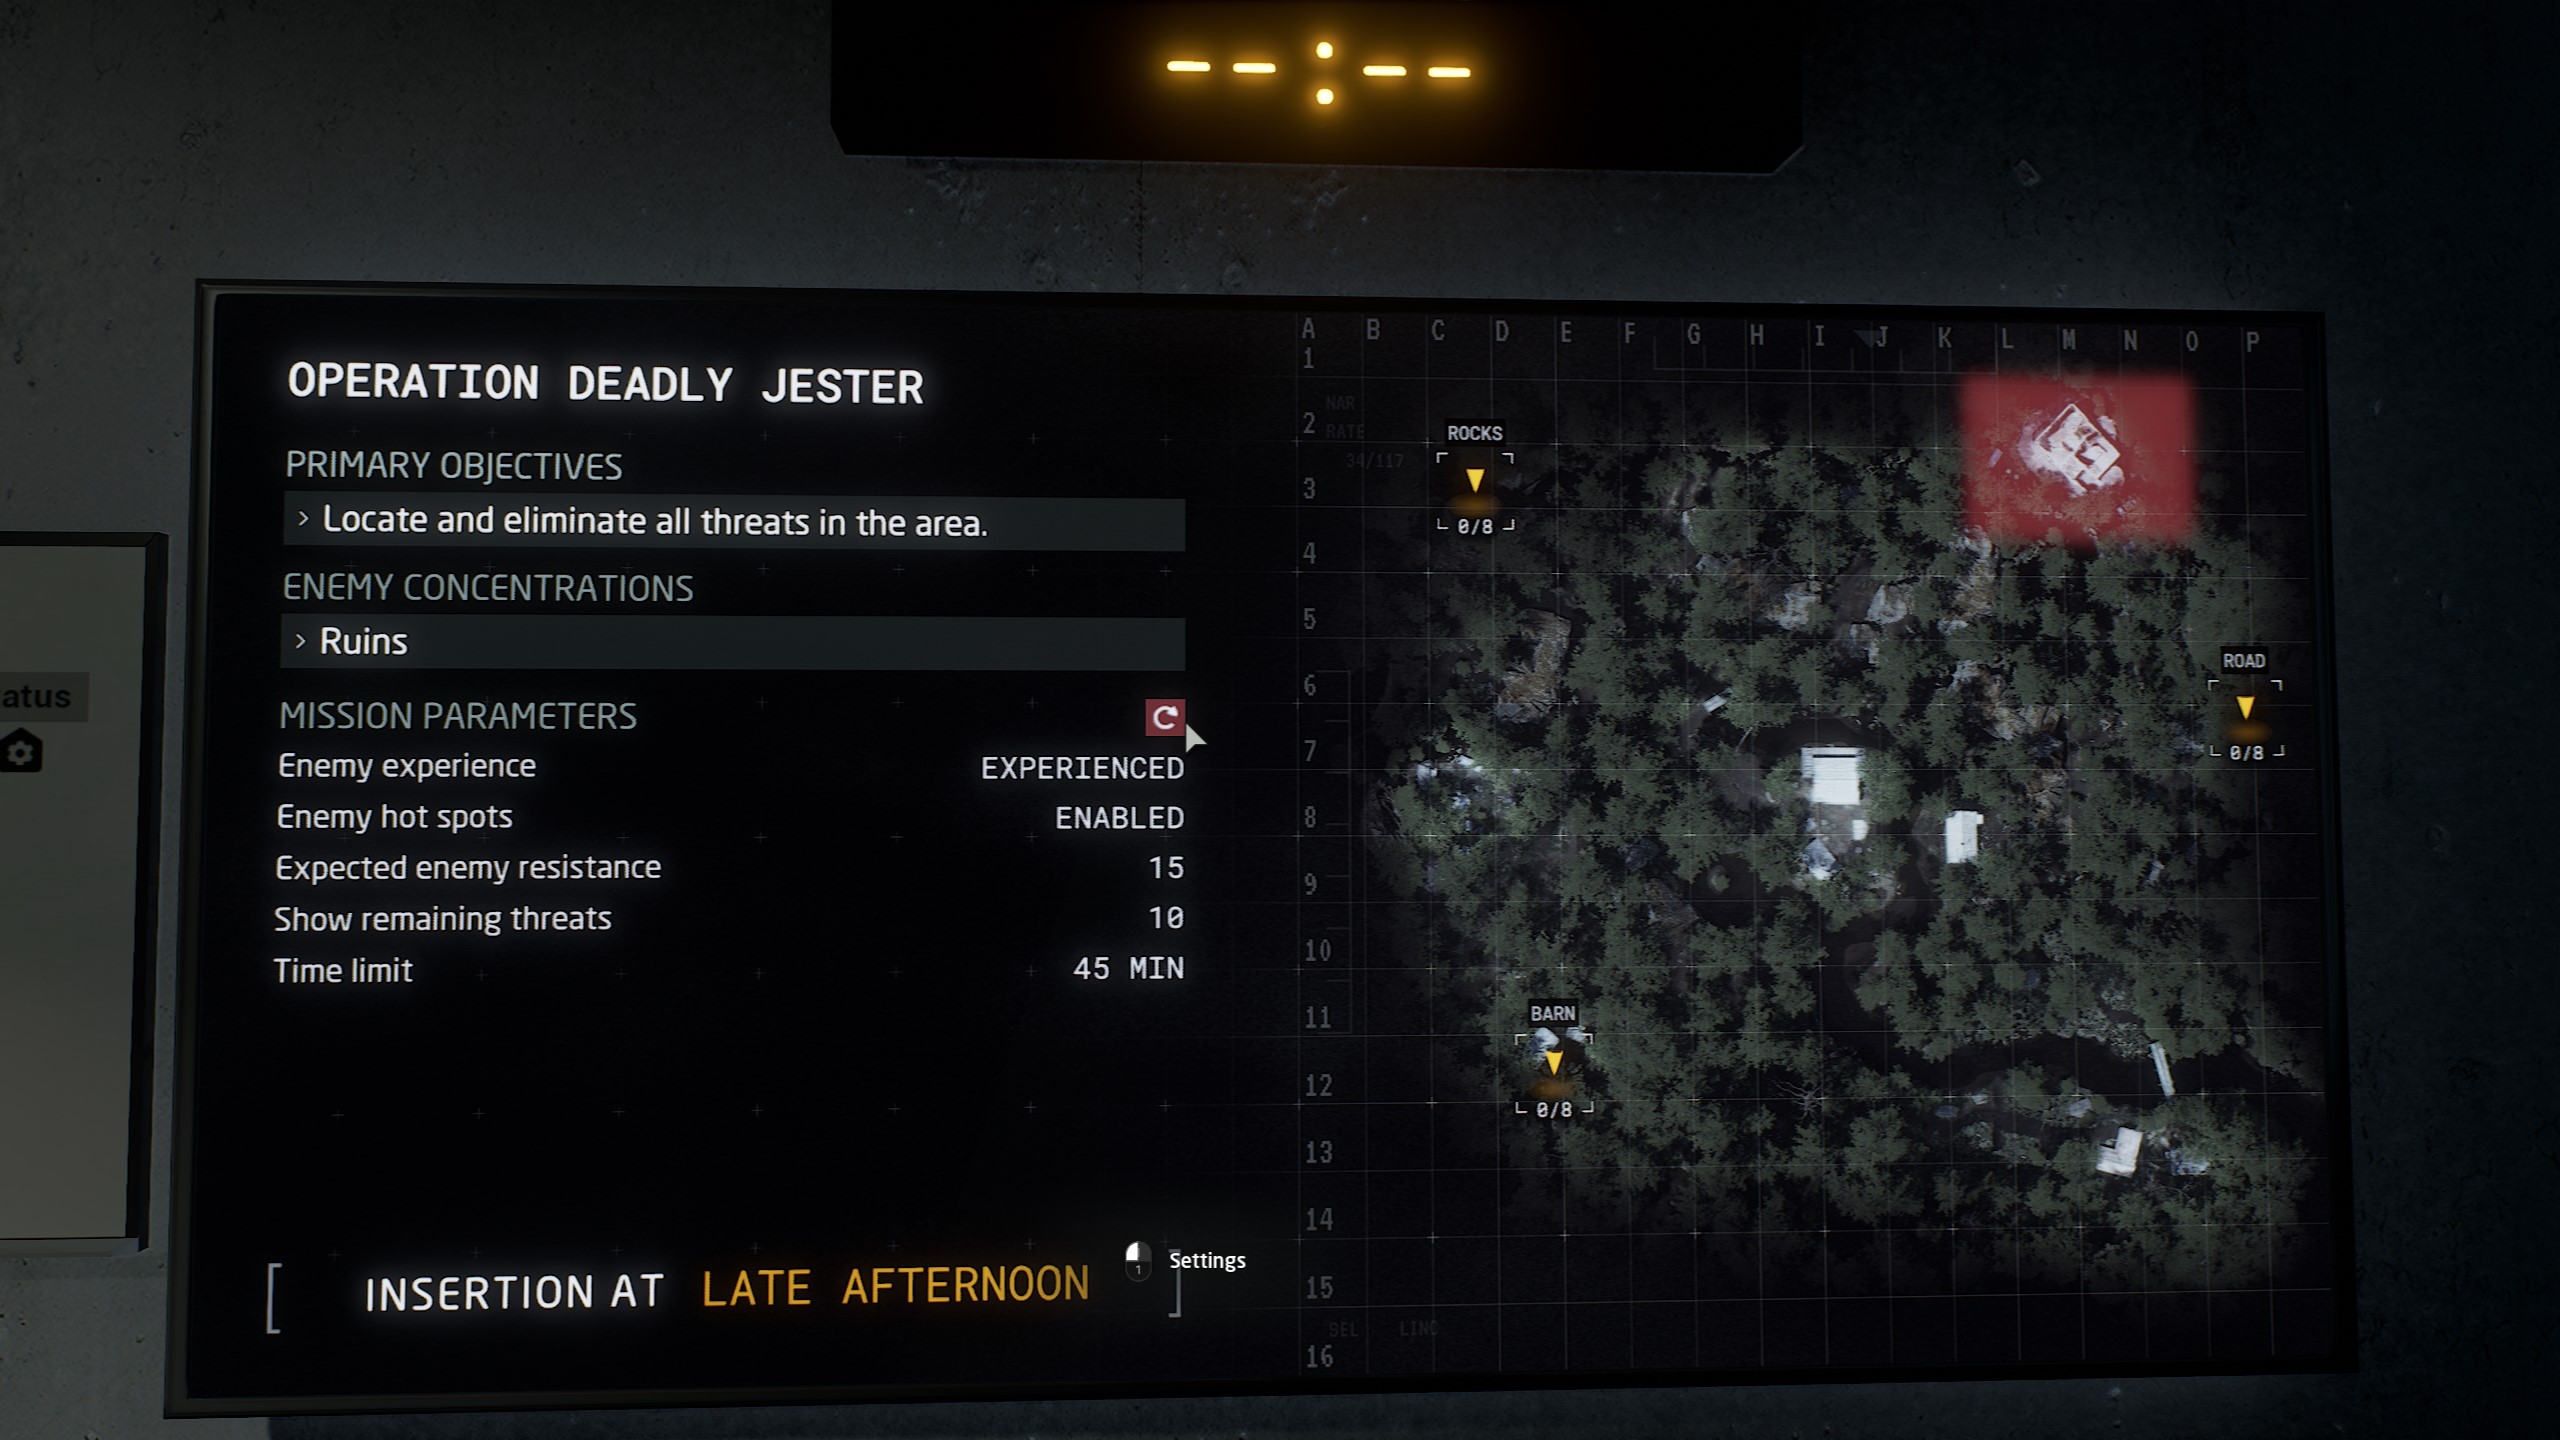
Updated main menu picture and updated the Notable Settings page with reference to new HUD Menu and options to disable Pop-In Hints.
Brutal 8 Apr, 2024 @ 9:06am 
Good
Kodi022 27 Mar, 2024 @ 1:02am 
ive already put 30 hours in the game but this guide still taught me new things! thanks for maintaining this guide
Consecrated2718 🦁  [author] 21 Mar, 2024 @ 2:53pm 
Guide Update 3/21/24- Minor tweaks to art, updated the Hostage Rescue paragraph with new verbiage and a screenshot of the hostage.
Consecrated2718 🦁  [author] 14 Mar, 2024 @ 12:30pm 
Guide Update 3/14/2024 - Minor tweaks to verbiage referencing the amount of modes available in lone wolf. Missing asset "HOSTAGE RESCUE SCREENSHOT" will implement in next revision.
Consecrated2718 🦁  [author] 13 Mar, 2024 @ 9:16pm 
Guide Update 3/13/2024 - First Iteration of the 1034 Guide is available.