Against the Storm

Against the Storm

393 ratings
Quick Guide: Ol' Reliable opening build order
By Legendary
This short guide will give you a reliable opening build order that will get your settlement up and running before the first storm ends. It works for most scenarios and for every difficulty, use this start as a stepping stone to getting the rest of your economy off to a great start.
8
3
3
23
5
2
2
2
2
   
Award
Favorite
Favorited
Unfavorite
Build order reference
Before starting your settlement:


Add extra 🌲 Wood
Add extra 🥚 Eggs (for Provisions)
Use any remaining embarkation points any way you want

Opening build order:


2 x 🪓Woodcutters' Camps → Assign woodcutters asap, keep one builder
3 x 🏠 Shelters
1 x 🏞 Park

After completion, continue with:


1 x ⚖ Trading Post
1 x 🛒Makeshift Post → Disable all except Packs of Provisions, set to Egg only, limit to 3
1 x 🛠 Crude Workshop → Disable Pipes, limit everything to 4

An example completed starting settlement, finishes just as the storm hits:


Credit to Telenia for the Shelter layout design
Example
This section will demonstrate how to develop a settlement using the build order above.

🪓 Woodcutters


🏘 Housing


⚖ Trading


🔧 Workshop

Justification
First and foremost, trading is overpowered. Exploit it whenever possible. Early game traders give access to complex foods and resources needed to complete Dangerous Glade events asap so you can exploit the bonuses those large glades provide.

Additionally, trade routes (once unlocked) yield better and better Amber value as your trade relationship improves over time; so you want to get trading ASAP, especially trading relatively useless early resources away for better late game trades.

Thus, the goal before the first storm is:
  • 🛒Be able to summon the trader to solve Dangerous Glade events
  • 📈 Start building your trade route relationships
  • 🏗 Expand to a large glade asap to exploit better resources
To do this we will need the following buildings:
  • 2x Woodcutters - To chop a lot of trees as fast as possible since all the early buildings use a lot of wood, and of course to fuel the hearth
  • Trading Post - At the cost of a mere 0.5 impatience you can solve your glade event at the click of a button. So build that trader immediately after finishing basic housing.
  • Makeshift Post - Necessary to use trade routes as early as possible. Don't go too crazy with Packs of Provision creation, your villagers still need to eat! No more than 3 or 6 at most.
Extra considerations
Not really dangerous...


The tutorial really hypes the "DANGEROUS GLADE" as the scary thing you should watch out for and only attempt when you have stockpiles of resources. You don't - you really really don't. Most Dangerous Glade Events have one or two resource requirements to solve, and once the event is dealt with then you have a very nice set of rewards to get your settlement economy booming.

DO NOT FEAR THE DANGEROUS GLADE

If you need some extra resources to help solve it then use that "Summon Trader Immediately" button; it is really worth the Impatience cost. The best time to open the glade is near the end of year 1 storm.

Don't accidentally open glades...


Under the gameplay settings there is a drop down box to change the default behavior for Woodcutters. Set this to "Avoid Glades (Except marked)", this way your dummy dummy woodcutters will never accidentally stumble into something game ending.

Limit the inefficient buildings...


Especially the Crude Workshop; you do not want to make 20 planks at the cost of 8 wood a pop. I find that 4 is a good number to go with since you can build most industry and farms with 4 of any of the basic construction materials.

Remember to also turn off recipes you don't want.

Turn off Pipes, Packs of Trade Materials, and Packs of Building Materials unless you need them to solve time sensitive order, and even then be very selective

A fast Encampment...


Having +2 Global Resolve early also allows you to cut some extra corners, depending on difficulty, and it is dirt cheap to get. 3 shelters = 9 housing and a simple Park will get you 4 decorations. You should always have an Encampment ready before the storm hits so you don't have to sacrifice any wood or coal to keep your starting citizens happy enough to survive.

Consider giving this guide a ⭐ and 👍 if you found it useful!
25 Comments
Abberatia 2 Jun @ 11:34pm 
I've always wait until I have enough resources to buy a blueprint from the trader before I build it. The first trader almost always had a blueprint that I miss out on because I'm broke. Also, if you wait a year or two to build the trader and open the orders, you'll usually get 'build trader + 10 amber" as an order.
Lûte the Goblin 21 May @ 6:43pm 
Finally, this guide fails to mention storage limiters on the production buildings, which are essential.
Lûte the Goblin 21 May @ 6:41pm 
The placement of the two production buildings is also inefficient. You want them directly in front of the Warehouse, not next to it. There's ZERO benefit to having houses take up prime slots.
Lûte the Goblin 21 May @ 6:40pm 
"Turn off Pipes, Packs of Trade Materials, and Packs of Building Materials"

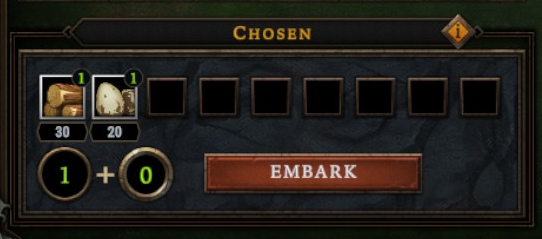
I assume you mean Crops when you say Trade Materials?
jim01q 21 Apr @ 11:56am 
Where's the rest? This is like the 1st 2 mins. Delete this please
Filavorin 19 Jan @ 4:44am 
Great guide although wouldn't it be slightly more efficient to place 4 barrels instead of 1 park? Iirc costs are the same and it's easier to move around later when hearth space become valuable to fit both housing and t2-3 upgrade requirements.
sel 8 Oct, 2024 @ 12:39am 
Good guide, however your house placement is really bad. you want your houses as far from the warehouse as possible, additionally, as far out of the way as possible, because you want production buildings to have the shortest path possible to the warehouse to increase efficiency.

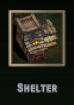
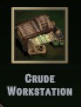
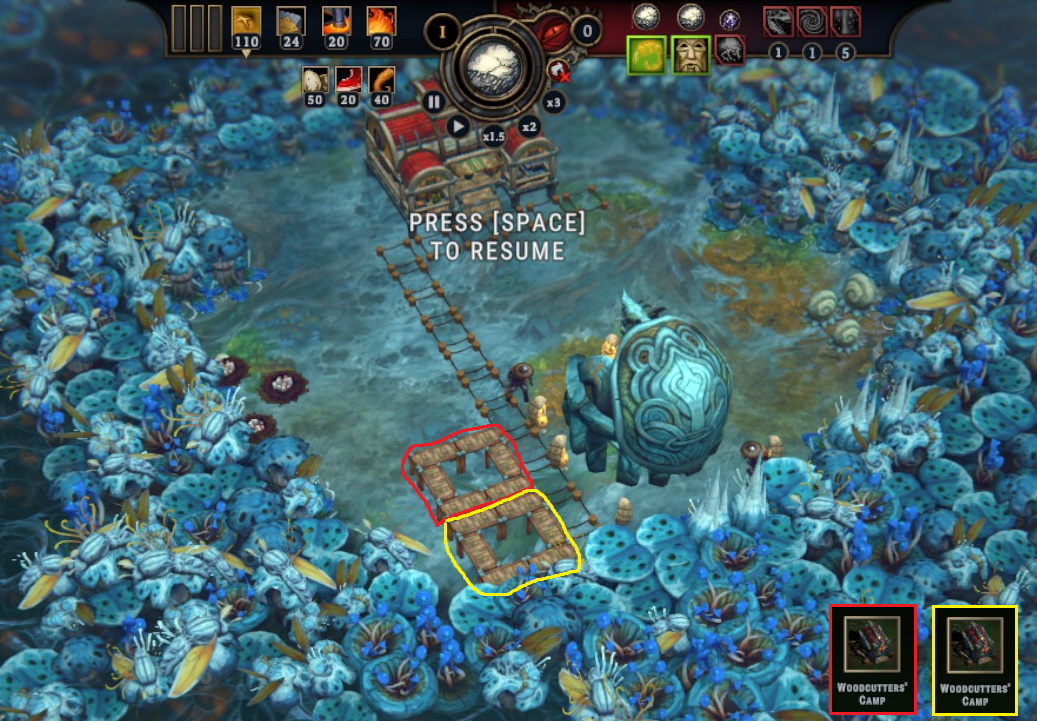
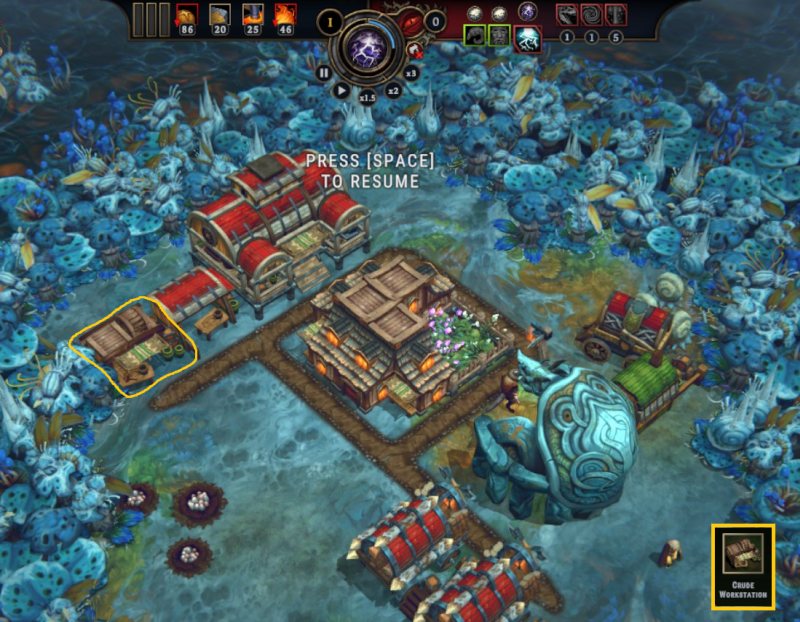
House locations dont matter, the settlers never visit the houses, so location is completely irrelevant, they do not interact with them AT ALL. So you dont even need them to be on roads or anything.
emma 7 Oct, 2024 @ 10:59pm 
Good guide for the newbie :steamthumbsup:
Condude1 2 May, 2024 @ 11:35am 
Good guide! A couple notes though (From P20 or QHT):

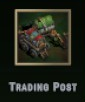
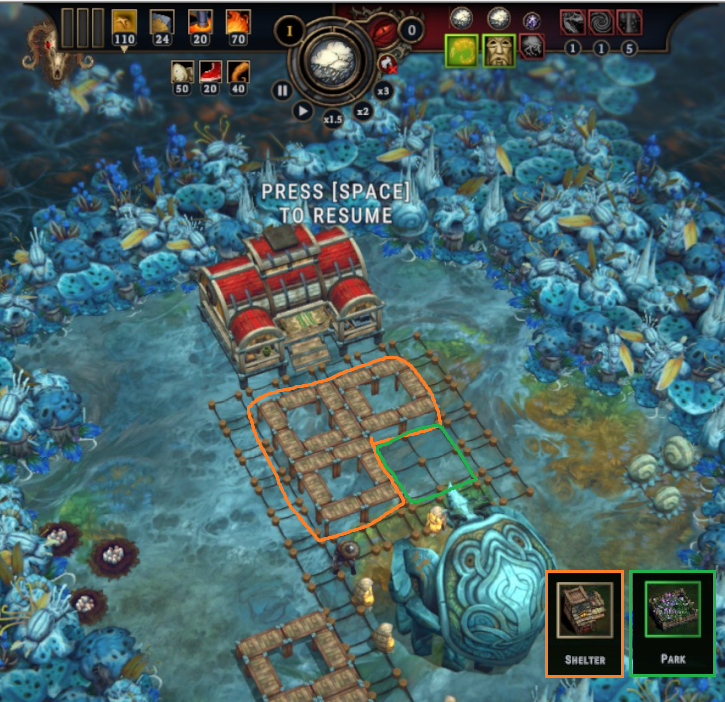
1. Summoning the trader is a HUGE resource, as you mention. It does, however, scale in cost, and can save games later in the run too. If you need to use it, slam that button with no regrets, but don't hit it just for a minor quality of life boost.

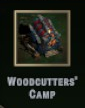
2. Sometimes it's better to run 0 builders for much of year 1. If you're always surviving the year 1 storm, it can be better to just run max lumberjacks +/- another camp.

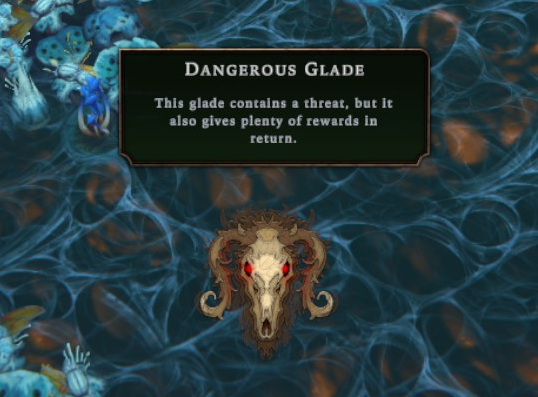
3. Don't open glades until the first set of orders comes in - they super often include open X glades, which can be super easy if you have a couple primed and ready.

Great guide though! As a general build order, it'll lead to a totally playable early game!
CLockeWork 24 Apr, 2024 @ 2:35am 
Thank you for this! I was about ready to give up on this game but I've had my smoothest run yet thanks to your guide ♥