Cakey's Twisted Bakery

Cakey's Twisted Bakery

Not enough ratings
The ULTIMATE Cakey's Twisted Bakery Guide
By miopyox
This guide is made to help out those confused with what to do, and how to proceed.
This guide will go over all of those things, alongside many others! (Best Hiding Spots, Gameplay Basics, etc.)

No achievement guide 'tho. I can't be bothered to play this game again. (Besides, someone already did it)
   
Award
Favorite
Favorited
Unfavorite
Introduction
Hey there!
This guide's main purpose is to help newbies with a simple guide for the basics of this game, alongside with how to get all of the achievements, and much, much more.

So without further ado, let's get this party started!
The Goal
You can skip this if you just want to see the gameplay basics.

So you might be wondering, what's the main goal?
Well, it's rather simple, your main goal is to 'kill' all of the enemies by throwing the right cake at them in order to get keys to unlock new areas, right up until you get access to the one with George in it.

this one right here
Gameplay Basics
Unlike in other games, this one doesn't tell ya what you need to do, or how to do 'em. (except for how to pick up objects and turn your flashlight on and off)
So here's all of the keybinds you need to be aware of before starting your journey (or escape, whatever you wanna call it)


Also, there's an in-game tutorial video in the settings if you like watching more than reading (as shown in the video below)

https://youtu.be/bgyy86cW4_0

this should tell you how most things work, but if you're still confused, here's all you need to know:

Your main goal is to go around the bakery and find ingredients to use for your cakes in this machine

as for the ingredients, I can't really help you with them, since they are randomized for every run, but just so that you have an idea about what to look for, they should all look something like this

the cakes that you need to throw at the enemies will be randomized every time they go through one of the doorways with frosting running down on them. These are the places they use in order to teleport around the map, and you ideally want to stay as far away from them as possible, since once any of the enemies see you, you're as good as dead. (video below as demonstration)
https://youtu.be/Y9JkH2Fau40

So don't try to run around while Cakey's close by, since you can't crouch whilst running, only while walking.(which means that you'll have to come to a full stop during a chase, which is never a good thing)

That's it for the basics! This should help you get started and (hopefully) prepared enough in order to beat the game!

The next section will be about how each ingredient looks based on Cooker Junior's display.
Ingredients (how they look based on Cooker Jr.'s display and ingredient posters)
You can finish reading here if you'd rather find out about the game's mechanics on your own.

In case you get stuck tho, you can just skip to the part of the guide you need help with. ;)

Aged Sugar

Flesh Cube

Canned Cocoa

Whole Milk


Brittle Bone

Peanut Butter
Cake Posters
This section will have all of the poster recipes, but in case you want an in-game one with all of 'em in one place, just go in front of the freezer room, and the wall to the right should have all of the recipes one next to the other.
(as for the color coating I gave them next to the name, it's for the purpose of you being able to recognize what you need to throw at the enemies based on color, instead of the complicated pattern)

Chunky Chocolate Pie (a.k.a. the Purple one)
Ingredients required in order to craft it:
1 Whole Milk, 3 Canned Cocoa and 1 Brittle Bone

Funky Funeral Pie (a.k.a. the Red one)
Ingredients required in order to craft it:
2 Brittle Bone, 1 Flesh Cube and 2 Aged Sugar

Sweet Runaway Pie (a.k.a. the Blue one)
Ingredients required in order to craft it:
2 Aged Sugar, 2 Flesh Cube and 1 Whole Milk

Poltergeist Peanut Pie (a.k.a. the Yellow one)
Ingredients required in order to craft it:
2 Flesh Cube, 2 Peanut Butter and 1 Canned Cocoa
Enemies (How they work and some tips and tricks)
Heyo, if you're reading this, than you're either stuck with one of the monsters, or you're just curious about how they work. Lucky you, I'm here to do all of the work for you, so that you won't have to hide under the same table for decades in order to find out!

Originally posted by @mini_ross:
All three of them take 10 cakes to kill, 5 cakes if you can hit the head once, and I think 3 cakes for hitting the head 3 times


But before I start describing how each one of them work, I want you to know about 2 of the best places to hide in order to catch your enemies off-guard.

  • The Dining Room is THE most powerful room in the entire game, since all of the enemies need to go through it in order to access their teleport points.
    Any of the 4 tables present will do the job, although the one that I recommend is the one right next to the Kitchen, since that will make it ever so easy to change cakes on the fly.


  • This one, while not as powerful as the other one, is definitely one of the most useful ones, since it's situated right next to Cooker Jr.'s stand. So this one basically allows you to have a safe place to rest while Cooke Jr. bakes the cake thou requires.


Now that that's out of the way, I can finally show you how each enemy works, so that you'll have an easier time fighting them.

Cakey
Cakey is by far one of the easiest enemies of the three due to how basic his walk cycle is.
His music can be heard through walls in order to locate his location and avoid him.
He walks everywhere, so catching up to him in order to throw a cake in his face shouldn't be a problem.
My tip to him is to stay under one of the two tables next to the kitchen in the dining room, and then wait for him. Whether or not you want to throw the cake at him there, or follow him from there is entirely upon you, since both techniques are equally as effective.

Frostina
She's by far THE scariest enemy, and the main reason as to why I wrote the line about avoiding those frosted doors.
She doesn't have a walk pattern unlike the other two. Since she's absent for around 35 seconds before she starts walking to your location (whether or not you're hidden doesn't matter, since she will just walk right up to ya).
The cakes for her(like with the other killers) changes every 2 rounds, but the color that showed up most for her in my case were the Purple cakes, with the Blue ones showing up the other half.
She almost never picks the Red and Yellow cakes, and when she does, it's always for just 1 round.
My tip here is that you should try doing the cake swap or the baking in between the 35 seconds that you're given. (unless you wanna die on purpose)

Candy Bane
He is the most fun enemy to fight, while also being the hardest of 'em all.
He is always on the run. And he rarely stops, when he does though, it's on one of the edges of the map, far away from the cooking area you camped for the previous 2.
My tip for him is to just wait for him under one of the tables in the dining room, and then chase him down the instant he tries to leave the room.
Note Locations
Now you might be wondering, Mio why did you leave the collectibles for last?
And for that my answer is because only now is the map fully open for you to travel trough without any enemies. (You can also wander around freely after beating any enemy, but you won't be able to collect all of the notes right up until you unlock the room in which Candy Bane spawns)
The notes are gonna start from your starting location, and end in .

Note 1

Note 2

Note 3

Note 4

Note 5

Note 6

Note 7
How 2 Beat 'The Maze'
This is the final stretch of the game (and of this guide) so in case you get stuck in the maze section of the game, the video below will help you out by showing how to get out quick and easy.

https://youtu.be/td5DDizC_9Q
Thanks 4 Readin'
And with all that out of the way, I'd like to thank ya'll for reading.
This was my first time doing a guide, like ever, so if you found any flaws or grammar mistakes in this, make sure to comment it down below, and I'll try my best to correct it.

So yeah...that's it. Now go.
I need to go touch some of that fresh grass after all of this.


I still can't believe that I spent 12 hours on a f'ing Mascot Horror guide XD
10 Comments
miopyox  [author] 21 Oct, 2024 @ 7:27am 
Thanks a lot for the info @mini_ross. :fhappy:
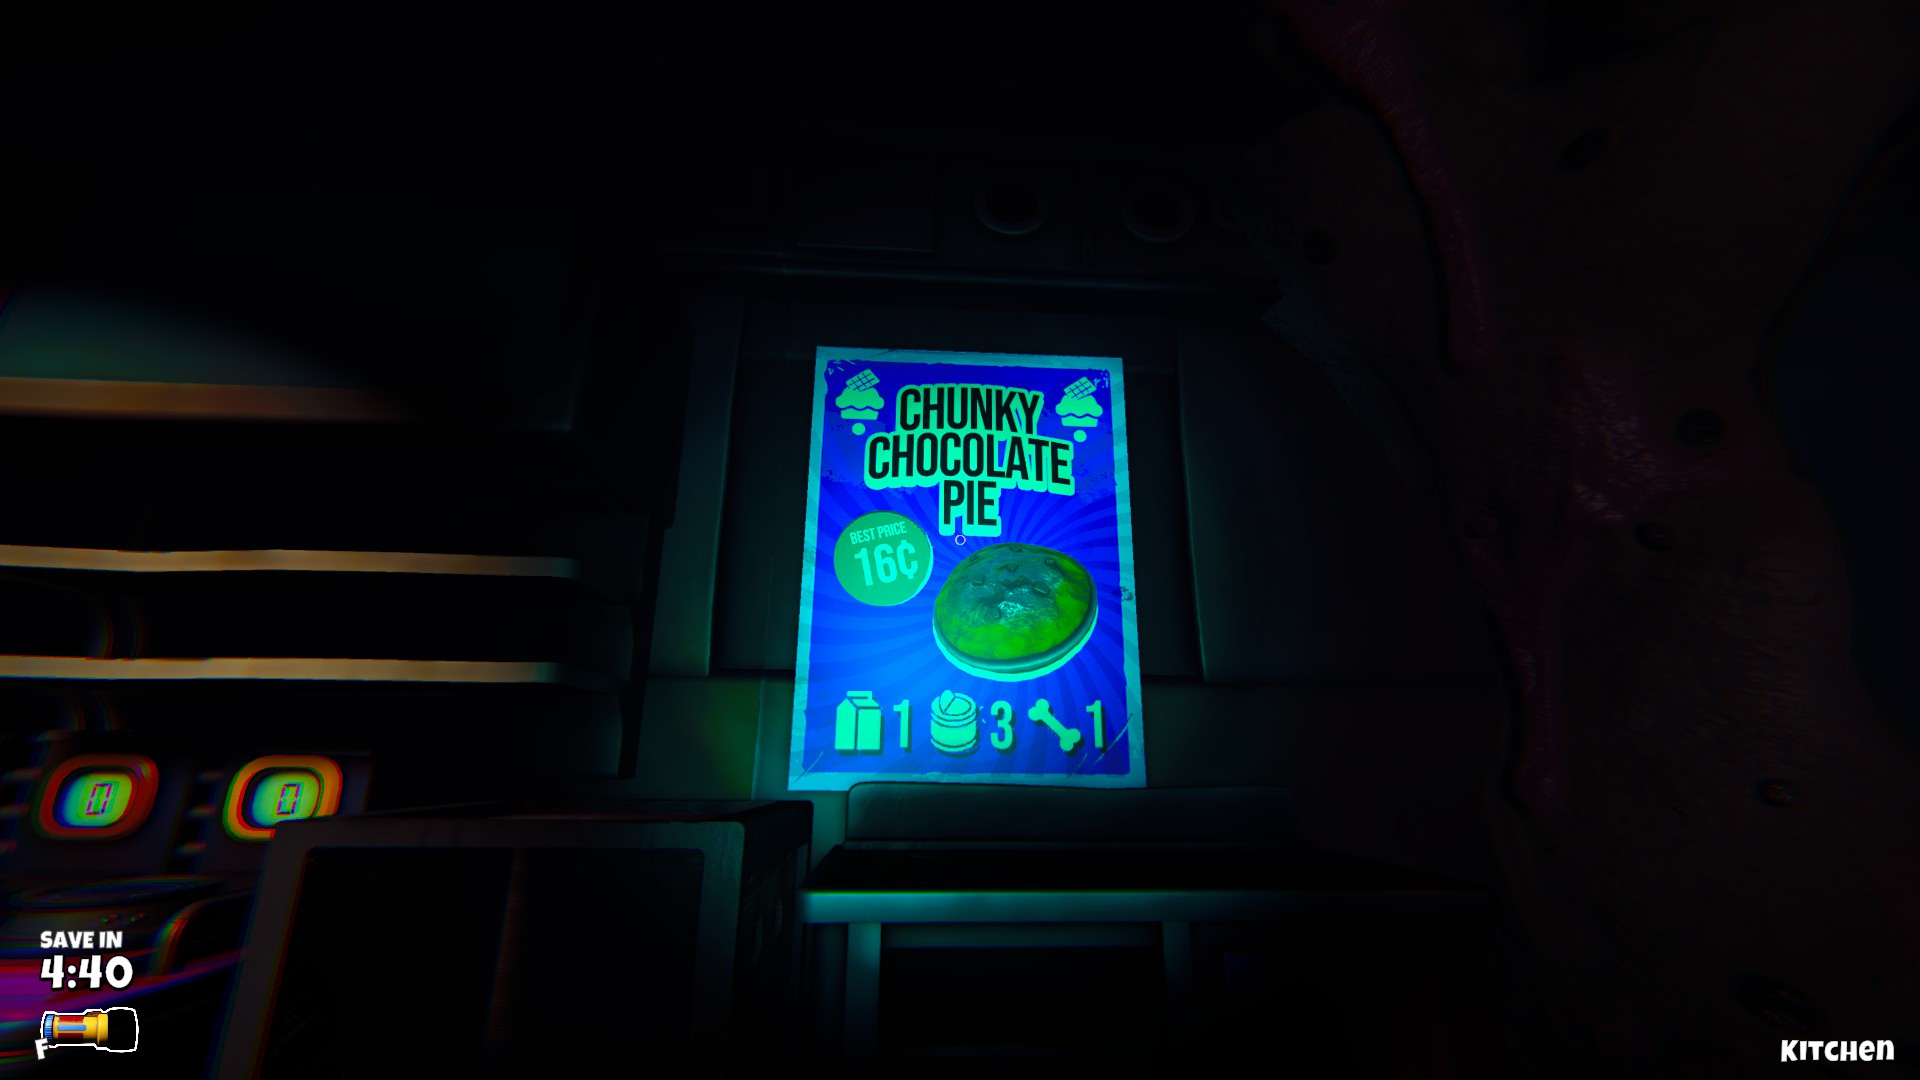
Will make sure to change the amount of cakes it takes to take them down once I get some free time on my hand.
mini_ross 21 Oct, 2024 @ 12:16am 
A correction for the hits for all 3 enemies. All three of them take 10 cakes to kill, 5 cakes if you can hit the head once, and I think 3 cakes for hitting the head 3 times
Qwerticus777/TTV 5 Oct, 2024 @ 12:04pm 
peak
miopyox  [author] 9 Jul, 2024 @ 5:51pm 
Glad my guide helped ya out as well :burozombie:
jessies 9 Jul, 2024 @ 5:33pm 
Really helped me, I just started playing and didn't understand anything except for the flashlights and the ingredients. Didn't know anything else. :happy_seagull:
miopyox  [author] 9 Jul, 2024 @ 2:30pm 
Me neither XD
Glad it helped tho. :fhappy:
Señor Coopster 9 Jul, 2024 @ 1:51pm 
Oh thank you! I saw that bin but I didn't make the connection between it and Sweetie.
miopyox  [author] 9 Jul, 2024 @ 4:29am 
All you have to do is to look around the place and find a green bin with a cupcake on it (interacting with the bin should save them).
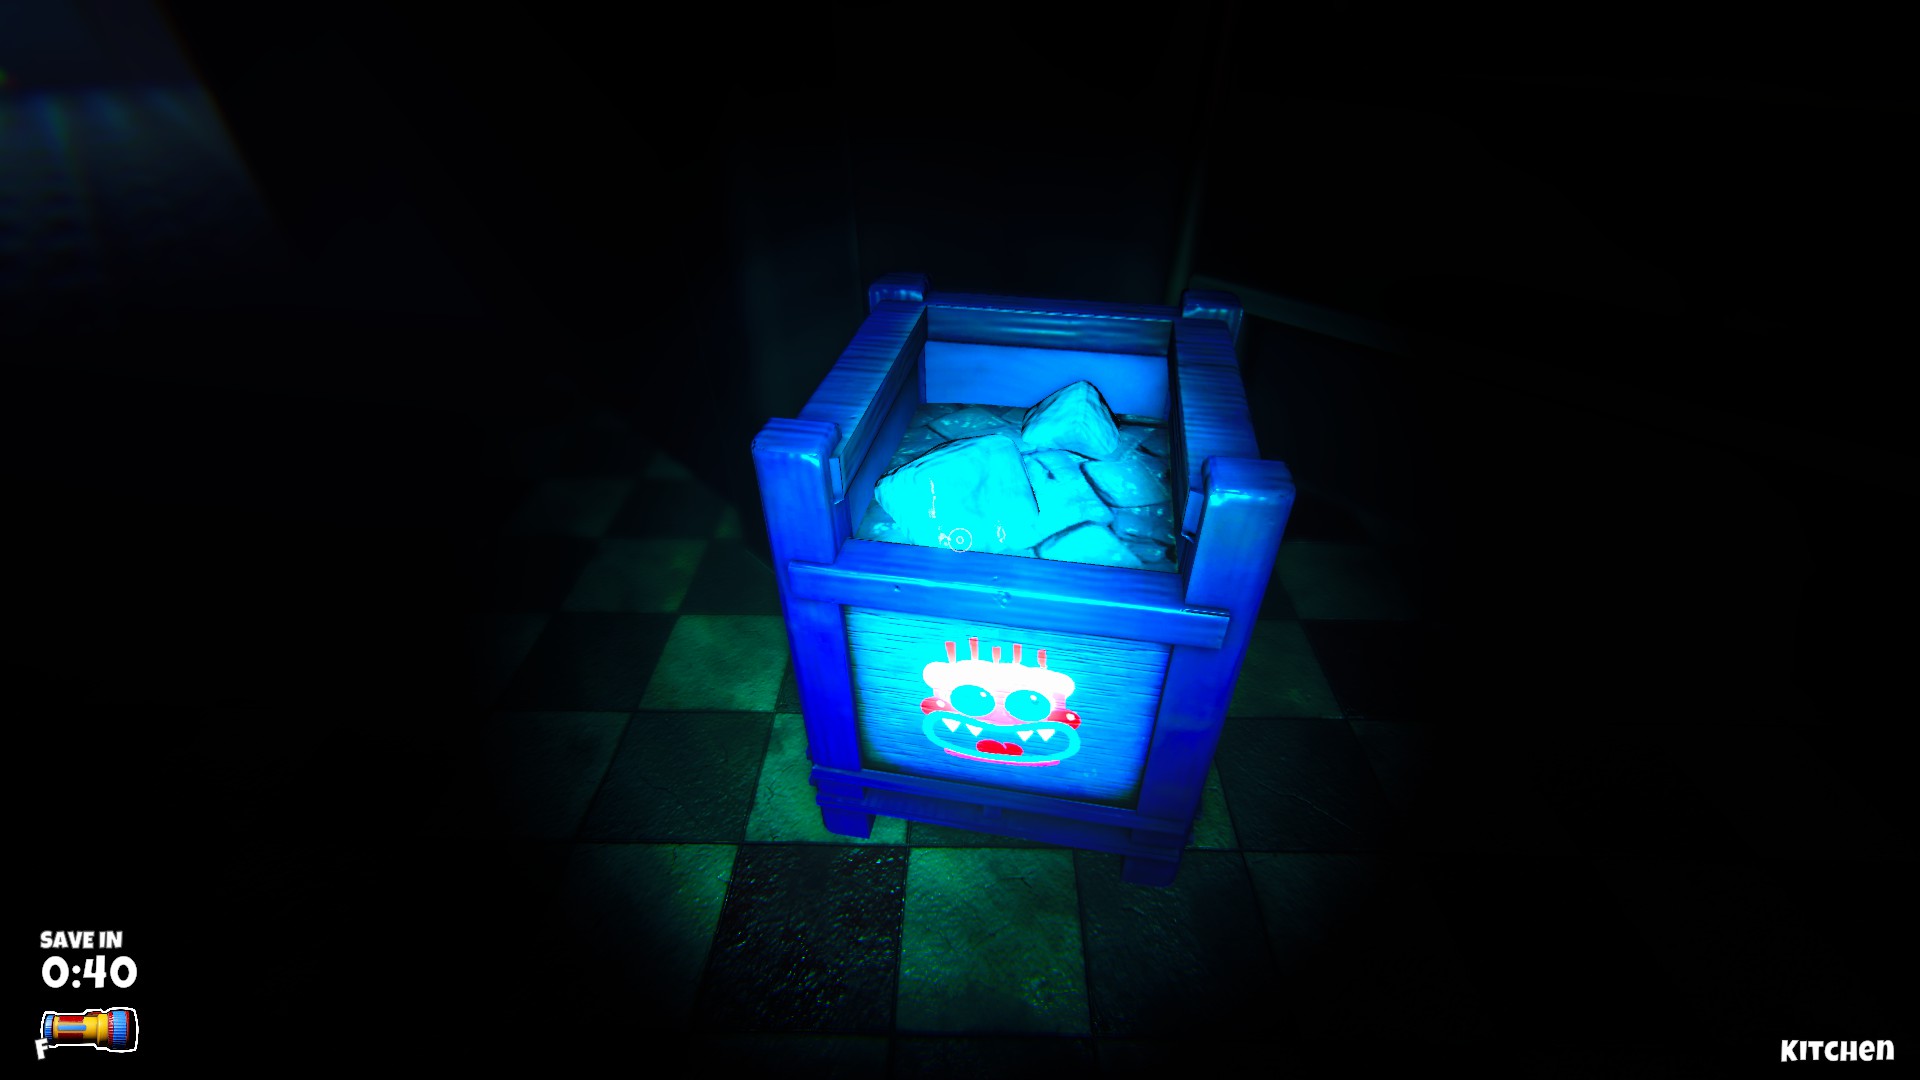
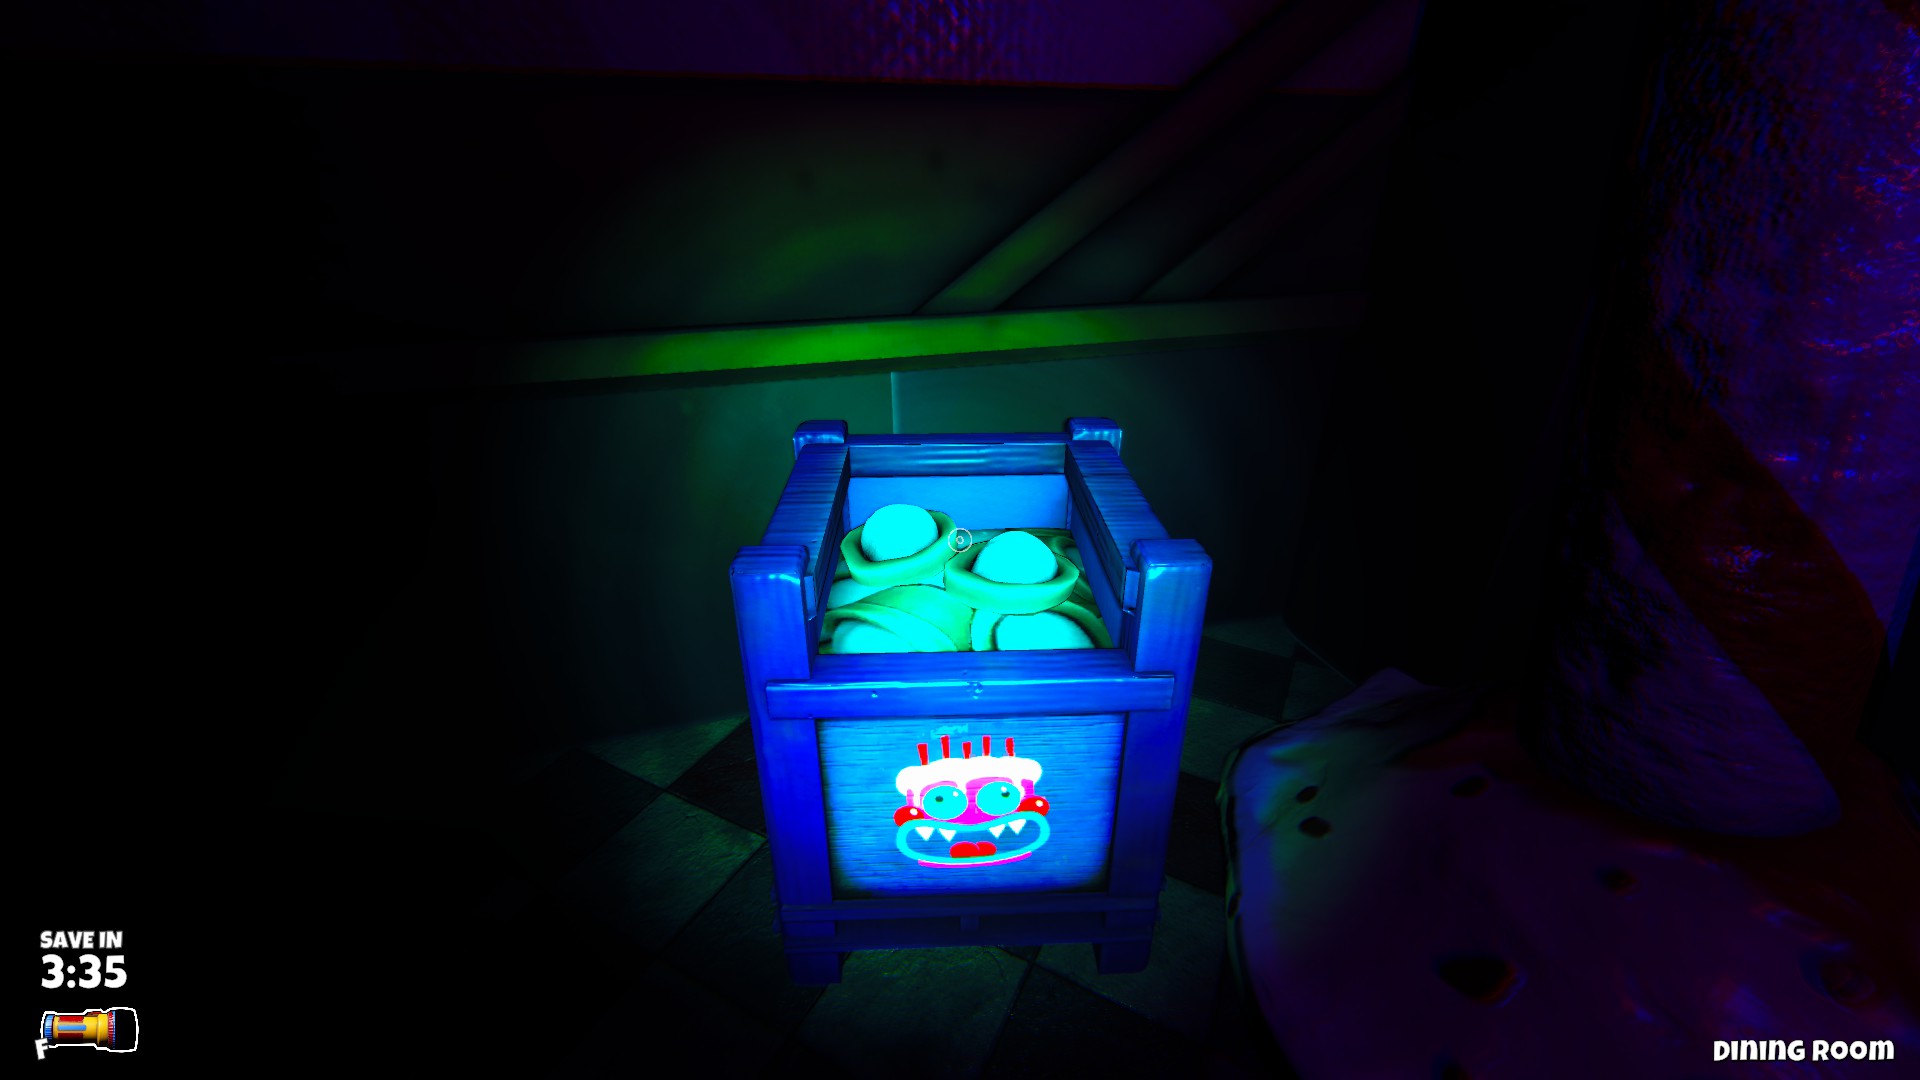
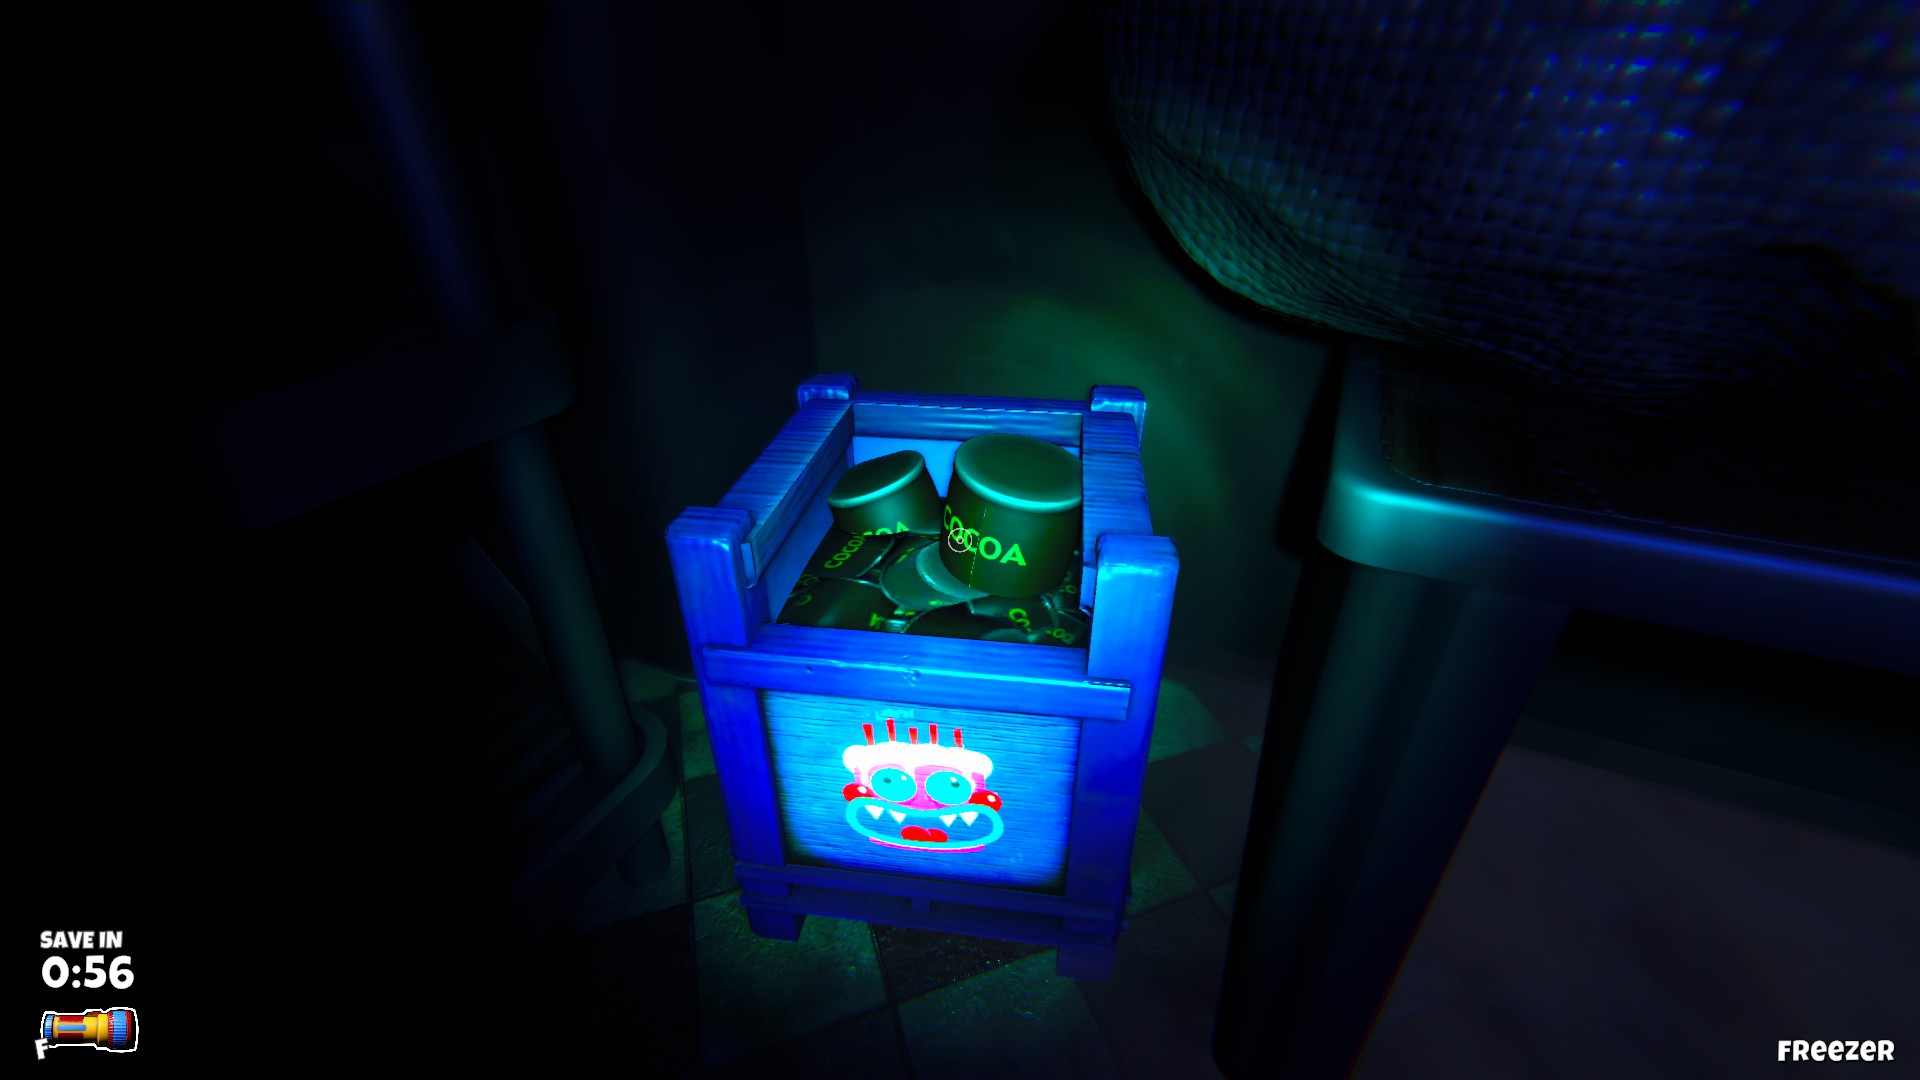
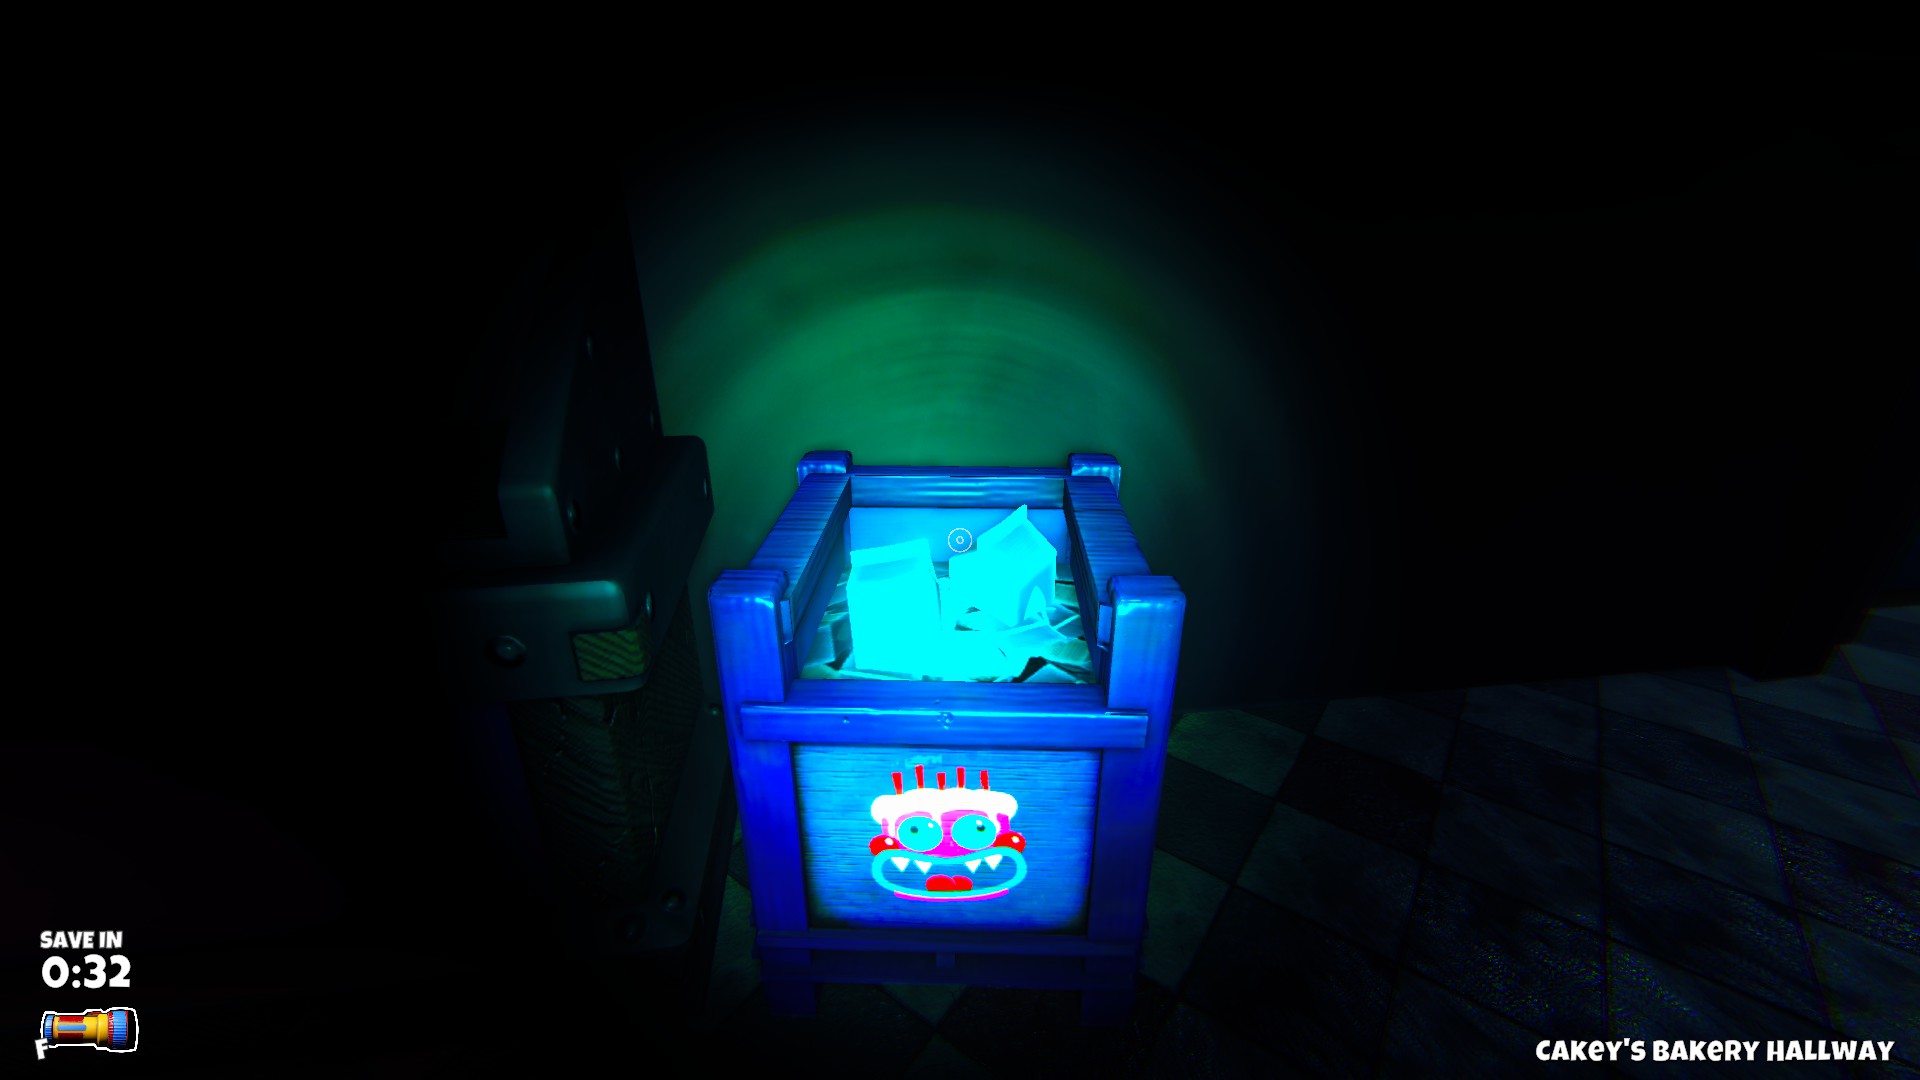
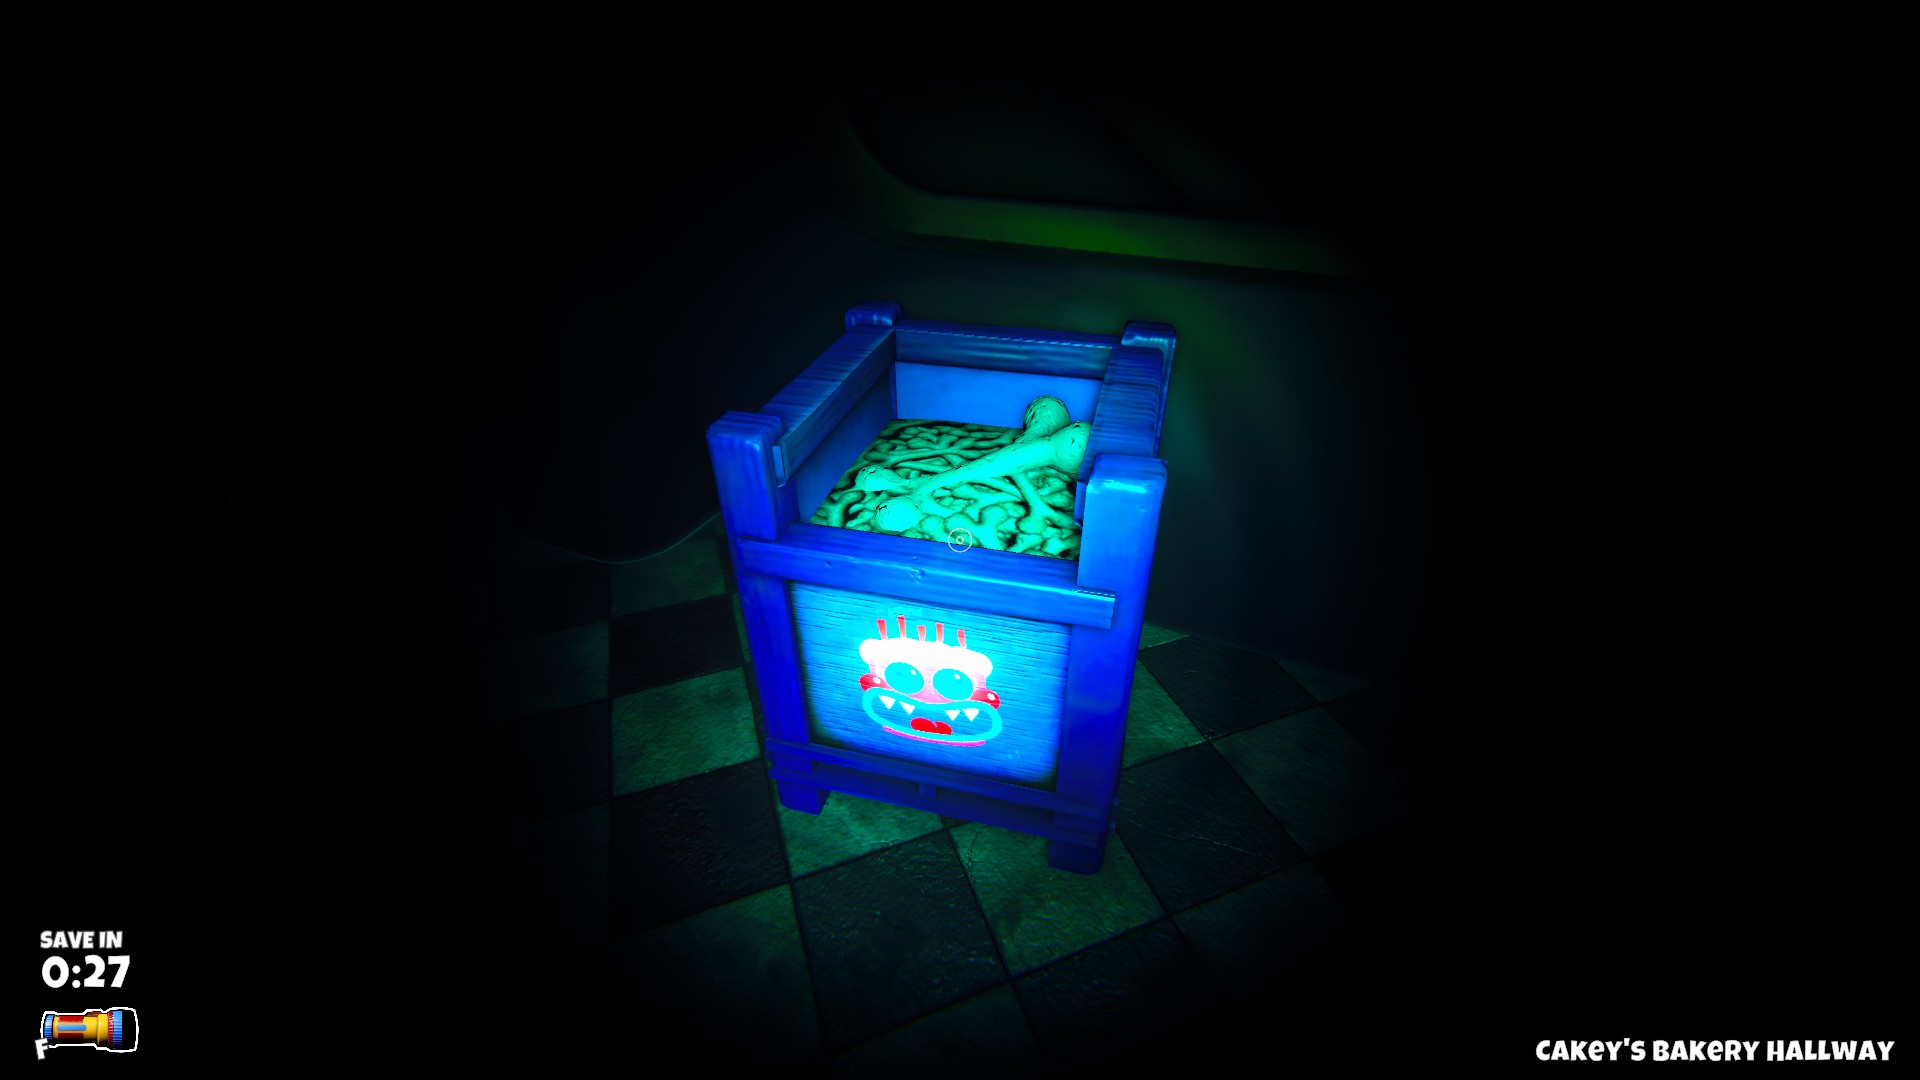
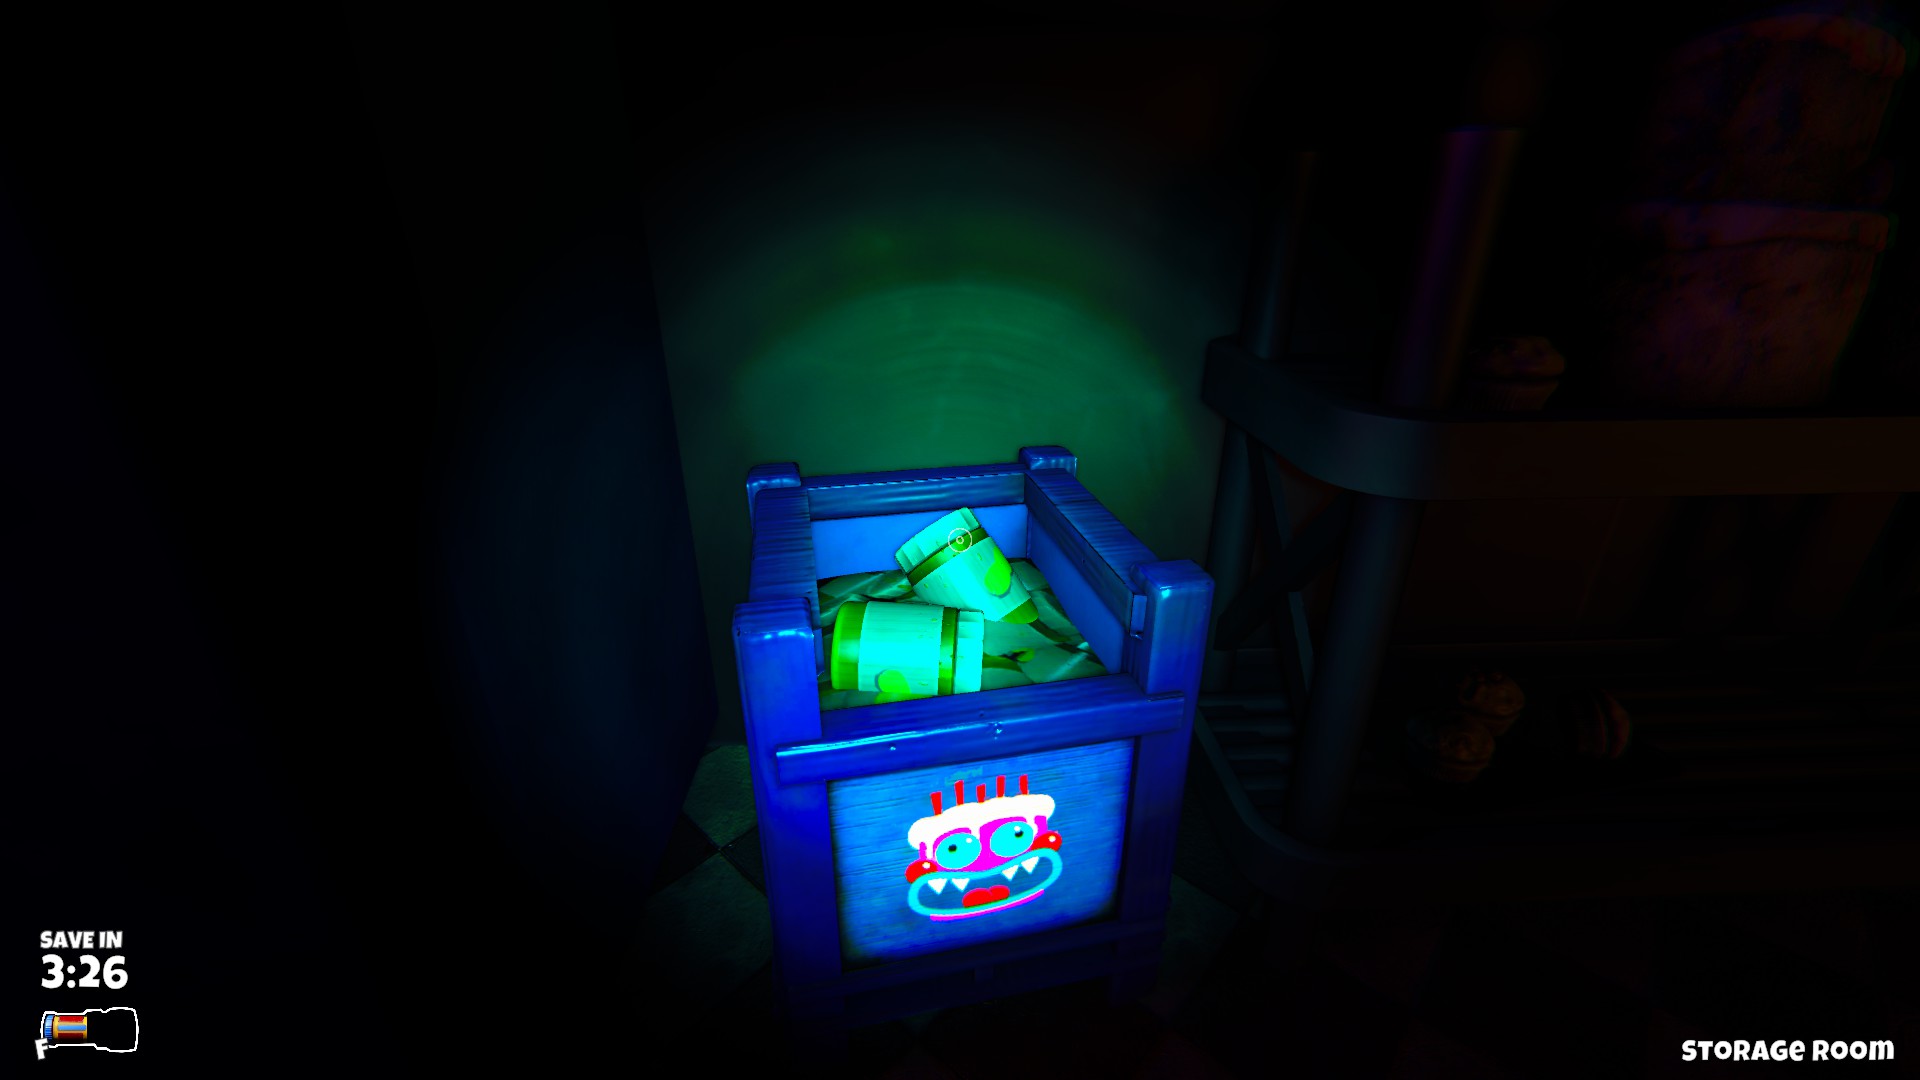
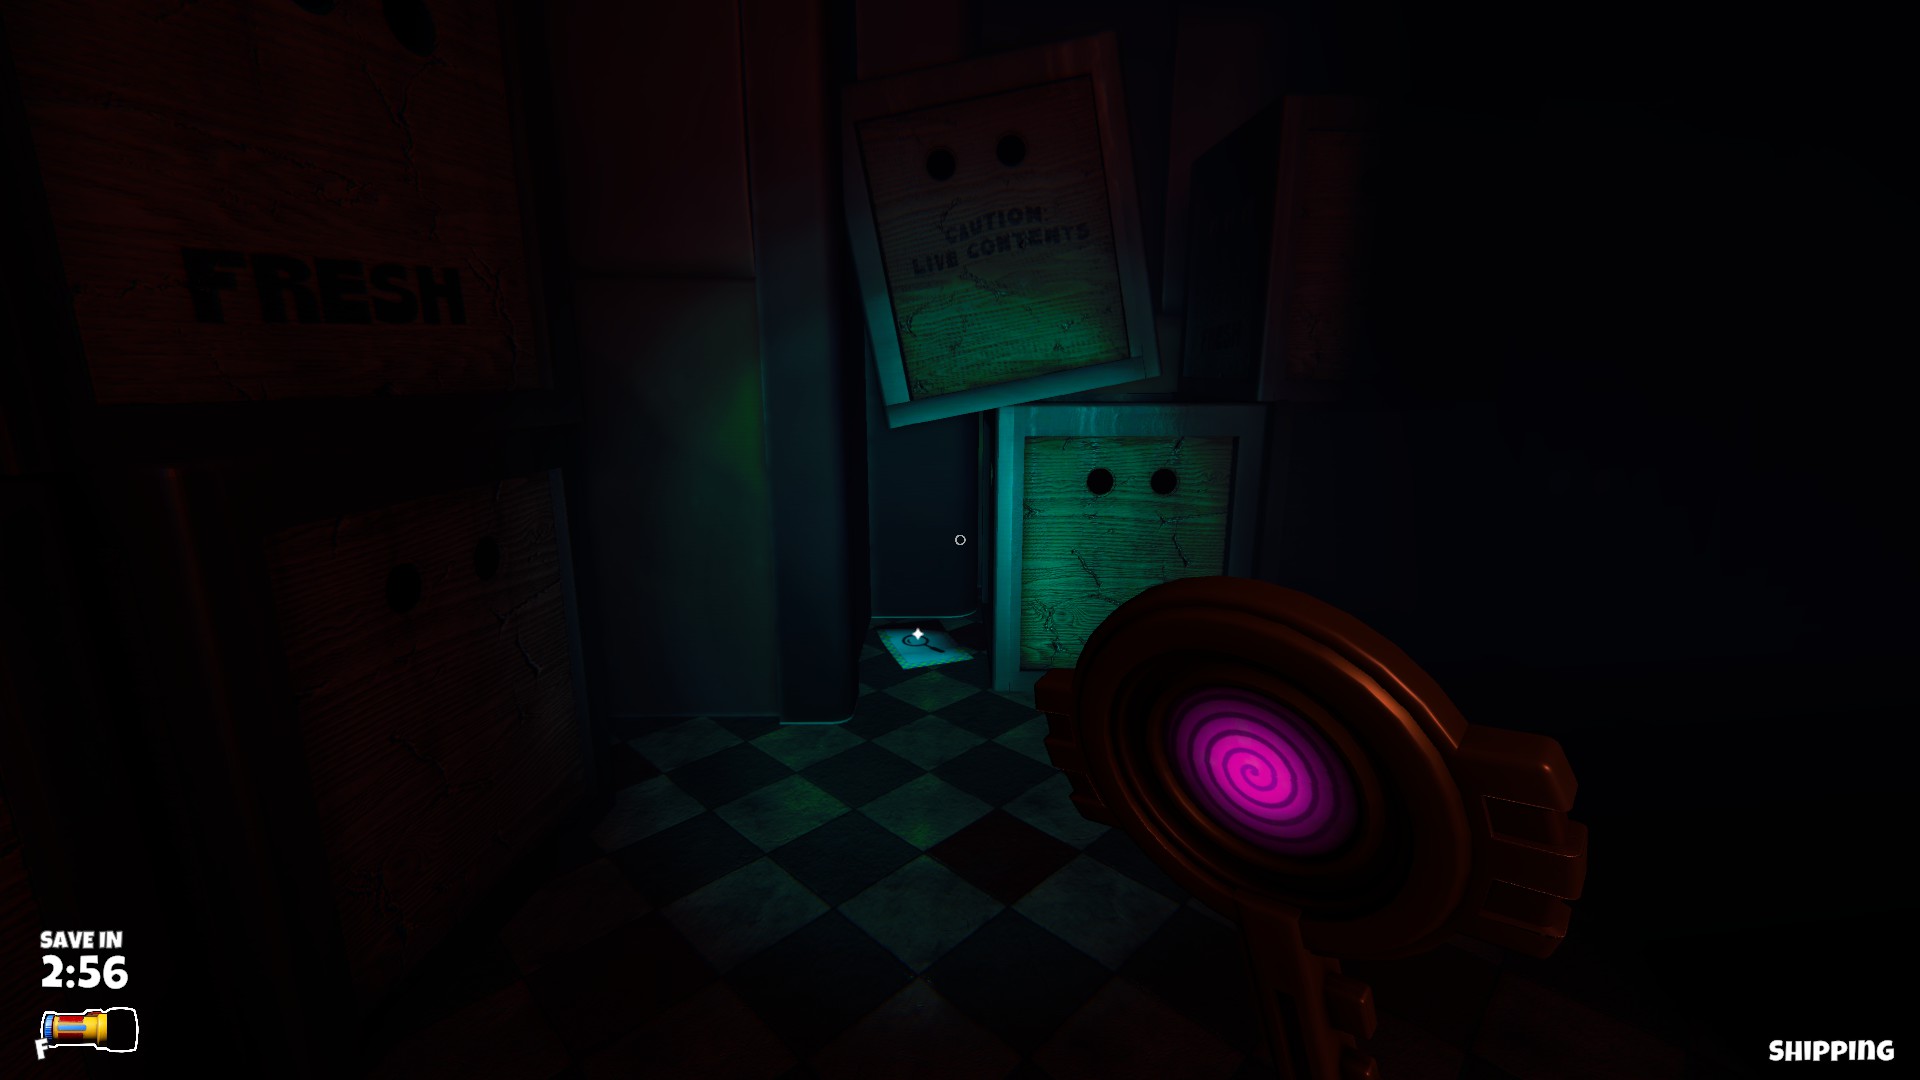
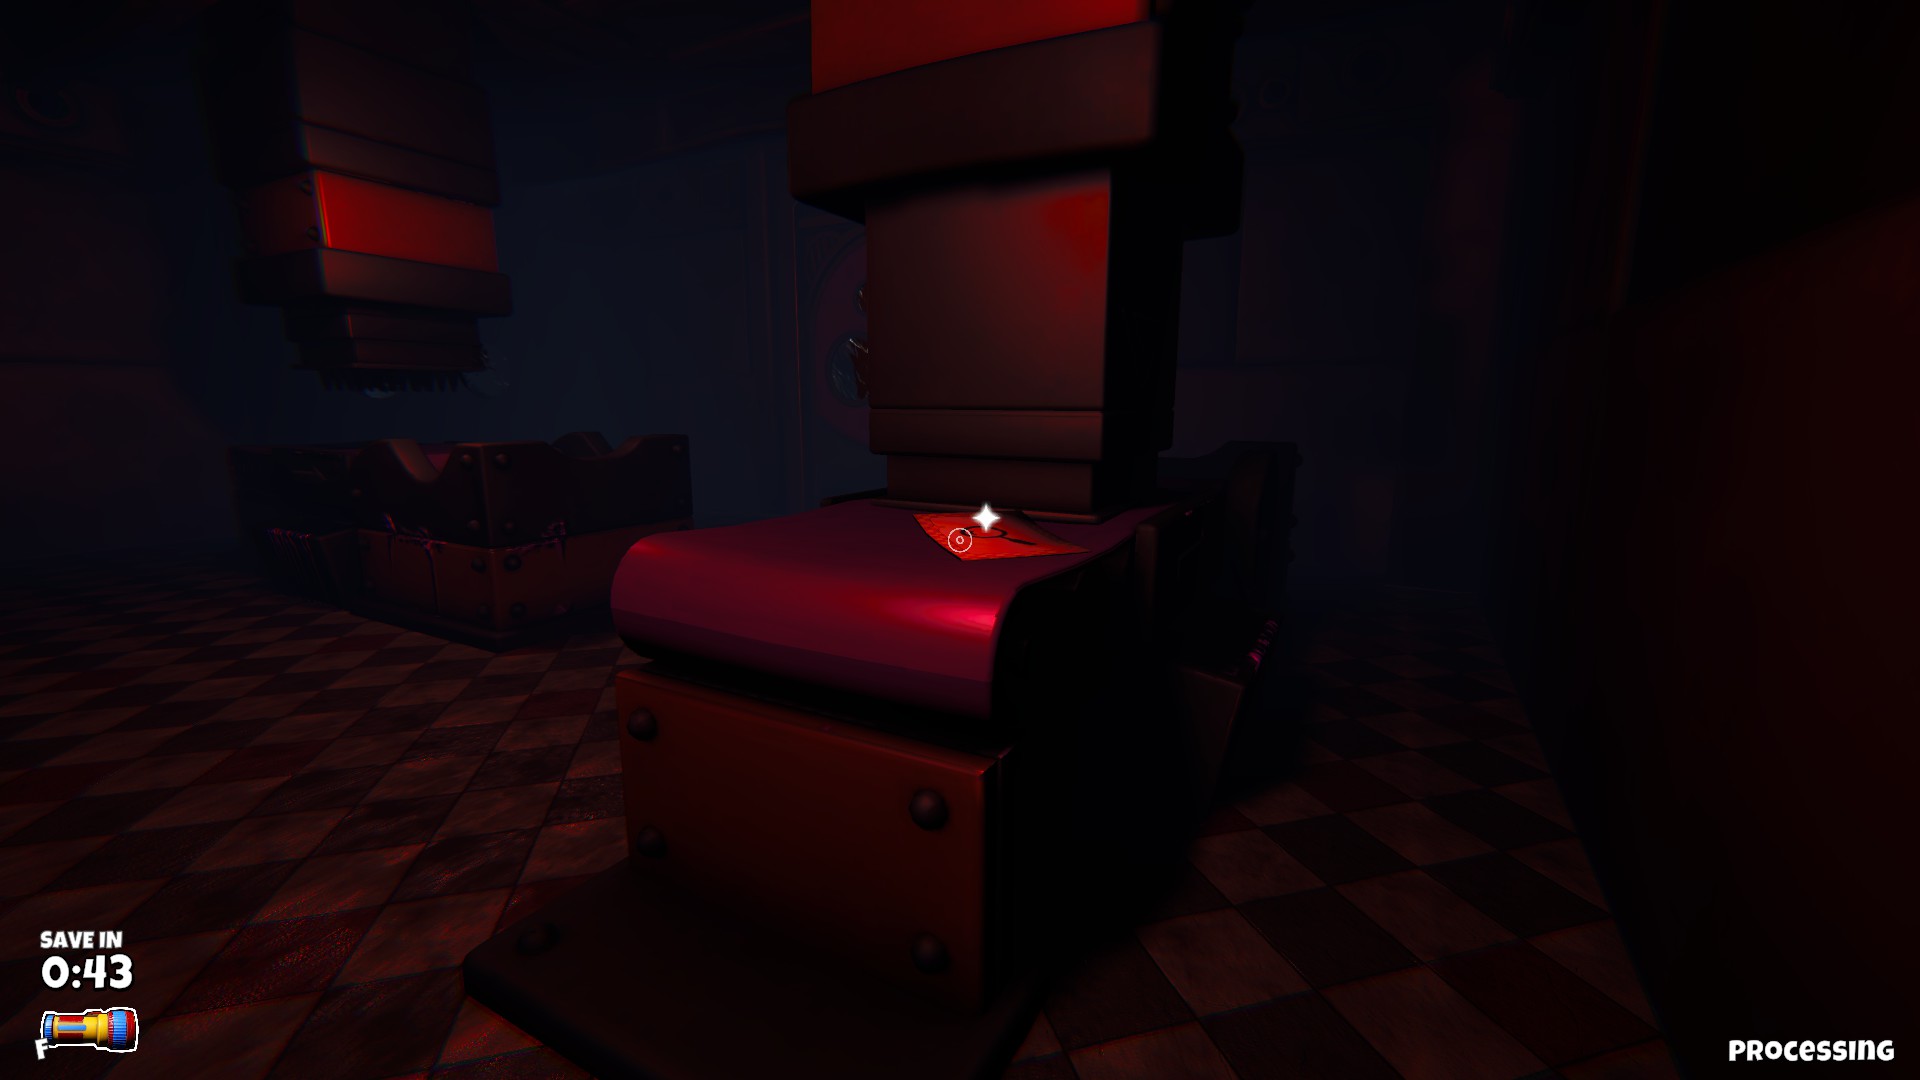
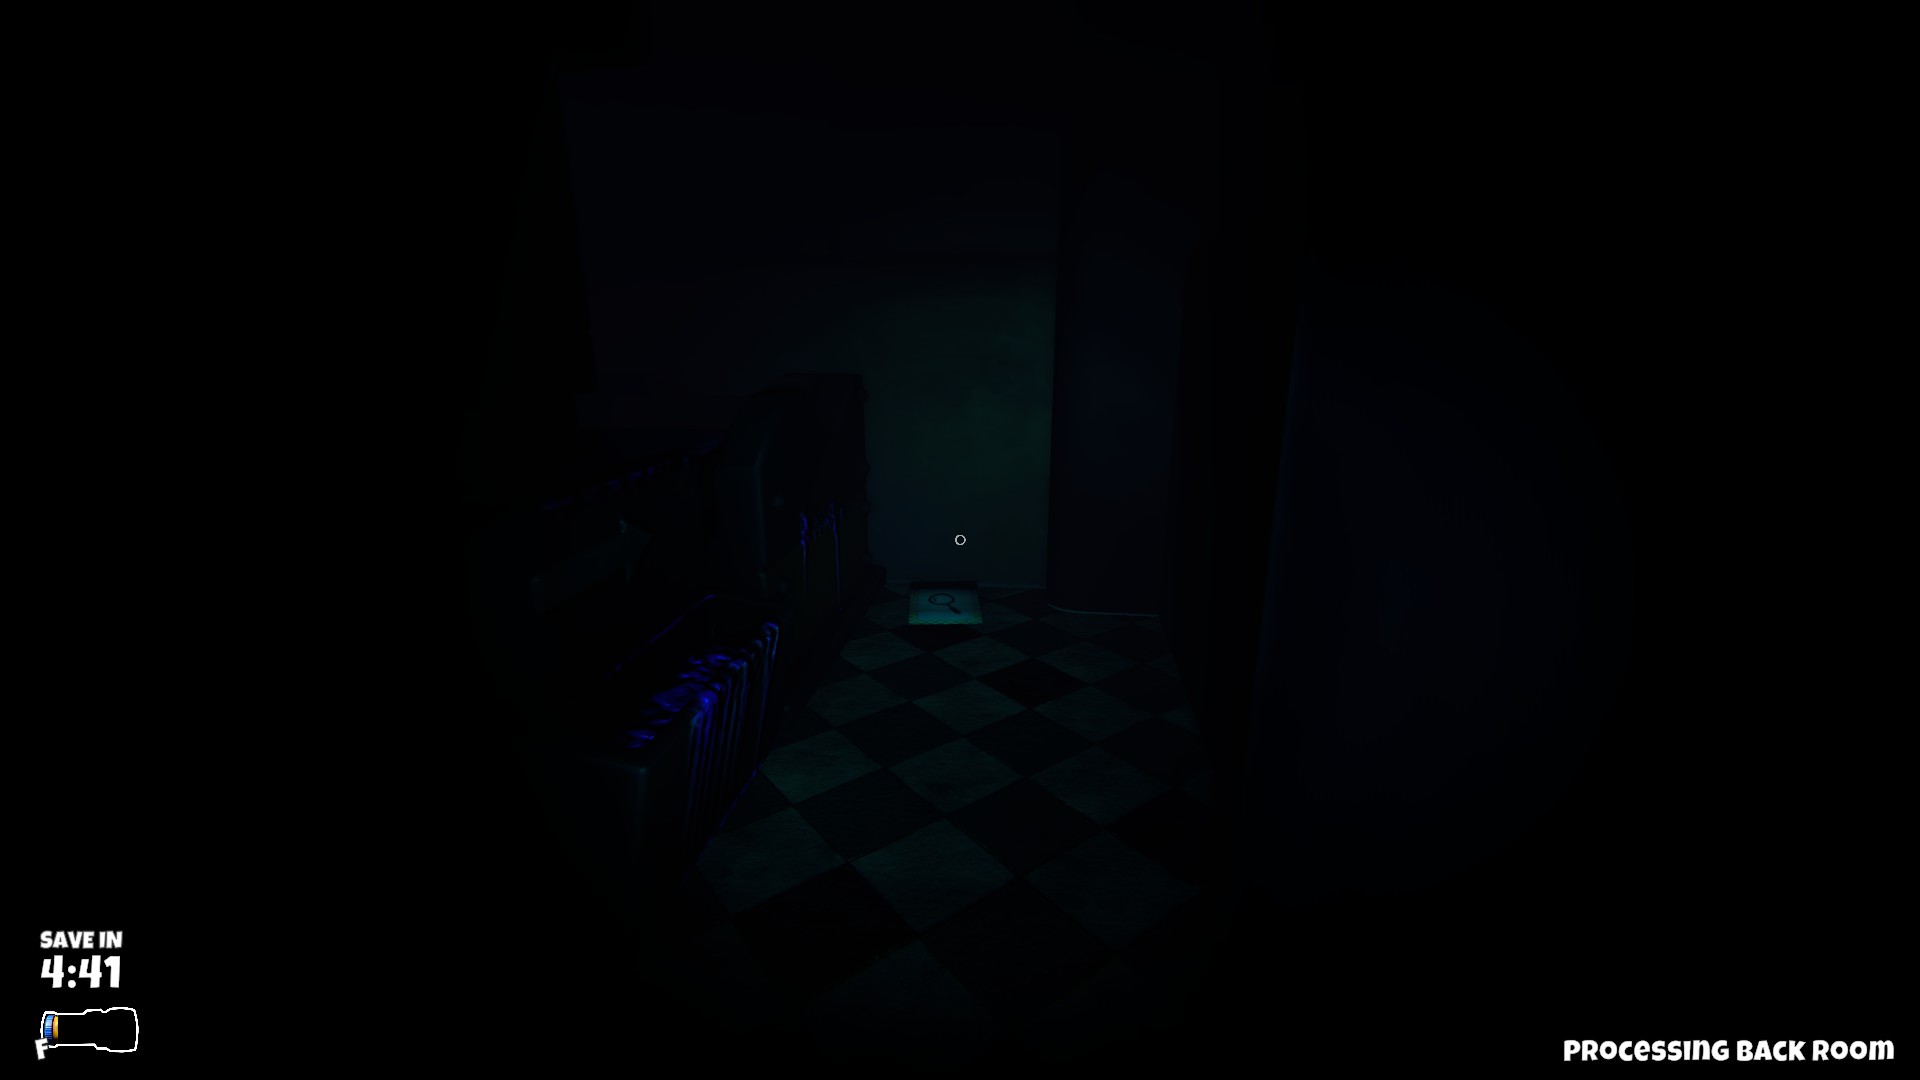
Sadly I can't give you the exact location for it since it's completely randomized.
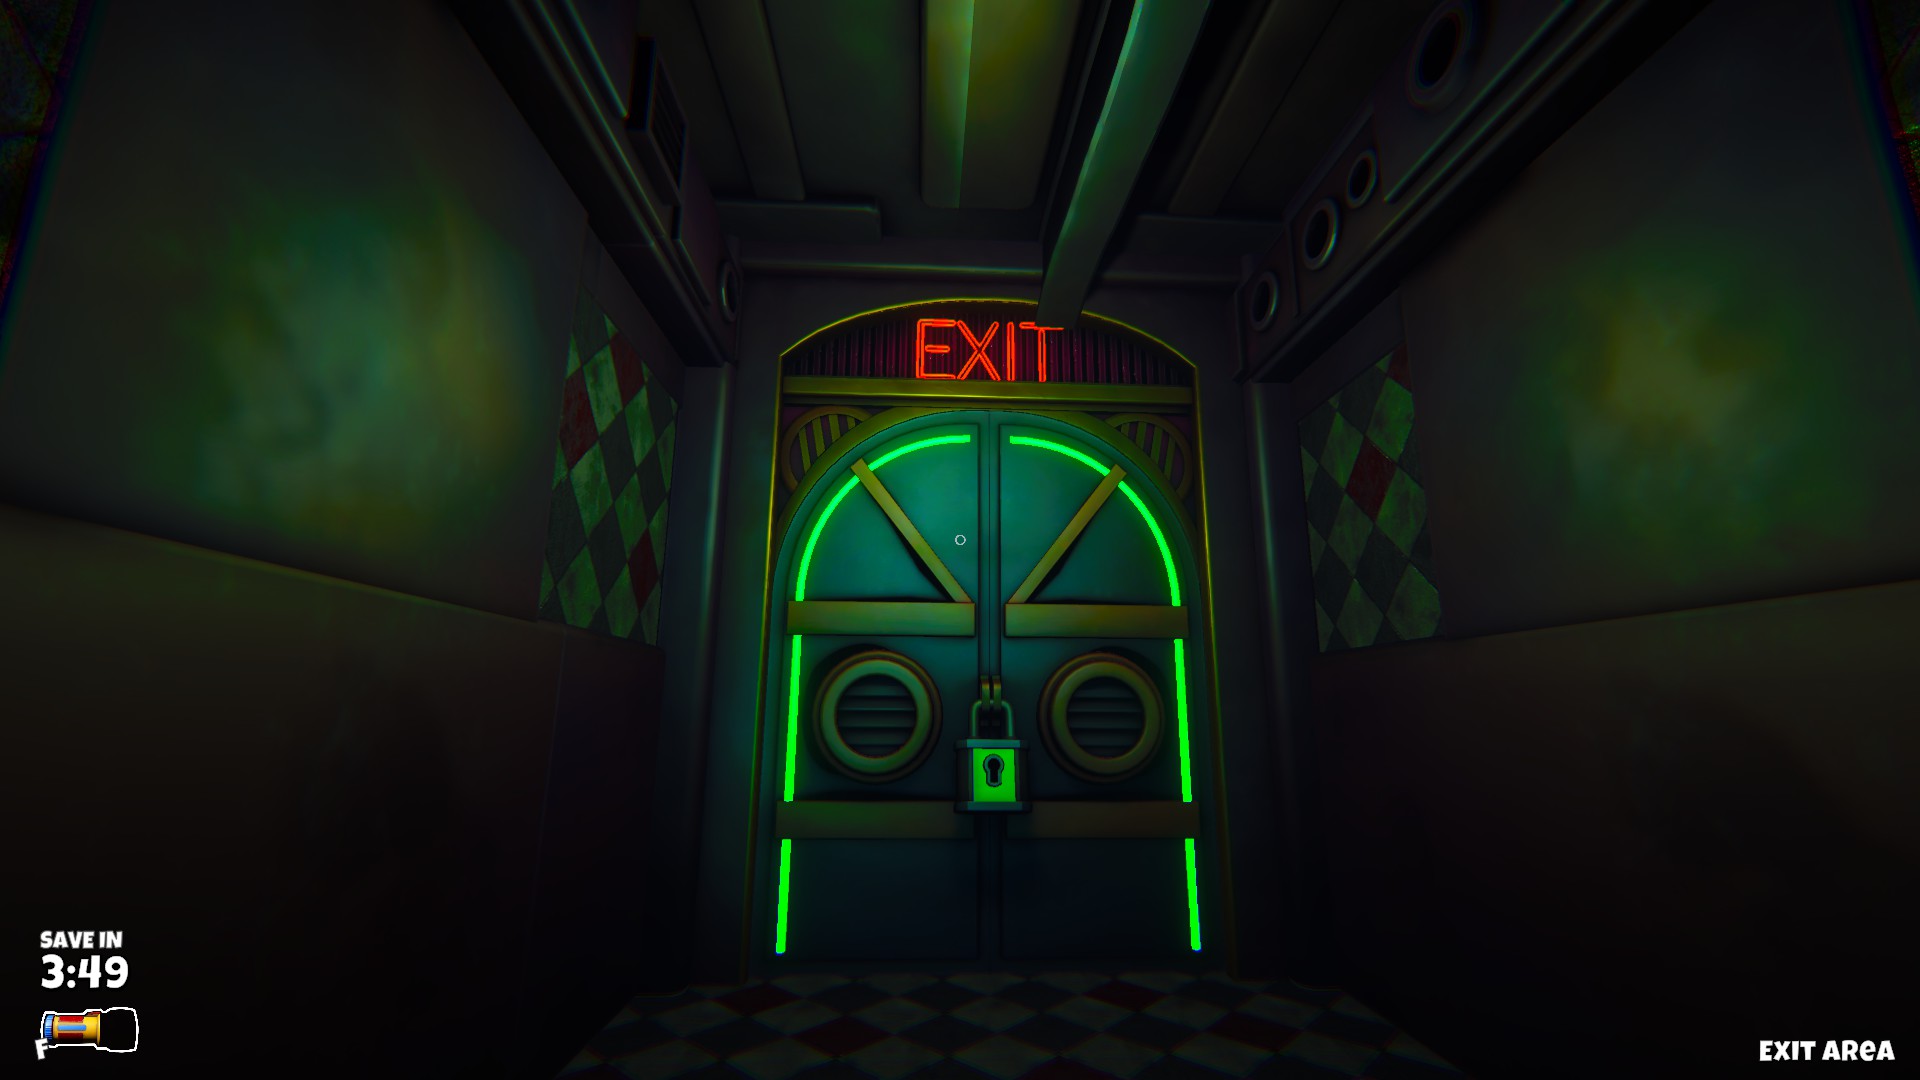
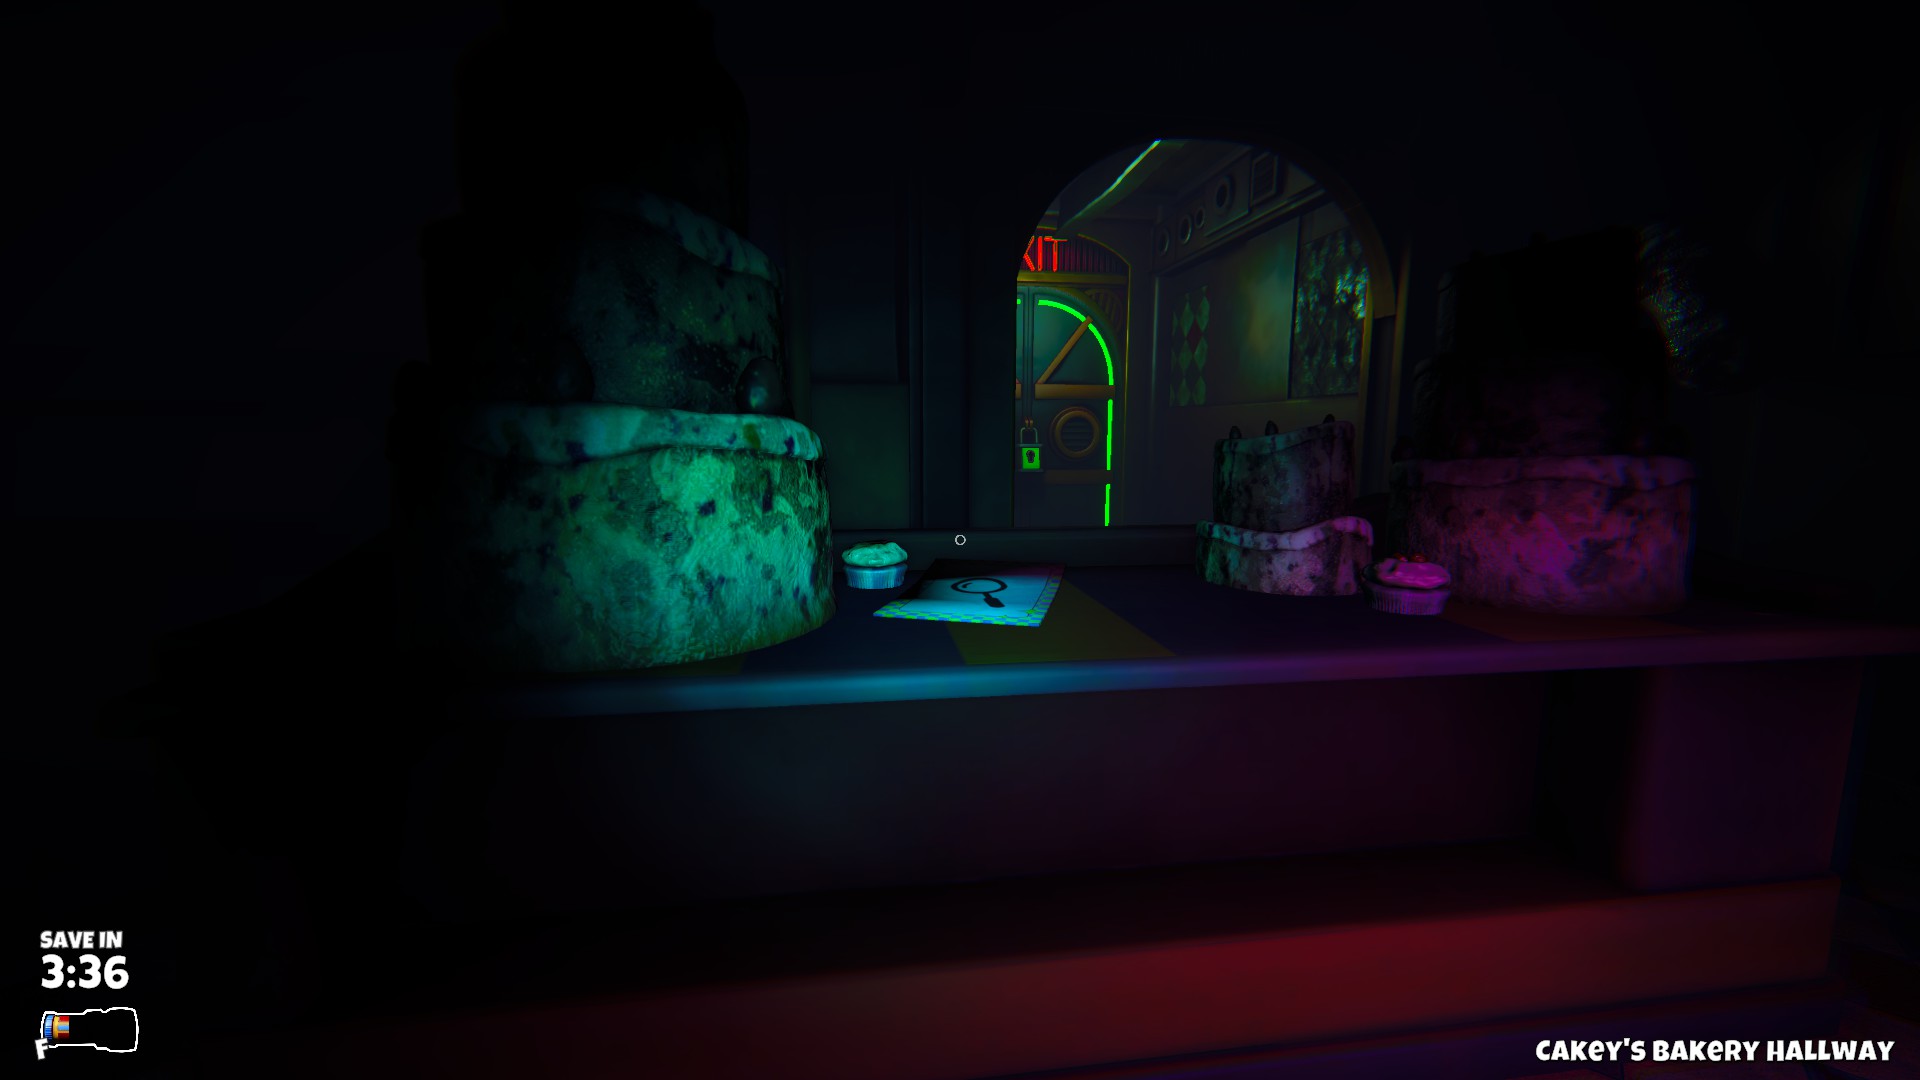
My tip is to save Sweetie once you defeated all of the foes and you have the green key, since all of the locations should be unlocked at that point, and the bakery is completely free from danger.
Or alternatively, try finding the bin once you defeat an enemy.

Wish ya the best of luck! :fhappy:
Señor Coopster 9 Jul, 2024 @ 12:17am 
What do you do to save sweetie? I found bro but it makes me drop him when I exit
miopyox  [author] 7 Jul, 2024 @ 10:09am 
Well I'll be damned, some one beat me to it by a few hours. Oh well. :ftired: