Into the Dead: Our Darkest Days

Into the Dead: Our Darkest Days

40 ratings
Penny's Guide to Escaping 2.0
By nine
Dying too much? Not enough resources? Sit down and relax as Penny guides you through how to survive, and hopefully escape. Grab a coffee.
4
3
2
   
Award
Favorite
Favorited
Unfavorite
Introduction
Penny enjoyer here to help you survive and escape. I'll go through some tips for the early/mid/late game without going too much into spoilers. I've updated the guide as well to make it easier to find certain info, accommodate those who are just looking for the quick top 10 tips, spoiler free, while leaving in-depth explanations for those that want them.

Leave comments below for any feedback or corrections.

I will be updating this guide regularly as more info comes out and things are discovered.

Last Update: 4/19/2025

10 Fast Tips
Quick tips to get you started fast; spoiler free

1. Pick Daphne and Penny
Daphne give extra food+medkit crafts; Penny is extra stealthy which makes stealth executions and hiding easier.

2. Prioritize Telescopes in Areas
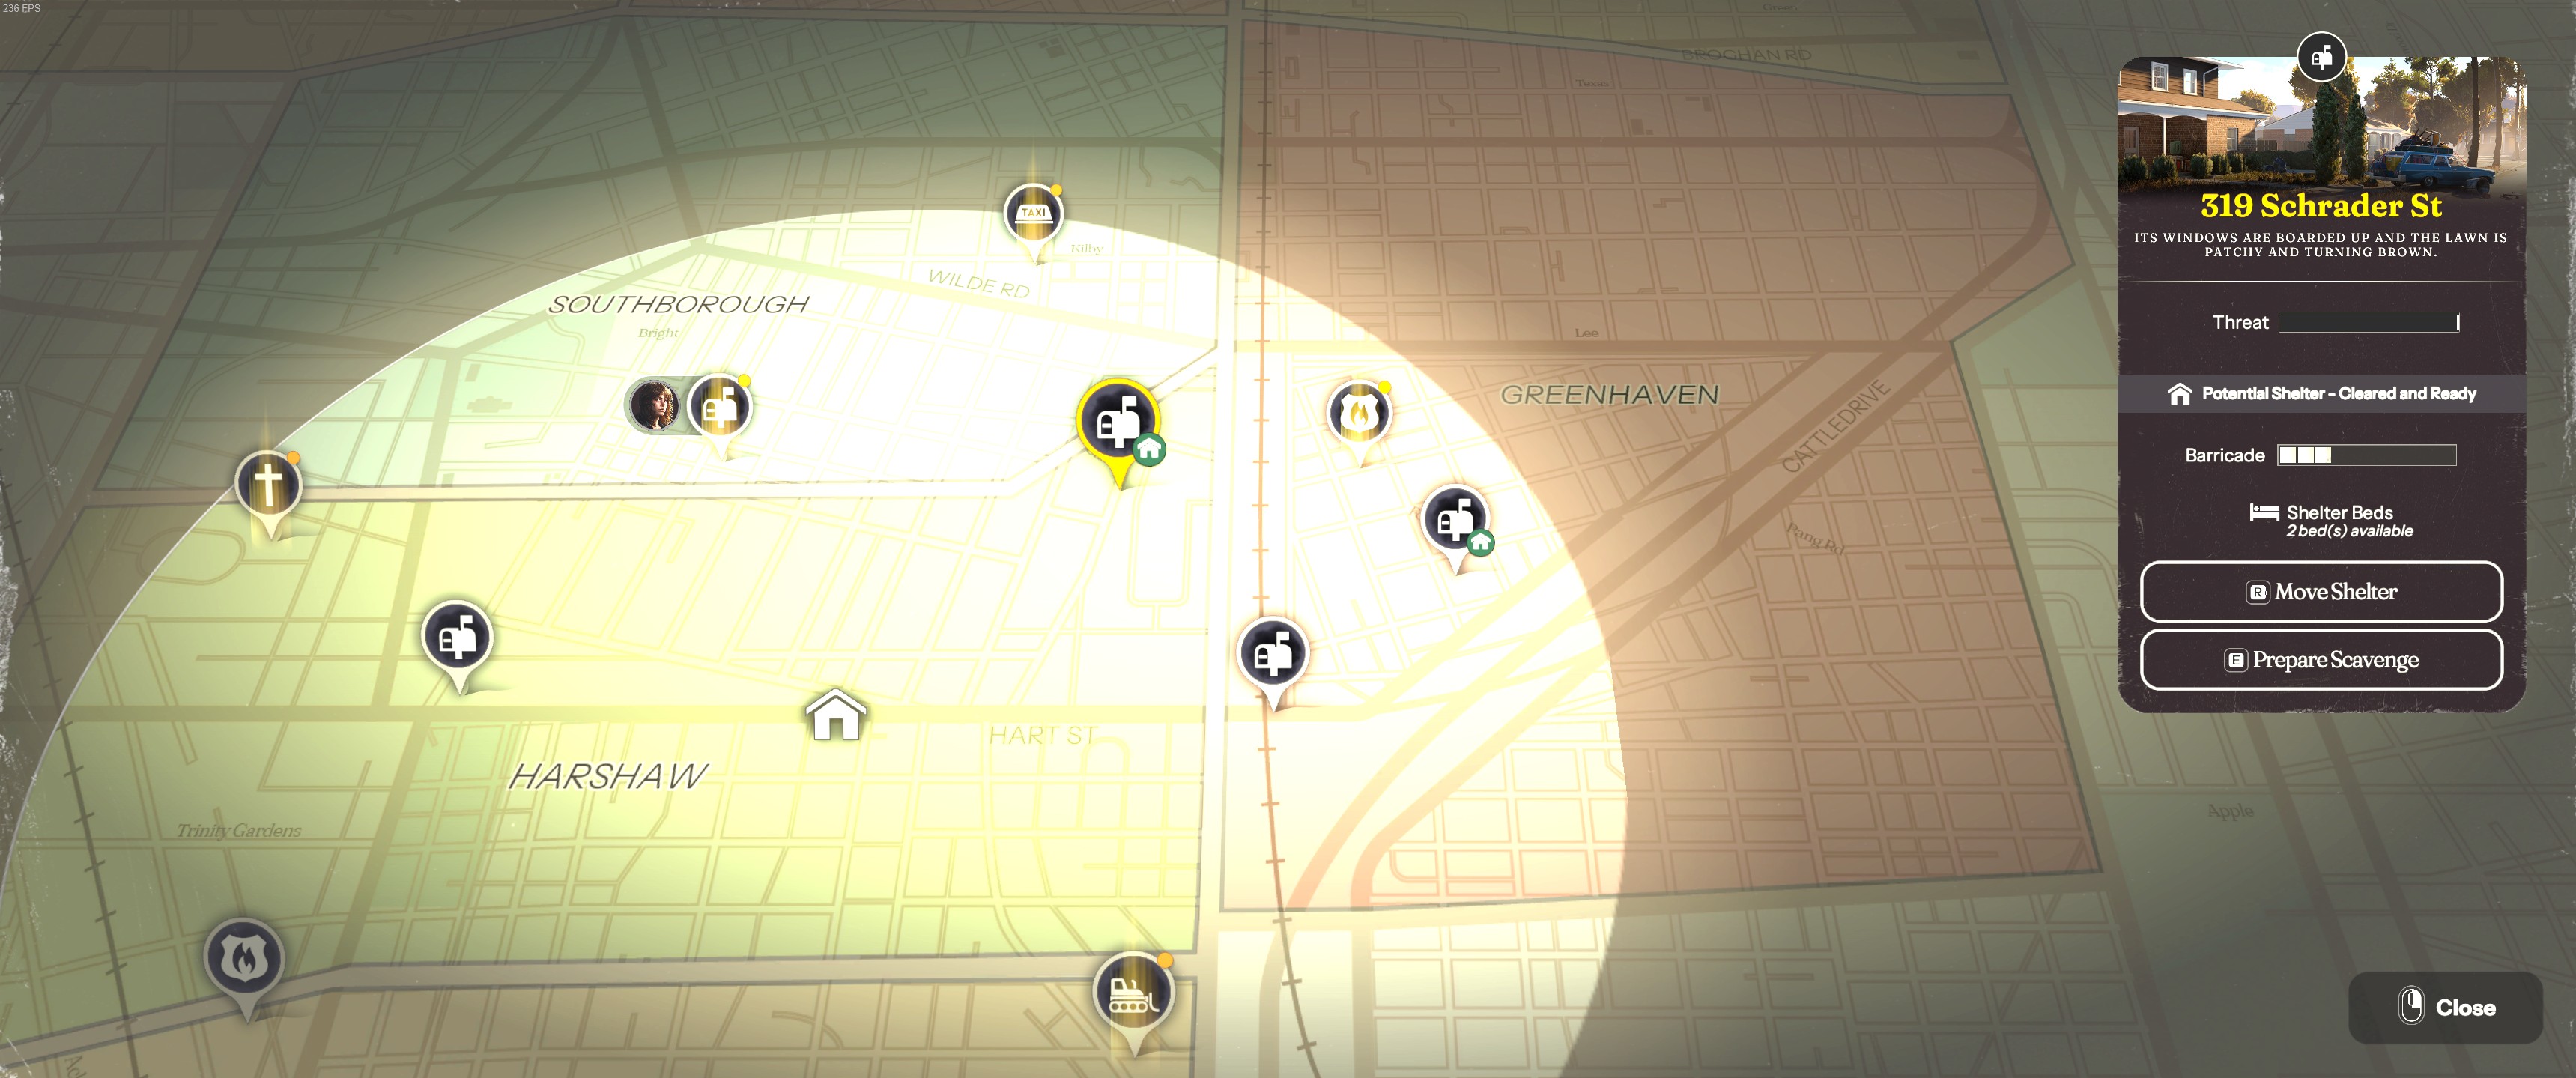
Prioritizing unlocking new locations in case you need to bail out of an area.

3. Scout,Clear, Haul
Scout - Send your Penny/Survivors to move around, explore as much as possible, and if able, kill as many zombies as possible.

Clear - For bigger areas, you might need to send a second survivor to bring lockpicks/boltcutters to access locked areas, as well as louder weapons when stealth isn't enough to gain access to a room.

Haul - Bring your big backpack survivors to grab all the remaining loot.

4. Find a 2nd Shelter ASAP
Zombie attacks intensify every other night, moving to a new location will reset this intensity back to 1. Keep moving around to save on planks from barricades.

5. Loot Priority
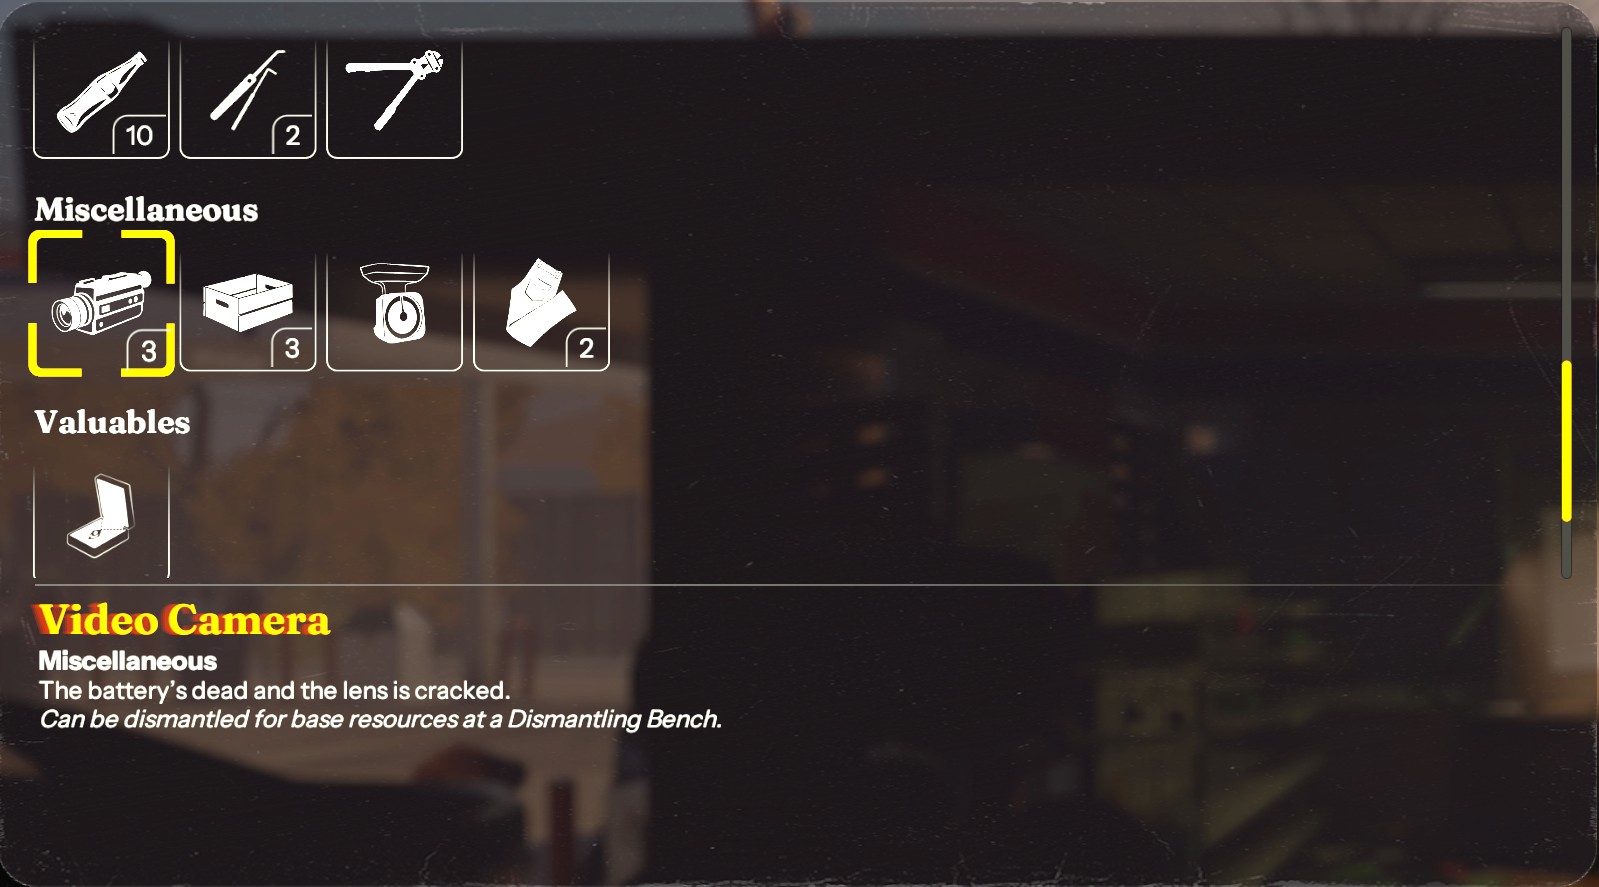
Dismantle items are top priority once you start dismantling as they are worth multiple inventory space than the single space they occupy. Coffee, alcohol, and chips will keep your survivors topped up early game while you're still upgrading your stations.

6. Upgrade Priority
Workbench as needed
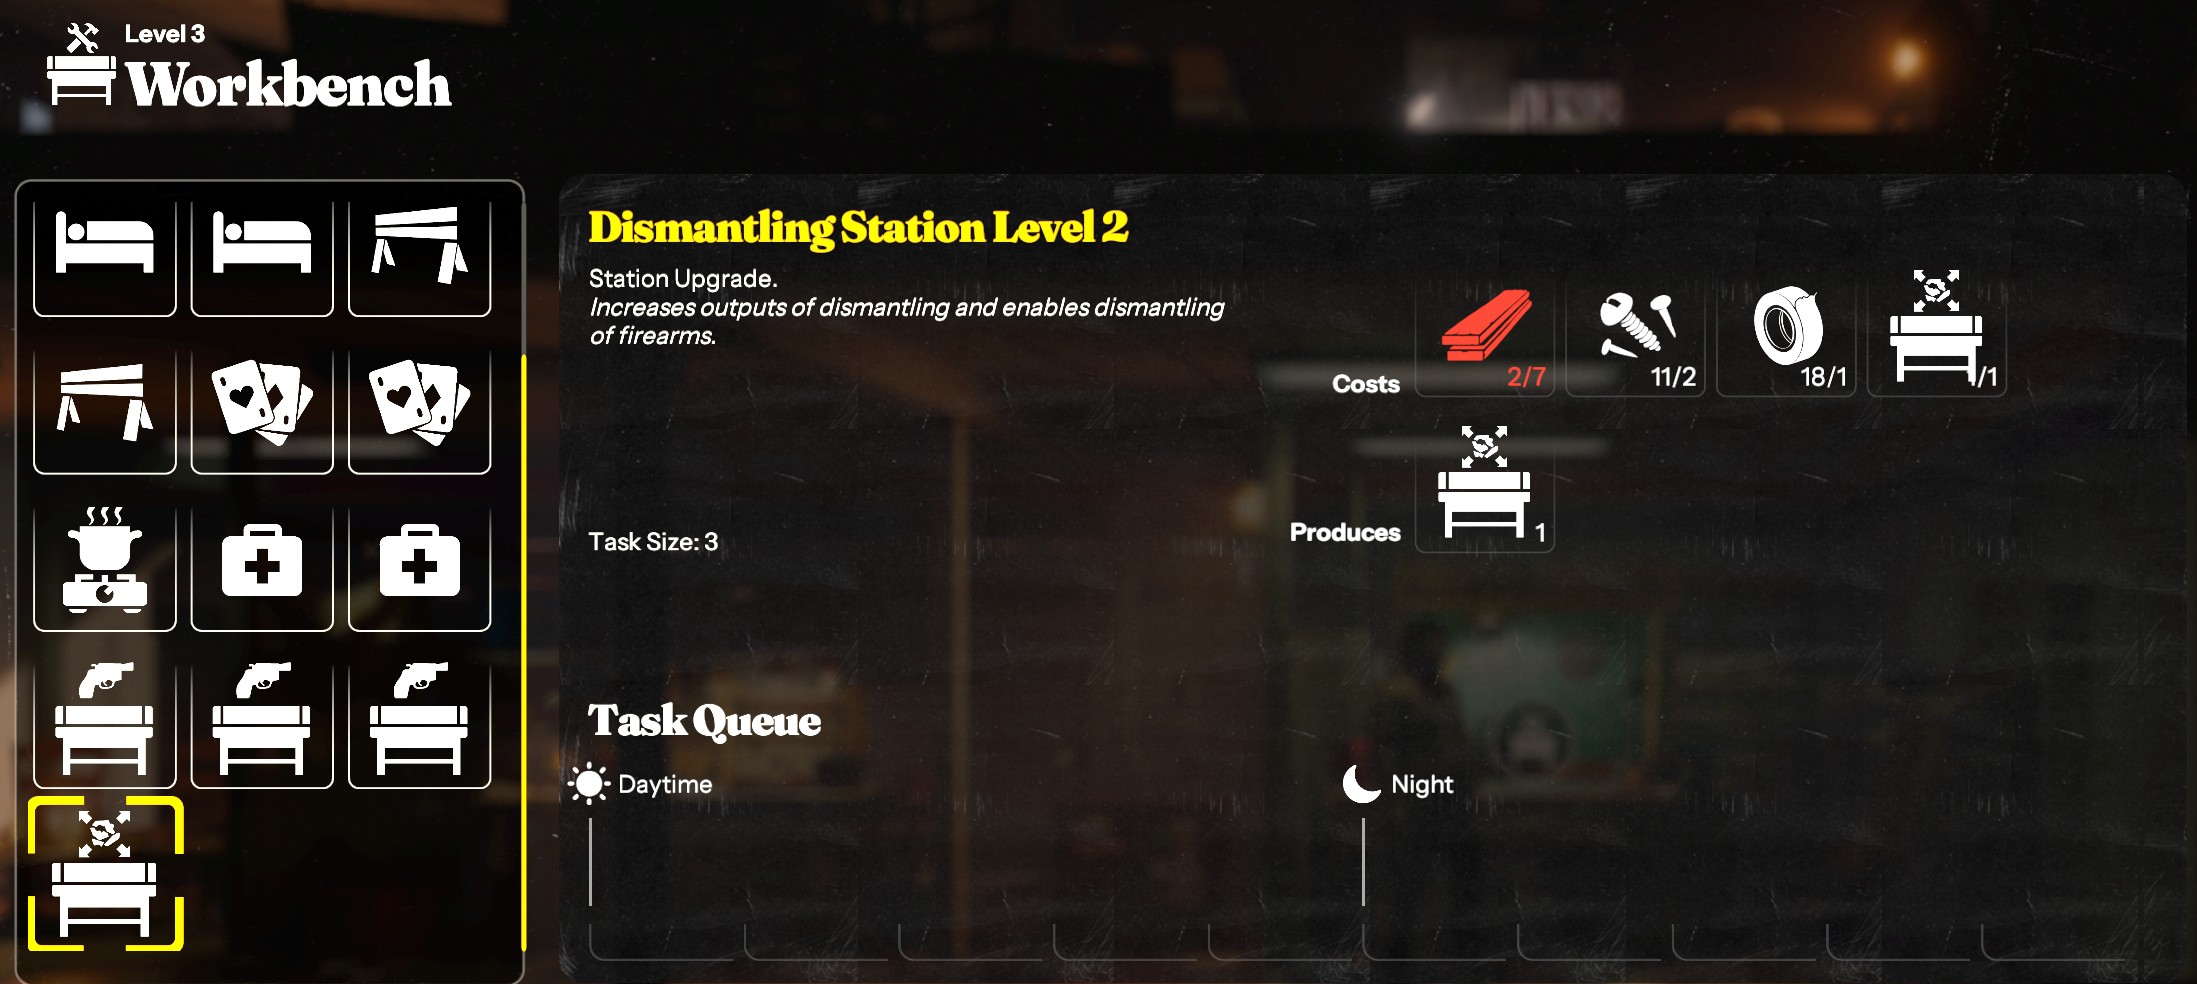
Dismantling Bench 2
Cooking Area 3
Communal Area Lvl 1 (Lvl 2 if you have 5 or more survivors)
Portable Beds Lvl 1 (Lvl 2 if you have 5 or more survivors)
Barricade 1 (If you need, but can be easily skipped till later)
Weapons Bench 3
Medical Area 3
...max the rest

7. Number of Survivors
4 early game to juggle scavenging with crafting, 5 late game to have multiple scavenges per phase.

8. Best Early Survivors
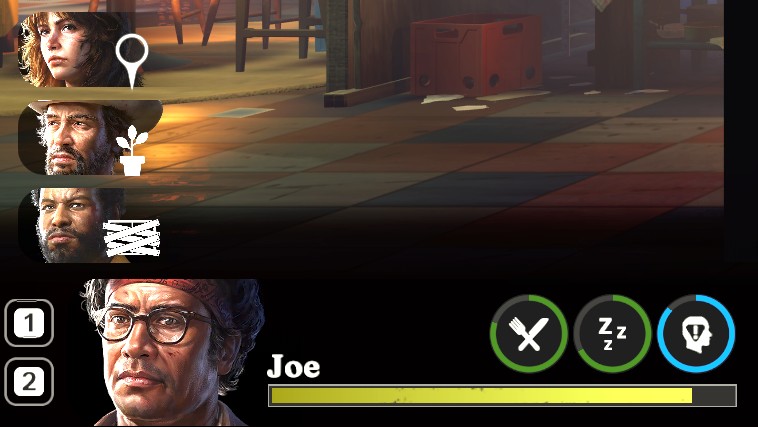
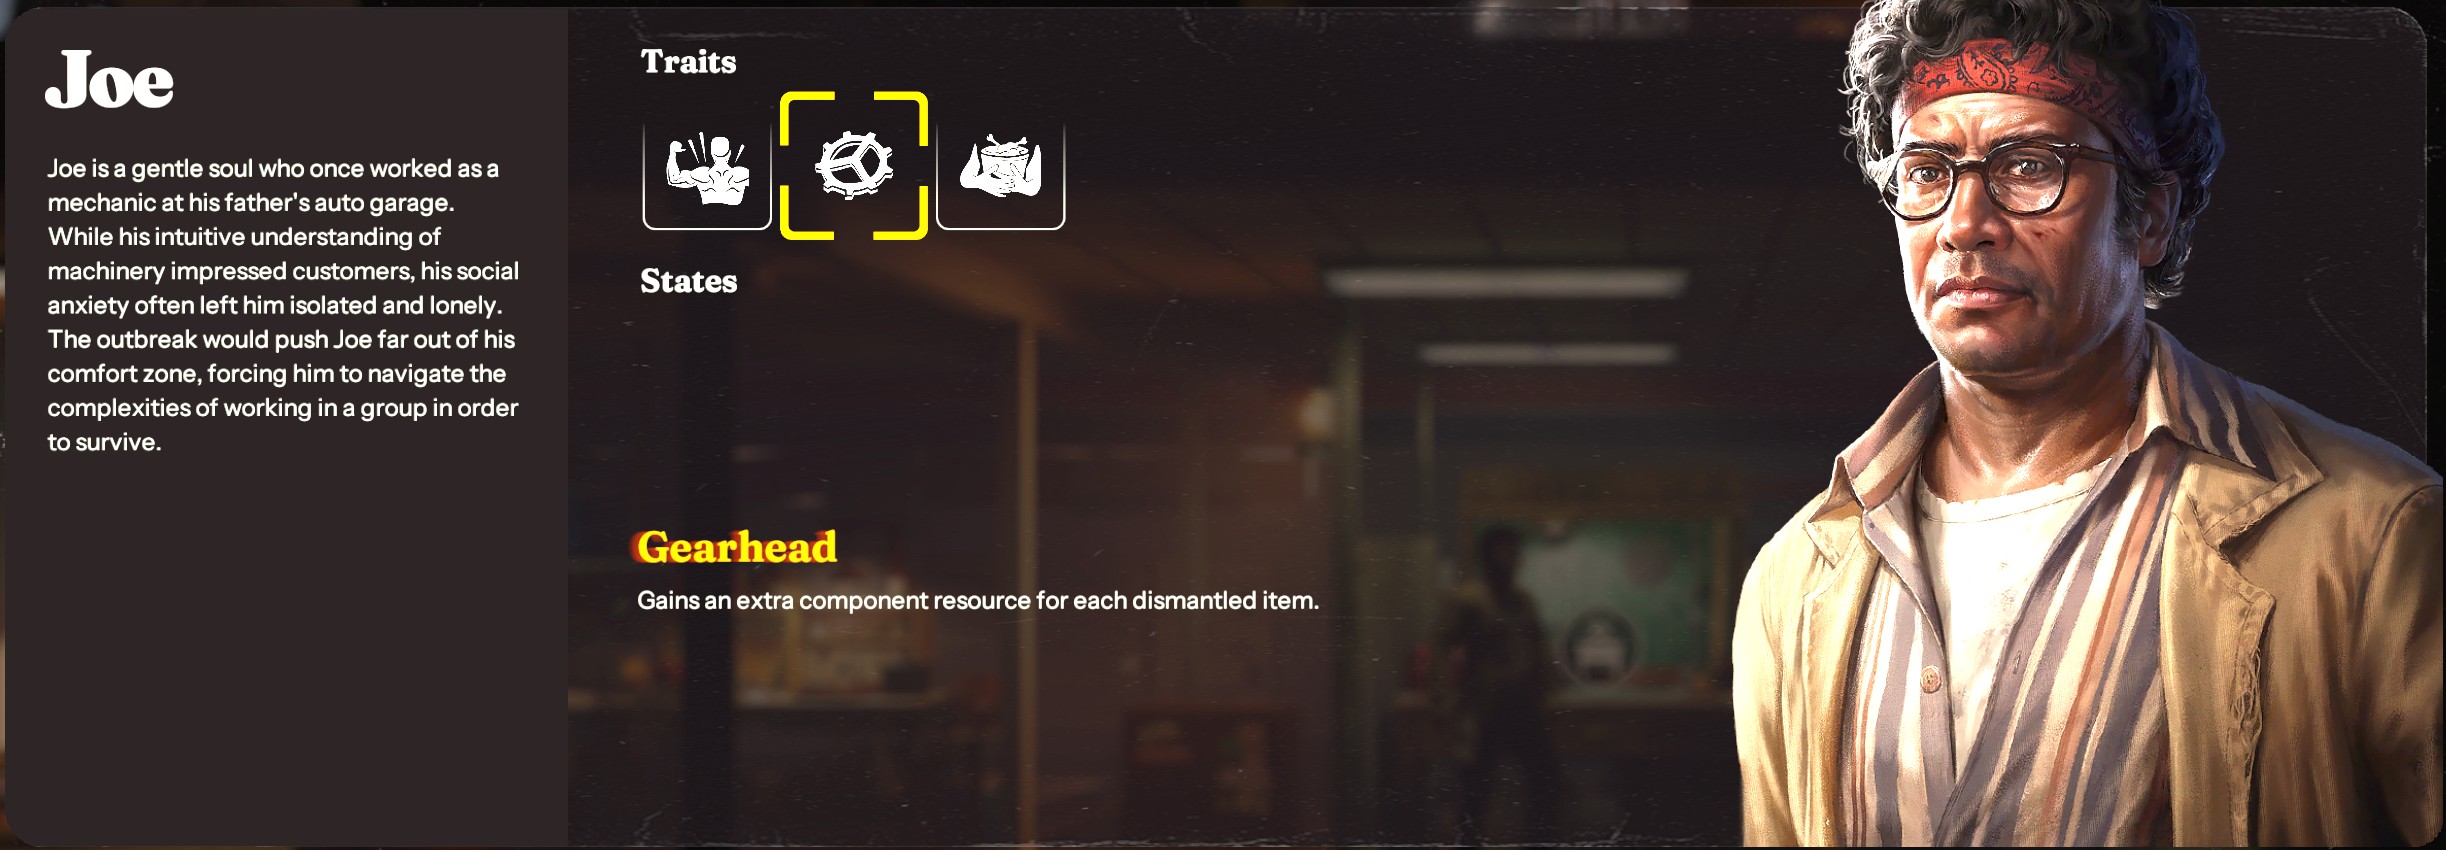
Joe - Found in Texway Gas Hart St: Extra dismantle bonus and +2 backpack space.
Frank - Found in Fire Station No.8: Extra food when cooking and bonus to blunt weapon damage.

9. Zombie Shuffling
Use connected rooms with doors & hiding spots to move zombies from unexplored rooms to explored ones. You can also use bottles or intentionally waking up zombies to move them but be prepared to lose a door or two before they go back to patrol mode. This is a good way to conserve on weapons early.

10. Use HP and Medkits as a Resource
You can proactively use loud melee weapons, or your fists to take down zombies and conserve stealth weapons if you have excess medkits lying around. Save those shivs and screwdrivers for when you really need to go for a stealth kill.

[BONUS] 11. Use bottles
You can throw bottles behind zombies to make them face away from you so that you can go in for a stealth kill. Great for those rooms where a zombie is at the opposite end of the room, facing the door you're coming in from.
10 Tips Expanded
A more detailed breakdown of each tip below:
1. Pick Daphne and Penny
If you're starting off and are having trouble getting going, consider running Daphne and Penny as their skills will carry you throughout the game. Daphne's Good Cook skill will help you get more food per craft in the early game and carry well into the late game. Her First Aid Training also increases the first aid kits you get per craft, helpful in the late game when you start finding yourself doing more zombie brawling. Penny's Sneaky skill reduces the range of the sounds she makes and takes longer to get detected by patrolling zombies when using hiding spots.

2. Prioritize Telescopes in Areas
When entering an area, prioritize climbing up and reaching the telescope to unlock more areas to visit. This expands your zone options to loot, and unlocks new and better shelters. It's good to get these out of the way early in case you need to bail out and may need to come back at a later time, better prepared. At the very least, you have new areas to choose from when scavenging.

Telescopes can be found on locations that have the tag "New Locations Discoverable" in the map
3. Scout, Clear, Haul
This is my go-to method for dealing with each location:

Scouting
Enter new areas with stealth-focused characters, weapons, lockpicks and bolt cutters, aiming to explore as much as possible. Open any lockpicks, bolted areas, shortcuts, and activate telescopes. Stealthily take down as many zombies as you can. Prioritize bringing back weapons and whatever materials you're lacking. You will need the weapons on the second run.

Clearing
Bring your beefy guys on the next run. The game isn't clear on this but some characters can tank more damage over others even without listing it as a trait (Penny vs Joe for example, Joe can take more hits)*. Bring a few stealth weapons and some harder hitting, high durability ones and focus on clearing a path on the loot spots. Try to use louder melee weapons if you can and conserve stealth weapons.

Tip: If you're in an enclosed room with only one zombie, swap to your loud weapon and make sure doors are closed before you go for a stealth kill. It will one shot them regardless so you can save your quieter weapons for later. Keep the noise range mechanic in mind when doing this, but you're safe for the most part.

Hauling
If you have characters with bigger inventory slots, bring them here and grab any materials you may have missed. If you've cleared the zone of all active zombies, then you can come in without bringing any items for more space to bring materials back with. Depending on the area, you might be able to combine this with the Clearing run. You'll get better at estimating this as you play.
4. Find a 2nd Shelter ASAP
The longer you stay in a shelter, the more the zombie attacks will ramp up starting from 1 to 3 damage on your barricades eventually. Switch to a different shelter (new or old) will reset this back to 1 damage per attack. Repeat this as needed. Remember that moving into a newly-cleared shelter will automatically add any loot left behind to your base stockpile.

Keep in mind:
  • Before you leave a shelter, make sure it has at least 2 barricades left. That way, if you come back to it during night time, you will survive the zombie attack with 1 barricade left, giving you two phases to create more.
  • Shelters will need re-clearing if you leave them alone for too long.


5. Loot Priority
Dismantle Items
These are top priority as they usually provide multiple slots worth of resources for the single slot they occupy. You can lower this in the priority list over weapons if it will help you better clear areas on your next runs, or if you don't have dismantling station unlocked yet, but definitely come back for these at some point.

Stealth/Medium Weapons
These will help you clear more areas = more loot accessible, you can never have too much of these. Having a nice supply of these means you can save time and effort for some of the rooms that require stealthier approach. Try to keep a few loud weapons and a gun+ammo stocked up for those clearing runs when you need to go toe to toe with some zombies.

Coffee/Snacks/Alcohol
These are a great way to get your survivors through early game as you build up your other upgrades. Don't be stingy with them as once you have your facilities maxed, these will just be collecting dust. Use them at every point possible to keep your survivors topped and get more out of your ingredients and phases when you have those lvl 3 upgrades.

Metal
You will need metal for everything, make sure you bring back each of these you find.

Water
Water is needed to grow veggies and cook food later in the game. Grab as much of these as you can as you'll need it to grow veggies and cook. Once you unlock a shelter with water filtering, your water issue will be solved, so grab as much as you can till then.

6. Upgrade Priority in Order
Workbench as needed
Dismantling Bench 2
Cooking Area 3
Communal Area Lvl 1 (Lvl 2 if you have 5 or more survivors)
Portable Beds Lvl 1 (Lvl 2 if you have 5 or more survivors)
Barricade 1 (If you need, but can be easily skipped till later)
Weapons Bench 3
Medical Area 3
...max the rest

You will be doing a lot of Workbench upgrading and scavenging early game. Coffee and Beer/Pure Alcohol are great ways to keep your Morale up and Tiredness in check so you can keep your survivors working each phase.

Try to subsist off of Chips until you can start making medium/large meals. 2nd Portable Bed and 2nd Communal Areas once you start recruiting more survivors. Once you've stabilized your food supply, Dismantling station will give you an influx of materials that will help get you the next station upgrades. Ideally, don't craft weapons until you get Weapons Bench Lvl 3 as the lower tier ones aren't as good (except for the occasional shiv). Max Medical Area after Weapons Bench once you start needing to make Medkits as Lvl 3 will reduce the materials needed per craft.

7. Number of Survivors
4-5 survivors is a good amount to aim for throughout the game. You will feel like you need 5 when you have crafting station upgrades to weave in per phase, but this will only last until your crafting stations are all fully upgraded. You can always send up to 3 survivors per phase to scavenge if you have anyone idling around. Don't be afraid to send a survivor to a death run if you feel that you have too many mouths to feed. With an upgraded Communal Area, you can get the Grief debuff removed fairly easily, all at once. It's also a good way to use your louder weapons sitting around to clear out zombies in higher threat level areas.

Once you have ample supplies, you can look into getting a 5th survivor to be able to do more scavenging per phase, but this ultimately is up to you and when you find them.

8. Which Survivors to Recruit?
Prioritize survivors that can make your crafts more efficient by giving more yield or requiring less materials per craft.
  • Joe is amazing, he has extra backpack slots and gives extra dismantle materials.
  • If you don't have Daphne, Frank will be your go to cook with his Good Cook skill. Also gets bonuses to blunt melee weapons.
  • Aubrey can increases your medkit crafts, useful for late game when you find yourself doing more fights.
  • Survivors that makes weapon crafts easier are also good late game.

9. Zombie Shuffling
Zombie shuffling utilizes zombie's patrol patterns to lead them to different rooms so you can safely scavenge loot spots, especially in smaller rooms.

Zombie shuffling can be done when you have long stretch of connected rooms, separated by doors. By opening the door the zombie is originally patrolling, you can get them to leave that room, go past them and lock the door behind you, allowing you to safely scavenge. Once you're ready to go back, you repeat the same method and trap them in the original room they're in.

This usually requires hiding spots but most rooms have these so it shouldn't be an issue.

You can get creative with this by using loud sounds/running to attract zombies to different floors, and trapping them in dead-end rooms that you've already cleared out. Just keep in mind that using loud sounds may cause zombies to break a door between you and them so make sure you have enough doors as buffers in case.

This is a good way to conserve on stealth weapons, or luring zombies in more secluded places so you can fight them with louder weapons.
10. Use HP and Medkits as a Resource
If you have loud weapons sitting around:

You can proactively use loud melee weapons, or your fists to take down zombies and conserve stealth weapons if you have excess medkits lying around. Save those shivs and screwdrivers for when you really need to go for a stealth kill.

Alternatively, you can also use your plain fists to conserve on weapons. This is especially helpful early game when zombie density is still small.

How to Fight a Zombie with Fists
The rotation is:
3x Punch
Dodge (Q with Keyboard)
Walk back, wait for zombie running/shambling animation
3x Punch
Dodge
Walk back, wait for zombie running/shambling animation
2x Punch
Execute

After punching a zombie 3x, they usually become immune to stagger and will hit back immediately. We dodge back once to dodge the hit (wait for zombie to do it's attack animation), then walk back to create distance.

The reason for the walk back is that survivors have a dodge meter and can only dodge twice in a row. It takes the duration of 3 punches for a meter to fill back. Normally this would be fine, but some zombies are more unpredictable, and they either need an extra set of punches, or they will attack immediately after 2x punches instead.

By walking back after every dodge, this gives your dodge bar time to regenerate to full, allowing you to theoretically perform this combo infinitely.

Note that some zombies behave even more erratically and just seem to tank the stagger from your punches and hit you constantly. I haven't found a way to consistently identify these zombies yet but in general, prepare to get hit 1-2 times per zombie whenever attempting to kill with fists.

I haven't tried this with the beefier zombies, but the rotation should work all the same.

Credits to JandaAmatir/Carla for their barehand guide that inspired me to look into this.
Bonus Tip: Use Bottles
Some rooms have zombies facing your way, making a stealth kill impossible. Use a bottle and throw it behind them to make them look behind, and swoop in for your stealth takedown. Don't overuse bottles as you will need them for Water later though.
Terminologies
Unofficial terminologies I'll be using throughout the guide just to ensure we're all in the same page:

Active/Inactive Zombies
Active Zombies
These are the ones that are in your way and will attack you on sight.

Inactive Zombies
These are the zombies in the foreground and background. You can walk past them and will not "activate" unless you create noise near them.

Weapon Noise
We classify weapons based on the noise they make as noise affects how zombies react around you.

Stealth Weapons
Weapons that have a noise level of around 30% or lower. They usually have low durability and break with one hit. Ex. Makeshift knife, Army knife, Scalpel, Broken Glass Bottle, etc.

Medium Weapons
Weapons that have a noise level of 30-50%. These tend to have higher durability than quiet weapons, and are used to do stealth kills as long as no active/inactive zombies nearby.

Loud Weapons
These are the heavy hitters, high durability weapons, and guns. They can alert active/inactive zombies, and the sound can go through doors (tested on 4/11/2025). Check the Sounds section under Game Mechanics for a deeper dive into this.
Game Mechanics
I've tested these myself, but feel free to do your own testing and let me know if you find something different.

Penny's "Sneaky" Skill
Sneeky seems to reduce the range of which zombies can hear Penny's actions. Keep this in mind when looking at the reference images in this guide for sound distance, as you'll likely need more for other survivors.

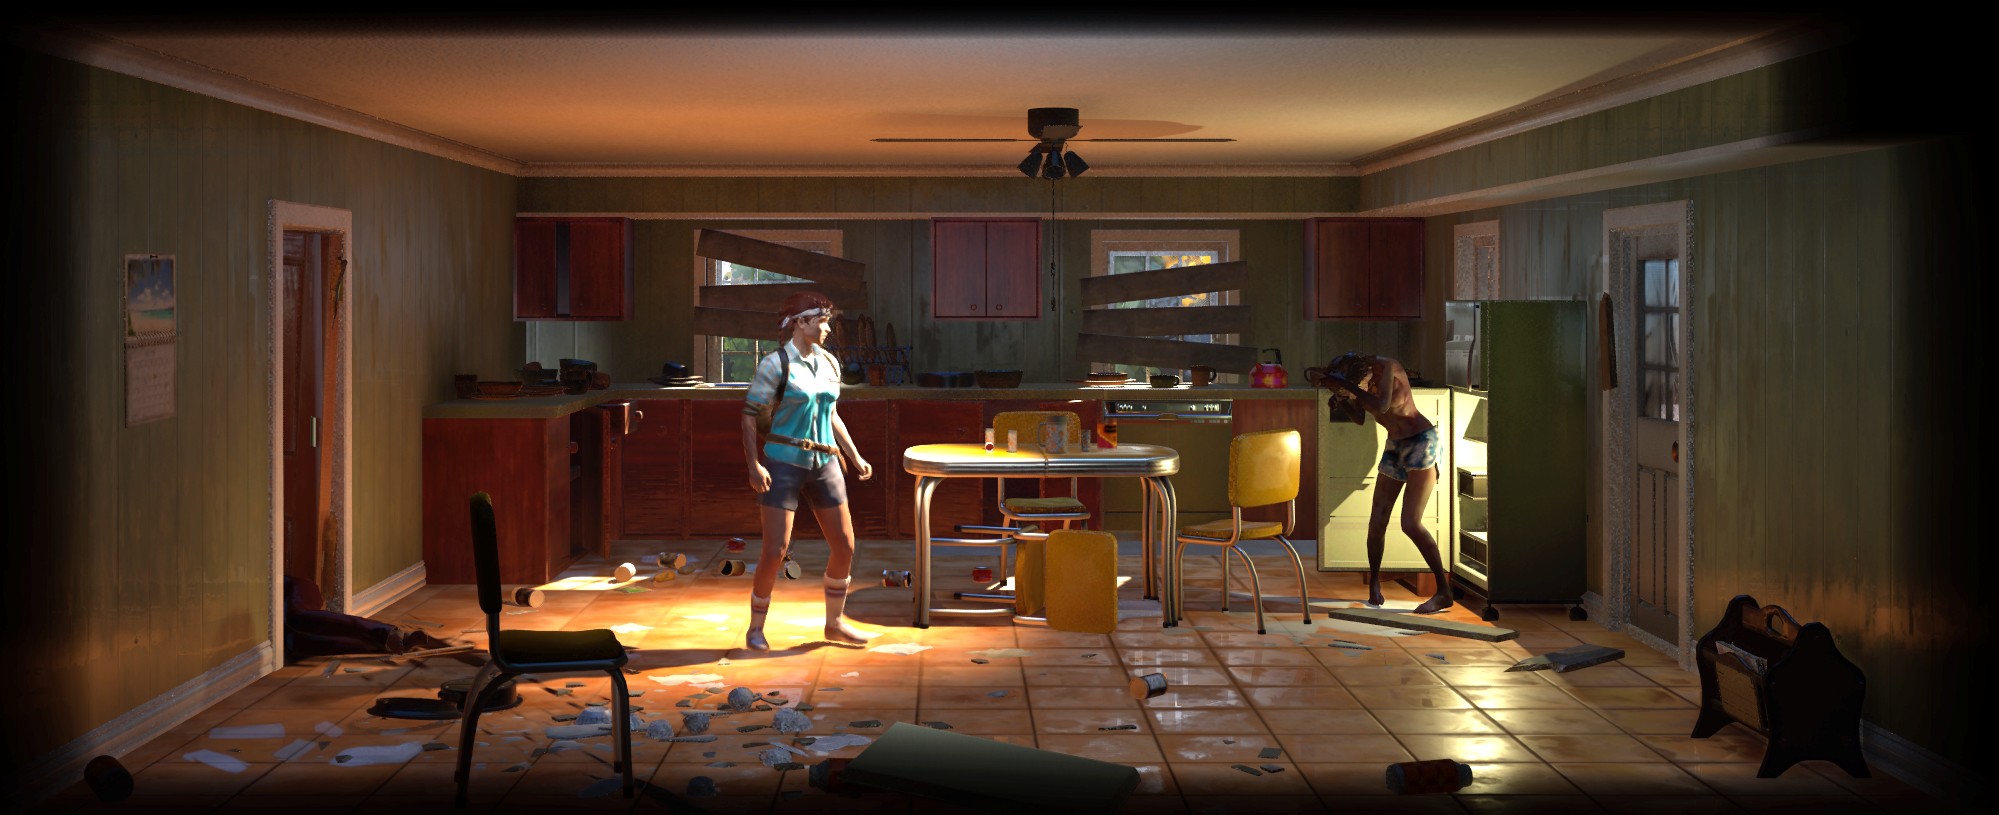
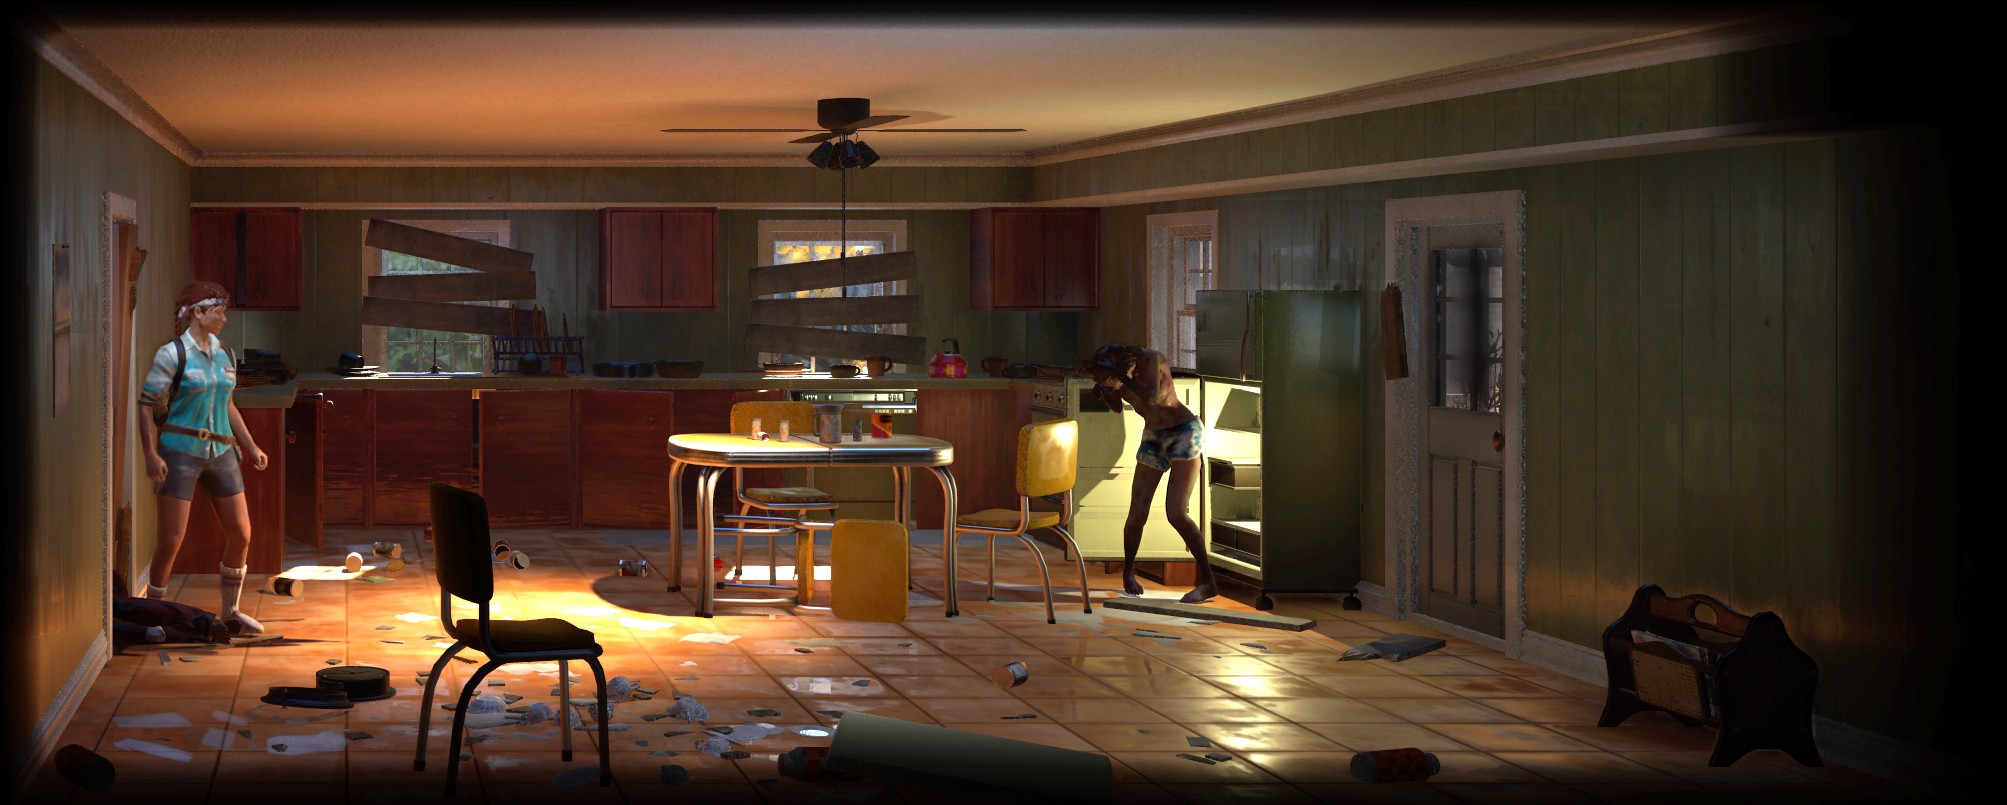
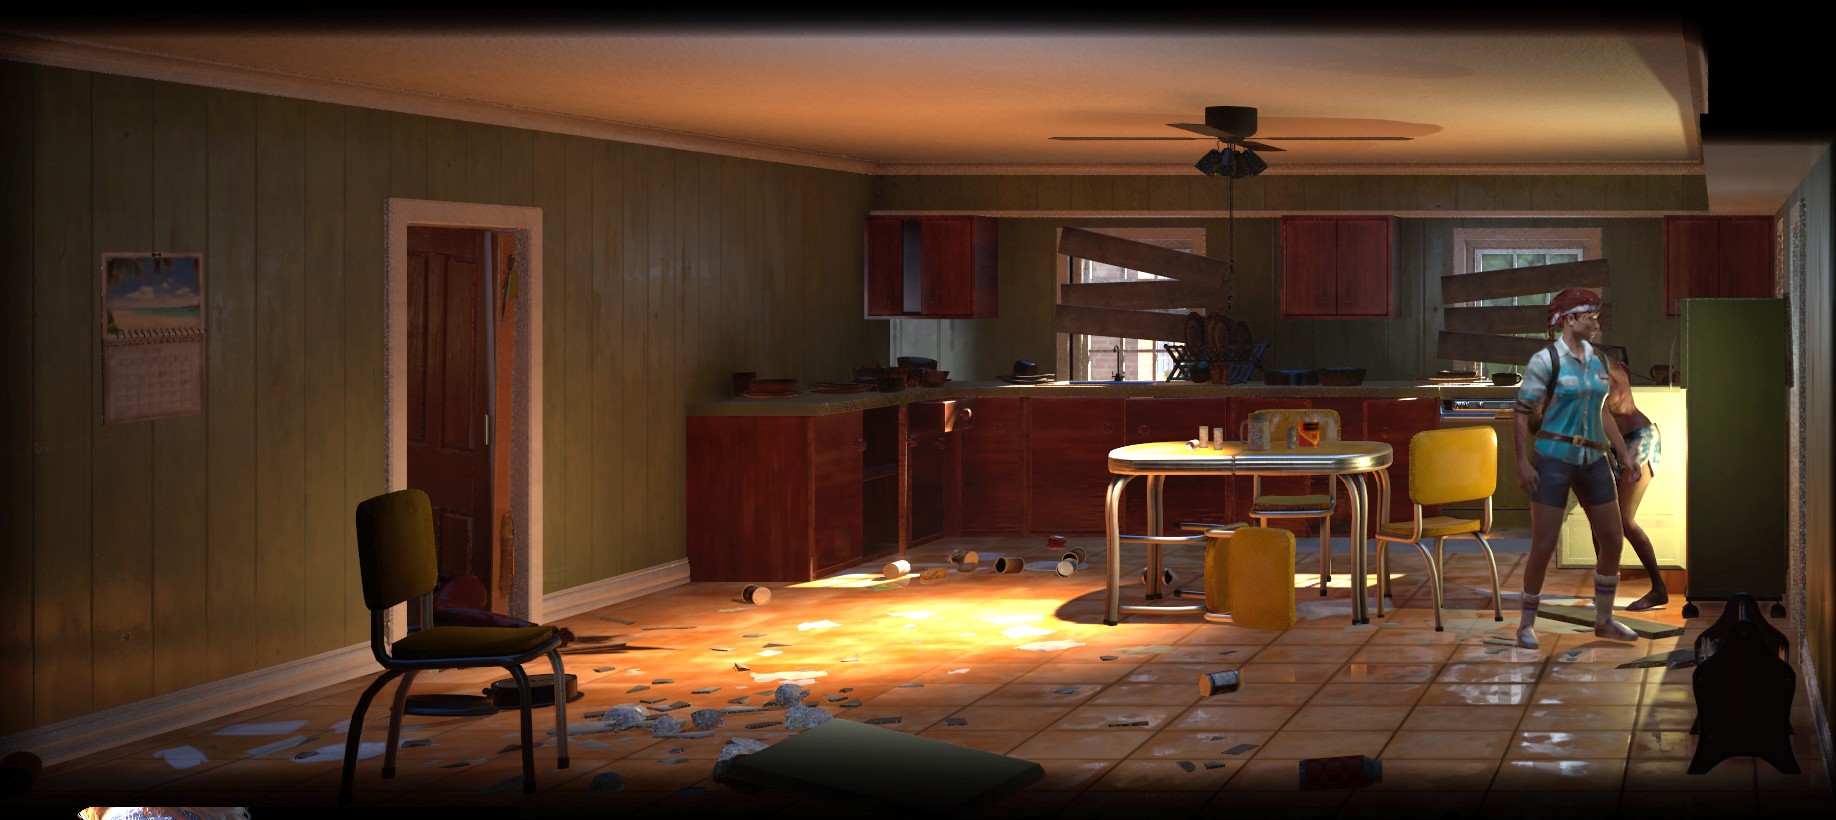
The screenshot below is a comparison of Penny and Daphne doing the same stealth kill, but Daphne triggers the zombie by the fridge.

Looking closely, Penny is actually closer as she's covering one of the plates in the background, while Daphne is further back, but still triggers the zombie.

Daphne further back, zombie still wakes up

Sounds
Note: As of 4/16/2025 hotfix, stealth kill noises have been reduced by half across the board. Will need to update these, but you can use them as reference, and half it to get the current correct distances.

Sneaking Sounds
Quiet. Only way you'll be spotted is via line of sight from active zombies or performing actions near any zombies.

Walking Sounds
Walking sound can go through doors. Zombies would have to be by the door on the other side to be triggered so be careful when walking.


The distance needed for a zombie to be triggered with walking

Running Sounds
Running seems to constantly give your last known location as long as you're running. I tested this by running by a closed door to trigger the zombie behind it and hiding in the background on the stairs. If I run all the way to the stairs, zombies seem to follow me up there. If I stop running before entering the stairs, sneak, then enter the stairs, they don't seem to follow you in there.

Stealth Takedowns
For our purposes, these would be the stealth takedowns using stealth weapons. Doing a stealth takedown right in front of an inactive zombie will wake it up. Doing a stealth takedown with some distance between you and an inactive zombie will not wake it up. Same rules for active zombies.

*Tested with a stealth weapon that breaks, therefore creating a dropping noise, need to test if this is a factor when doing stealth takedowns right in front of an inactive zombie.

Estimate of the safe distance to do stealth takedowns

Medium Takedowns
If stealth takedowns can be done till halfway a small room, assume medium takedowns need the full small room distance, end to end to be quiet.
*Needs testing

Estimate of the safe distance to do medium takedowns

Loud Sounds/Takedowns
Seems to travel screen-wide, goes through doors (check Doors section for comparisons). Does not travel to other floors. Active zombies seem to be able to hear you from farther vs inactive zombies (tested with running). Penny reduces the range loud sounds travel as well, see comparison below:

Estimate of the safe distance to do loud takedowns, tested with a guitar with around 80% noise.

Daphne with open door; Zombie does not hear

Penny with open door; Zombie does not hear

Zombie States
Active Zombies
Active zombies are the zombies blocking your way. You cannot walk "through" them compared to inactive zombies. Stealthily take them down or utilize hiding spots to get through.

Active zombie

Inactive Zombies
Inactive zombies are zombies in the back and foreground. You can sneak "through" them and will not activate unless triggered by sound. Activating or "waking up" an inactive zombie will seemingly "spawn" them to the location. The zombie will stay spawned if you leave and come back to the map, but now at a patrol state.

Inactive zombies, survivor is able to pass through them, can't be interacted until activated

Stairs
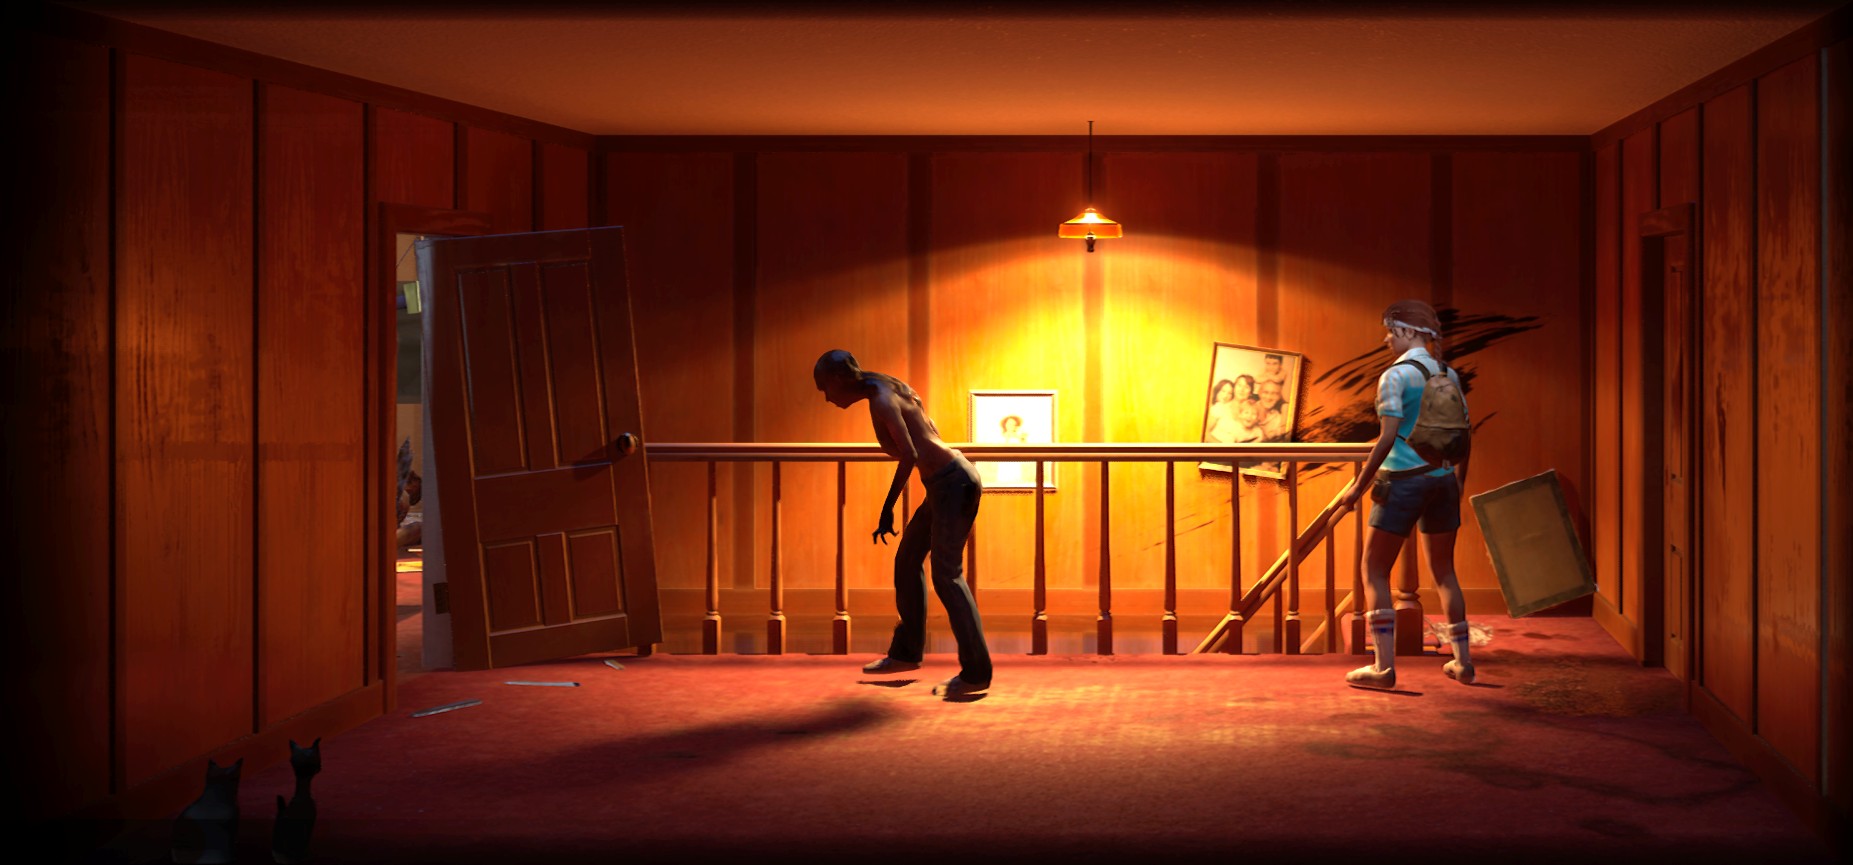
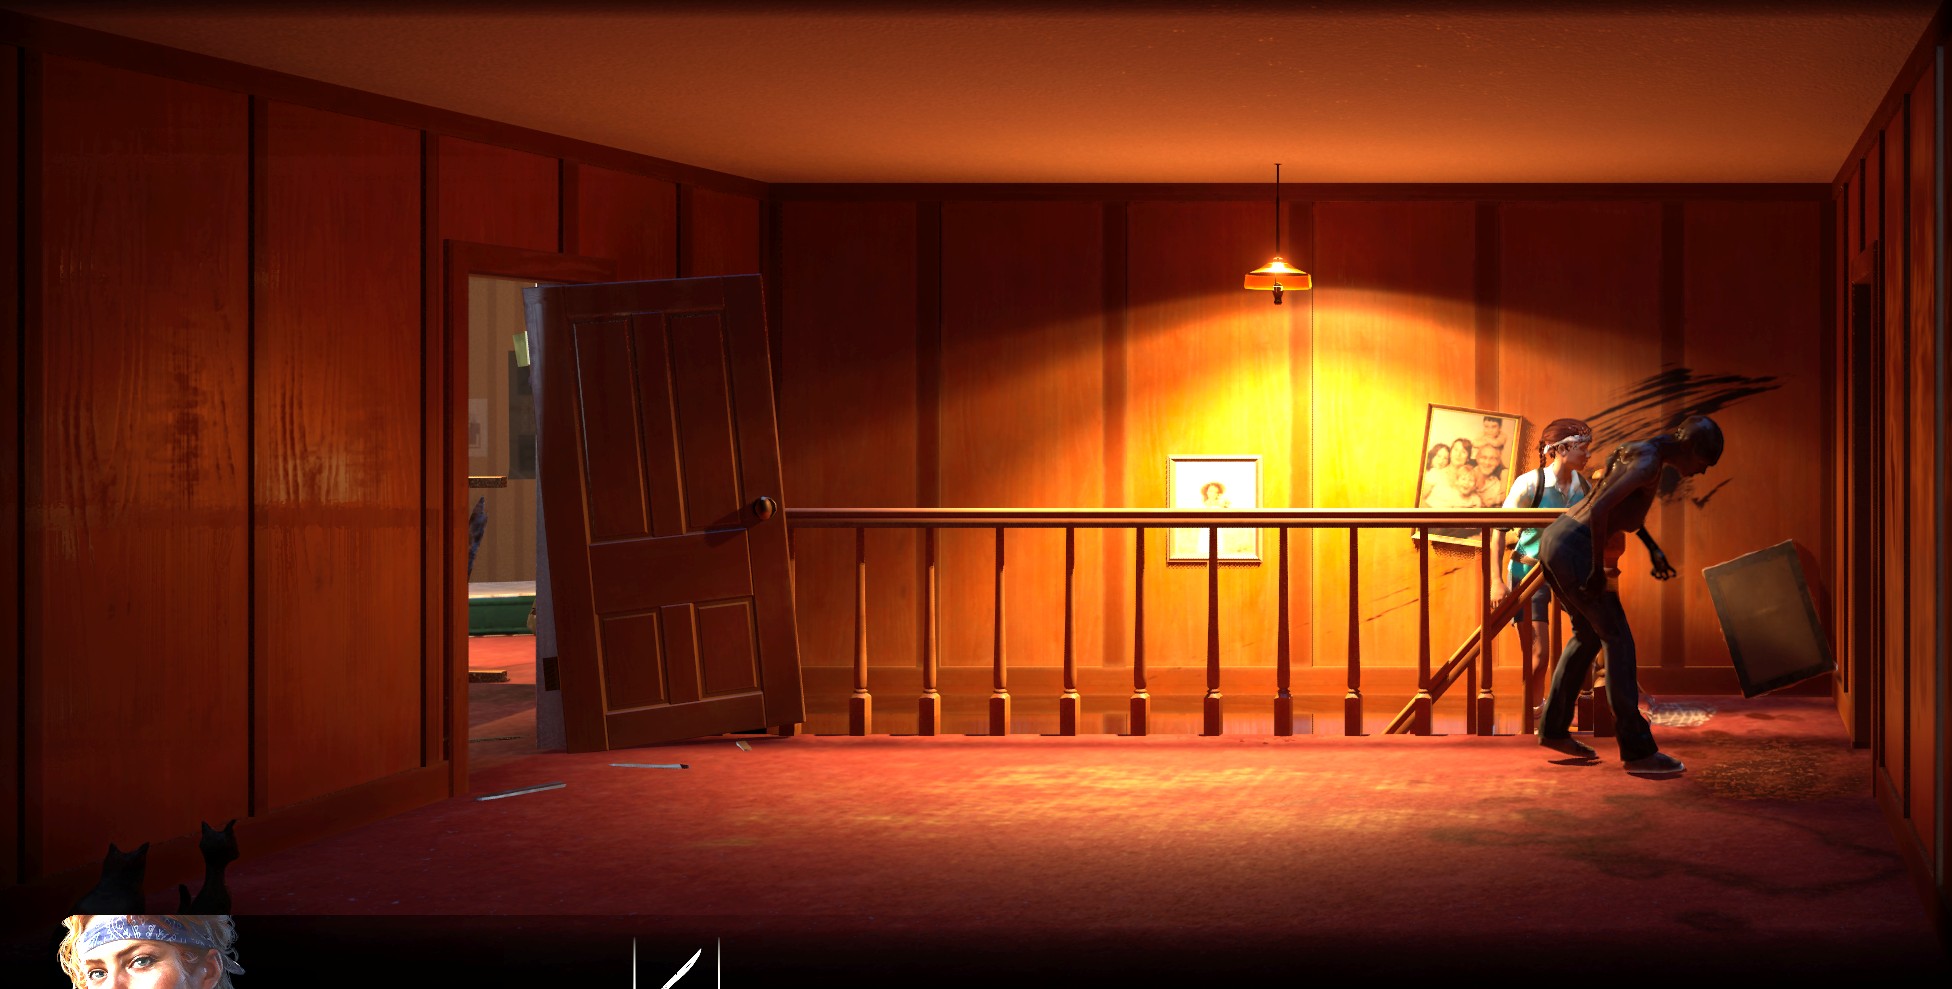
Stairs act as a hiding spot. Even if zombies can visually see you, they won't see you unless you step out of the staircase. Be careful as sound rules apply while in the stairs, and sound may travel to the bottom or upper floor depending on whether you are on the upper or lower part of the stairs.


Zombie not spotting survivor on the very top of stairs, even when not in the sneak position

Hiding Spots/Covers
Hiding spots have either one or two sides covering you. For one-sided hiding spots/covers, a zombie will not see you if they are walking towards you, with the cover facing them. However, if they return, they will see you as there is no cover between you and the zombie as it walks by. Some hiding spots have covers on both sides where zombies won't be able to see you from either side.

Survivor hidden in the hiding spot facing the zombie


No cover between zombie and survivor; spotted

Zombie Screams
From testing, this seems to have a chance to trigger when a zombie hears you making sounds. They have a chance to run straight towards you or do a scream. The scream will send zombies in your room and adjacent rooms going after you. If there are no other zombies nearby, they can also "spawn" zombies from the background (tested this by clearing a small area with all zombies, and seeing one spawn in the background). Keep this in mind when escaping as there may be new zombies along your retreat path. If there are stairs nearby, use the run to stairs, sneak, then enter technique to prevent the zombies from following you. If you're fast enough, you can run up to the zombie and hit it before it does its scream animation to cancel it.

Hidden from a group of zombies activated by a scream by using the run+sneak+stairs method.

Doors and Muffling
Closing doors seem to reduce the range sounds. The comparison below shows the range Daphne will trigger a zombie with a loud takedown when a door is closed vs open. As you can see, the difference is tiny, but this may be the exception not the rule. Stealth and medium takedowns might still be safe behind closed doors.

Comparisons below are tested using a guitar takedown with 80% noise:

Daphne with open door; Zombie hears

Daphne with open door; Zombie does not hear

Daphne with closed door; Zombie does not hear

Penny with open door; Zombie does not hear

Threat Level
Threat level will slowly go up on the different areas you've previously cleared, including shelters.
Early Game
I will fine tune this section as I do more testing and collect data, screenshots, etc

Prioritize Food
You won't be very efficient with cooking early. Snacks are a great way to fill hunger without going through your meat/veggie supply. Use these as much as possible so that you have more ingredients left for when you unlock the higher level Cooking Area.

Avoid Using Up Weapon Durability If Possible
Some rooms may have hiding spots that will let you walk past a patrolling zombie without needing to kill it. Use this to your advantage while zombie counts are still low, this will help you have a nice weapon stock for use as you get into the higher threat level areas. This guide also mentions zombie shuffling and fighting zombies with your fists as other ways to conserve weapon durability.

Find a 2nd Shelter
Find your second shelter as soon as possible and prep it for moving. Once zombie attacks start reaching 2 damage per attack, move to the new shelter. This will decrease your wood usage early, and if you move around enough, you might not need to craft any barricades until you reach mid game as shelters come with 3-4 barricades once available. Swap between shelters as attacks intensify to keep attacks at 1 damage.

Find Your Escape Plan and Follow It
Once you find your escape plan, plan your scavenges to try to hit the areas you need to progress. This way you can progress when you feel ready or when resources dry up. The later areas in your escape plan will have more zombies and are generally riskier, so it's good to tackle this when you have more supplies than when you're running dry.

Focus on Workbench Upgrades That Increase Efficiency
Cooking Area is top priority for upgrades. Unlocking the foods that satiate a medium amount of hunger will help keep your survivors easily fed, eventually moving to the large food upgrades. If you plan to run 5 or more survivors, definitely prioritize getting to the large and extra large food upgrades so you don't run out.

Dismantling Station is next priority for the influx of materials you will get, which will help you get the necessary Workbench upgrades. Don't forget to use a survivor with bonus dismantle yield skill if you have one.

Upgrade your Workbench when you can to gain access to higher tier stations.

Upgrade your Portable Beds and Communcal Areas to at least 2 capacity each. This can carry you for a while with 4 survivors. Consider upgrading Portable Beds to 3 capacity or finding a base with 2 beds if you have 5 or more survivors. Upgrade your Communal Area before killing off any survivor if needed to speed up their recovery from the Grief debuff.

Weapons Bench is next. The higher tier recipes have better weapons/materials used. Metal is a hot commodity when making weapons and you will need a lot of these late game, especially if you plan on using guns. Save for Lvl 3 weapons if you can.
Mid Game
I will fine tune this section as I do more testing and collect data, screenshots, etc

At what point Mid Game is is subjective. For the purposes of this guide, consider mid game to be when you've had decent base upgrades, are in the middle of your escape plan progress, and have access to water and gardens for your food supplies.

Stockpiling Weapons
Stealth weapons are always in demand and you want to bring these back as much as possible. Louder weapons (such as spiked plank, baseball bats, etc) won't be used as much unless you plan on fighting head-on a lot. As always, bring home as much as you can, but consider bringing back that pair of scissors over the 4th baseball bat you find.

I generally try to keep 2-4 loud weapons. The Fireaxe and Wrench are especially good if you're going toe to toe with groups. The Lvl 3 weapons you craft are also excellent, so you can always craft those later.

Lvl 3 Food
Generally, use the recipe that uses up less of the ingredients you have less of. Veggies can be farmed so you'll likely have more of this over meat, but hitting up Victory Meat Processing is a good way to get a bunch of meat for your stock (bottom left corner of map).

Medkits
You'll start needing to clear areas by swinging weapons on top of stealth kills. Keep an eye out on your Medkit supply and consider upgrading your Medical Area to 3 for less materials per craft. Always have a stock pile, and make sure you have some Splints, Medicine, and Bandages in stock.

Stealthily Kill with Loud Weapons
Areas will be bigger, with more and bigger rooms to explore. You'll start coming out of runs with a deficit on your stealth weapons supply. Start looking into using medium and loud weapons to do stealth kills, or to kill 2-3 zombies at a time (with a trade-off of needing to heal after). Use your HP as a resource to conserve weapons.

Start Bringing Lockpicks and Boltcutters
If you haven't yet, start bringing at least 1 lockpick in your runs. Bigger areas typically have bolted doors as well, so consider bringing those.

Don't Make Too Much Water
The water filter station is a great way to get water. Pay attention to the material cost per water craft vs your water supply. It's easy to go through your mats leaving you with more water than you can use, and no materials to craft weapons and ammo.
Late Game/Escape Plan
I will fine tune this section as I do more testing and collect data, screenshots, etc

Late Game will be basically you following your escape plan. Will consists of ways to prep for the harder areas and combat/stealth mechanics.

Consider Replacing Your Survivors with Better Ones
You may have recruited some survivors with meh skills just to have extra hands in your shelter. Consider killing them off and recruiting other survivors, particularly those who have better combat skills. Your upgraded communal areas and alcohol supply should help keep your survivor's morale up.

Start Using Guns
Some of the bigger areas will have riskier rooms that will force you to fight. Start bringing heavy weapons or guns. I usually bring 1 loud weapon, 1 medium, and 1-2 stealth weapons. On some of the very high threat areas, I'll bring pistol as well. Guns can be surprisingly quiet if used in the right setup. You can potentially save some HP, weapon durability, and most importantly, your life for a couple of bullets.

Pistol will be used for reference as the other weapons aren't available yet.*

Pistol Sound Range
It will be heard in:
  • The whole room you're currently in
  • Adjacent rooms if doors are open
  • The side of adjacent rooms close to your room if door is closed (i.e. if a zombie is right by the closed door on the other side of the room you're in).
  • If you're in a small room, and a door is open to an adjacent large room, it may not travel all the way.
  • A rule of thumb I use for any loud weapon is: if the zombie is within your screen (whether behind a closed door or not), they will hear it.

*Will need to test this Pistol section thoroughly first. In the meantime, go to the Sounds section under Game Mechanics for a more tested explanation of how sound works

Waking Up a Horde =/= Leaving the Area
You don't have to exit the whole area if you trigger a group of zombies. Use the run+sneak+enter stairs method to de-aggro (see Running Sounds under the Game Mechanic station for the strat for this). From here on, you may be able to resume scavenging and at times, in a better position to take the zombies out one by one stealthily.

Activating Inactive Zombies
If you trigger a group of zombies and exit an area running, or unnecessarily wake up inactive zombies as you exit, those activated zombies will then start patrolling the previously cleared areas. Pay attention to the threat meter. It will reflect the current amount of active zombies.

Medkits and Ammo
Make sure you have a good supply of Medkits, and consider crafting ammo for Pistol. Some areas will activate zombies on you, so it's good to have a way to deal with these, especially if you're running a less-combat oriented survivor.
Notes
Some things to note that don't particularly belong to the other sections
19 Comments
nine  [author] 5 Jul @ 12:06pm 
@[JR]EX-TREME<<<<<< glad it helps!
[JR]EX-TREME<<<<<< 5 Jul @ 3:38am 
thank you
Kirielle 24 Apr @ 5:50am 
One other tip that could help when scavenging :

Always close doors before leaving the area.

This is because sometimes, zombies will eventually respawn in the area and when you come back to re-scavenge stuff you've left behind... some of them might see you from the next room over, if you left the door open.
nine  [author] 18 Apr @ 10:32am 
@Liru thanks! had a feeling that was unintended and didnt see it in the hotfix so thanks for letting me know
Liru 18 Apr @ 12:58am 
@nine

Lvl 3 cooking station veg dish now crafts 4 portions with good cook as intented [casseroles]
nine  [author] 17 Apr @ 8:29am 
Note regarding 4/16/2025 hotfix: Stealth takedown noises have been reduced by half so everyone is stealthier, will need to re-test the distances noted above
nine  [author] 17 Apr @ 8:27am 
@cosmicles no problem! hope it helps!
cosmicles 17 Apr @ 7:01am 
awesome guide!! thank you!!:auyay::auyay:
Baldwin IV 15 Apr @ 3:41am 
@nine of course. I'll keep you posted if I discover anything else,I have a guide as well and currently have plans to include all in-game survivor perks when I got the time. This game is so underrated
nine  [author] 15 Apr @ 12:28am 
@Baldwin IV thanks for the info, that makes sense as I noticed im getting spotted in my current run in hiding spots i wasnt before. Will give that a test once I get penny again.