Rebel Galaxy

Rebel Galaxy

161 ratings
So you want to rule the galaxy?
By LowFatMilk
Following along from my beginners guide, this guide is more advanced for people who have left the first sector and are continuing on in different parts of the universe. It will cover ways to make money, the new factions you'll be facing, as well as the dangers and opportunities they bring. A whole new range of ships and weaponry is also available to you now that you've left the starting area behind you. Ships costing 16 million credits may seem a long way off, but you'll get there someday Captain!
3
   
Award
Favorite
Favorited
Unfavorite
Quick foreword
This guide is for more advanced gameplay, and you should really be looking at it once you've left the first sector behind you. It won't reveal any plotlines, but it will give hints towards enemies and gear you will be finding later in the game. This is not a complete walkthrough or database, but a more detailed guide about making your way around the more dangerous and deeper regions of space in Rebel Galaxy.

If you're just beginning the game, instead take a look at the starter guide if you feel like reading that instead:

So you want to fly a spaceship?

Otherwise, happy reading. Again, if you don't want any help or tips, just skip over whatever section you don't need :)

Red 2 standing by.
Things to consider before advancing out of the first sector
First and foremost is cash. Cash is ALWAYS one of your main goals, but when leaving the first sector it can be a good idea to save up around one hundred thousand credits to buy a mk3 shield and a few upgraded weapons to help you survive. Without them you probably won't be able to pull off any good missions in the new sector. For that matter, this is usually a good tactic to employ if you feel a bit underpowered, gathering a pile of cash and making a shopping trip to a higher level sector for a shield or some weapons can give you quite an edge.

You'll also probably want to get yourself at least the Tennehausen or larger and fully equip it with mk2 weapons and defences if you want to be able to actually take on most of the enemies you meet in the new sector. The difficulty curve is quite steep and your first forays out into the wild black yonder will probably end in a fiery (but exciting) death.

Which brings us to another thing to keep in mind. You've probably spent the last few hours puttering around the first sector killing everything in one shot once you managed to fully upgrade your ship with Mk2 gear, but you've just jumped into an entirely new area with tougher, deadlier enemies that are more than willing to show you how weak you really are. So pick your missions carefully and your fights even more so because you're essentially back to the start. Keep an eye on your shields and armor and don't be afraid to abandon a mission if it's too much for you to handle. Abandoning a mission has no real consequences and any items you were hired to ship will disappear from your hold.
Things to do when you arrive in the bigger universe
You're probably going to come out of the gate and want to start on the next part of the primary mission, but you might decide to leave that until you've added some new gear to your ship. This new sector is much more dangerous and you're going to find yourself quite dead quite quickly if you don't make a decent attempt at preparing yourself. Buy some new gear and prioritise a Mk3 shield at the very least. Next probably a broadside upgrade since this is the workhorse of your ship damage-wise.

Once you're reasonably well equipped and have a decent grip on things you might consider joining the mercenaries guild if you have a spare 30k lying around. Their missions are usually a fair bit harder but with greater rewards, and they offer a couple of fairly decent ships with good armaments and speed. The Mercenaries Guild also offers the antimatter probe, a missile launcher turret with ludicrous range, damage and explosive radius. This comes at the price of taking nearly a minute to fire and each missile costing a few thousand credits. Good for the family barbecue, pest control or annihilating small fleets from 20sm. Do be careful. Also remember that the Mercenaries Guild can have missions that put you against anyone, so make sure you read who the client is before you accept a mission, lest you find yourself constantly fighting your own allies.

Once you've started to outgrow the Tennehausen you might consider making a trip to the militia base as they have a very nice heavy frigate for around 350,000 credits (if upgrading from the Tenne) which will keep you going for quite a ways. It sounds like a lot but if you really put your mind to it you should be able to get it together in a few missions, most in this sector will net you between 20-40,000 credits. Keep an eye open for merchant missions in particular, as certain ones will net you a good 1-2 hundred thousand credits, though you'll have to acquire a large amount of a specific item and take it to a station often in another sector, and the route is often full of enemies far stronger than you.

Once you're managing to oppress most of the second sector you can happily putter around until you have another pile of cash and can move on to the next one.
A variety of decent ships and who sells them
There are quite a large number of ships for players to use but only around a third of them are available from basic civilian stations.
Pirates offer lighter ships with good speed.
The militia offers heavily armored but slower ships.
The mercenary guild offers a few ships with good speed and manoeuvrability.
The merchant guild's ships have the greatest cargo capacity though they aren't the prettiest.

We have simply listed a very basic breakdown of the ship classes. If you would like to see every ship in detail, check out the guide below made by RudiRampage which explains every single ship currently in the game, where to get them, how much they cost and all that juicy info.
The Ships of Rebel Galaxy

In terms of ship size, the classifications work roughly as follows:
Corvette - This is what you start in. The smallest and fastest of the available ships with light everything and few capabilities.
Frigate - Larger, tougher, and better armed than a corvette but still quite quick.
Destroyer - Starting to get into the big leagues now. Fighters will pose little to no threat and you should be able to take a pretty decent amount of damage while dishing out plenty.
Cruiser - Exceedingly rare in terms of playable ships but show up occasionally fielded by the militia and assorted enemy factions. Bigger, tougher, you get the idea.
Dreadnaught - The largest ship class available. Fighting one of these in anything smaller than a destroyer is pretty much impossible. You can expect to pay a pretty massive sum for one of these but it's more than worth it, the largest being the Blackgate with 20 broadsides, 16 turrets and armor enough to take a hell of a beating. Congratulations, you are now ruler of the galaxy.

The Blackgate firing off Particle Lasers and broadsides.


Just like ship parts, ships themselves do not ever lose value so it's usually better to buy the best you can afford and work your way up steadily instead of saving up forever to go straight up two classes. This is because each ship's value goes towards the next ship. For example, The Blackgate costs 16,500,000 credits, and the Sorceror costs about 11,900,000. Buying the Sorceror will reduce the Blackgate's price down to 4,600,000 because you trade in your Sorceror to make up the difference.Though this is still a perfectly viable option. It's also important to keep in mind that your next ship is probably going to have a few more empty turret slots, so arriving to buy your next ship with extra credits can allow you to instantly fill your ship with more guns!
Which guns make the biggest bang?
Damage is quite an abstract concept, but as a rule of thumb the highest damage per second (or dps) wins. This does not take into account range or other stats so it's best to try a few and see what works. Remember gear never loses value so if you don't like something just sell it again for full price!

First of all, if all you want is the simgle highest DPS then look for particle laser turrets and the neutron cannon broadside. These weapons are powerful against armour, but require to be charged fully before firing. You might also consider the heat seeking missile secondary broadside as it deals quite a lot of damage and can hit multiple enemies if used correctly. It's not nearly that simple in most cases though so we'll go ahead and elaborate.

It should also be noted that nearly all missile and mine weapons require ammunition which can be bought at stations or left behind by defeated enemies in "ordnance crates".

A quick note: these are all the weapons you can PURCHASE at stations. You may come across new kinds of weaponry after defeating enemies or searching cargo containers. Various factions have far more improved or different versions of the basic weapons. Greel Scatter turrets have a higher damage and further range, but a lower rate of fire. Korian Viridian Lasers do not have the same 30% lower damage to shields that Particle Lasers do, instead they deal a full 100%. You may come across other unique weapons on your travels that can't be bought anywhere else, so test them out before selling them.

Turrets
First you have the turrets. These are the most versatile of your available weapons and there are quite a few available. Each is valuable for different reasons, but as you probably know they can cover where your broadsides can't and allow you to fire at multiple enemies at once.

Scatter Turret - The first turret you'll see and own, this is the weakest of the turrets and has little to boast other than a high rate of fire and a small price tag. Low dps, mediocre range and lowered damage against shields. They can still be useful for taking out incoming missiles if you swap to them manually, especially if you have a missile tracking component.

Pulse Turret - Instead of rapid fire, the pulse turret fires slowly in 2 round shots that are more powerful and concentrated. It can be harder to lead and hit fast moving targets, but their range is far superior to Scatter turrets.

Flak Turret - The flak turret is a bit of an oddball but is extremely useful nonetheless. Has the highest dps but this is offset by the fact that it does no damage whatsoever to capital ships (corvettes and above), only to fighter class ships (fighters, bombers, interceptors, etc). It also boasts 150% hull damage so it tears apart most fighters in a couple of hits. The flak turret fails in a couple of regards in that it has very short range and fairly low bullet speed, making actual hits fairly rare.

Ion Turret - Decent range and damage but does 175% damage to shields. Low hull damage. Good to bring shields down for heavier weaponry to get a straight hit.

Swarm Missile Turret - 6 missiles, each one locking on and targeting independently. Decent damage and quite high range. Bonus damage against shields though slightly weaker against hull. Does well against fighter class craft or for bombarding larger enemies. Uses 6 ammunition per shot.

Shieldbuster Missile Turret - This single launch rocket pod sends a single high damage seeking warhead straight into your enemies face at great range. It deals triple damage to shields but is more mediocre against hulls. For best effect, set the targetting AI to focus on capital ships. Uses 1 ammunition per shot.

Leech Missile Turret - You've probably encountered enemies fielding this unreasonably evil weapon. This joker applies an EMP effect to any ship it hits, halving engine output and entirely preventing them from warping. Visible on the hull of leeched ships by arching blue lightning bolts, though you probably know this from experience. High range and decent speed make this ideal for intercepting fleeing craft but low damage and fire rate make it useless in terms of actual damage. Uses 1 ammunition per shot.

Antimatter Probe - Deals a massive amount of damage in a large area with incredible range. Good for sniping entire fleets. Costs a few grand to fire though so be sure of your target and don't leave it on autopilot. Takes nearly a minute to reload so DON'T MISS. You must be in the Mercenary's Guild to purchase this weapon. Uses 1 ammunition per shot.

Particle Laser - The highest dps of all the turrets (excluding flak) this is the ideal weapon for ripping apart any and all enemy ships, though it is heavily impeded by low shield damage. Hits instantly but has a nasty habit of all targeting the same ship and overkilling the crap out of it. Decent but not spectacular range might put you off of it but if you can get close enough to use them the particle laser can be your best friend.

Mining Laser - Essentially the particle laser with lower dps and range but heavily increased shield damage. Can also be used to mine asteroids.

Broadsides
If you haven't already noticed you have a choice between a few different types.

The Pulse Cannon is a happy balance between range and speed with mediocre dps. Best to specialize reasonably quickly.

The Tachyon Cannon is quite a bit quicker but has much less range, the intent being that you fly up close to an enemy and fire as quickly as you can reload dealing quite a bit of damage. The tradeoff being that you take quite a bit yourself.

The Proton Cannon packs a nasty punch, has the highest range of any weapon (bar missiles) and the rounds move quickly enough to hit even fighters with a fully charged shot in most cases. The only issue being that it takes a long time to charge and you might find yourself at a disadvantage if you get too close to an opponent.

The fourth and final type of broadside is in fact not a cannon at all but a laser beam. This broadside has range just short of the proton cannon. It also has the greatest dps (though with lowered shield damage) of the broadsides with the added bonus of hitting instantly making it able to hit fighters with ease. One has to be careful with them though as they fire quite slowly and are incredibly inaccurate if fired below full charge. Also make for a spectacular light show.

Secondaries
These are less powerful than your broadside and cannot be aimed in any way other than pointing the sides of your ship at the target and hoping for the best.

Flak Cannons - These fire flak shells regularly for as long as the button is pressed. Like the flak turret these are quite effective against enemy fighters with the bonus of being quite effective at shooting down missiles.

Dumbfire Missile Launcher - Fires an unguided, high damage missile with decent range. No guidance means that aiming is as much a matter of luck as skill. They also use ammunition depending on how many broadside slots your ship has, so you can't spam them.

Heatseeking Missile Launcher - Fires a guided missile with lower damage than the dumbfire variant but seeking capabilities means that it will follow enemy ships up to their full range, which is quite high. Can be quite devastating to small and large ships alike. Again, ammunition depends on broadside slots.

Magma Mines - Drops a mine that is magnetically attracted to capital ships.. You probably know what these are. Deals decent damage with theoretically infinite range but obviously have no guarantee to hit.

EMP Flak Cannon - Like the standard flak cannons with the bonus of rendering fighter craft inoperable for a few seconds.
Staying alive and not being violated by space pirates
Not dying is a pretty big part of many games, and in Rebel Galaxy you will find you die quite often and sometimes unnexpectedly. Save often. Here's a very simple breakdown of how to stay alive.

Shields are easily the most important part of staying alive. These are the most effective defense for your ship and prevent all damage on that side so long as they stay up. A flat recharge rate means that so long as an enemy has a dps lower than your recharge rate they simply cannot hurt you, though that usually isn't the case. Shields should always be the first thing on your ship to receive an upgrade.
After shields comes deflectors. Deflectors are like an emergency shield you bring up yourself (hold SPACE) to negate damage. They drain slowly over time as you use them, or they take damage and drain quicker depending on the output. They also don't recharge while up and prevent you from firing your own weapons. Their main use is to give your shields a break while under heavy fire, but they can be useful as a second layer of defence to take an especially strong hit or to cover your ass. They can definitely be a life saver, and there are several different types so make sure you experiment.
Your third and final line of defence is your armor. This is the only layer that doesn't regenerate, and costs credits to repair. Once your armour starts taking hits you may see that your systems begin to suffer as well. You may lose speed, the ability to turn, your boosters, turret damage or AI function. If the armour drops you'll start taking direct hull damage and won't survive for very long. This is the perfect time to whack up your deflector to allow your base shielding to recharge.

Speed is also quite important to staying alive and generally being a successful space cowboy. Engines are your actual speed and make arguably the greatest difference though later versions give lower and lower bonuses that change depending on the size of your ship. As a rule of thumb, smaller ships move and turn faster.
Your boosters are what gives your ship it's real power in terms of speed. These can triple your max speed and help you escape enemies, giving you improved acceleration for a few seconds. Again pay attention to subtle differences between certain boosters and use the one you feel suits you.
The final contributor to your ship speed is your warp drive. This gives your ship a massive speed multiplier, while active upgrades increase the multiplier and lower the charging period. Most important in terms of sector travel but do nothing towards combat speed. You don't necessarily ever need to upgrade these, but better versions decrease the time it takes to warp and increases your speed during warp.

Be careful. If a mission is marked high risk then you probably don't want to tangle with it unless you're especially well prepared. HOWEVER, the risk assessment... thingy... can be a bit useless. Average or low risk missions can easily be way over your head, and the occasional high risk mission might be a piece of cake. It's really more down to what the mission is and who is involved, as not all missions are equal in terms of difficulty. Some may require special preparation or items as well. Be careful when newly arriving in a high risk sector, a dreadnaught may warp in fully intending to do terrible terrible things to you.

Be wary of your mission objectives and read the info given. Some of these missions can be quite serious traps. The Merchant guild often gives you transport missions that have scripted, unnavoidable traps set in place. When nearing the station you're supposed to make the delivery to, you may be forcibly removed from warp and you'll find yourself surrounded by hostiles. These usually cannot be avoided, and the enemy ships won't show up on your radar, pulse or scan until you trigger the trap. This is often a death sentence for all but the biggest ships and those with the biggest space balls around.

Just generally be careful. If something seems dangerous or sketchy it may well be, so use your judgement.
Help, I want to be a merchant
First of all, trading in Rebel Galaxy is fairly simple. Commodity prices at stations fluctuate based on certain events and how much of the item they have in stock. Prices printed in green are high, meaning a good time to sell and those in red are low, a good time to buy. If the price of an item has a (!) next to it this means that it's being affected by the current station event, shown at the left, so take advantage of this and remember that events effects for next time. You might just be able to buy up a few choice items before an event closes and sell them for great profit next time it shows up.

The Merchant Guild gives you access to box-looking ships with massive cargo holds.


Secondly, you want to be on the lookout for good deals. Talking to bartenders can give you a bit of information on prices, and looking at the data for an item on a station will show where they import/export that item.
Traders you meet (or save) on the road will buy or sell a randomly selected item (a maximum of 5 units) in your inventory. If you have just saved them from attack, they'll almost always buy for full price and sell to you for low. This is especially useful if you have a very rare item such as an Antimatter Speck which can sell for over 140,000 credits. They're usually willing to give you a trading tipas well.
In the end though the best way to find the best prices is to visit lots of stations, and often as this marks that station on the map with all of it's prices until you update them by revisiting. Sometimes message transponders can immediately update the entire price list for all items across all the stations in that sector, so if you're hauling some decent cargo and find one of these, now's a good time to sell.

You can purchase cargo extenders from any station, however the Merchant stations exclusively offer the largest sizes.


Thirdly, equip yourself well. Joining the merchant guild is a must as they offer ships with massive cargo capacity and cargo extenders much, much more effective than civilian ones, though you need to reach certain ranks in the guild by doing missions for them to access these things. Keep in mind that merchant ships are not as designed for combat as other ships, so be careful during fights and probably try to keep to long range missile weapons.
So there's a hole in your ship, everything's on fire and nobody likes you
It is very difficult to be hated by literally everyone, but if you're persistent you may actually manage it. If you ever get to a point in your game where every single faction is hostile towards you, I'm not sure what you've been doing but I salute you Sir/Madam. Here's how to fix your little predicament.

Remember alliances. You will never be able to be everyone's friend, the factions all hate each other too much. Make sure you know who it is you're going to be fighting when you set off on a mission, as not only will their weapons change but also you'll be losing relations with that faction. Also remember that destroying the capital ships of a faction reduces relationship.

If you've p*ssed everyone off and can't dock at any stations, then head to the Korian Outsider outposts. These outposts don't seem to turn hostile and will usually offer missions increasing relations with citizens and guilds at least, which can lead to missions helping with the militia or pirates if that's how you roll.

If everything is indeed on fire, you are surrounded by hostiles and you've made every attempt to escape but cannot try not to worry. Death isn't so bad. Dying simply lets you look around for a bit until you press E to return to the title screen with a tip on how to not die so much. There are no (apparent) permanent records and on hitting continue you'll be dropped off at the most recent station you visited or where you last quit and reopened the game. You'll even keep anything you did whilst at the station, so you can immediately set off on your next attempt, OR consider abandoning the mission that killed you and simply try a different one.

If your shields are down but it took enemy fire while to do so, you can probably pull up your deflectors to give them a break. In most cases they will recharge in the time it takes your deflectors to run out. Remember you cannot fire for this period.
New factions and who they are
Murath - The Murath are a race of wolf/bear-like creatures who evolved from burrowing mammals and took to the stars to mess your life up. A lot of their ships are mining vessels and engineers, and have low shielding but higher hull armour. They love missiles and often field fleets of bombers that can actually tear you up if you're unprepared. Not all Murath are hostile however, some are simple merchants and miners that won't bother you. Their broadside weapons also do more damage to your deflectors than other factions, but have shorter ranges.

Greel - The Greel are slippery eel things, untrustworthy and devious. They're also very powerful and have fast, streamlined craft with numerous weapons. When you first encounter them they will probably tear you to pieces, but getting bigger ships with range will allow you to combat them quite effectively. Greel are all cowards and ♥♥♥♥♥♥♥, and will try to run as soon as their shields are down, and you'll usually hear them begging or pleading for their lives.

Lightborne - Religious Zealots who worship the sun or some light firey thingo. They've all got a few kangaroos free in the top paddock and aren't entirely sane, but their ships can tear you to pieces if they breach your shielding. They favour fighters that fire barrages of missiles at you that leech away the power to your shield, and their capital ships are normally equipped with Particle lasers and beam weaponry that cuts your armour up like butter. Fast maneuvering and target prioritising is key to winning the larger fights.

Militia Deserters - Just Militia craft who have decided to go rogue, killing them won't lower your relationship with the Militia faction at all.

There are a few other factions related to the main story, so have fun discovering ways to fight them :)
General tips and helpful advice
Don't ignore subcomponents. These are extremely expensive early to mid game but can offer a huge advantage.
A few especially good ones are:
  • The repair drone - slowly repairs damaged systems bringing them to full working order in a short while, depending on the actual level of damage. This can be extremely useful as it can bring back your capabilities DURING combat, but it cannot repair armor or the power core, the two most important systems and the most expensive to fix.
  • Manoeuvring Booster - Early in the game 900k sounds like a hell of a lot and 10 degrees a second doesn't seem like much, but by the time you're running a destroyer or dreadnaught that can make a massive difference in your turning speed.
  • Broadside Charger - This lowers the charge time of your broadside which heavily increases the dps and accuracy of your main weapon.
  • Missile/Turret Extenders - These increase the range of your weapons, allowing you to engage from a greater distance.
  • Heat Dissipater - This slows down the overheating of turrets, allowing them to fire longer without having to cool down. Especially useful with lasers and pulse guns.

Put some time and effort into building a loadout that works and don't be afraid to try something different if what you're using doesn't work. Also be careful to keep them up to date as well as you can and remember to factor in turrets as each turret has to be bought individually. Weapons are arguably the most important part of your ship for obvious reasons and they can require a great deal of forethought, so stop for a minute every so often and make sure you've got the right ones and are using them as effectively as possible.

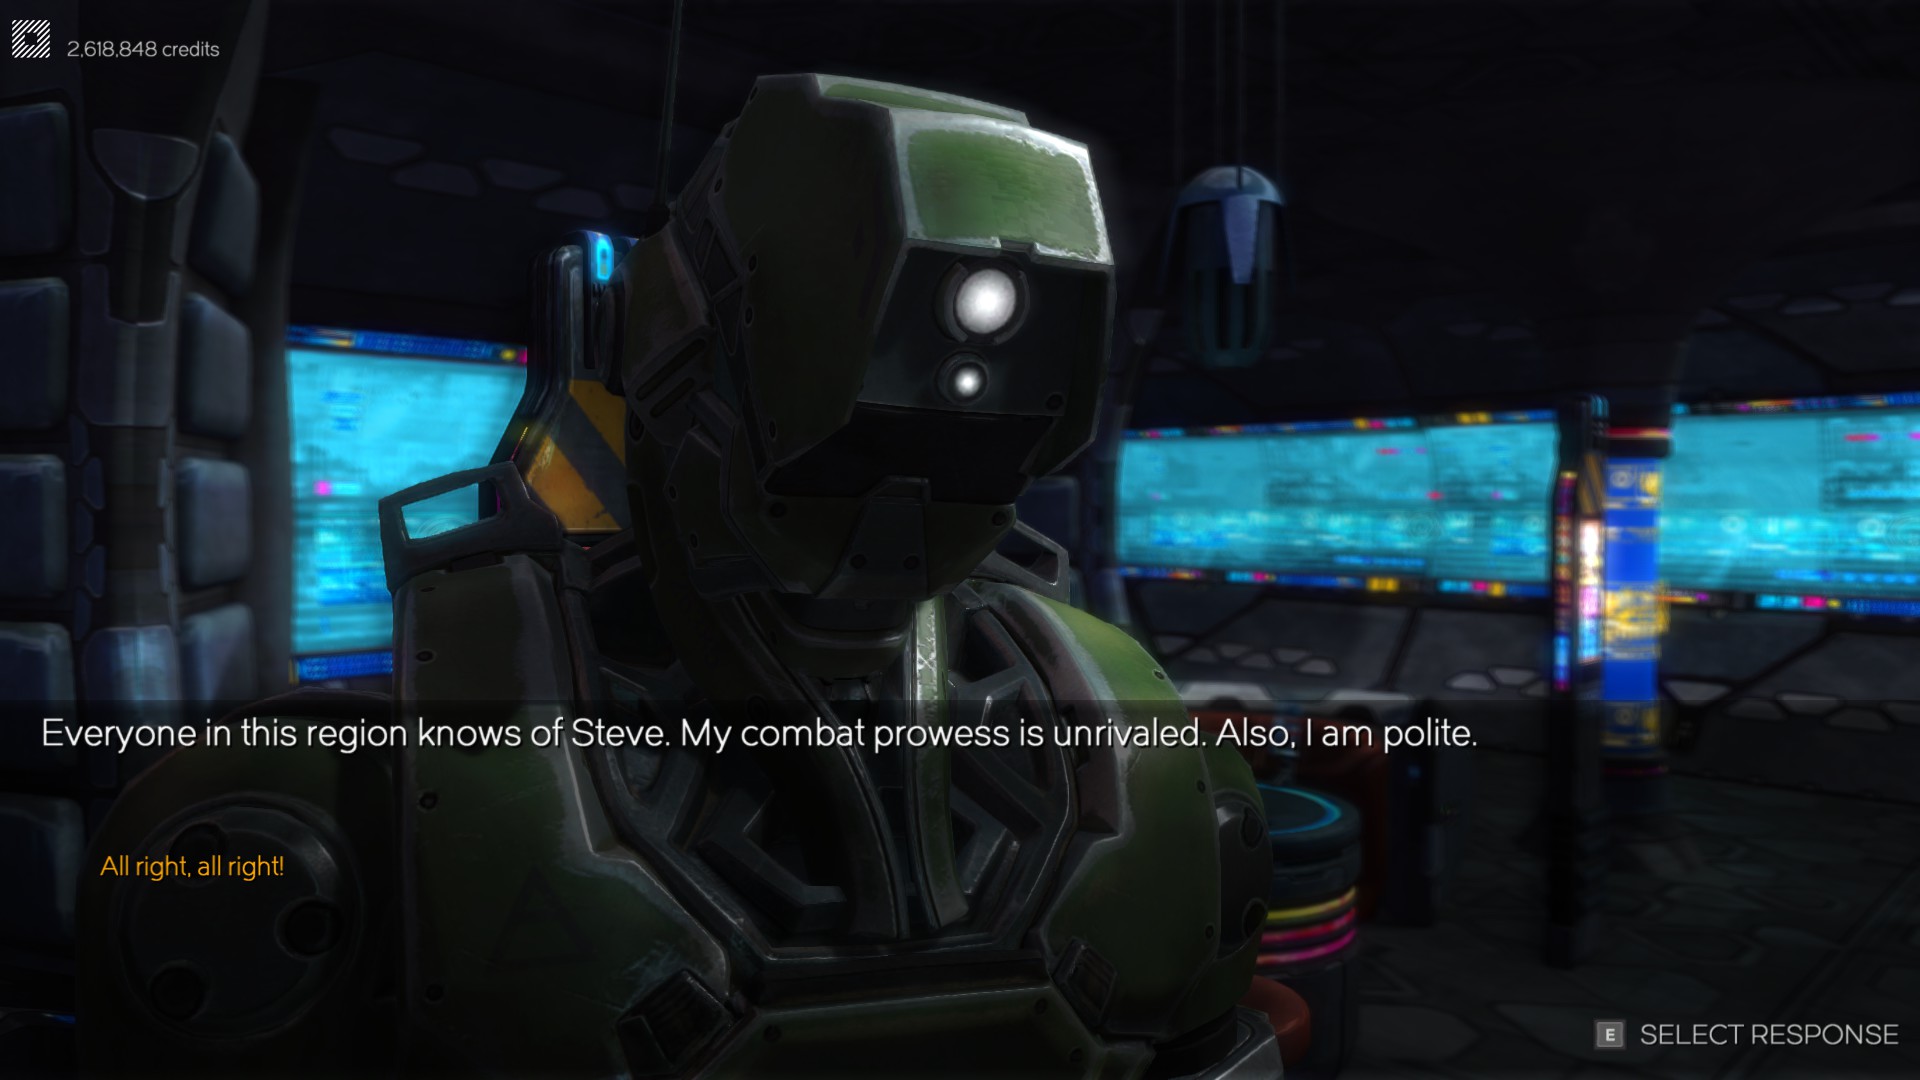
Always have a mercenary. These guys can actually be extremely powerful, not to mention they give the enemy something else to shoot at. There several mercs available with different loadouts and ships, and they get better as you play along. For some reason they all start with either 'G' or 'S'.
In order of least expensive to most expensive (prices change depending on your net worth, ship and sector location): Garris, Splitter, Skiza, Sparrow, Grud and Steve.

Steve. He is polite.
That's all folks!
So that's the basics of the game covered in 2 guides. I'd like to thank the community for their help and patience, and darktoes for his significant input into the creating of these guides, especially this more advanced one.

Hopefully Rebel Galaxy is updated and expanded, because it's a very solid and well made game. The quick patching is a good sign the devs will keep working on the game for a while.

Again if you have anything you'd like to add to the guide, or wish to ask questions, please comment below and we or another friendly ship captain will be able to assist you.

I will continue to update this guide as more information becomes available or if people request different things to be added.

Good luck and good flying Captain!

43 Comments
trainlover4006 17 Mar @ 11:04pm 
just saying, you can just grind to get the jump drive to go from system to system. then jump to the mk5 and mk6 tier systems. from there all you need to do is find some scrap fields and salvage the containers and BAM free mk4+ gear to sell and ina few runs youll have millios and decimate your way through the entire game with ease
Avi8 27 Dec, 2024 @ 2:18am 
The Antimatter Probe can also be bought from Red Devil stations. The Red Devils also have a few exclusive ships focusing on firepower.
Viking` 28 Nov, 2024 @ 9:34am 
Great guide, thank you so much for putting it together!
Taolan 8 Aug, 2024 @ 11:39pm 
Point of info: There are "Pro" versions of Garris, Splitter, and Skiza that can show up in later systems. They cost about the same as Steve and have similar stats, but different loadouts.

Sadly, no pro Sparrow or Grud. Steve is already pro, and polite. So polite.
Fitzgibbon 10 Apr, 2024 @ 3:53pm 
Skiza is awesome. Dude is so bloody edgy though.
Psy0n 18 Aug, 2021 @ 5:30am 
If you like the zippiness of the Corvettes, I recommend getting the Barracuda from criminal or Red Devil stations in the first system.
Cookie 9 Jun, 2021 @ 11:36am 
I've never tried Scarab with ions, but I know how lethal it is with 7 forward firing pulse turrets, so I imagine it's pretty similar apart from the lack of anti-fighter potential. No dreadnought shield will be safe, that's for sure.
white.is.tiger 11 May, 2020 @ 5:42am 
i highly recoment the scarab.with upgraded shields and some ion cannons you can ide in a dead spot in the bigest destroyer in the game where it cant hurt you.and being so small and heavily armed you are fairly leathel.as the smaller your ship the more powerfull your sheilds end up being as your harder to hit
MinnesotanIceCube 13 Jan, 2019 @ 8:02pm 
A note with Dreadnaughts - Murath ones specificly. IF you're careful with shield and Deflector management, then a Tenn with Mk 3 defences, proton broadsides and flak (as a secondary) can easly shoot one down. I got a MK 5 off of one that was worth almost 720k credits as loot, in the second sector.

Do note, this might not apply to other Dreadnaughts. YOU HAVE BEEN WARNED!
jozef_the_grey 14 May, 2018 @ 6:58am 
I like Steve. Steve is my kind of guy. Also, awesome job on this guide! Will be using it a lot.