Crypt of the NecroDancer

Crypt of the NecroDancer

109 ratings
You Don't Miss a Beat, Do You? (Aria All Zones)
By Retro Teabag
A friendly little guide for those of you who feel the need to punish yourselves!
   
Award
Favorite
Favorited
Unfavorite
Introducing... this guide!
Hey there! I assume you're reading this because you would like to conquer Aria All Zones mode. Well you're in luck, because I happen to have recently gotten the achievement and have a bunch of wisdom that I would like to drop on you. I'm not really a grand master of this game so a lot of this will be obvious, but you may not have considered it. I won't really be giving many technical hints about how to play better or anything- a lot of that comes from just playing the game too much, and reading the wiki when you're not sure about stuff. These are mainly strategies and things to keep in mind that I found helpful. Also, quick spoiler warning for those who don't want to know how Aria's mode ends. Anyway... without further ado, let's get started!
It's Hard
I said you probably know some of it, didn't I? But if you're going for this achievement, remember it is bloody difficult. If you've just beaten zone 4 Melody, or still haven't even beaten All Zones Cadence, I really recommend doing that first.
If you are ready for Aria and you know it, great! It's still hard. If you're anything like me, you'll make stupid, stupid, stupid mistakes and find your head on the desk, weeping over how you threw away an amazing run. Look after yourself, and remember it's a game- if you're not having fun, just walk away and come back later. I wish I followed my own advice here...

Just when you think you've done everything, you'll find new ways to screw yourself...
Know Your Enemy
Onto actual gameplay tips- hopefully you know how to beat every enemy in the game, by themself, consistently. However, that isn't always enough. Know how to beat them in all sorts of situations, and all sorts of common combinations... stuff like when you're backed up against a wall, or the dreaded Blademaster + Warlock + Lich trains (Well, I dreaded them).
The level editor can be great to just mess around with enemies and minibosses in more complex situations than the one guy in a box that practice mode gives you.
Practise with bosses too, at least if there's any you particularly hate (I'm looking at you, Deep Blues). Normally there's a quicker, easier way to beat bosses, so do a bit of research if you don't know how.
Avoid Corners Like The Plague
Pretty simple, once you're up against more than one enemy, corners are one of the best ways to get yourself stuck in a situation where there is no right way out. When you're running from enemies, or buffer digging, all it takes is a blademaster and a skeleton knight to be joyfully listening to the start of 4-1 again...
Take it Slow and Plan Ahead!
Expanding on the previous point, don't rush wildly into a room. I know it looks cool to dominate a room of enemies in 4 beats, but if you're only good at the game, at least some of the time you'll mess up. Back up, take out enemies carefully and safely. Make sure the room you're coming from is clear of threats so if you have to retreat, you're not running into a minefield of potential game overs. For this reason, the map is amazing- you know where to go for the chest, shop and exit, can plan the best route, and avoid all nonessential rooms.
Don't Save it for Later!
Carrying on from planning ahead, picture this:
You have a scroll of freezing. You're about to take on Deep Blues after zone 2 and you're starting to feel a bit nervous- what if you forget about a knight and it jumps down on you? What if you don't kill all the pawns in time, and can't handle all the queens?
Pop that freeze scroll as soon as you get in there, take out the king, fight over. One of my biggest issues was that I always saved really good items for the Lute and then just ended up replacing them with something different. Don't save items like that, chances are they'll go unused or you'll die before you even use them. Plan ahead and use them when you think you might need them, or at least keep them in mind so you can use them at the first sign of something going wrong.

"...but what if I need the shield scroll later?"
Know What Risks are OK
Pretty basic, but don't risk anything you're not sure about, unless the reward will really pay off. Seen someone kill Coral Riff with a knife throw and a bomb, but not 100% sure how? Just kill him the way you do know.
Got a ring of becoming and the arena has a transmute spell? Don't even question it, pick that bad boy up.
As you get closer to the end of the run, you'll most likely take less risks anyway out of pure fear, but never put a good run on the line for something you're not sure will work out. It works the other way too- you don't have a lot to lose picking up a torch in an arena in 4-1.

I'm fairly sure that this would be worth doing...
Don't Mess With Your Rhythm!
Personally, I hated the ring of war and ring of courage playing as Aria, as they were the only items that changed how I moved and attacked. The one thing going for you in these runs is consistency and these items take that away. If you're not stupid like me then you will have better luck with the ring of courage, it's actually really useful when you're not killing yourself with it, especially with some bosses. Pretty much, if you pick these items up, know how they work and be careful.
Restart Early
If you take a hit in 4-1, or you're finishing 4-3 and the best item you have is a Torch of Foresight, then don't feel like you have to stick it out til you die. It's a dud run, chances are you won't survive, restart to save yourself time. I've never had a single run where I survived past zone 3 without at least some decent equipment. If you're trying to get Aria low% though, probably don't restart if you have no items by 4-3... and also why are you reading this guide?
For Your Own Sake, Practise With The Lute
Please? Please do it. It's really very very worth finishing zones 3, 2 and 1 individually as soon as you beat zone 4 (they tend to be much easier). That way you can unlock the Golden Lute battle to practise, and when it comes to your moment of destiny you won't immediately die because you have no idea what you're doing.
Seriously. Practise with the Golden Lute between attempts so that way when the time comes, you're ready. You do not want to go through that pain.
Confused?
Eventually, things will be going fantastic, and then someone will hit you with a confuse spell and you'll enter a world of hurt and regrets that ends with a game over screen.
I aim to help you avoid that with this handy tip- go into options, and there will be alternate controls for up, down, left and right. Assign WASD to these controls, but in the opposite direction, and then keep your left hand on WASD at all times- when you're confused, just use your left hand until the spell wears off! Switching hands is still pretty confusing, but better than reversed controls in my opinion.
While this isn't a cure-all that completely fixes confusion, and some may consider it cheating, it certainly makes it A LOT more manageable.
Handy Dandy Items
To wrap up, I'm just going to go through some items I found particularly useful. I'm going to skip items that are obviously good- the stuff that saves you from death, and the stuff that increases the damage you deal. With those items, it's best to strike a balance between protection and damage- at least when you make mistakes at the rate I do.

Map - Lets you see point A, point B and any points you may want to go in between, while avoiding everything else.

Monocle- When you're not sure if it's worth traversing a room of enemies for that red chest, the monocle is amazing. It lets you know what is worth bombing, and lets you further avoid chests and shops that have items you don't want.

Pickaxe- Probably the best digging item to have, simply because it lets you buffer dig like crazy. At the very least, it's better than the base shovel.

Winged Boots- These are pretty great, as they remove so many threats from the game. Just be careful, if you're wearing them in the Golden Lute fight, 'syncing' with the Lute becomes much harder since you can't use the traps.

Holy Water- If you're surrounded, killing every enemy around you is probably going to save you from starting a new run.

Ring of Courage- "Dude, you just said to avoid the ring of courage a few paragraphs ago". I know I did, but it should be said that the kill dash, while it can lead to confusing and messy deaths, can also be really useful with the invincibility. It essentially lets you kill chains of low health enemies without fear. Just be careful not to do anything stupid with it.

Scroll of Need- Just hold on to this until you lose your potion. The best item to have in your consumable slot.

Monocle sees ALL
In Conclusion...
Now, having given all of this advice, don't expect to storm into the game, grab Aria, and stroll through the crypt. Point #1- it's hard, but with a lot of patience, you'll manage it. There were a lot of things I didn't cover here, stuff like how the ring of phasing can be a godsend if you know what you're doing. If you look around, you're sure to find heaps more great advice than what little old me can offer. If you have any suggestions for things I can add, feel free to let me know. At any rate, I hope I was still helpful and entertaining. Good luck and happy dancing!
33 Comments
Clone Fighter 26 Mar @ 3:43am 
You can turn off the Winged Boots' levitation! Same with the Boots of Leaping - it shows you how in the Trap Lore Codex.
?? 20 Feb, 2024 @ 9:25am 
I thought this was a way to make the game harder...
PatchyKanjuden 31 Aug, 2023 @ 11:56am 
easier way: use no-beat mode added in 3.0
Godlyvexx 17 May, 2023 @ 8:31pm 
speaking of bolt, I recommend doing bolt all zones first, cause afterwards aria will feel SLOW, which will make it much easier. not to mention bolt is just fun
Godlyvexx 17 May, 2023 @ 8:30pm 
nah king konga is ez after playing bolt
acarinoo 5 Oct, 2022 @ 3:51am 
8th beat*
acarinoo 5 Oct, 2022 @ 3:50am 
Worst enemy for Aria all zones run is King Conga. That 7th beat is the one who took many lives
SavvyQ 13 Sep, 2022 @ 11:53am 
You're doing great, but that transmute spell scenario does not work as implied. You'd need to find another ring later and swap them to transmute. It's a good example, but the screenshot and description are a tad misleading.
coiledAgent 26 Jan, 2022 @ 12:16am 
Another thing to note as far as useful items:

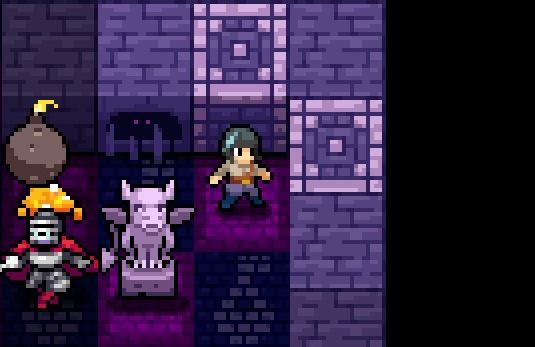
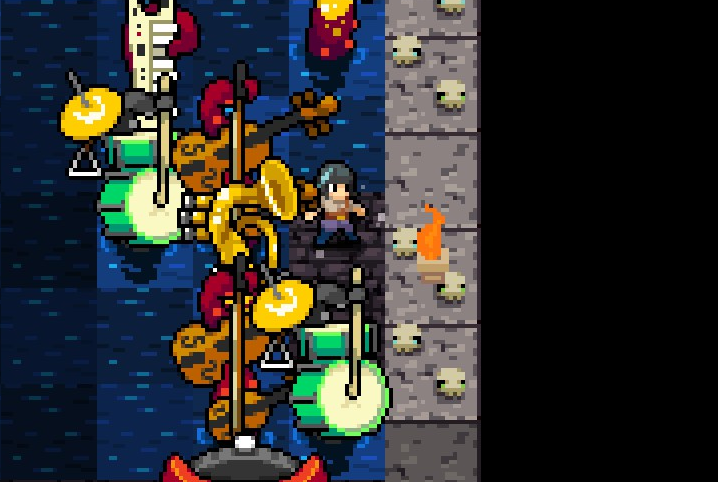
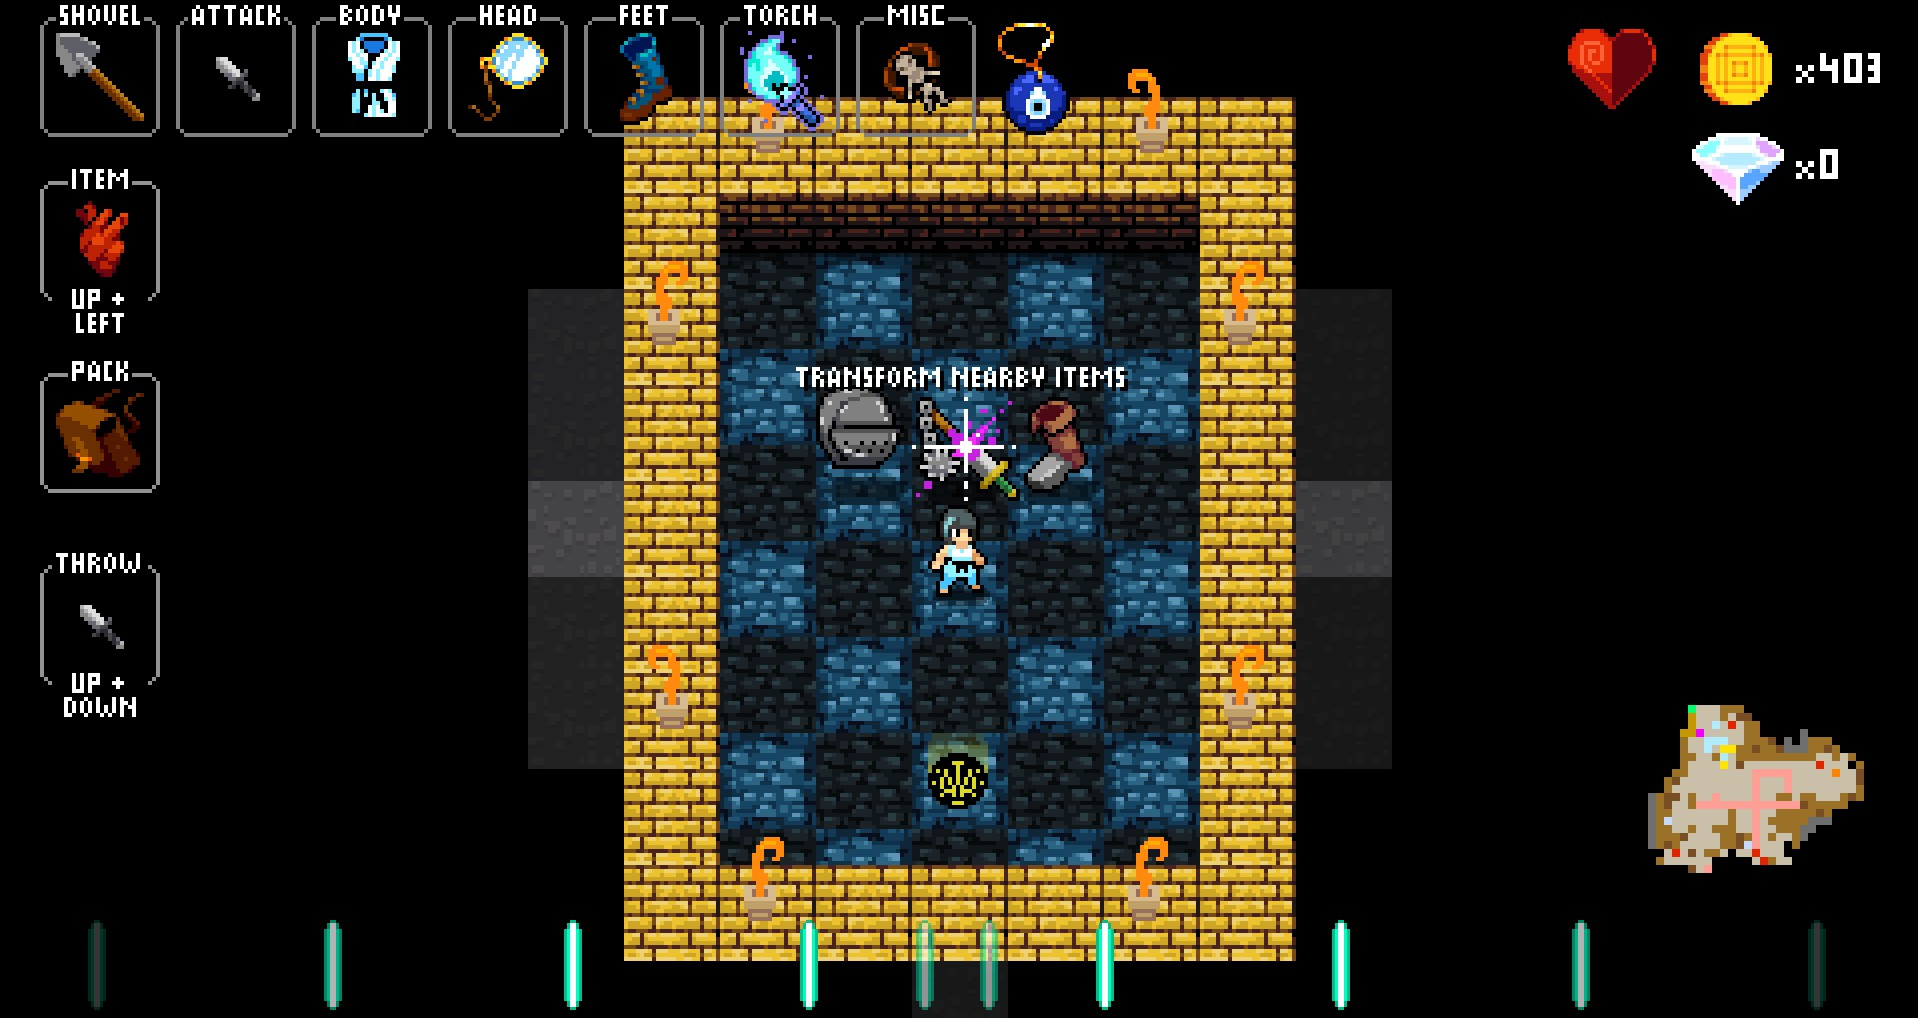
Don't be afraid to walk into the stairs of 1-3 while holding an item that would hinder your syncing abilities on the Golden Lute fight.

If you enter the boss level while holding such an item (Glass slippers, Winged Boots, Heavy Glass Armor, etc.) it will spawn a similar but un-hindering item above you that you can pick up before entering the fight proper. This will allow you to "fix" your items last second to better fit the final challenge you're about to face.
mapron 29 May, 2021 @ 3:38pm 
I just don't hear the rhythm in swamp section. Like 2-2 and 2-3 is too confusing for me, I often miss the beat while walking straight.