I am Setsuna

I am Setsuna

157 ratings
100% Achievement Guide
By El
A spoiler filled guide to every achievement in I Am Setsuna.
5
   
Award
Favorite
Favorited
Unfavorite
Intro

I got sucked into this delightful gem of a game and couldn't set it aside until I'd finished it completely. I've seen (and used) bits and pieces of achievement guides around the internet, but there wasn't anything thorough here on Steam. So I gathered all the information I dug up while going for my 100%, added some homebrewed maps and screenshots, and tried to be as detailed as possible.

Warning: This guide does contain spoilers, so be aware!

If you have any questions or suggestions, please let me know! It's the first guide I've made and I'm more than happy to make adjustments where needed.

Once you've finished each of the achievements below, you'll unlock this little beauty. Wear it with pride!

Story Achievements
These 'secret' achievements are tied to the story and completely unmissable as you play through the game. Each one will trigger when you meet a new NPC important to the plot. Just keep playing through to the end and you'll get all of these, no problem.

The Light at the End is the only story related achievement that is missable.


Once you get to the Falling Snow Monument after destroying Dark Samsara, you'll meet the youth you've heard so much about. To make sure you get this achievement, choose the following dialogue options when prompted.

  • Keep talking to him
  • Let's let him go

A battle will start no matter what you do. The enemy will hit you for little or no damage, and one strike from you will finish him, so be careful not to attack. Just stay still and read the in battle dialogue until he says "Stop...me..."

Then you can kill him and receive the achievement.
Battle Achievements
These are the achievements related to killing things. Most of them are pretty easy, and you'll get them while playing through the game without much effort involved.


An Exact Kill is achieved when the total damage done to an enemy is the same or very close to it's total HP. If you're having trouble with this one, equip a talisman that allows you see enemy HP and some weak weapons and try not to deal kill damage more than 5-10 points above the enemy's total HP.


As you start moving past the early stages of the game, this should pop pretty quickly. All you need to get an overkill is do significantly more damage to an enemy than it has HP. You should have no trouble getting this one.

All Kill Types
Getting every type of kill can be slightly tricky, depending on how you play. Status Effect and Shadow kills are difficult to get early on. Aeterna and Julienne's Astral Bloom (Oblivion and Jump) will cover all of the elements, while Endir and Nidr's Blowbeat (Shock and Provoke) or Aeterna's Slow are easy ways to get the Status Effect kill.


Just keep playing, you'll get this one. Techs and Combos are key.


A little harder, but still easy. Once you get to late game, you can't really miss it.


Momentum Mode is awesome, and you should get into the habit of using it as often as possible early on. You might get this one in an early boss battle, but if not (or if you don't want to wait), simply fight a low level enemy, keep it alive, and build your SP and use your momentum on non-damaging buffing or healing techs such as Heal, Aura or Chakra until the achievement pops.


You'll probably be using momentum mode a lot, you'll probably be using combos a lot, and this achievement will probably come to you very quickly.


Same as the last one...you'll likely get this before you get halfway through the game. Momentum mode is too useful to not utilize at every opportunity.


You'll get some megalixirs when you can start opening the locked silver chests, which happens as soon as you get the airship.


They're at the following locations:
  • Nive Village (2x Megalixir)
  • Fridging Heights (2x Megalixir)
  • Frozen Lands Level 1 (3x Megalixir)
Once you've gathered a few megalixirs, simply use one in battle. If you don't want to waste it, you can save beforehand, get the achievement, and then restart.


Easy to get once you start using techs. Just use a tech or combo that does four or more types of damage, make sure it's the killing blow, and voila. My personal favorites for early game are Endir and Nidr's Blowbeat (Shock and Provoke) or Aeterna and Julienne's Astral Bloom (Oblivion and Jump).


I thought this one was going to be a lot harder than it was. As soon as Aerterna gets Oblivion, you can pair it with Julienne's Jump to get the Astral Bloom combo, which does all elemental damage, inlcuding Shadow. With the right fluxes, it can easily Over Kill as well. If that doesn't do it, have Aerterna slow the enemy first to add on a Status Effect kill and you should be fine.


Don't worry too much about this achievement, you'll probably get this as you play the game. Hoot-Hoots and their variants are little jerks that appear randomly as you explore, taking the place of normal enemies. They have a bad habit of fleeing the first chance they get. Just kill them ASAP when you see them and you should be fine. There are four types of Hoot-Hoot total; Hoot-Hoot, Toot-Hoot, Woot-Hoot and Zoot-Hoot. The Zoot-Hoot doesn't start to spawn until after you get the airship, so you won't see him before then.


Cooking Achievements


Food is delicious! Do not underestimate the power of cooking and eating food in I Am Setsuna. It boosts various stats as well as your item drop and EXP. I made sure to eat something before every major fight. Yum!

If that wasn't reason enough to get you in the kitchen, there are also a handful of food related achievements for you to unlock. Generally, you want to pick up shiny spots whenever you see them (that's where ingredients come from). If nothing else, you can sell the ingredients for cash! Just in case you missed any, I've included a map in each section. Blue points are where you can find the ingredients, red where you can find the recipe. When you first get the recipe, you will also get a sample of the food. Eat it for the achievement!

Note: Sometimes people won't give you a recipe until you've passed a certain point in the story, even if you have all of the ingredients. If you find the correct person and they won't hand over the recipe, play the plot along a bit more and then come back.

Recipe Location: Gatherington, last house before the stairs. The girl inside has the recipe.
Required Ingredients:
  • Maple Potato (Fridging Heights)
  • Red Olive (Magna Valley)
  • Red Rock Salt (Archimell Ruins)
  • Coiled Parsley (Fridging Caves)

Recipe Location: Roysburg, house to the right of Julienne's. The old woman inside will give you the recipe.
Required Ingredients:
  • Horse Oak Mushroom (Blackwhelm Cave)
  • Black Courgette (World Map, Apparth Ruins Area)
  • Blizzard Bean (World Map, Blackwhelm Cave Area)
  • Eternity Laver (Floeberg Waters)
Recipe Location: Gatherington, house with a guard in front. The maid inside has the recipe.
Required Ingredients:
  • Queen Cabbage (Fridging Heights)
  • Redtop Radish (Fridging Heights)
  • Euphoria Pumpkin (World Map, Gatherington and Fridging Heights Area)
  • Springy Broad Bean (Magna Valley)
Recipe Location: Nive Village, talk to the man near the entrance.
Required Ingredients:
  • Starberry (Nive Village)
  • Nive Strawberry (World Map, Nive Island, Past Dazzshire Woods)
  • Mighty Melon (World Map, Nive Island, South Side)
  • Blue Sweet Sorghum (Dazzshire Woods)
Recipe Location: Nive Harbor, on the docks. The man on the dock will give you the recipe.
Required Ingredients:
  • Luminous Potato (World Map, Nive Island, South Side)
  • Arctic Cauliflower (World Map, Nive Island, South Side)
  • Wheel Mushroom (Nive Village)
  • Frosted Salt (Dazzshire Woods)
Flux Achievements
These are the most grindy and annoying achievements in the game. They aren't difficult, but they will take a while. So mute the game, put on some good music or an interesting podcast, and get started!


This one isn't too bad, and you'll probably get it as you go through the game provided you're using momentum mode on techs and combos.


As long as you keep talismans that have Support Bonus as a Flux Bonus and keep two normal support spritnite on the slots provided by the talisman, it shouldn't take too long to get this, provided you use momentum mode regularly.


Don't worry about this one. If you don't have it by the time you get to where you have to grind for Ruler of Heaven and Earth, you'll definitely get it then.


A spritnite is maxed out when it has 10 flux bonuses on it. If you have a favorite tech or combo that you use a lot, you'll probably get this achievement before the end of the game. For me, it was Endir's Shock, which I overused as part of the Blowbeat combo, and Kir's Fire 2. The more fluxes a spritnite has, the harder it is to get another one on there, but if you keep using the same one equipped on a talisman with a Flux Bonus, you'll get it eventually.


If you do get to the end boss and haven't hit this achievement, you'll probably wind up grinding fluxes to strengthen your party anyway. See the section on preparing for the endgame for more details.


This is the achievement you'll want to save for the very last for two reasons. One, it's an unmitigated chore. Two, you'll probably rack up a decent number of command fluxations just playing the game, especially if you change your party and spritnite with any regularity. Once you get everything else out of the way, though, there's not much else to do but bite the bullet and accept the grind.

Luckily, there are a few techniques that make this easier. It might seem like a pain to set all of this up...and it is. But in the long run, it will save you a lot of time.

First, you'll want to unlock the recipe for Fried Dumpling Eggplant. This will boost your EXP and item drop rate, but more importantly it'll also up your fluxation rate. You should have enough money at this point in the game to be able to buy a bunch of these. Do so, you'll need a lot. Here's how to get the recipe:


Recipe Location: Nameless Village, near the entrance. The Irritable Man has the recipe.
Required Ingredients:
  • Dumpling Eggplant (World Map, Hymncott Island)
  • Sunny Bell Pepper (World Map, Turbulus Island)
  • Golden Pepper (Nameless Village)
  • Rainbow Nut (World Map, Isle of Misfits)

Next, you'll want to buy at least three talismans with the Bonus Effect of Boosts Fluxation Rate. The flux effect itself doesn't really matter. Equip them on three of your characters. Which characters also doesn't matter, though faster characters like Aeterna might make things go slightly quicker. I used Nidr, Kir and Julienne, mostly because I was too lazy to switch out all of the spritnite I already had set up on my main team. Equip them with Support Spritnite that raises their speed and SP accumulation, like Fated Memory, Rising Reverie, Commanding Wave, and Destined Cycle.


Now, you'll want to find the nearest mage consortium guy and stock up on spritnite. The more fluxes on a spritnite, the less likely they are to get another one. So you'll want to switch out to a fresh spritnite after every battle if possible, or at least as soon as it has three or four fluxes on it. Pick a spritnite you can get several of no problem (10-15 each to be safe), that does no damage (like Aura or Enflame), and costs very little MP to use. For my team, I used:
  • Nidr - Provoke
  • Kir - Enflame
  • Julienne - Chakra


Now you're all set up, and it's time to fight a pengy. Head to wherever you can find one (or something of similar pathetic strength), eat your Fried Dumpling Eggplant, double check your talismans and spritnite, stock up on some ethers just in case, then do battle!
  • Kill off all but one pengy to make things easier on you.
  • Wait for your SP gauges to fill up till you have all three.
  • Use each of your chosen support techs with Momentum Mode on each one. If you miss hitting Momentum Mode, just wait until it's that character's turn again.
  • Repeat this three or four times.
  • Kill the remaining pengy.

This should get you the max of nine fluxations, or at least pretty close. Switch out spritnite to fresh ones if needed, then repeat. Don't forget to eat your Fried Dumpling Eggplant before every battle! Keep going until you hit that 200 fluxation mark. It's quite a grind, but you can do it!

Exploration Achievements
What's a game without a few 'find this place' achievements? Most of these you'll need to get the airship for, but they're all nice and simple.


These three achievements are super easy...once you have the airship. You'll be able to visit the Apparth Ruins when you leave the Twallusk Mountains for the first time, but the other two you'll have to wait until you can fly. All you need to do is enter the ruins to get the achievements. Some of them will have hard bosses inside, so be aware before heading deeper!


Once you have the airship, there are piles of things to do. One of them is to fly back to Serendale, walk all the way across the southern draw bridge down to the eastern dock, and hire yourself out as a monster hunter to the soldier there. If you agree to the task, you'll be sent out to fight the sea monster that you encountered early on in the game. This time he's...really hard. Luckily you don't have to actually fight or defeat him to get this achievement. Just make sure to save before you set sail, just in case the beast murders you.


Just go to Mortholm Island and enjoy yourself. You'll get the achievement as soon as you enter.
Preparing for the Endgame
Here we are, the achievements you'll want to get after a bit of leveling and beefing up. Before you attempt the bulk of these, I recommend being at least level 45-50, and having good equipment, fluxes and tech combos.

Where to Level


After you've passed through the far western side Floeberg Waters the first time, a five man squad of Spritnite-Eaten Pengys will start to spawn there. They can be tough at first but with the right pre-battle meal the rewards are definitely worth it. You'll want to use a tech or combo that can kill all or most of them in one shot, because they hit hard and fast. If you already have Coup de Grace unlocked, that will work nicely. Kill, exit, eat food, return, repeat. You'll be drowning in exp.


When I was grinding to add optimizing fluxes to my spritnite, I did it here. It has the added benefit of dual grinding. Even if you don't get the flux in a battle, you still get massive exp. You'll be leveling almost every battle when you start out.

Arm yourself with Ocean's Blessings Soup for extra extra experience or Fried Dumpling Eggplant for higher chance of Fluxation and go wild. If you're using a combo to kill the enemies, keep in mind that only the person casting the combo gets a chance at a flux.

Here's how to get Ocean's Blessings Soup:


Recipe Location: Village in Mortshaw Woods. On the north east side of the village between the snowman and shrimp is Konishi, who has the recipe.
Required Ingredients:
  • Avalanche Kelp (Forgotten Shore)
  • Eternity Laver (Floeberg Waters)
  • Sunset Citron (World Map, Near Roysburg)
  • Crystal Lettuce (Mobrise Mountain)

Optimal Party Build

My endgame team of choice is Endir, Setsuna and Aeterna. This party build utilizes the triple combo Coup de Grace along with some hefty buffs. You'll need Endir's final spritnite Genesis for Coup de Grace, so I recommend grabbing that as soon as you've unlocked the character side quests. The Battlecry -> Inspire -> Coup de Grace combo does ridiculous amounts of damage with the right fluxes and equipment. I used this to take out both of the secret bosses in 2 turns or less.


Thanks to dunhaxplz and BigEDole on the Gamefaqs boards for doing the bulk of the testing and the framework for this set up. You guys are lifesavers!

Endir Set Up


The combo release and combo power fluxes for Genesis are vital. Crit is nice, but you could go for full combo power if you prefer. You could also add some fluxes to Battlecry, but I didn't bother. All of the support spritnite are set up specifically to boost the power of Coup de Grace or make Endir faster and hardier. Most of these spritnite I used on all three party members. I equipped Endir's Rainbow Sword for that extra bit of crit%, though you can use what you like. Just make sure to max out your chosen weapon's stats with the orichalcum you get from silver chests.

Setsuna Set Up


You don't really need to put any fluxes on Luminaire besides combo release. Setsuna will almost never be the one casting it, but combo release will allow one of the others to cast Coup de Grace even if Setsuna isn't ready. Inspire is very important, so make sure she has that and all of the support spritnite. You can use whatever weapon you like with Setsuna, just make sure to max it out. I had already maxed out Amadeus with it's MP regen for grinding purposes, so I just kept using it.

Aeterna Set Up


Aeterna will be the one to cast Coup de Grace the most, so it's in your best interests to flux out her Charge first. As you can see, I only went up to 8 combo power fluxes and did just fine, but feel free to grind all the way to nine if you want to go max power. Fo Aeterna's weapon I went with the Radiant Dagger for it's crit rate boost.
Sidequest Achievements
Once you've unlocked the final battle deep in the Lost Lands by defeating the Time Judge, you'll get a final chance to explore the world and finish up some things. At this point in the game, each character will have a secret side quest open up. Each finished quest will net you that character's final spritnite and an achievement.


Quest Chain
  • Make sure Endir is in your party and go to Nive Harbor. When you talk to the man at the entrance you will get a cutscene and a letter.
  • Head to Serendale and go to the northeast altar (past the save point on the right side) for a cutscene.
  • Next is Morbrise Mountain. Find the second altar for another cutscene.
  • Fly to Hymncott island, directly south of Nive, and enter Hymncott Forest. At the end of this area is the final altar.
  • Finally, head to the Snowfield House on Craigholm Island. As soon as you enter, you'll have a cutscene and then get locked into a boss fight with only Endir, so make sure to prep for a battle before you head in. Just use your strongest attacks and heal often. Battlecry is really useful here. Beware, this boss will do a final attack on death, so keep your HP topped off.
  • Once you defeat the enemy, you'll get the Genesis Spritnite.


Quest Chain
  • Have Setsuna and Nidr in your party and go to Nive Village. Visit Raishin's house (it's red) and talk to him to start a cutscene.
  • Head to Dazzshire Woods and go left at the first fork. A cutscene will open a secret path to an unexplored section of the forest. You don't have to fight any of the enemies here if you don't want to.
  • Head to the last area to get the Holy Light spritnite.

Quest Chain
  • Have Aeterna in your party and head to Tenderville. Go to the northern house and talk to the man inside for a cutscene.
  • Fly to the Isle of Misfits and enter Nameless Village. Head to the left house and talk to the Chief for another cutscene.
  • Next, go to the watch tower, then back to the Chief.
  • Exit the village for another cutscene, then head back to once again talk to the Chief.
  • Return to Tenderville and talk to the man that gave you the quest and get the Gearadia Spritnite.

Quest Chain
  • Make sure Nidr is in your party and head to Purikka. Go Freyja's house (to the north east) and talk to her for a cutscene.
  • Fly to Forgotten Shore, south of Serendale. Go down once you enter and you will see a man.
  • Talk to this man to start a cutscene the leads into a boss fight you must win with Nidr alone. This was the hardest boss fight for me. The boss hits hard and fast and has a lot of HP. Buff up with speed and defense spritnite, and make sure to have a Stone Bit because the boss will use Stone. You'll need to have a lot of potions to heal often.
  • I read about a cheap method to beat this boss. I haven't tried this myself, but in theory it should work. Equip the Counter Spritnite and use it as soon as the battle starts. Then, on your next turn, do nothing. The boss will keep missing every hit and you will counter all of them until the end.
  • Once the battle is over, you'll get the Rebellion Spritnite.
Quest Chain
  • Have Kir in your party and go to Hiddbury. Head to the Chief's house to start a cutscene.
  • Take the exit to the north of Hiddbury and go to the Spritnite Pillar for another cutscene.
  • Go back to Hiddbury and talk to the Chief. After the cutscene, head back back to the Spritnite Pillar.
  • Once you enter, you will initiate a boss fight. You will be able to use your whole party this time, and Kir isn't necessary so just use your strongest set up. This boss only uses magic attacks, so high magic defense food is recommended.
  • Once the battle is over, you'll get the Doom Spritnite.

Quest Chain
  • Make sure Julienne is in your party and head to Roysburg. Talk with Cornelius in the center of the town to initiate a cutscene.
  • Fly to the Last Lands. Enter and turn right. Go to the second house to trigger a cutscene.
  • Next head to the southern entrance of Archimell Ruins. Fight your way through to the second area.
  • On the right side of the second area is a red teleport. Using it will initiate a boss battle. You can use your preferred party. This boss is immune to time attacks and casts slow, so make sure you're ready.
  • Win the battle to get the Eclipse Spritnite.

Quest Chain
  • Have Fides in your party and head to Gatherington. Enter the first house to the north and talk to the man there.
  • Next head to the Fridging Caves and fight through to the save point. Go to the left to start a cutscene and a boss fight.
  • You can use a full party and your characters of choice. This boss hits hard so make sure to have good heals. It's also weak against light, so you can use Luminaire here to good effect.
  • Win the battle to get the Dragnarok Spritnite.
Endgame Achievements
You've made it to the hardest fights in the game. If you beefed up following the build I outlined above, each one of these battles should only last one or two turns.


Most of this one is pretty easy. There are 8 types of pengies total, and most of them you'll kill as you go through the game. The last pengy on the list is a bit of a tough bugger, so make sure you're prepared!

  • Pengy (Dazzshire Woods)
  • Hoppy (Mobrise Mountain)
  • Empy (Royal Ruins in Magna Valley)
  • Scarly (Floeberg Waters)
  • Rocky (Floeberg Waters, Spritnite version)
  • King Pengy (Hymncott Forest, during Endir's sidequest)
  • King Hoppy (unmissable story boss, Floeberg Waters)
  • King Empy (Dazzshire Woods, in the area opened by Setsuna's character sidequest)


The spritnite-eaten monsters are the bane of the early game. They're often ridiculously tough when you first encounter them, but once you've hit the end of the game and set yourself up for it, they're all chumps. You'll need to kill all 15 types of these monsters to get the achievement.


Locations:
  • Rocky - Pengy Species (Floeberg Waters, Western Entrance)
  • Southpaw - Uppa Species (Fridging Caves)
  • Maloompa - Waloompa Species (Frost Caves)
  • Fallout Shell - Shellion Species (Blackwhelm Caves, Boss Area, you'll need defense breaking spells like Flare)
  • Stone Flapper - White Flapper Species (Forgotten Shore)
  • Atomic Puff-Puff - Puff-Puff Species (Serendale, Left of Save Point)
  • Jewelly - Muffy Species (Fridging Heights)
  • Glowly-Poly - Roly-Poly Species (Mobrise Mountain, Back Entrance)
  • Silvara - Versa Species (Twallusk Mountain, East Entrance)
  • Magiconda - Snecter Species (Archimell Ruins, South Entrance)
  • Crystal Shroomback - Shroomback Species (Magna Valley, South Entrance)
  • Digi Deermon - Lesser Deermon Species (Last Lands: Ruined Village)
  • Stoniel - Heroniel Species (Last Lands: Ruined Village)
  • Dinotaurus Crystallus - Dinotaurus Giganteus Species (Royal Ruins of Magna Valley, Boss Area)
  • Zoot-Hoot - Hoot-Hoot Species (Mysleigh Woods, North Entrance)


When you're just about to fight the Dark Samsara, there will be a bit of a cutscene that reveals that there are four stone pillars that make the final boss stronger. Each pillar is a boss itself, and if you defeat all of them, the Dark Samsara itself will be easier to beat. However, this achievement requires you to fight and defeat the Dark Samsara without destroying a single pillar, thus leaving him at his full power.


He's pretty tough, but if you have the set up described above you should have no problem beating him.


The Ruler of Time is the secret endgame boss of I Am Setsuna, and takes a bit to get to. First, you'll need to complete all seven of the character sidequests outlined above to unlock him.


Once this is complete, make sure you're ready using either my endgame set up or a similar one of your choosing. Then, head to the Laniff Ruins north of the Last Lands. Go inside and you'll see a small glowing cloud. There are six of these, and interacting with each one will trigger a fight with one of the bosses from the side quests or the main story.

Luckily, this isn't a boss rush, and after each battle you can leave the ruins to heal and save. In order, the bosses are:

  • Disphormic Monster from Fides' Quest (Weak to Light)
  • The Rare Blood Sisters from Kir's Quest (Uses Magic Attacks Only)
  • Grinche from Julienne's Quest (Immune to Time Magic)
  • Freyja from Nidr's Quest (Casts Stone)
  • Hapsper from Endir's Quest (Beware the Deathblow Attack at the End of the Fight)
  • The Time Judge (Immune to Light Attacks)

Once you've defeated each one of these bosses, you'll finally unlock the Ruler of Time at the top of the ruins. This boss immediately buffs himself to Evade physical attacks and Repel magic attacks. Luckily, many combos don't count as either of these. You can use the Battlecry -> Inspire -> Coup ge Grace set up without worry to blow him away. A Battlecried Luminaire also works well, as well as most other combo attacks. Be prepared and don't give up and you can do it!

13 Comments
abrahamne 9 Oct, 2020 @ 1:11pm 
yia:Pengy::Pengy::Pengy:
quixoticaxis 24 Mar, 2018 @ 7:08am 
Thank you for your work.
Sami 2 Jan, 2018 @ 12:19pm 
@El
Thank you for your reply, actually I was told that you can not be offline, every other achievement will pop, except the "platinum" one. I went online, got into combat and it popped.
Once again, thank you very much for the guide, though I'd note that as far as I could tell, Grand Cross seemed to be doing more damage than Coup de Grace, not sure if it's because I had better Fluxes on Cyclone than Genesis, or simply had more luck with crits.
El  [author] 2 Jan, 2018 @ 11:09am 
@Samiba

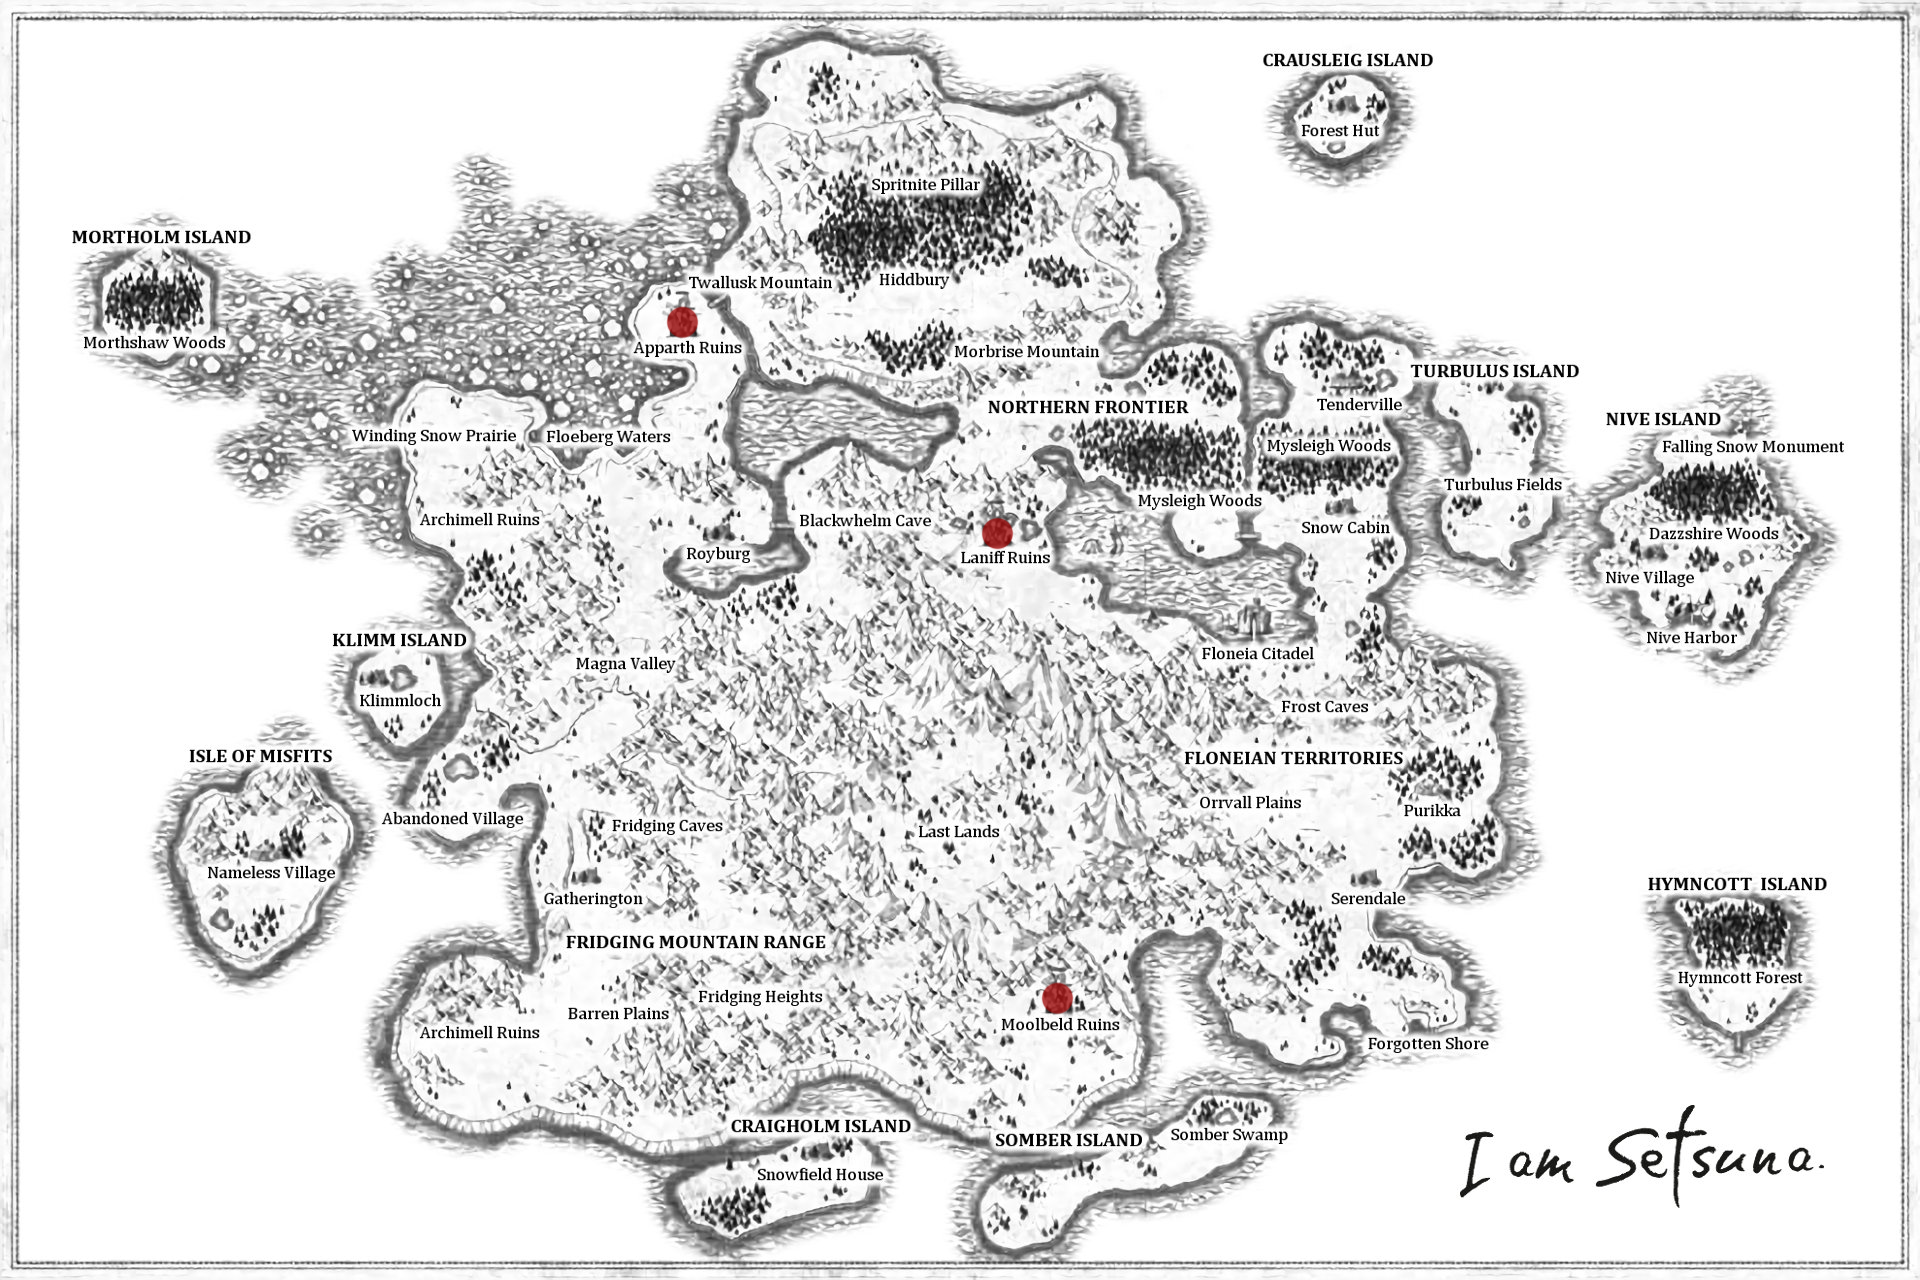
That's quite unfortunate. I haven't heard anything about this achievement being bugged, but I can't think of any other reason for it to not pop when you got number 49.
Sami 2 Jan, 2018 @ 7:49am 
Hey! Great guide. Question: Not sure if I'm missing something as I'm at 49 of 50 achievments which, considering the last one, should not be possible. Any ideas?
Supreme Team Prime 4 Jul, 2017 @ 7:27am 
Sweet guide! thanks
the23rdhour 8 Feb, 2017 @ 9:49pm 
This guide is sweet, thanks. I'm otw to having 50/50.
absum 7 Feb, 2017 @ 9:33pm 
12 wasn't quite getting me there, so I upped it to 15 turns each battle and saw much better results.
El  [author] 7 Feb, 2017 @ 4:54pm 
@absum

I'm so glad this guide has helped!

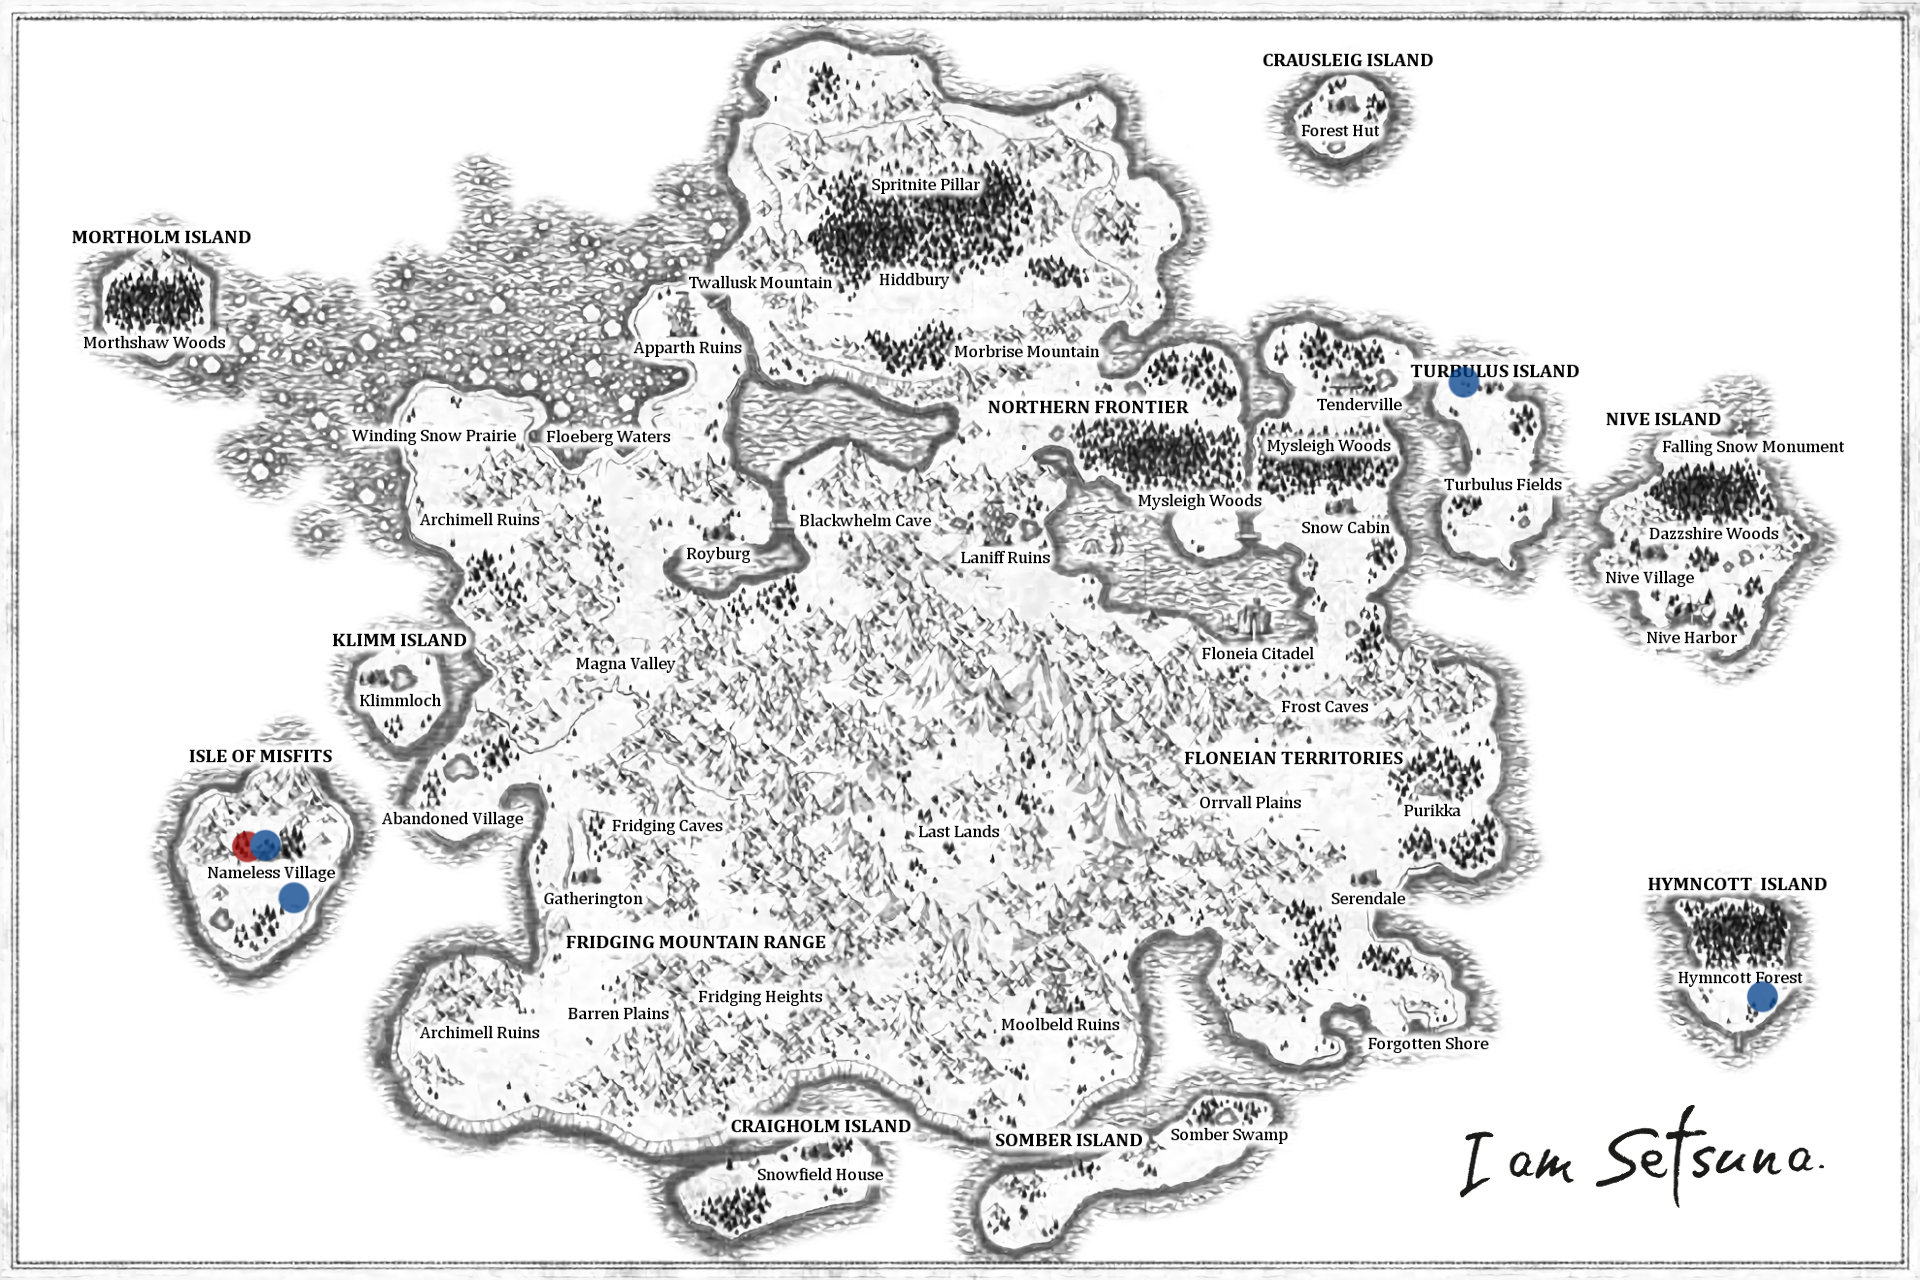
Are you switching out the spritnite to fresh ones every time you battle? The more fluxes on a spritnite the lower the chance for it to get more.

If this isn't it, the only thing I can think of is the number of turns you take before ending the battle. If you completely fill and empty your momentum gauge three or four times, that should be 9 to 12 full party turns, multiplied by party members, each battle should have you using your skills 27 to 36 times. It was just easier for me to keep track but counting it as filling up my momentum gauge, then doing the momentum skills 3 times per person so they were empty again, and then doing that over.

Other than those two things, I'm not sure what else might be affecting your RNG negatively.

I hope this helps, and good luck!
absum 5 Feb, 2017 @ 7:36pm 
Thanks very much for this guide, it's been an invaluable resource to me in this game. I am having a bit of a problem with the flux farming portion of your guide though.

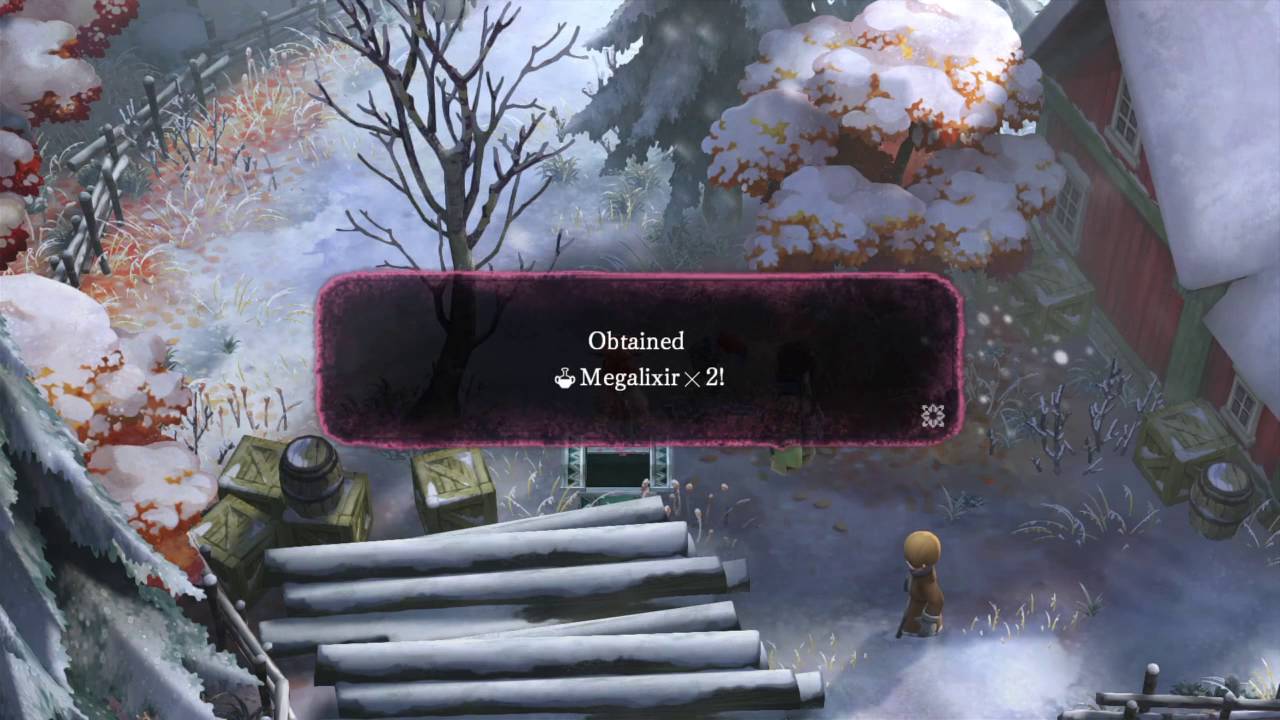
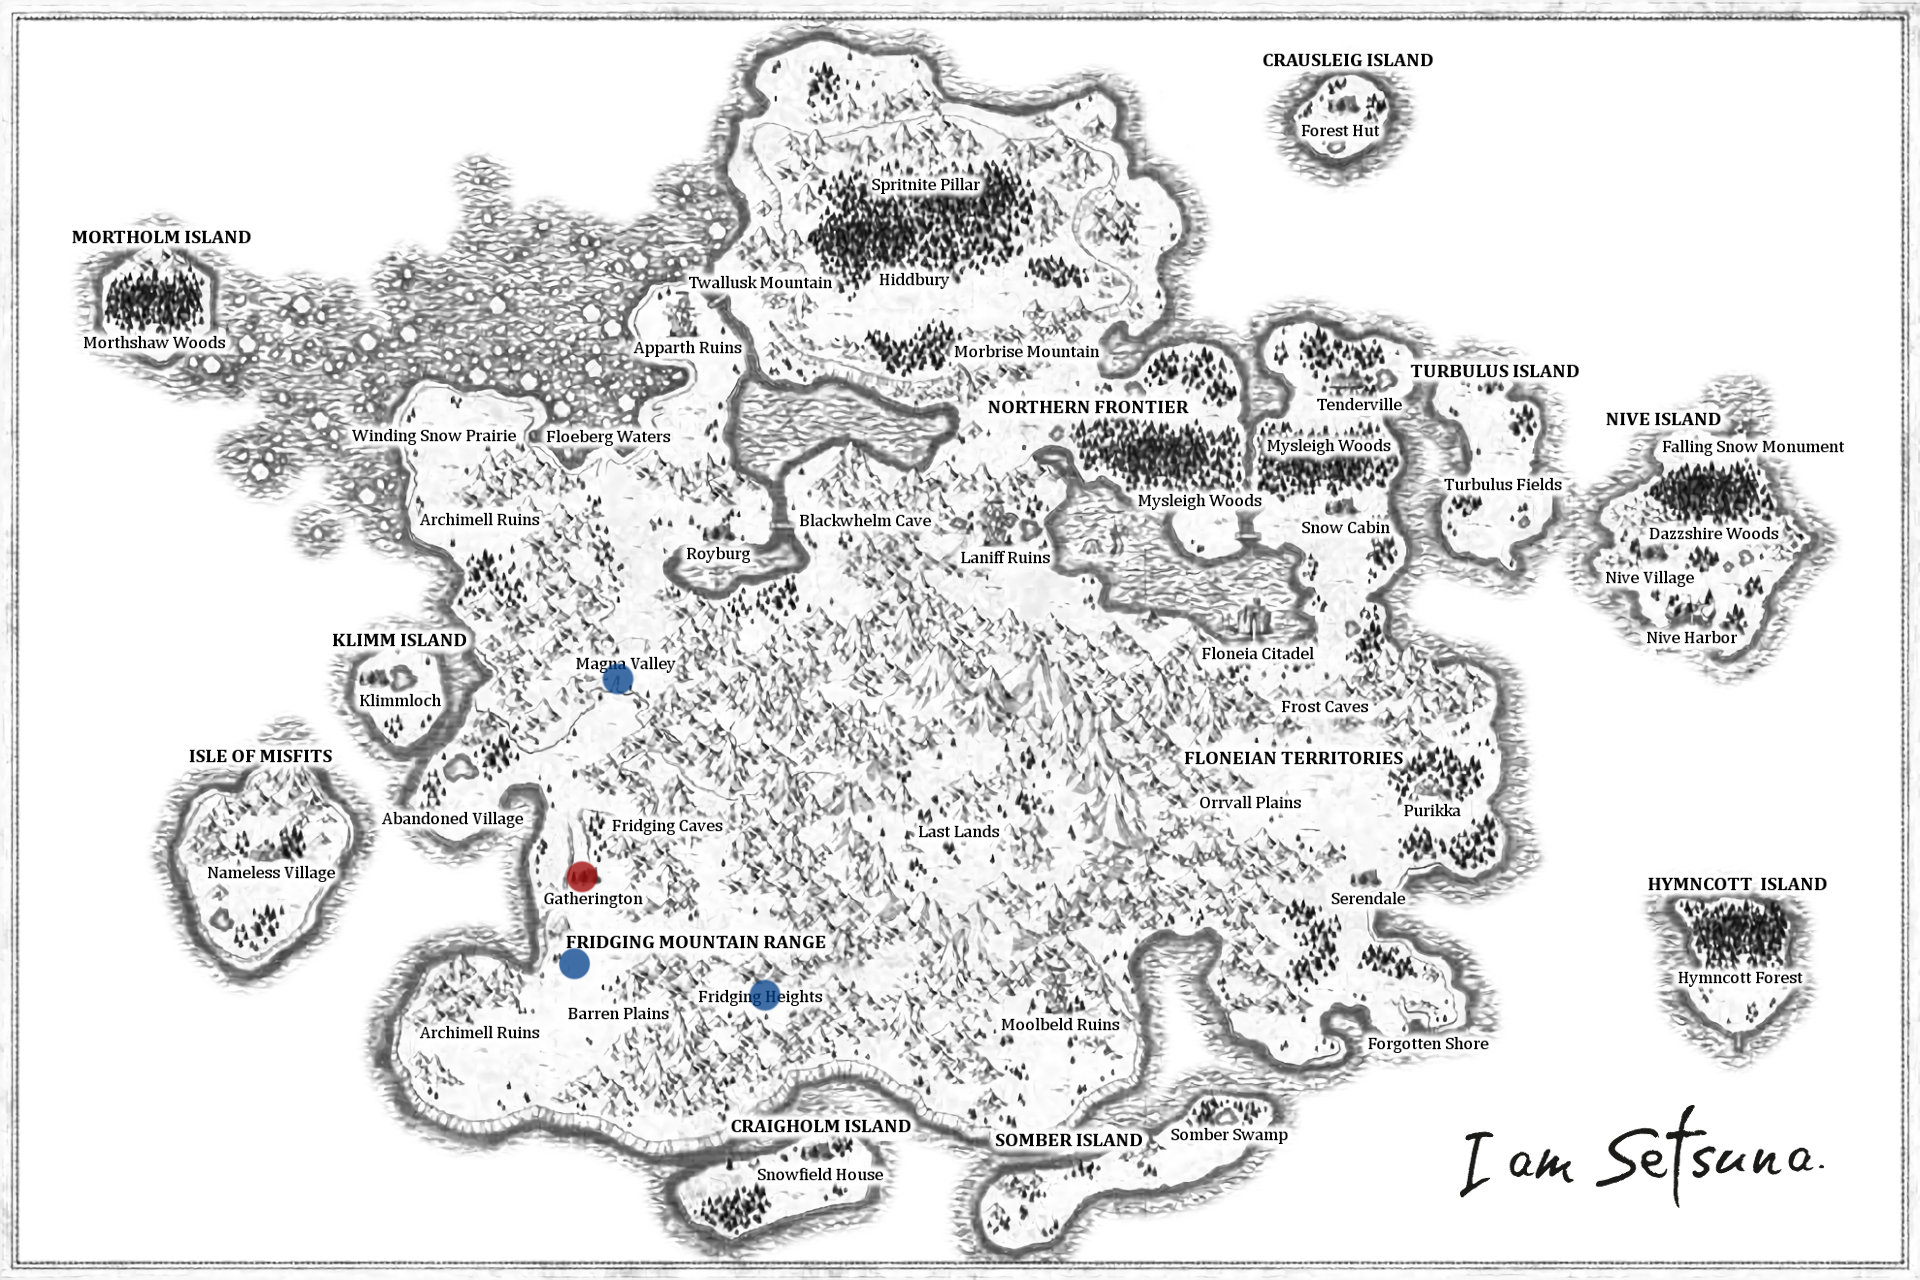
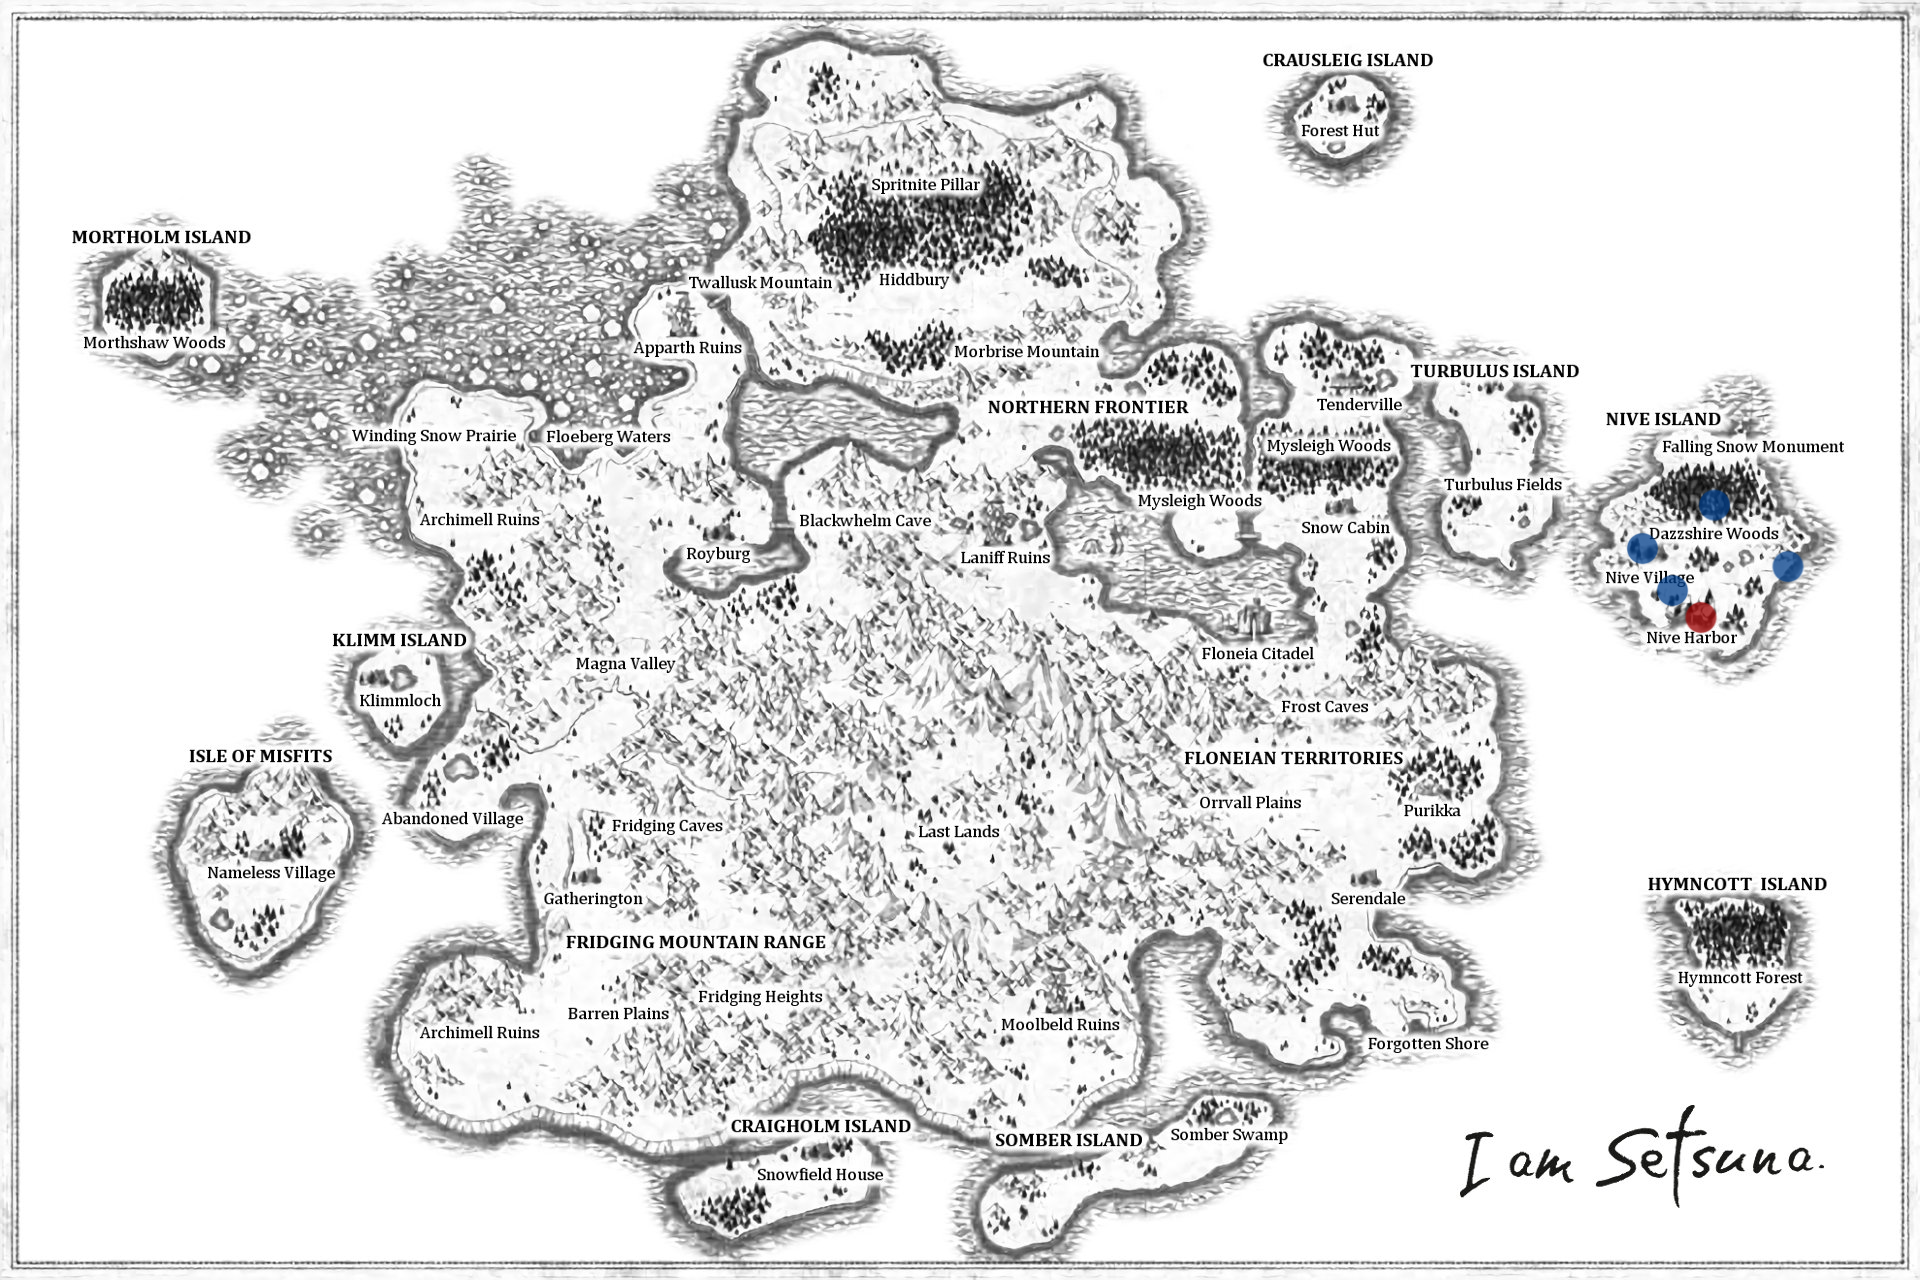
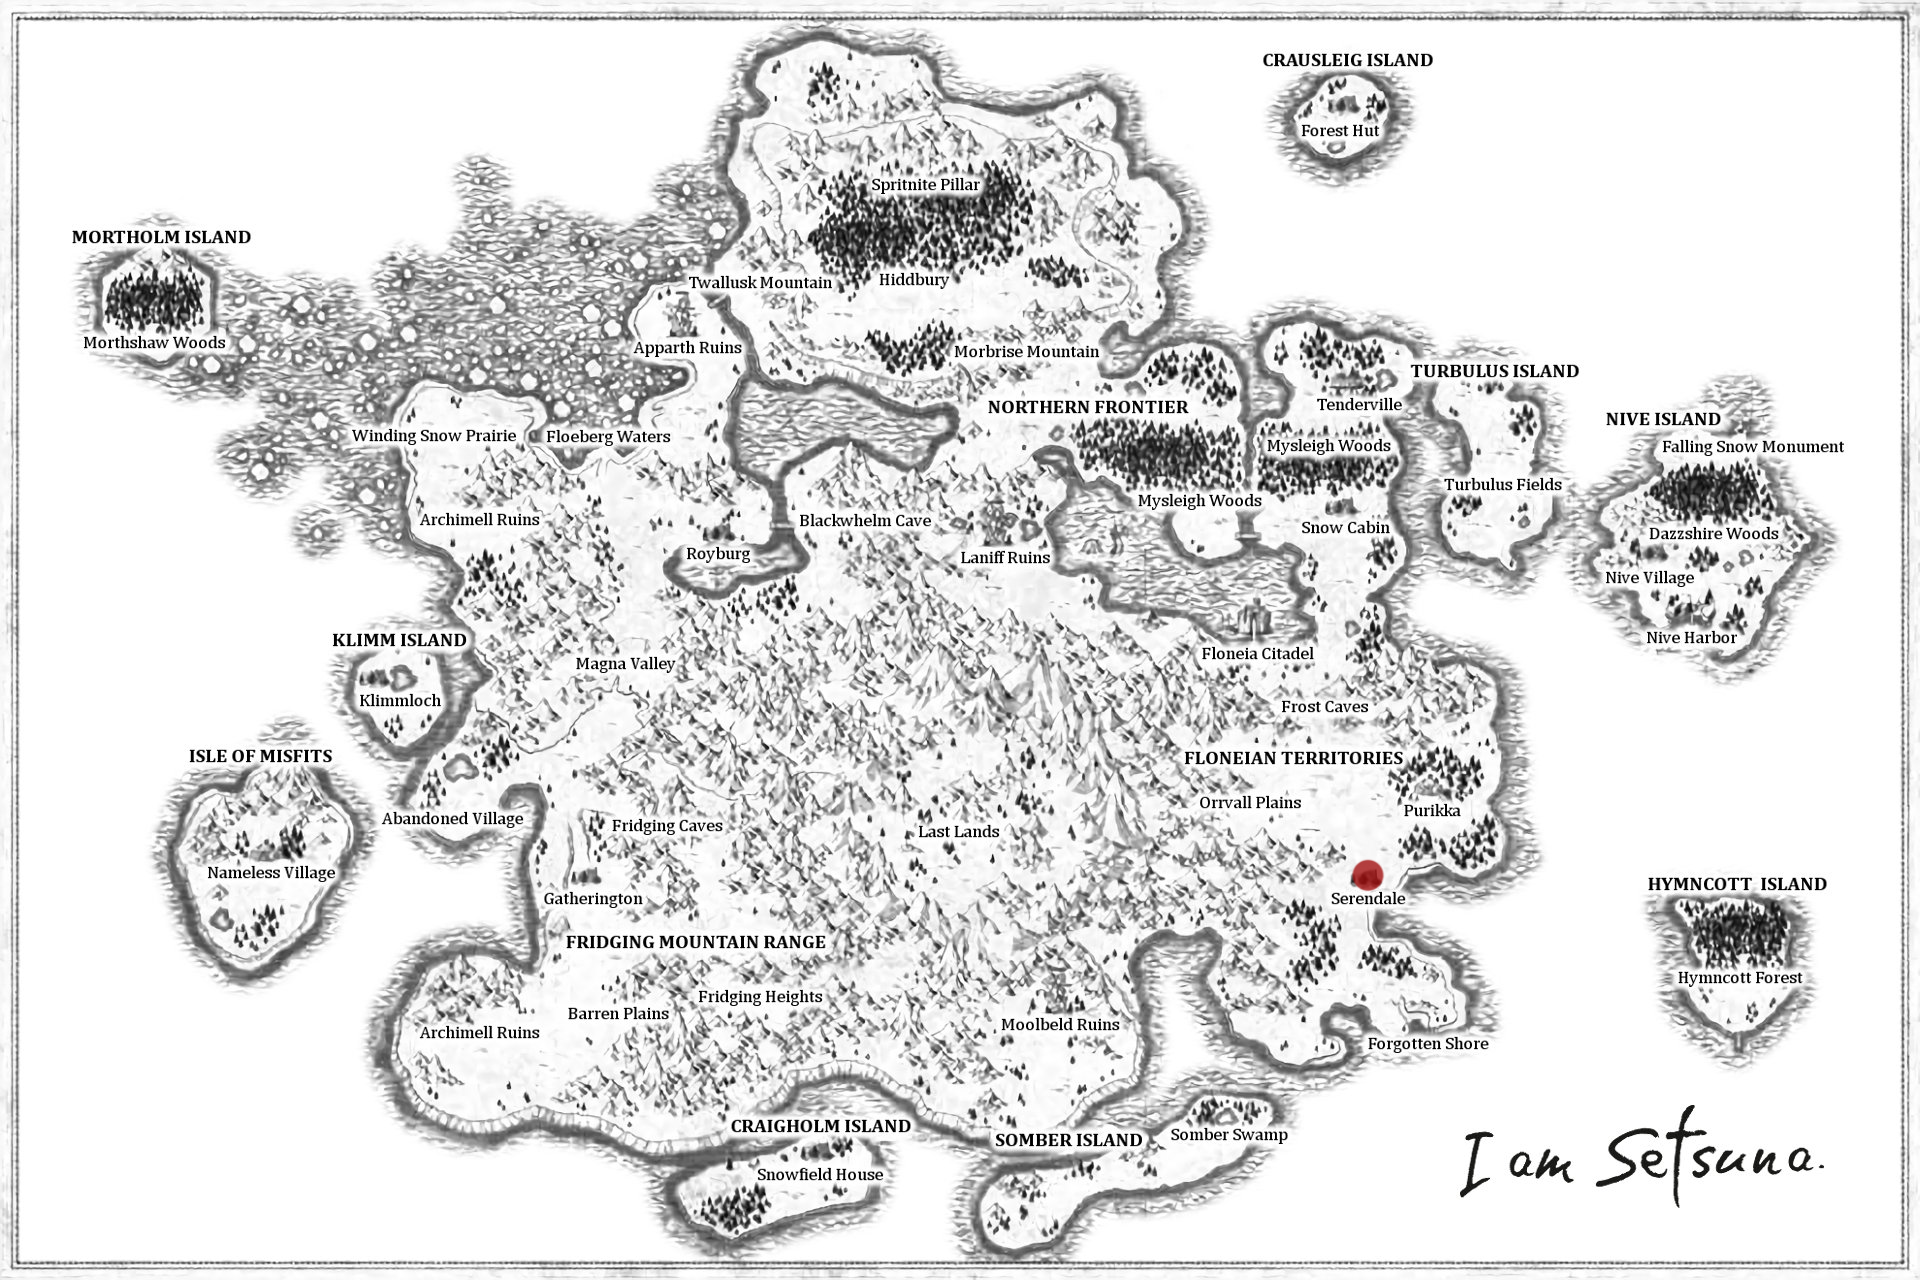
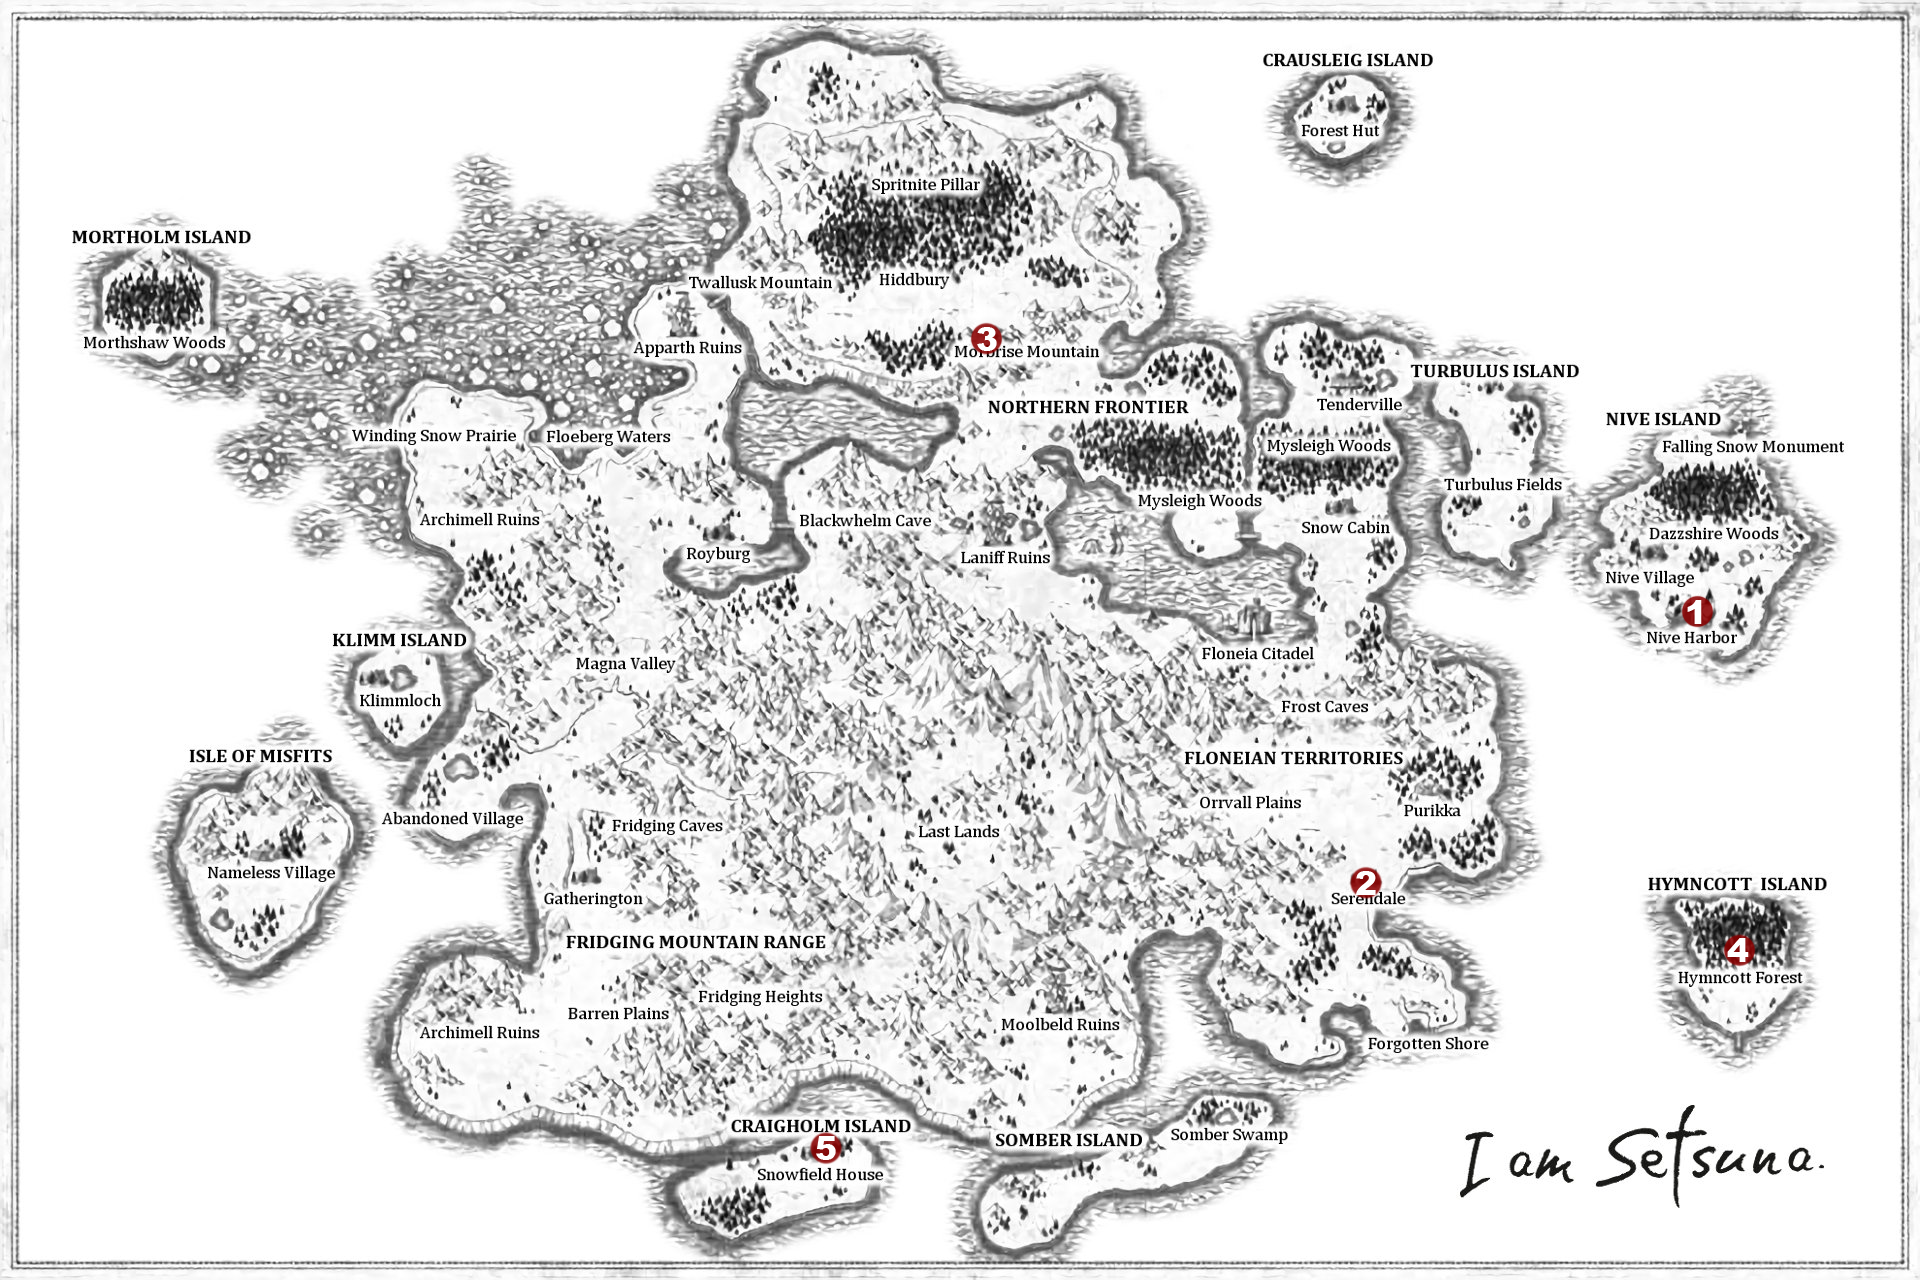
I'm working on the Ruler of Heaven and Earth achievement and I'm getting about 4 flux per battle on average..

I'm using flux boost talismans on all three characters, plus the flux boost food. I'm using enthunder, enchrono and aura. I've been using each skill with momentum and 3 SP stars up to 10 times per battle, and the most flux procs I've seen so far is 8 when a flux boost singularity went off. I guess I'll start using the skills more and more in each battle to see if that helps, but it's starting to get really frustrating when I have to consider facing the fact that I'll be grinding out this achievement in multiples of 4 instead of 9.

Am I missing something or am I just getting screwed by RNG?