Dead In Vinland

Dead In Vinland

Not enough ratings
Perfect Camp Management in Extreme Conditions
By Laguna Queen and 4 collaborators
Transform the depressing camp into a massive powerhouse within 5 weeks!
8
4
3
3
4
2
3
2
2
   
Award
Favorite
Favorited
Unfavorite
Introduction
Each run will have its own unique crafting order (developing rate) because of varying resources from random exploration events. Sheer patience and commitment is required for its full transformation, but the healing process first requires a deep breath and crying to get emotions out of the way!

Note: The guides below elaborate on the many intricate mechanics required to excel in the game.

Please click here for the Full Extreme Condition Walkthrough:
https://steamproxy-script.pipiskins.com/sharedfiles/filedetails/?id=1996086549
Please click here for Max Event Rewards:
https://steamproxy-script.pipiskins.com/sharedfiles/filedetails/?id=2910427364
Please click here for Power Leveling:
https://steamproxy-script.pipiskins.com/sharedfiles/filedetails/?id=2800522829
Please click here for Enhancing Combat Prowess:
https://steamproxy-script.pipiskins.com/sharedfiles/filedetails/?id=2905846409
Why are you writing this guide?
I enjoy helping others by writing about technical topics to a higher standard and provide key findings for a higher chance of success!

Who is the intended audience?
The guide is for everyone, but much friendlier to new players. Everything will be explained to be on the same level as those who are the most experienced. The writing will be easy to follow with plenty of screenshots for those who are too lazy to read everything!
How to Save Scum
The Save & Quit option must be used for every desirable outcome or Quit/Alt & F4 for every negative result.

The save location is next to the Unity one with the X number being unique for each player: AppData\LocalLow\CCCP\Dead In Vinland\X\.

Within that folder, the save slots correspond with its location, such as Profile 1 being the top most slot.
Choosing the Right Survivors
Preferences vary with each player on how much trouble is tolerable. There is a catch with those who are recruited as duos and those who are not on the recommended list. The ones below have the most benefits to the family, as well as their night events.

An overview of recommended survivors:
Survivor
Most Important Benefits
Tomoe
Gives Kari several combat traits
Cisse
Looter & Moira's BFF
Shanaw
Buffs Kari & her BFF
Looter Trait
Cisse, Eustache, and Shanaw have a looter perk that can stack up to 3x to gain even more resources from battles! Since battles give additional experience, only one (Cisse) should be used so that Kari and Blodeuwedd develop more combat traits.
Impractical Stations
The Tavern, Harvesting Camp, Garden, and Pens should be completely avoided to prevent wasting early resources.

Specifically, the deceptive Tavern that pulls 2 characters from work and considerably hurts progress!

Note: The last two stations can be constructed much later on for achievement purposes only.
Perfect Crafting Order
The camp is fully developed after upgrading the important features of the Cook Pot and Dryer. These final touches provide tasty meals to satisfy hunger without sickness and dried meals for the upcoming tribute.

The Tavern, Harvesting Camp, Garden, and Pens were found to be useless and wastes early resources.The last two stations can be built for achievement purposes only.

The day correspond with when each crafting project was completed:
1. Mining Camp
2. Lumber Camp
3. Resting Area (Replaces #2 if possible)
4. Hunting Camp
5. Study I
6. Lumber Camp II
7, Religious Idol I
8. Pillows I
9. Workshop II
10. Study II & Iron Axe
11. Pillows II
12. Religious Idol II
13. Steel Axe
14. Forge & Sturdy Traps I
15. Lumber Camp III
16. Potable Water II & Deadly Traps I
17. Sturdy Traps II
18. Mining Camp II
19. Shelter II & Boiling Device I
20. Maps I & Reinforced Roof I
21. Mining Camp III
22. Stealthy Clothes (Hunting) & Sturdy Shoes (Exploration)
23. Maps II
24. Walking Sticks & Cooking Pot
25. Mining Knowledge & Cooking Tools I
26. Dryer & Traps I (Dryer)
27. Dryer II & Rain Protection I (Dryer)
28. Cooking Tools II & Healing Tent
29. Robust Materials I & Firewood Knowledge I
30. Workshop III
31. Dryer III & Fire Conservation I
32. Fire Conservation II & Expedition Camp II
33. Water Flasks & Firewood Knowledge II
34. Stone Forge & Forge II
35. Expedition Camp II & Potable Water II
36. Forge III & Potable Water Barrel III

Note: The Herbalist is optional to be built later for the Rope Tribute (Day 49) since plenty can be gathered from battles and events. After Day 35, all important projects that require rope are finished!
How to Use Pelts
Pelts are very difficult to obtain early on and dropped by chance from hunting. The foremost use is to upgrade the pillows twice for maximum daily fatigue healing!

Note: Pelts should never be used to make leather bottles as they are obtained from battles.
Faster Technology
Ancient Knowledge is needed for Study I and II to craft the next tier projects. The earliest events to look for are Mushrooms, Strange Blue Woman with Cats, and Fishing Spot.
The Mysterious Grave is not to be touched as it will curse the character when obtaining the Ancient Knowledge. The Skull Tree takes longer to find and is delayed even further when the Floating Chest must be buried first to obtain it.
Know Thy Beer
Beer is a depression healing item that is best used alone without the Tavern.
Drunkards spawn from Day 6 battles and make sure it is not just the materials for beer.
Excited vs Drunk Trait
Excited trait is the safest way to heal depression slowly up to 5 days without any health penalties. On the contrary, the Drunk trait lasts only one day and heals a large amount while significantly reducing fatigue and depression gains. They are also used to pass courage checks for events and power leveling (refer to the guide above).

To achieve desired trait, simply repeat the process until desired effect then Save & Quit. Meade is a tier 2 item of Beer that have double the depression healing effects while sharing the same two traits of either excited or drunk.

Trait
Max Duration
Healing (Beer/Meade)
Health Penalty
Combat Buff
Benefits
Excited
Up to 5 Days
10/20
None
+2 Initiative
4-8 Healing per day

Drunk
1 Day
20/40
50% Hangover/Nausea
+2 Max Damage
-20% Accuracy
-25% Fatigue Increase
-50% Depression Increase
Note: Excited and Drunk traits can both be active at same time but not the duplicates of each trait.
Health is Wealth
Each character has different expertise with unique passive resistance and recovery values. Some of them can handle difficult tasks without needing rest while others are in danger of being worked to death.

Overnight evolution is often overlooked during adverse weather and a predicted change can be viewed by hovering over the fatigue and depression of each character. A decision can be made to use some medicine before ending the night.

Note: Night events during bad weather still add extra fatigue and/or depression.

The state values that change the most are in this order: Fatigue>Depression>Hunger>Sickness/Injury
Health: Fatigue
Characters need to have rotating work shifts and rest when needed because being overworked to death is a real threat during the starting days.

The shelter can be used when the resting area is not available but provides very little relief. Labor-intensive work station like the mining camp must not be used twice on the same day unless it is an emergency.

Note: The pillows upgrade and fatigue medicine eliminate the dependency on the rest area.
Health: Depression
Most hard labor work produce depression that are lowered by developed physical skills, especially strength and constitution. The Excited trait from Beer and Meade keeps depression in check until religious idols can be built.
Health: Hunger
Only survivors who have concentration work details (e.g. crafting or hunting) need to be fully fed.
The rest can eat the leftovers but needs to be evenly distributed.
Health: Sickness
The main cause of sickness is eating raw food and crap meals during the early game.
The cooking pot is the solution and recommended to use only after the successful recipes have been fully upgraded.

Note: Survivors like Kari who have endurance work details need to control sickness.
Health: Injury
Battles resulting in loss of red hearts and work duties like hunting generate most injuries.
Understanding Safe Fatigue & Depression Levels
Once Pillows and Religious Idols are fully upgraded, characters need to take advantage of their full daily healing.

Fatigue can be healed up to 30% and failed sheep catches are needed to get constitution XP for anyone who still has below that number before ending the night.

Depression can be healed up to 10% and additional 8% from Excited trait. Anyone below 30% needs to honor the dead in Abandoned Boat to get more wisdom XP.
The Forge is an Early Healing Tent
The best time to construct the Forge is after Moira gifts several different powders during a random night event.

In a single turn, Moira is able to make powerful early medicine by crafting the scarce powders into ointments to double their healing power! Fatigue ointments are crafted the most because of its effect on all work performance.
Note: Ointments are preferred over potions to save potable water with the exception of Kola nuts and Sage powder because they have no recipe.

Such delay of the healing tent prioritizes other important projects to be finished first. When available later, only bandages and cure potions must be produced to avoid wasting time and manpower.
Never Craft Arrows
No resources should ever be wasted in crafting arrows because enemy archers drop plenty throughout the game.

For that reason, the priority for archers spawning in battle changes if there is a need for arrows. A rule of thumb is to have enough for at least 2 hunts (6 arrows for base cost).
Know Thy Battle Loot
Defeated enemies drop loot that can help develop the camp faster. The more desirable resources are finished products like beer, rope, and fabric. Hence, a restart is needed if the rewards just give raw materials like hemp that cannot be immediately used for crafting projects.
Spawning Better Resources
Battles are available from Day 3 and randomly spawns the current pool of unlocked enemies. Save-scumming is recommended to ensure the best rewards and have the max of 2 battles per day.

An overview on the increasing value of each enemy by their loot :
Enemy
Priority
Loot Type
Shieldmaiden
1
Stone & Iron
Drunkard
2
Beer & Leather Bottle
Knives
3
Rope & Milk & Wood
Plunderer
3
Rope & Wood
Berserker
4
Bandages & Medical Herb
Slaver
4
Dried Meal & Milk & Vegetable
Archer
5 or 3
Arrows & Rope
Note: The loot is undefined and can be mixed in with powders and/or crap meals.
When to Scavenge the Shipwreck
The shipwreck has a total of 10 uses and must be limited to one scavenge per day to avoid early massive depression. The main purpose is to provide the much needed rope for crafting projects and early food when hunting is not available.

The first three were done during the first week and the next two were done when medical supplies were needed. The rest was delayed until Kari had nothing else to do.

The shipwreck yields the following:
1. Wood, Rope, Fabric, Raw Fish, Injury & Depression Ointment, & Fish Bait
2. Wood, Rope, Fabric, Raw Fish, & Arrows
3. Wood, Rope, Fabric, Raw Meat, & Healing Plants
4. Wood, Rope, Fabric, Cheese, & Bandage
5. Wood, Rope, Fabric, Dried Meal, & Cure Potion
6. Wood, Rope, Fabric, Raw Vegetables, & Leather Bottle
7. Wood, Rope, Fabric, Crap Meal, & Kola Nuts
8. Wood, Rope, & Milk
9. Wood, Rope, & Beer
10. Wood, Rope, Stone, & Rotten Food
Low-Cost Station Repair
Every work station decays over time and requires different materials to repair. A full restoration can use the least amount of resources with the following steps.
When repair is 10% or better, do Save & Quit for each successful RNG or just quit if not.
The repair only used 2 wood to be in excellent condition!
Weather Balance
Optimal weather is to have the right balance of Sunny and Rainy days to get free potable water while keeping depression in check.

Storm needs to be avoided all together because of damaging a random station twice that wastes resources to repair. Drought is only useful during the mid-late game for drying meats faster but need to be avoided in early game.

Weather Type
Penalty
Benefit
Sunny
None
None
Rainy
25% Depression Increase
+3 to +6 Potable Water and Non-potable Water (x2)
Storm
25% Depression Increase
25% Fatigue Increase
+6 to +12 Potable Water and Non-potable Water (x2)
Drought
25% Fatigue Increase
1-Day Food Drying
Water Management
Rain provides free water that saves both manpower and wood. The capacity of potable water need to be upgraded first to reduce wasted resources and last longer than a single day.

During mid game, the capacity of non-potable water can be upgraded to have enough water for more Sunny days. When wood is ample enough, there needs to be a balance with water levels to collect as much rain.
When Healing Tent is available, excess potable water during rainy days can be made into cure potions to make space.
Dehydration during the night is random can be rolled for a lower one to reduce water consumption. 1 full unit of water is recommended to avoid the risk.
Traps are Food Refrigerators
Traps save manpower by substituting hunting on days when work is needed elsewhere. They provide extra meat on each day and can be set up to a maximum of 5. Before first use, one upgraded level of durability is needed to avoid wasting precious iron for their replacement.


After successfully catching an animal, the trap functions as a refrigerator and preserves the meat until it is harvested for consumption. The penalty of rotting does not apply unless the meat is removed from the trap.


Note: Save-scumming is needed to recover and reuse traps successfully after harvesting the meat.
Non-Perishable Food
Dried foods will never rot and should be used as reserves during shortages.
The Dryer can be constructed as early as Day 32 and the process takes ~2-2.5 days.
The Drought is the worst weather to have but accelerates the process to just only one day.

Note: Dried foods should never be used sparingly in the early game because they are bountiful when following the guide recommendations.
Food Distribution
Eirik is the MVP who needs to be fully fed to not disrupt his crafting speed (research).
Those who will be hunting or cooking the next day will be given second priority. The rest will eat mostly crap meals and leftovers while evenly balancing hunger.

Note: Each type of perishable food that has more than one count will rot and must be consumed to avoid food waste!
Moira: Tribute Negotiator
She bypasses certain tributes every other time to conserve as much resources.

Her successes can also reduce animosity at the same time!

Her charisma needs to be leveled with two +10 traits and the Mysterious Grave event for a higher chance to succeed!

Note: Baldr's Crown must be used on Kari only for the most benefits!
Paying the Right Amount of Tribute
The trick is to balance Bjorn's animosity without triggering any "courtesy" events while Moira reduces it every other week with special events.
The goal is to retain as much rare resources (rope) while overpaying common ones (wood) to reduce animosity in the long run!

The table explains how much tribute to give and what tasks to do:
Tribute
Resource Amount
Offering Level
Details
1st
5 Wood
Lowest
Raises severe but safe level of animosity without triggering courtesy event!
2nd
12 Non-Potable Water
Highest
Moira needs to successfully fool Elof to completely reset all animosity!
3rd
20 Wood
Slightly Reduced
The increased animosity will be removed later in 6th tribute..
4th
40 Fruit
Normal
Kari can fetch fruit alone with both Drunk & Sowilo Blessing.
Anything less than 40 fruit will trigger a Bjorn visit.
5th
40 or 30 Wood
Normal or Slightly Reduced
The full tribute can be paid now if there is enough wood to pay 5 less rope during 7th tribute.
6th
20 Raw Meat
Normal
Moira will lower animosity after persuading Elof. Kari must not eat any mud to avoid the sickness trait! Enough meat can be gathered from caught traps that were left alone days in advance and doing hunting on the morning of tribute day.
7th
30 or 25 Rope
Normal or Slightly Reduced
The 25 rope can be paid if full amount was given for 5th tribute.
8th
0 Raw Fish
Free!
Moira needs to bypass both constitution and charisma checks to lower animosity and bypass the entire tribute!
9th
15 Stone
Reduced
The next tribute will reduce animosity twice when paying the normal tribute.
10th
40 Rope
Normal
Moira should give the highest quality of sickness medicine to Elof to not only reduce animosity but also cures herself.

  • 11th- 20 iron (normal)
  • 12th- 30 dried meal (normal or high) - The best choice is to have Moira get the Master Rebuker (if you did either the healing or kissing successfully) because this trait is most useful to her as a healer. She will not lower animosity. Blodeuwedd can also lower animosity for free but no trait. Eirik will have a slim chance of getting a positive but completely useless trait after successfully defending Kari but has a large increase in animosity. I chose to pay extra because I had more than enough dried meal.
  • 13th - 30 beer (reduced) - Rare commodity to give too much of.
  • 14th - 60 wood (high) - Plenty of wood by now.
  • 15th - 30 stone (normal) - Anticipation of not making the fruit tribute and keeping animosity to zero.
  • 16th - 60 fresh fruit (normal) - Same with 1st fruit tribute except its more.
  • 17th - 40 raw meat (normal) - should be able to get 40 easily with traps, dual hunting, and even exploration events.

    Note: Any tribute beyond 17th is just a repeat of rope, wood, and stone. Nothing special afterwards.
Epilogue
Once the powerhouse is established, the survivors can begin to enjoy the fruits of their labor. All the painstaking effort to gain resources while maximizing efficiency are worthwhile.

For achievements later on, other stations like Garden and Pens can be constructed. They are considered obsolete food can be obtained through much more efficient needs like hunting.

Please show support through Awards!!!
How can I contribute to help?
Best way to support the guide is through🎖️,👍,🌟,and 💬!

𝓣𝓱𝒆 𝓐𝔀𝓪𝓻𝒹𝓼 𝓗𝒆𝓵𝓹 𝓣𝓱𝒆 𝓜𝓸𝓼𝓽!!!
Copyright Notice
This guide was written by Laguna Queen et al. (2022) on Steam, and not to be republished without crediting the authors and gaining their permission. We can be reached through the the guide comment section below.

We have no guide sites outside of Steam and please contribute to the actual creators, not plagiarism websites!

Try reading the guides for other games:
Here are other detailed guides that are not only comprehensive but tailors different themes and challenges:

Please click here to begin the Legendary XCOM2 Journey:
https://steamproxy-script.pipiskins.com/sharedfiles/filedetails/?id=3254190466
For Warhammer 3,
https://steamproxy-script.pipiskins.com/sharedfiles/filedetails/?id=2782133378
For Crying Sun,
https://steamproxy-script.pipiskins.com/sharedfiles/filedetails/?id=1871229945
For Frostpunk,
https://steamproxy-script.pipiskins.com/sharedfiles/filedetails/?id=2612388028
For Company of Heroes 2,
https://steamproxy-script.pipiskins.com/sharedfiles/filedetails/?id=2664203139
For Sheltered,
https://steamproxy-script.pipiskins.com/sharedfiles/filedetails/?id=653696559
For Infectonator : Survivors,
https://steamproxy-script.pipiskins.com/sharedfiles/filedetails/?id=742714265
Join Our Group to Subscribe!
The subscription is in the details of the top most announcement in our Church of Lina group.

To join, simply search for the group or click the link below to see the full list of written guides:
https://steamproxy-script.pipiskins.com/groups/ChurchofLina
4 Comments
TaifunCZ 24 Sep, 2022 @ 3:43am 
Didnt knew how to make ´´PERFECT CRAFTING ORDER´´, Mostly went after Harvesting fruits, and fishing later, then Hunting, since i didnt had resources mostly to even make crafting station, well now that i think about it, i always tended to avoid going on the Ship more than 4 times overall, since mine characters would almost hange themselves.

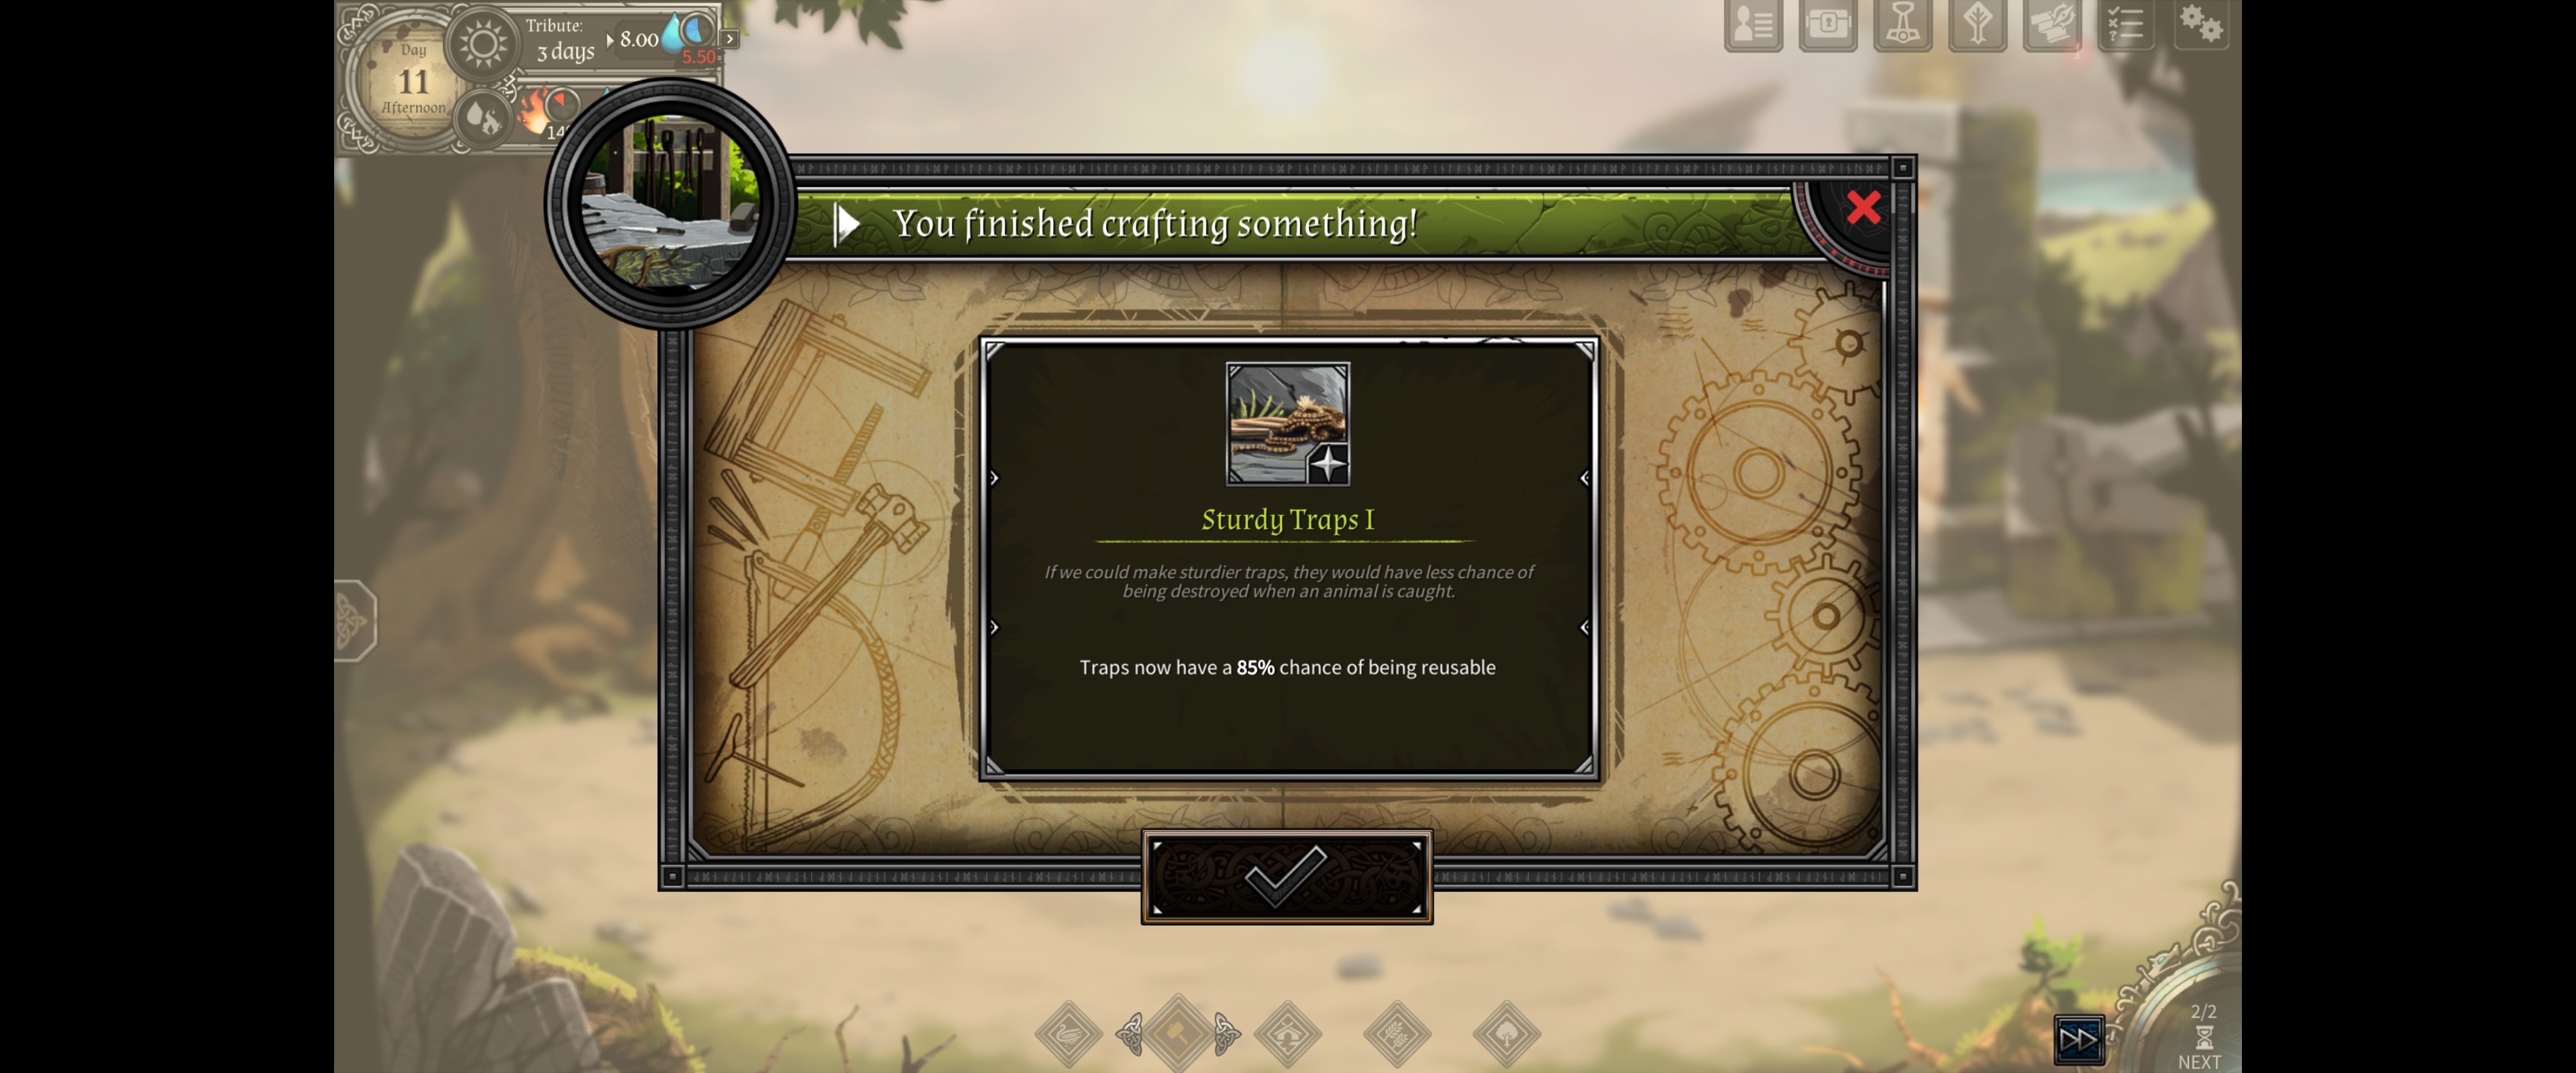
But well, these are mine opinions, as a guy who played for around 10 new games, from start to 100 days, to get the best how to approach the game, soo i dont know how have you ended up with Study 1 and 2 from 7 to 10 days , will be useful if you would write, that you found stone tablet on day 5 or something like that to get it ? While i had Study 1 on 20 or 30 Days ?
Your management is too OP for me, you are like speedrunning it, and i will respect it, since you put your heart and soul into the this run.
But now When i thing about it i didnt mostly searched the ship for more than 4 times, since the characters are getting too much depresion.
TaifunCZ 24 Sep, 2022 @ 3:41am 
Interesting, i knew like half of the things like saving, loading to get the best repaires, also with leveling up to get the best trait, to get the save, and load as many times to get what you need, if it is General xp or Harvesting/ Foresting xp, with less than 2 fate curses. Mostly mind blowing loading more than 20 times lately, to make 1 trait for one character, making me stop playing this game for a month.

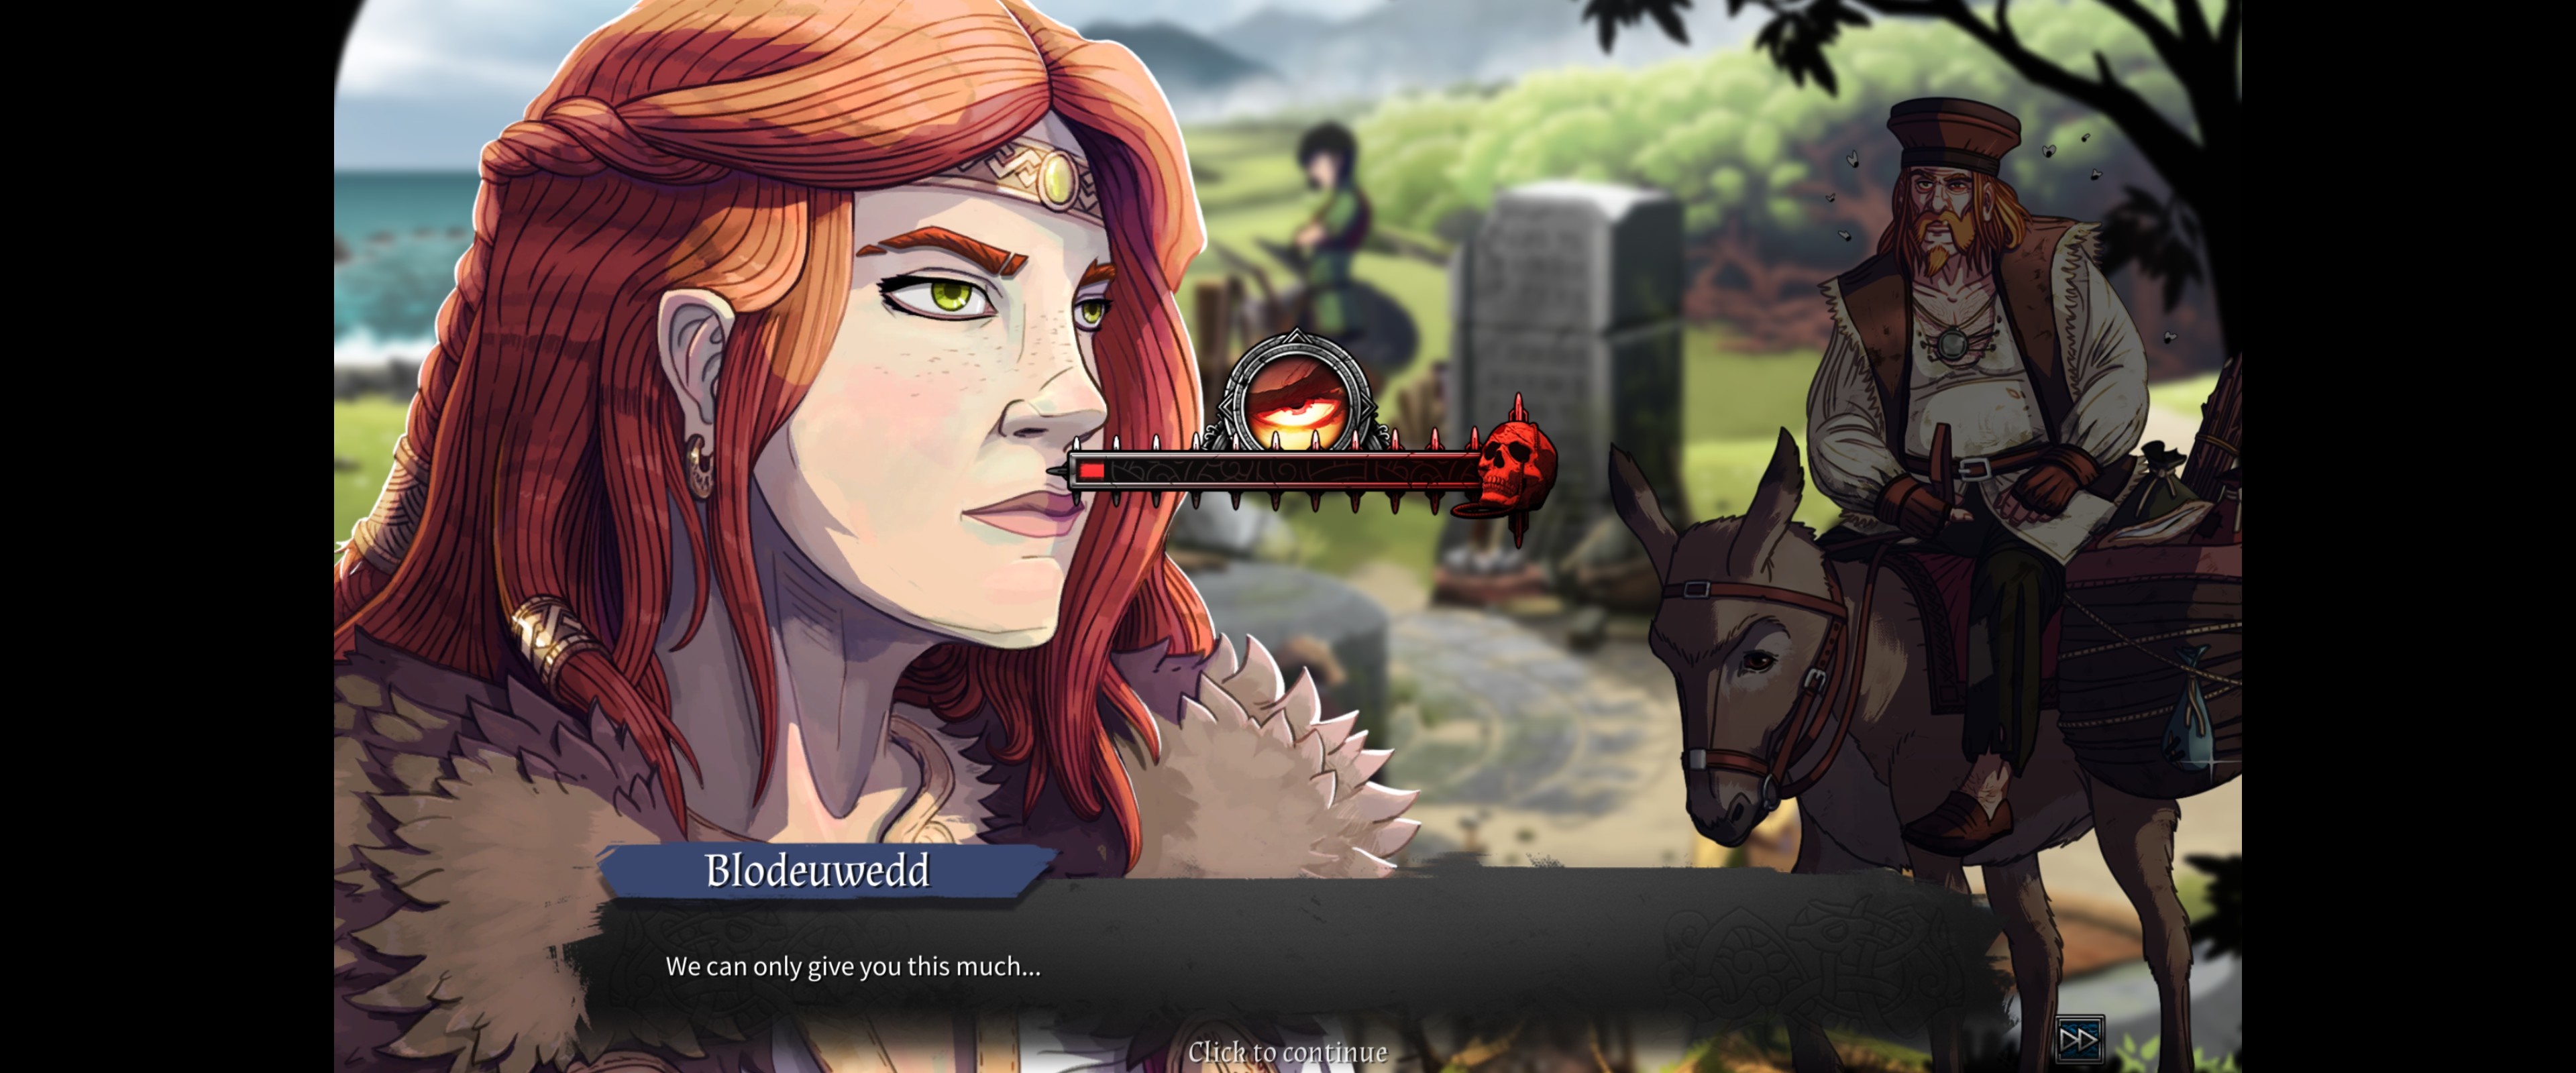
4th and 16th Tributes ,there are 2 traits you can get if you refuse, to give him more than he said, like next time he says 30 fruits, he will come in and says ok bad news, i want 40 , if you say no more, he will go back in there with Bjorn, break a leg of Blodeuwedd, and Erik mind get Vengeful train (+5 Courage, and + 25% Fatigue decrease) , if you pay the tribute, without saying no, he will throw apple to fetch it for Kari, and if you refuse to grab it, she will yell how she would kill him one day, also giving her Vengeful Trait.
Laguna Queen  [author] 10 Sep, 2022 @ 2:17am 
That was mentioned in the main guide.
SnickeringSnaussages 9 Sep, 2022 @ 6:21pm 
And to optimize the save/reload process even better, you can just restart every day until you get the maximum amount of every resource for every char you have assigned to a task, for example, if you have 2-5 lumber being chopped, 0-2 stone 0-2 iron being mined, 5-7 fruit being harvested, and 7-10 depression being reduced, and 2-4 water being scavenged, you would just save and restart until you got 5 lumber, 2 stone, 2 iron, 7 fruit, 10 depression reduction and 4 water (the maximum amount for each *roll*)